When you click on links to various merchants on this site and make a purchase, this can result in this site earning a commission. Affiliate programs and affiliations include, but are not limited to, the eBay Partner Network.
Man, I looked high and low locally for a salvage yard six speed, no luck.
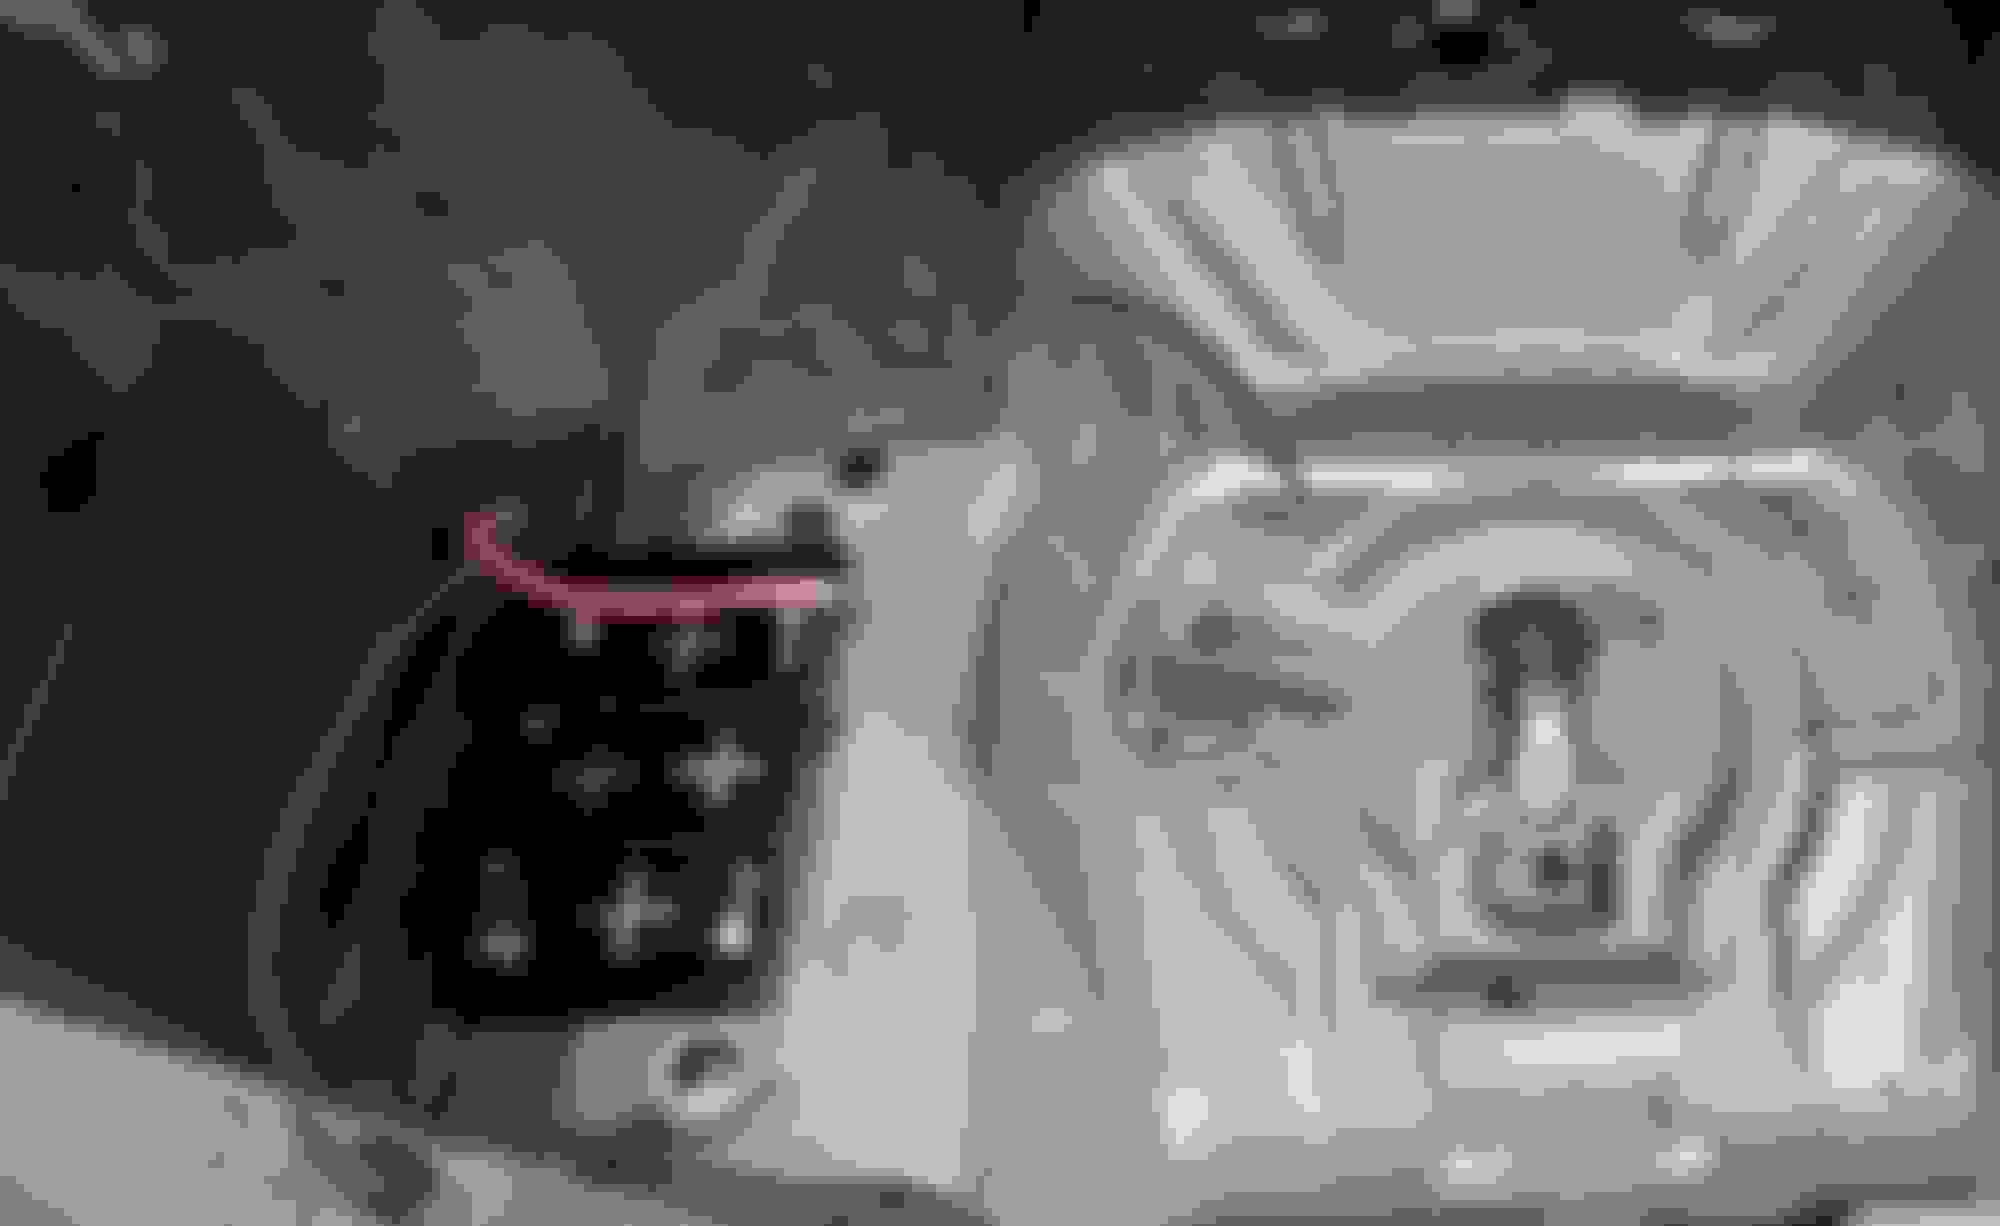
Exactly what I ran into with my car. I just used the salvage yard one and cut out (hacksaw blade & dermal) that molded cupholder and a bit more to get it to fit. Top: S2K joint bolt. It has an M8 pin connection diameter at the E-Brake handle and an M6 for the threaded adjusting bolt.
This single part made the whole difference in doing the conversion utilizing the auto brake cables. As mentioned by Karanx7
the left auto cable is shorter and IIRC'ly, the equal length left manual brake cable is no longer available. Bottom: CL-S6 joint bolt. It has an M6 rivet type connection (have to grind away) at the E-brake handle and M6 threaded
adjusting bolt. It's way to short!
Before
S2K joint bolt in place with the added MT Wire Casing Cap Adapter, at the brake cable frame connections. The adapter helped
raise the two cables up a bit; however, it's not really needed.
After
UA5_6MT, thanks again for that E-bay cupholder link.
There is the 'switch hole' lid (77206-SV2-000ZA) to cover the hole left from the absent CL-S6 seat
heater switch. Overall, it looks pretty decent and is a hell of a lot more practical to use versus the 'dumb' foot
E-Brake lever. This mod and the inexpensive 95 Legend caliper swap makes this heavy pig more enjoyable to drive
since I'll be saddled with it until the economy turns around.
End
glad it worked out for you. Funny thing, i had 2 brand new manual ebrake cables and ended up selling them. Pretty soon getting parts for that 03 cls 6mt is going to be impossible
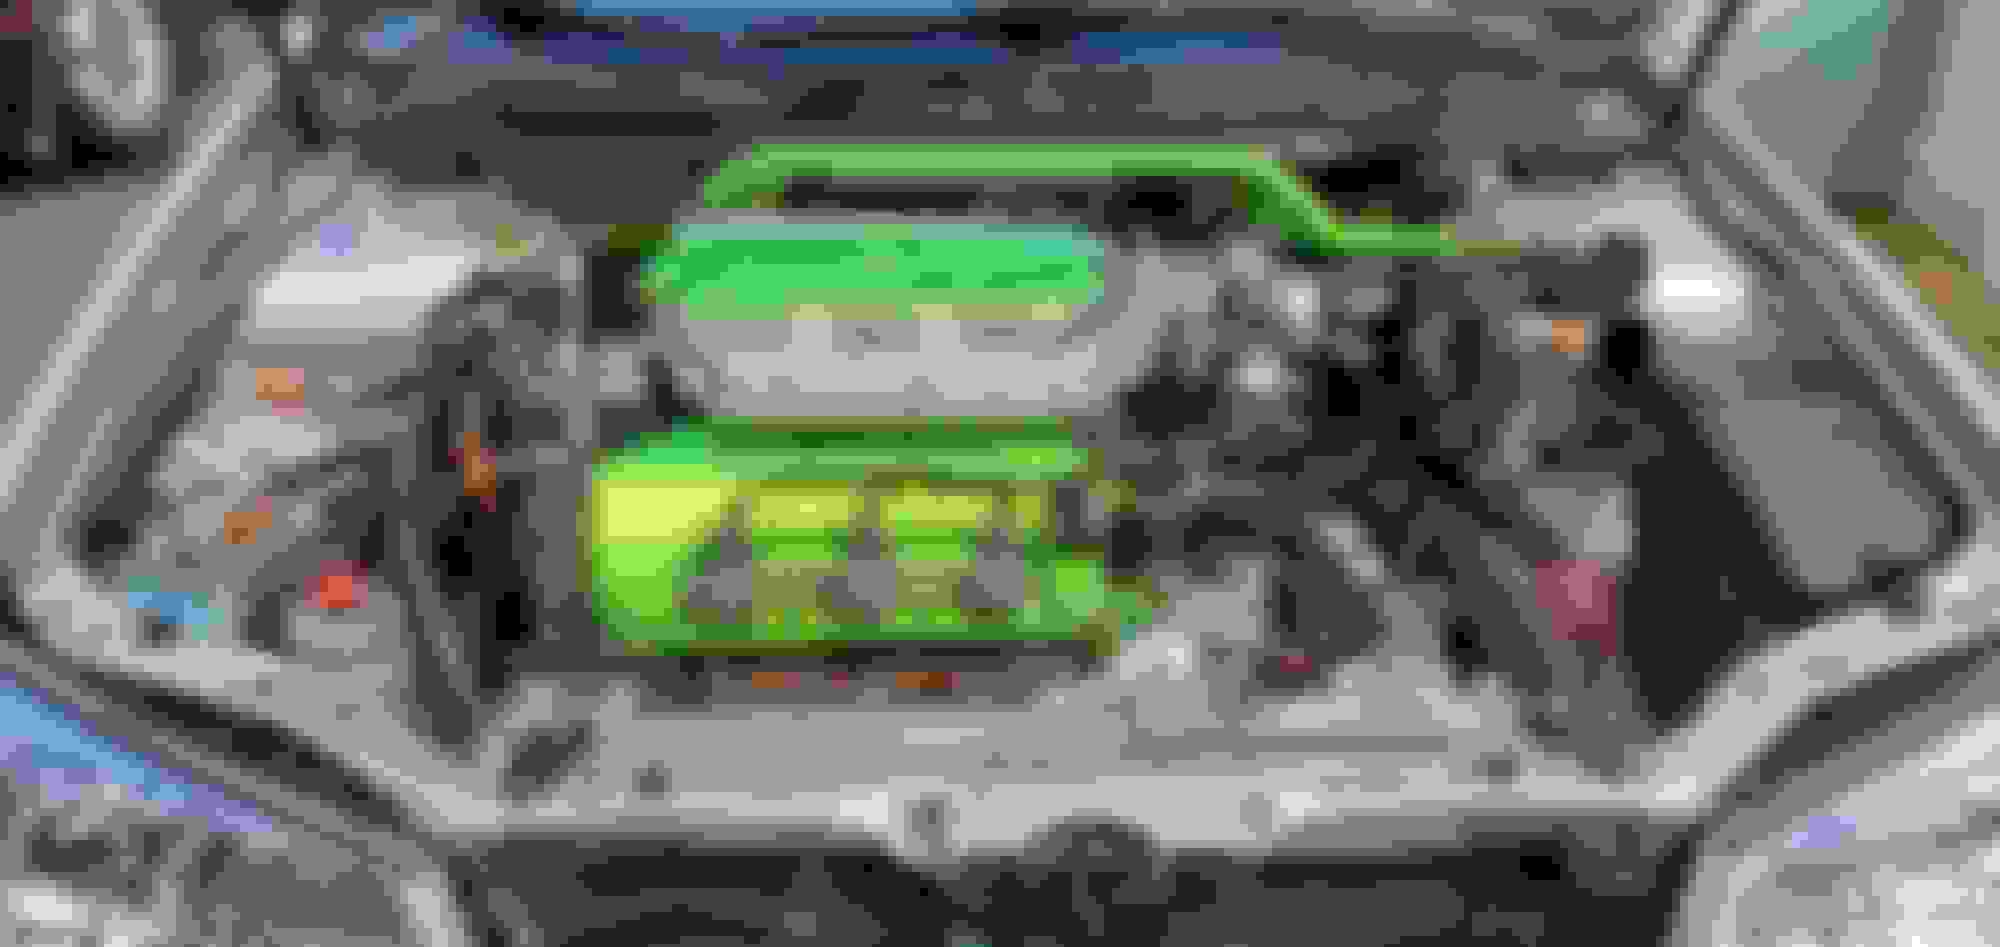
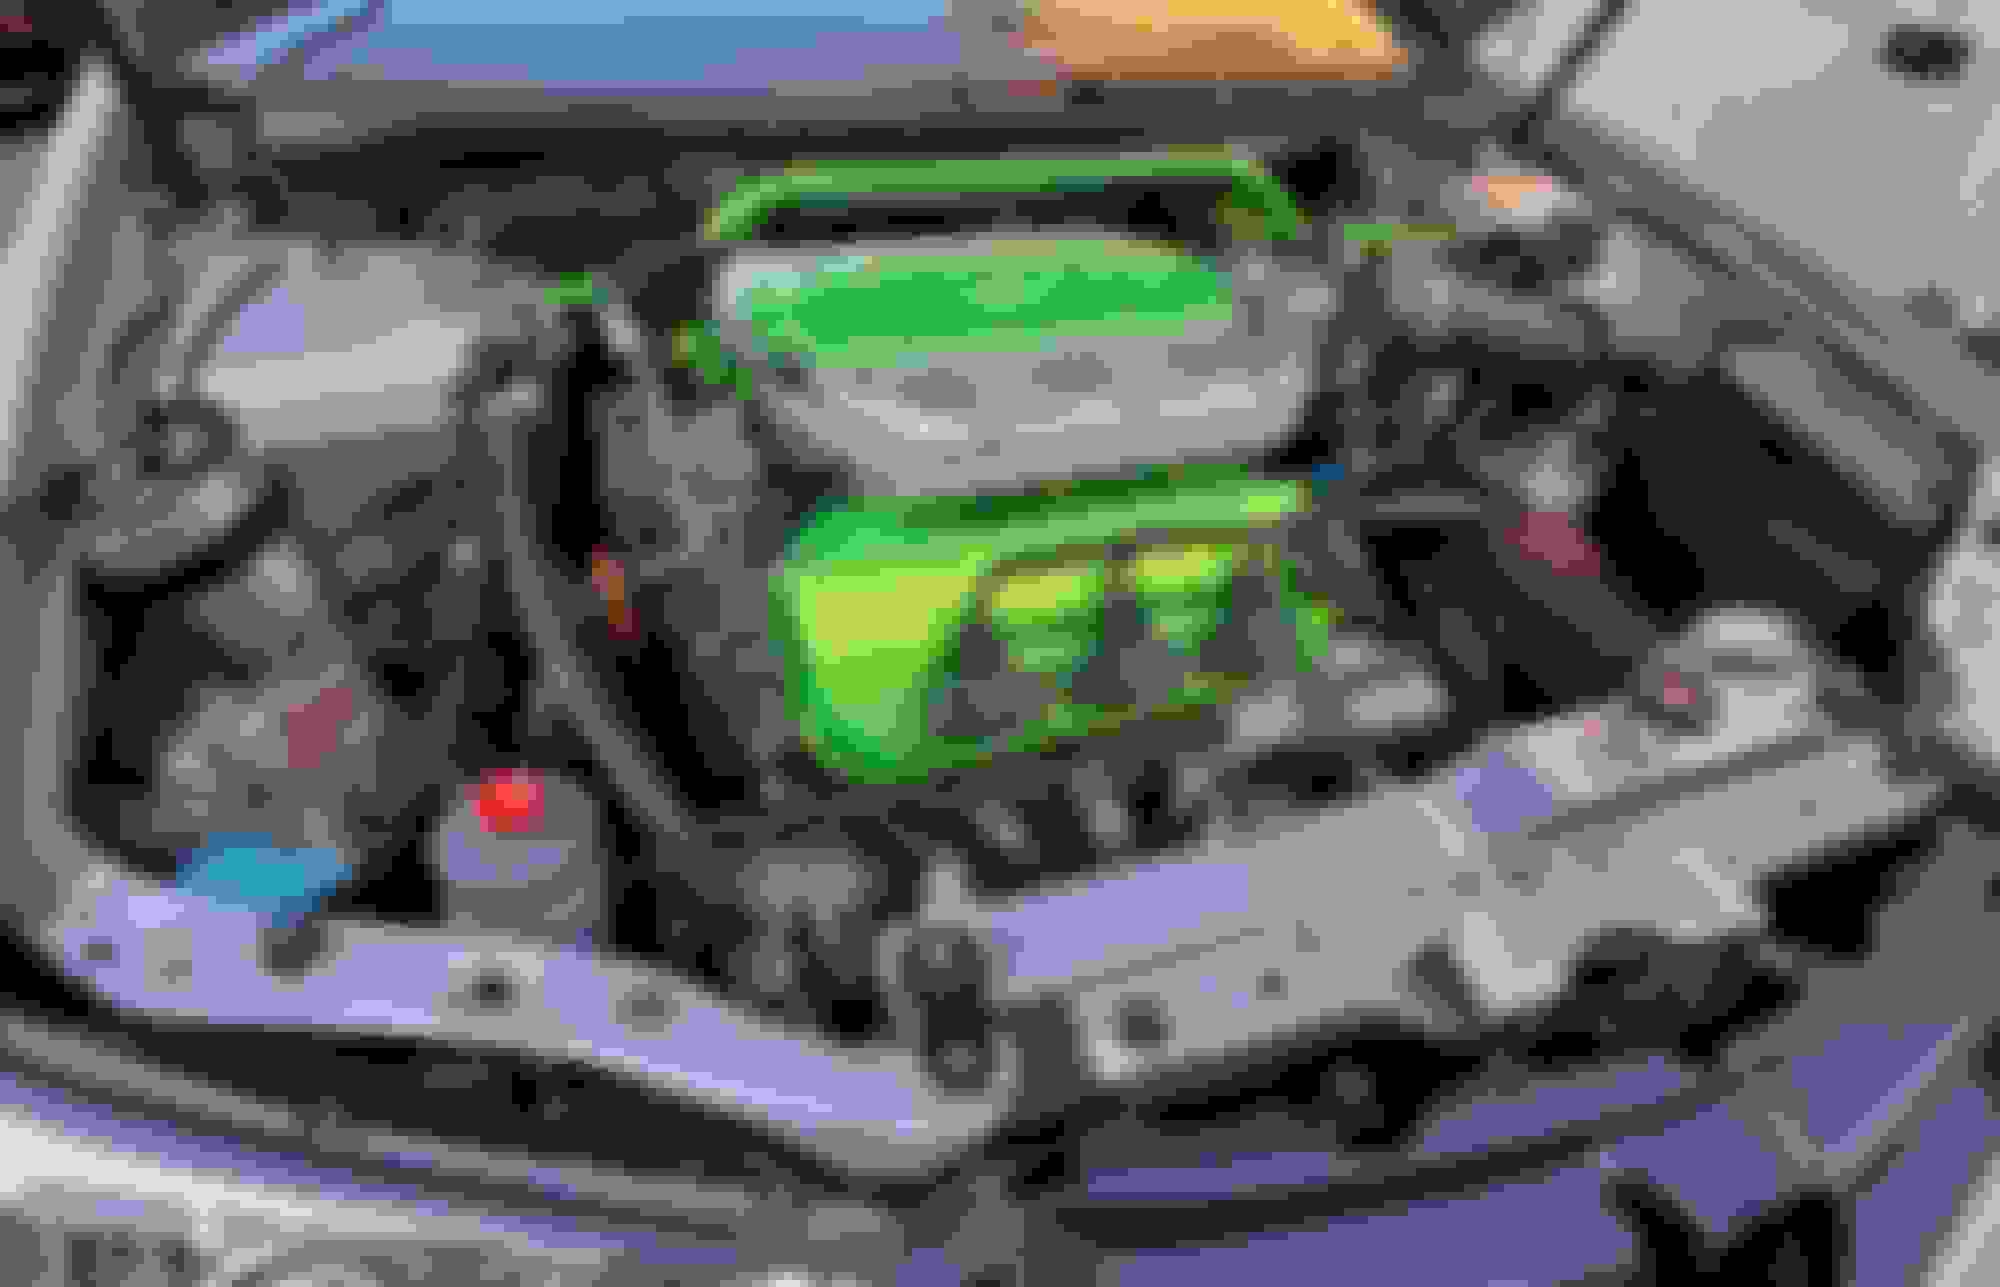
Took some time and fabbed up a fitting for the radiator coolant sensor to fit the s2k radiator. Added some coolant and getting closer to getting this thing on the road.
^
Nice 'workaround' for the radiator sensor. It looks like you had to find an AN fitting?, with a right sized male side to fit the Rad. and also with enough size on the female end to tap the sensor size.
^
Nice 'workaround' for the radiator sensor. It looks like you had to find an AN fitting?, with a right sized male side to fit the Rad. and also with enough size on the female end to tap the sensor size.
Yessir 👍took forever to come up with a route that worked without welding onto the radiator. Thats was the next step, glad it finally worked out. Now to finish the exhaust, get a battery and the fab up some trans mounts
Yessir 👍took forever to come up with a route that worked without welding onto the radiator. Thats was the next step, glad it finally worked out. Now to finish the exhaust, get a battery and the fab up some trans mounts
I see that the CL-S6; #8 transmission mounting beam (50809-S3M-A00) has been discontinued.
Is that the issue you are running into? If so, what's the plan?
i have the beam. Im running innovative 75a mounts but some reason they raised the motor. I have 3/4 stainless steel spacers on the passenger mount to level it and have to come up some mounts to bolt to the subframe thatll reach the 03 cls 6mt trans beam.
I tried spacing the trans mounts but running into issues with it, so well just make something out of stainless steel and poly urethane. The 02 03 type s rear or if you want to call it the front subframe ( one that holds the rack/ nearest firewall) is different than the others.
Im not complaining though since my oilpan is raised up now 🤷♂️
Sick as build brother. Im towards the end of doing the 6speed swap on a 2nd gen tl type s in silver too!! Had a parts manual cl type s i ripped all the parts outta. In the process of rewiring the e connector for manaul ecu to auto dash harness. Clutch switch, how you wire that in to e connector??
Sick as build brother. Im towards the end of doing the 6speed swap on a 2nd gen tl type s in silver too!! Had a parts manual cl type s i ripped all the parts outta. In the process of rewiring the e connector for manaul ecu to auto dash harness. Clutch switch, how you wire that in to e connector??
Nice! Wired the wire from the e connector to clutch nss then the nss to ground
Sick i was gonna do the same. Didnt know if there was any other way. At least its not far from ecu. You get yours up and running yet?
Getting there, getting there. Need finish the full exhaust, ground the chassis for the battery relocation and get a battery. Well see if she starts then
Swt!! I actually just got done the wiring for the e connector. Easy breezy!! She starts!! Just gotta weld the exhaust and redo audio. Cant wait to drive it. Cant wait to see yours up and running. 6speed ftw
Swt!! I actually just got done the wiring for the e connector. Easy breezy!! She starts!! Just gotta weld the exhaust and redo audio. Cant wait to drive it. Cant wait to see yours up and running. 6speed ftw
That was fast 👍 yup cant wait to drive this car already, so close, almost ready
I do these jswaps iny sleep bro. Ive done j32 j35 j37 swaps on all types of v6 honda and acuras. I usta out j35a8 rl motors into mdxs. Mdx motors into cl and tls. And cl and tl motors into accords. Hahaha shit cake
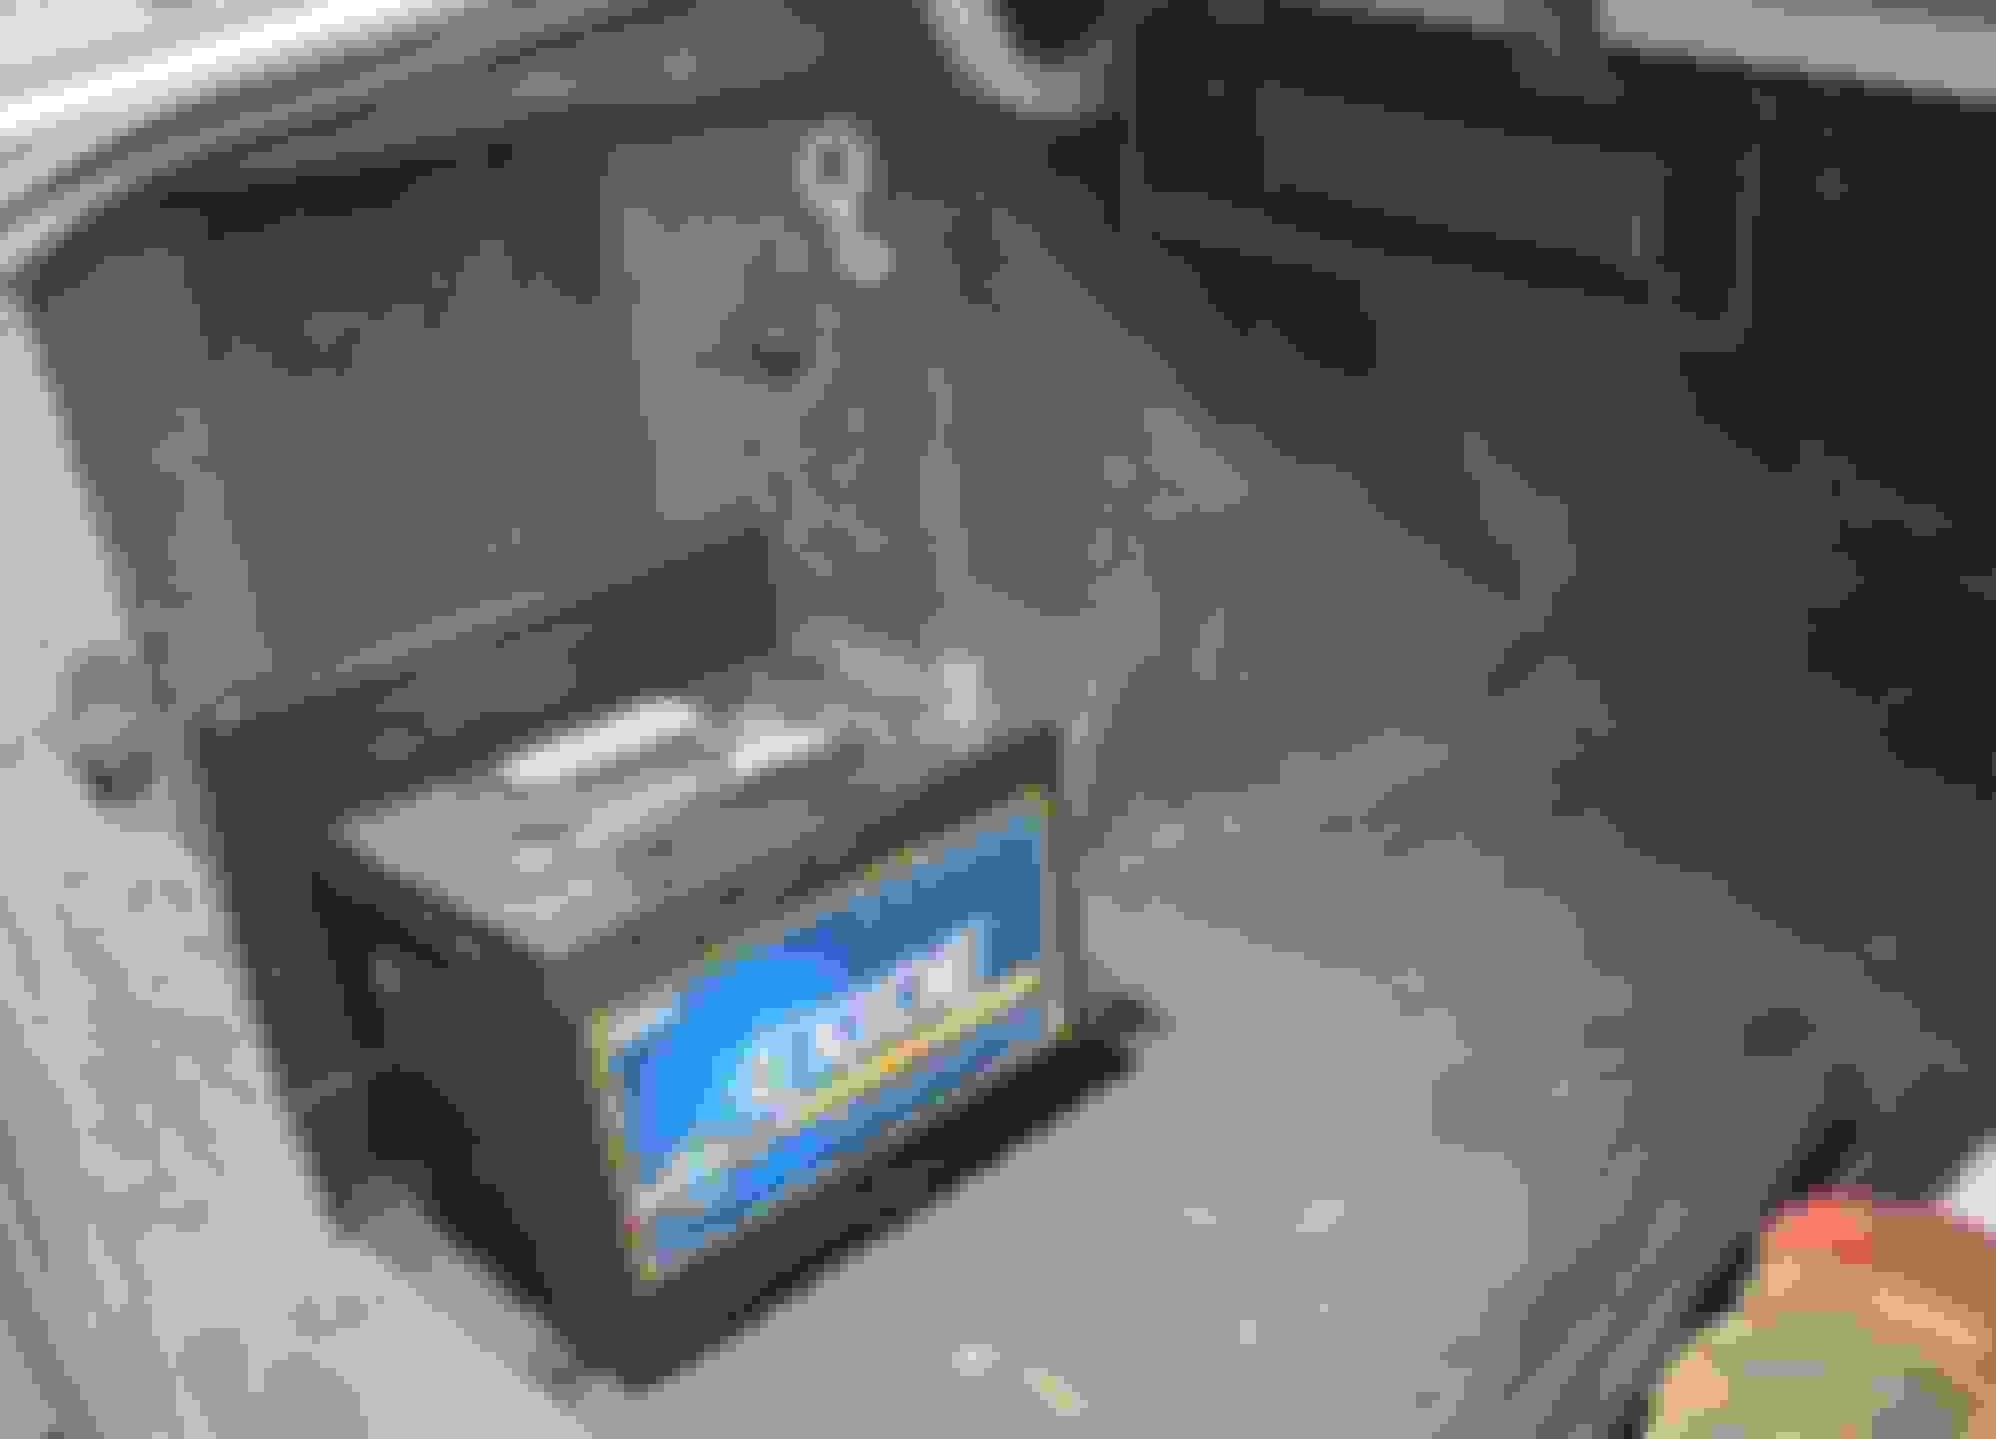
Had some free time the other day and was able to tighten down the motor mounts, install some interior trim pieces, bolt down the amp to the new amp tray and mount the battery in the trunk. Needing to order a new battery and i can finish wiring the amp, fuse holder and battery grounds. Exhaust and trans mounts are the main focus next.
Battery tray mounted Dead mockup battery "Like a glove!" all these rusted bolts and parts need to go
A question like this I bought myself an Acura CL Type S 6 speed manual I'm in the process on stripping it, I want to put it all in an Acura TL 2000, things I would like to know is mostly about the wiring harness especially in the dash I know that the harness underneath the hood have to be swap over but can the dash be avoided or I have to do it as well.
I know that the cl has extra engine mounts mostly on the transmission but I see that you use the automatic transmission mounts, I am mostly referencing number 15 and 14 like parts, do I have to put those back or I'm better off using the engine mounts for the automatic transmission?
I didnt have to replace any wire harnesses except engine harness. But we have a type s. I used a manual engine harness, motor, ecu. Manual ecu has 3 connectors. 2 of them come from the engine harness. The third is called the "e" connector. All you gotta do is wire the dash harness to this e connector harness you can buy. Got mines from the person who started this thread ua5_6spd. Not sure where he got it. Ill see if i can post pinouts of each connector. They're on the forum in other threads as well.
I know that the cl has extra engine mounts mostly on the transmission but I see that you use the automatic transmission mounts, I am mostly referencing number 15 and 14 like parts, do I have to put those back or I'm better off using the engine mounts for the automatic transmission?
If you are concerned about or want to use the front and rear damper assemblies and their connection points on the beams, why not just transfer the CL-S6 front and rear beams, while you are there, along with the engine? They look as if they should bolt to your 00 TL.
If you are concerned about or want to use the front and rear damper assemblies and their connection points on the beams, why not just transfer the CL-S6 front and rear beams, while you are there, along with the engine? They look as if they should bolt to your 00 TL.
Cl front subframe should fit 00 tl. That could work. I run it without it
He should also take the driver side (left) parking brake wire from his CL-S6 parts car and transfer it to the 00TL. Or source the S2000 Joint Bolt UA5_6MT recommends, shown above, because he will run into the same problem I did converting my auto CL-S to a manual parking brake assembly. The CL-S PB Joint Bolt and the left 00TL PB wire are shorter (Karanx7's post above) and can lead to connecting / adjustment problems for the parking brakes.
This has been a fascinating thread to follow. Thank you OP for documenting everything, which is definitely a lot of work on top of what you're already doing.
I have a soft spot for the 2G, as its what brought me to AZ in the first place.
I smile knowing that you and others are keeping it alive
Cl front subframe should fit 00 tl. That could work. I run it without it
I know I would be able to probably reuse part 11 but there's no chance for me to reuse part number 1, part is completely rotted out on the passenger side
Please tell me uour fitment specs. It�s exactly how i want mine.. maybe just a TINY but more camber, but urs looks amazing. I jus grabbed a 02 Tl type S with 193k for $200, and its CLEAN so im ready for upgrades.. also any help with finding a oem lip kit?
This has been a fascinating thread to follow. Thank you OP for documenting everything, which is definitely a lot of work on top of what you're already doing.
I have a soft spot for the 2G, as its what brought me to AZ in the first place.
I smile knowing that you and others are keeping it alive
Just trying to keep things alive on the forums, it seems like all the Facebook groups post non stop misinformation. The 2g is timeless, looks really good when done up nicely.
Please tell me uour fitment specs. It�s exactly how i want mine.. maybe just a TINY but more camber, but urs looks amazing. I jus grabbed a 02 Tl type S with 193k for $200, and its CLEAN so im ready for upgrades.. also any help with finding a oem lip kit?
Had some time to fix the coolant temp sensor in the radiator, the rubber seal cracked and leaked some coolant over the week. 🤷♂️
Also added some 3m gortex breathers to the headlights, rolled and pulled the rear quarters, ran the rest of the wires for the battery and wired up the amp. Installed the grille also. I need to get a bunch of bumper and side skirt clips and bolts.
Also installed an integra coolant overflow bracket on yhe frame rail with some rivnuts but didnt get install photos. Need to get a hose for the radiator to overflow
A question like this I bought myself an Acura CL Type S 6 speed manual I'm in the process on stripping it, I want to put it all in an Acura TL 2000, things I would like to know is mostly about the wiring harness especially in the dash I know that the harness underneath the hood have to be swap over but can the dash be avoided or I have to do it as well.
I know that the cl has extra engine mounts mostly on the transmission but I see that you use the automatic transmission mounts, I am mostly referencing number 15 and 14 like parts, do I have to put those back or I'm better off using the engine mounts for the automatic transmission?
15 and 14
Build your own jumper harness to run the manual ecu.
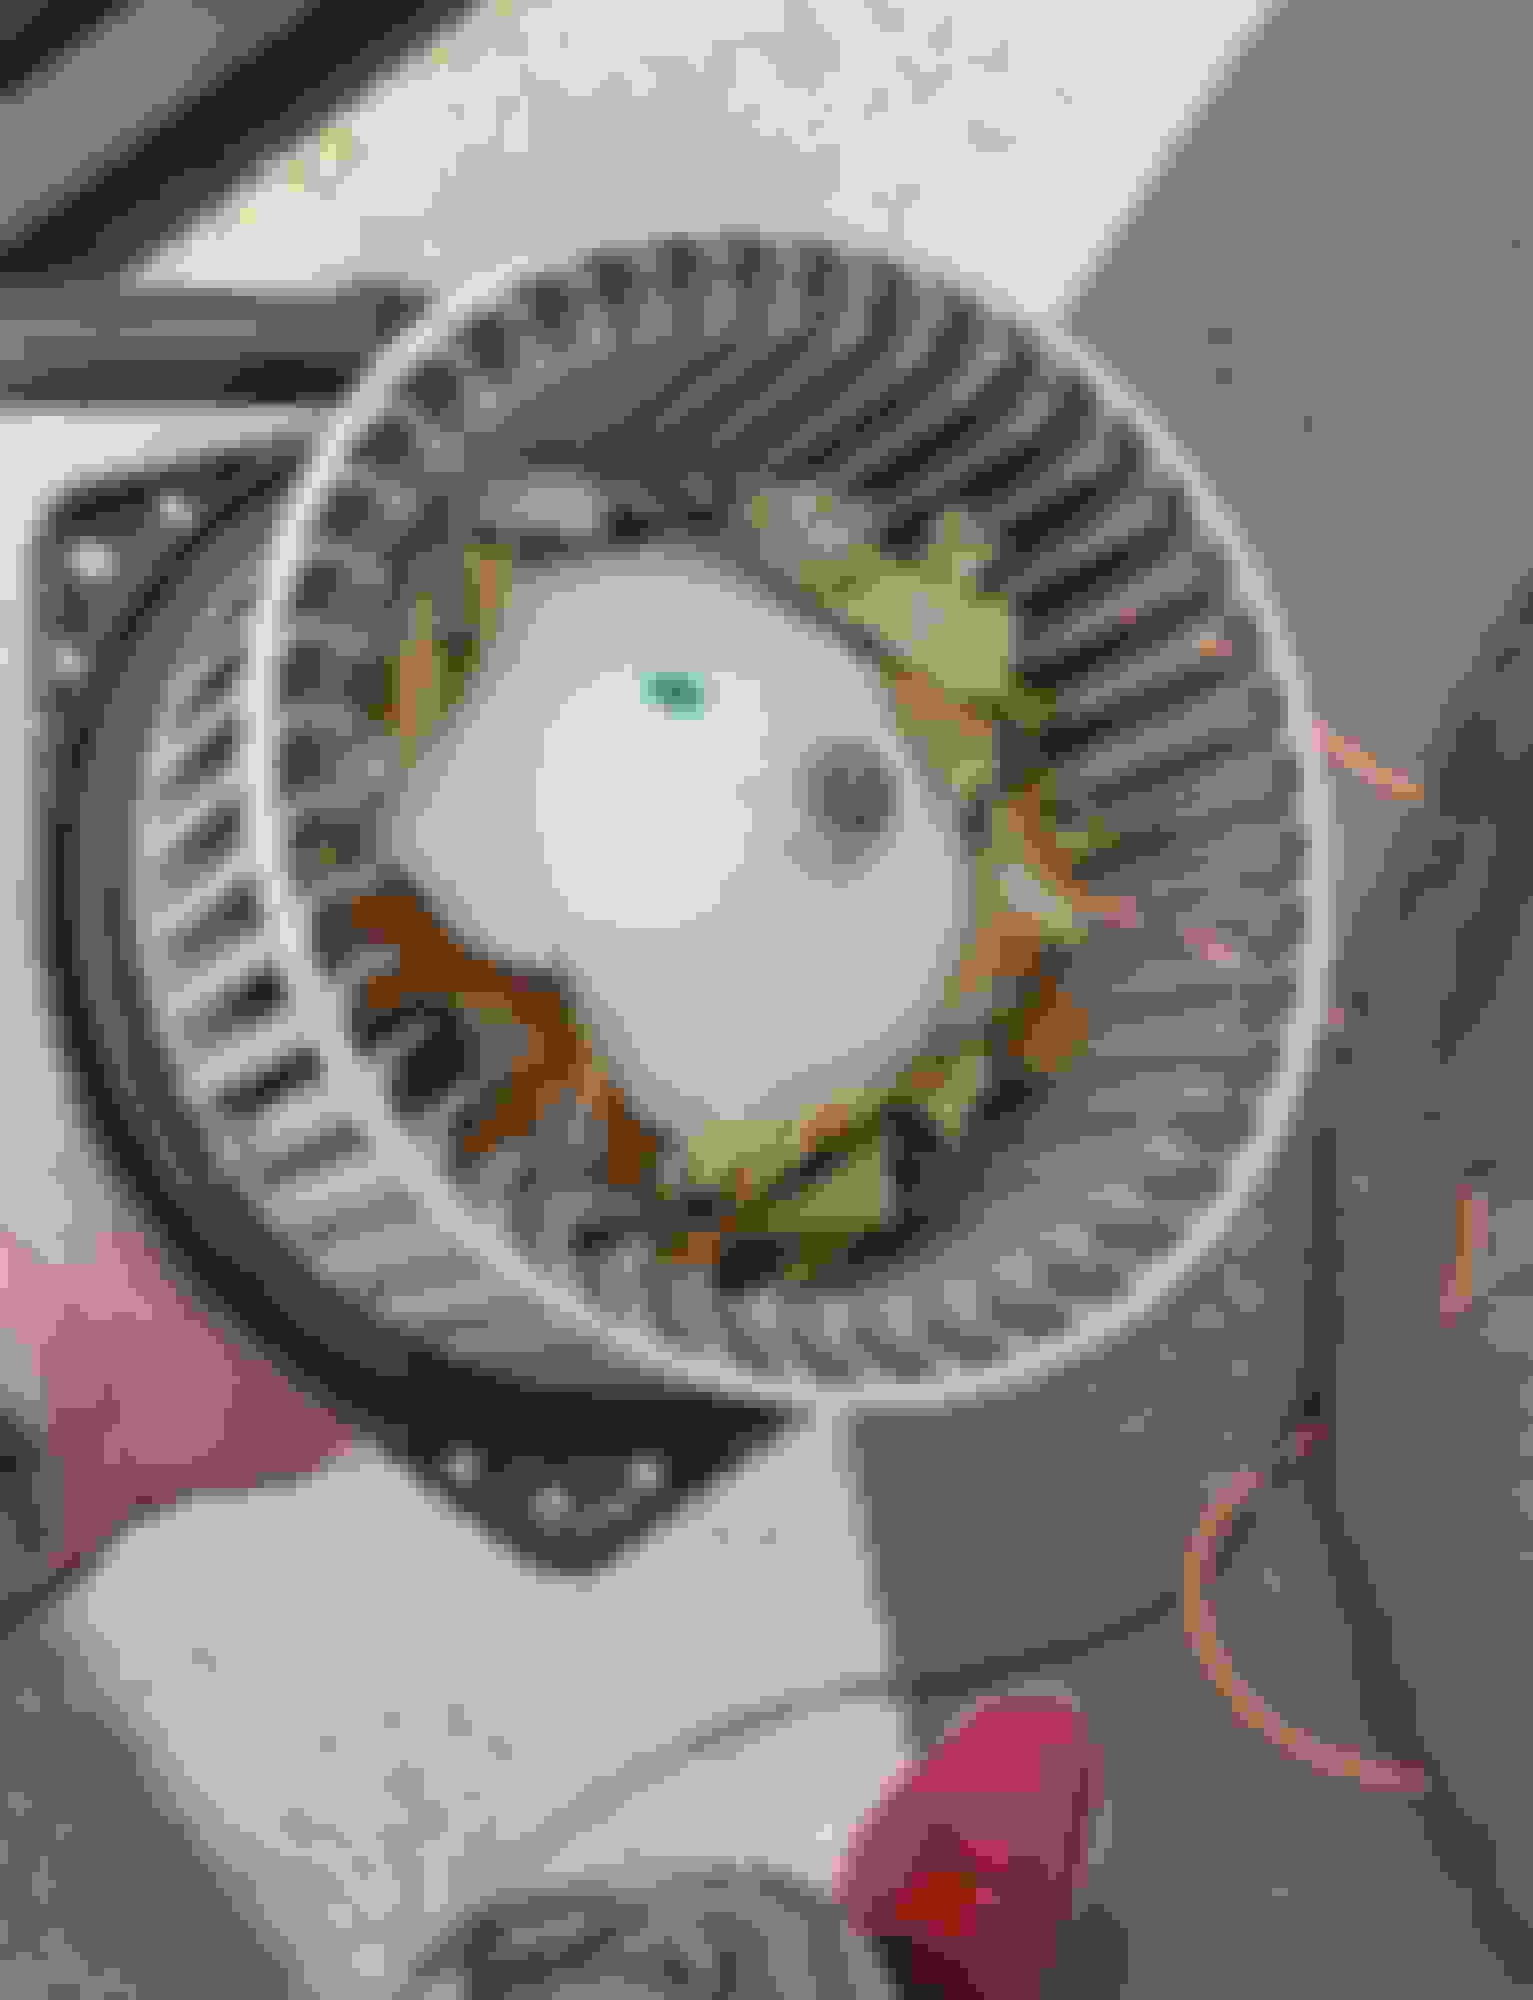
Alittle more progress. Bled the clutch, changed the oil and filter, finished the battery cables and installed the fuses. Leveled out the headlight cutoffs, theyll need to be readjusted once the car is on the road. Tested the electrical system to see what works and found out i need to swap a wire on the clutch nss switch, also must have cut the remote amp wire behind the headunit. Blower motor sounds like it has a playing card flapping around in there.
Battery terminal boots ANL fuses installed Temporary battery, will be going with an AGM Odyssey battery Headlights adjusted
Finally got some time to do a little to the tl. Pulled the cabin filters and blower motor to remove a bunch of debris, also pulled the wiper cowl / wiper motor assembly to clean all the leaves from the cowl area.
Had a buddy give me a hand when he had time to tack up my exhaust system. Now i need to get the exhaust fully welded.
Got the car running just cant post an mp4 video of it. Still more to do. Definitely coming along.
Looking good! Seems like it's really starting to come together.
Thanks! Its getting there, cant wait to drive it. Might need to get a new trans crank sensor, threw a code for it. Got a part number for the rsx one somewhere. Going to clear the codes and see if it comes back first
Thank you for taking the time to document your build! I am thoroughly enjoying the thread. Good luck with the rest of the build.
Just trying to keep the forums alive and helping people out. Always good to document when you can. Youd be surprised the slightest thing might help someone out 👍

 04-28-2020, 10:33 PM