When you click on links to various merchants on this site and make a purchase, this can result in this site earning a commission. Affiliate programs and affiliations include, but are not limited to, the eBay Partner Network.
So I attempted to do the lower control arms today and failed miserably. I was able to unbolt and disconnect everything except for the lower ball joint. Come to find out after a couple of hours of trying, the ball joint separator I used to separate the upper control arm ball joint is too small. The gap is not large/wide enough to fit it around the ball joint. So, I tried hammering it, but after a few swings, I missed and ended up hitting my leg, so I decided to delay this installation until I find a ball joint separator large enough to fit. Anyhow, onto the upper control arm DIY.
I drove the car today and I definitely feel the RL drives smoother. Going over bumps and potholes, it seems like the RL can absorb the road better, and it's tighter as it should be. For reference, the old ball joint could be moved with my hand, but I cannot move the new ball joint even with two hands. Less play = better handling.
Parts used: Beck Arnley from RockAuto.
$85 Upper Left 1027605
$85 Upper Right 1027605
Tools used: 14mm, 17mm, 19, 22mm sockets, 14mm combination flex head wrench, penetrating fluid, jack and jack stands, 3/8 torque wrench, 1/2 and 3/8 drives, 1/2 torque wrench, flat head screwdriver, 1/2 drive break bar if you do not have power tool.
Procedure:
1. Ensure car is parked on a flat surface, apply e-brake, and jack car up from the front. If you do not have power tools, then you'd need to break the lug nuts on the car prior to jacking the car up. Once car is high enough, place the jack stands on the passenger and driver side jacking points. Lower jack to allow the car to sit on the jack stands. Once on jack, I used my impact and 22mm deep socket to remove the lug nuts.
2. Remove the wheel sensor bracket by using a flat head screw driver to pry it open. Be careful not to break the plastic tabs.
3. Remove cotter pin from the castle nut of the ball joint
4. Then I used my 1/2 impact driver w/ 19mm socket to remove the castle nut from ball joint, but you could use a breaker bar and 1/2 ratchet to achieve the same result. Once removed, flip the castle nut and install it backward until the washer end is horizontal with the ball joint bolt. Then use the ball joint separator to pop open the ball joint from knuckle.
5. Now we need to remove the 14mm bolts on the side each side of the control arm, but we need to lower the strut in order to have the space.
6. Remove the nuts (there are 6) with a 14mm socket and ratchet on the top of the damper by opening up the hood and remove the plastic cover.
7. Now navigate to the bottom of the damper and remove the damper mounting nut and bolt that connects it to the lower control arm. Use a 17mm wrench to hold one end from spinning and another 17mm socket and ratchet to unbolt it from the opposite end.
8. Now that the damper is loosened, push the damper down to make space or you could remove it out of sight. Up to you, but I choose to keep it there.
9. Now w/ clearance, use a 14mm combination wrench to remove the upper arm mounting bolts and nuts.
10. Remove the upper control arm
11. Reverse order for installation. However, in order for you to get the ball joint into the knuckle, you will need to use a jack to jack up the knuckle. Lastly, do not remove the jack once the ball joint bolt is in the knuckle hole, as you want to load up the suspension before you torque everything down to spec listed below.
Notes: Be sure to remove the dust cap from the ball joint of the new upper control arm prior to installing.
Torque specs: upper arm mounting bolts are 23 ft lb but it is not possible to use a torque wrench. Tighten it down snug should be good. Castle nut should be torqued to 43-51 ft lb. Damper fork nut of the strut is 47 ft lb. and the upper strut nuts is 25 ft lb.
I realized I didnt do that the first time, but i did that a couple of tries later and it did not work. Thanks for the tip, it validates my assumption that I do need to unbolt those two bolts.
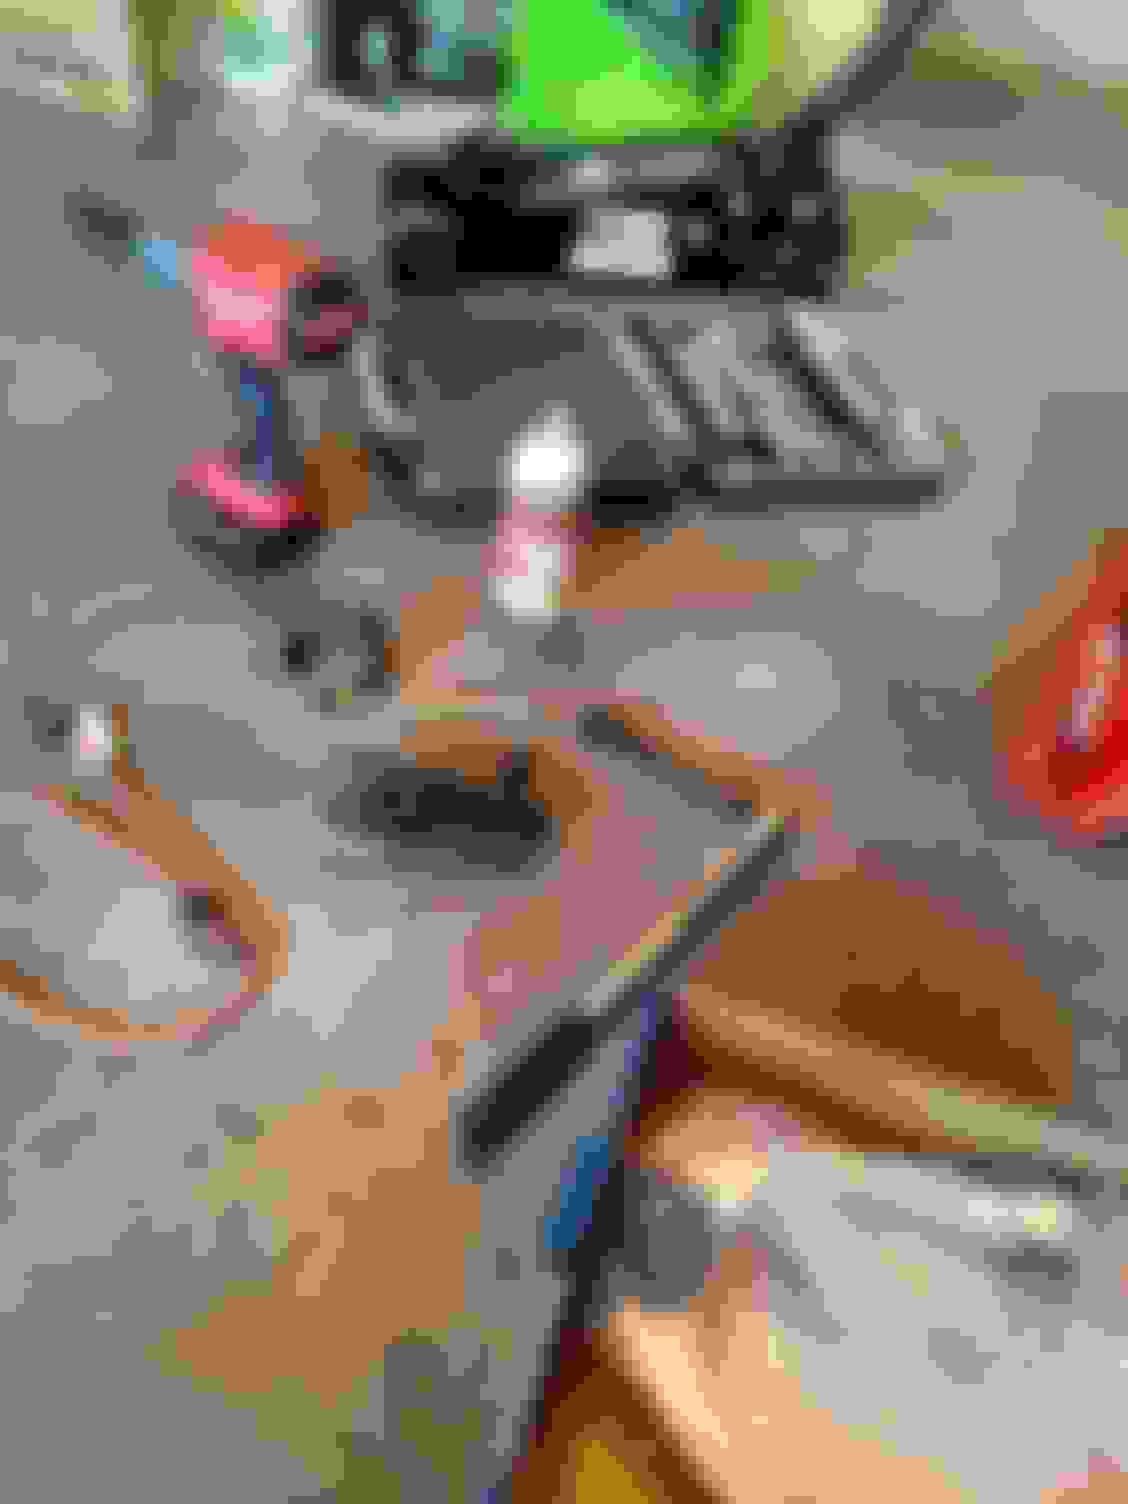
I couldnt separate it from the knuckle. See below. The ball joint separator mouth is too small. Any ideas?
When I changed my lower control arms, I removed the entire lower control arm and the bracket and i had to use a shop press to separate the ball joint from the lower control arm bracket. It didn't pop out until about 8,000lbs was applied. I did this on both RLs I've owned. I actually broke a ball joint remover tool trying to separate the ball joint from the lower arm bracket, use a shop press. You may have to take the lower arms w ball joint somewhere and borrow or pay someone to pop them off.
^ thanks jmzb! That's a lot of pressure to get the bracket off! I'll take your advice and will take the whole arm off and perhaps cut off the ball joint boot and blast penetrating fluid in between the bracket and ball joint..and use the ball joint separator in addition to using a larger hammer to hit the bracket..If that doesn't work I'll take it to a shop like you've suggested.
So since the ball joint is built into the control arm and you are replacing the whole arm - why do you remove the ball joint? Wouldnt the old arm get pulled with the old ball joint, then the new arm installed with the new joint just like that? Genuinely curious, im still new in the mechanic world lol
hah, air chisel would be nice to have, but i don't own one.
nick - you are correct that the ball joint is built into the lower control arm. however, you'd need to pop the ball joint from the knuckle holder bracket that the ball joint is bolted to or else you cannot remove the lower control arm.
by the way, I have been driving the RL for a few days now, and the ride is noticeably better..the car absorbs bumpy roads so much better than before. I love how it drives. for $170 total for new upper control arms, it is totally worth it...so easy to install too..if you have 120k+ and plan to keep.the car, do yourself a favor and replace the upper arms. Can't wait to get my lower arms installed.
So glad I saw this thread. I was planning on replacing all 4 corners of struts/shocks in the very near future with my 08 now being at 103k. I didn't realize that it's recommended to replace both control arms as well? That certainly adds some significant cost to the project.
hah, air chisel would be nice to have, but i don't own one.
nick - you are correct that the ball joint is built into the lower control arm. however, you'd need to pop the ball joint from the knuckle holder bracket that the ball joint is bolted to or else you cannot remove the lower control arm.
by the way, I have been driving the RL for a few days now, and the ride is noticeably better..the car absorbs bumpy roads so much better than before. I love how it drives. for $170 total for new upper control arms, it is totally worth it...so easy to install too..if you have 120k+ and plan to keep.the car, do yourself a favor and replace the upper arms. Can't wait to get my lower arms installed.
ahhh yes ok that makes sense. So i assume you need a larger ball joint separator for the lowers? Thanks for kind of, revitalizing the DIY part of the forum for us. You and Projekt have some killer DIY tuts lately - im glad to know im not the only one left trying to keep my RL around for a long ass time
Last edited by nickelrw87; 02-24-2018 at 07:33 PM.
Reason: names
So glad I saw this thread. I was planning on replacing all 4 corners of struts/shocks in the very near future with my 08 now being at 103k. I didn't realize that it's recommended to replace both control arms as well? That certainly adds some significant cost to the project.
I have replaced all four shocks, tires, and now upper control arms. I have lower control arms but as mentioned above, I have not yet been able to install them. At 115k I was noticing my RL's ride quality was not so great. The shocks although not leaking, had worn down to the point where the ride was a bit bouncy on the highways and over bumps. I replaced the shocks with OEM replacements and the ride quality improved. No longer bouncy but the car would make a large thud when going over road bumps. The new upper control arms reduced this thud noise, and has made the car very enjoyable to drive.
overall I'd summarize it as such:
- new shocks reduced bounciness of ride, especially when going over potholes, the new shocks help with reducing the jolt of energy you may feel on impact.
- new upper control arms reduced noise upon impact of road bumps and imperfections and increase smoothness of ride. It appears to glide over bumps. I can just tell the upper control arms make the suspension tighter, therefore reducing any movement which would have caused instability of ride. Like I've mentioned earlier, the ball joint of the old upper control arms had play and was easily moved with my hand, but the new ball joint of the new control arms could not be moved. When you have play in the ball joint and your RL drives over a bump, this will cause more movement of your suspension and therefore more noise.
- new tires (Pirelli P7 +) reduced noise and improved handling
- lower control arms - will report back when i get them installed
ahhh yes ok that makes sense. So i assume you need a larger ball joint separator for the lowers? Thanks for kind of, revitalizing the DIY part of the forum for us. You and Projekt have some killer DIY tuts lately - im glad to know im not the only one left trying to keep my RL around for a long ass time
I believe I need a larger ball joint separator, but it could very well be that the rubber boot of the ball joint was getting in the way, and so i will cut it open and try again. For lower control arm, you will need to remove all of the bolts circled below. You could remove the lower control arm w/o separating the ball joint from the knuckle holder bracket, but you will need to separate it once out in order to install the new lower control arm.
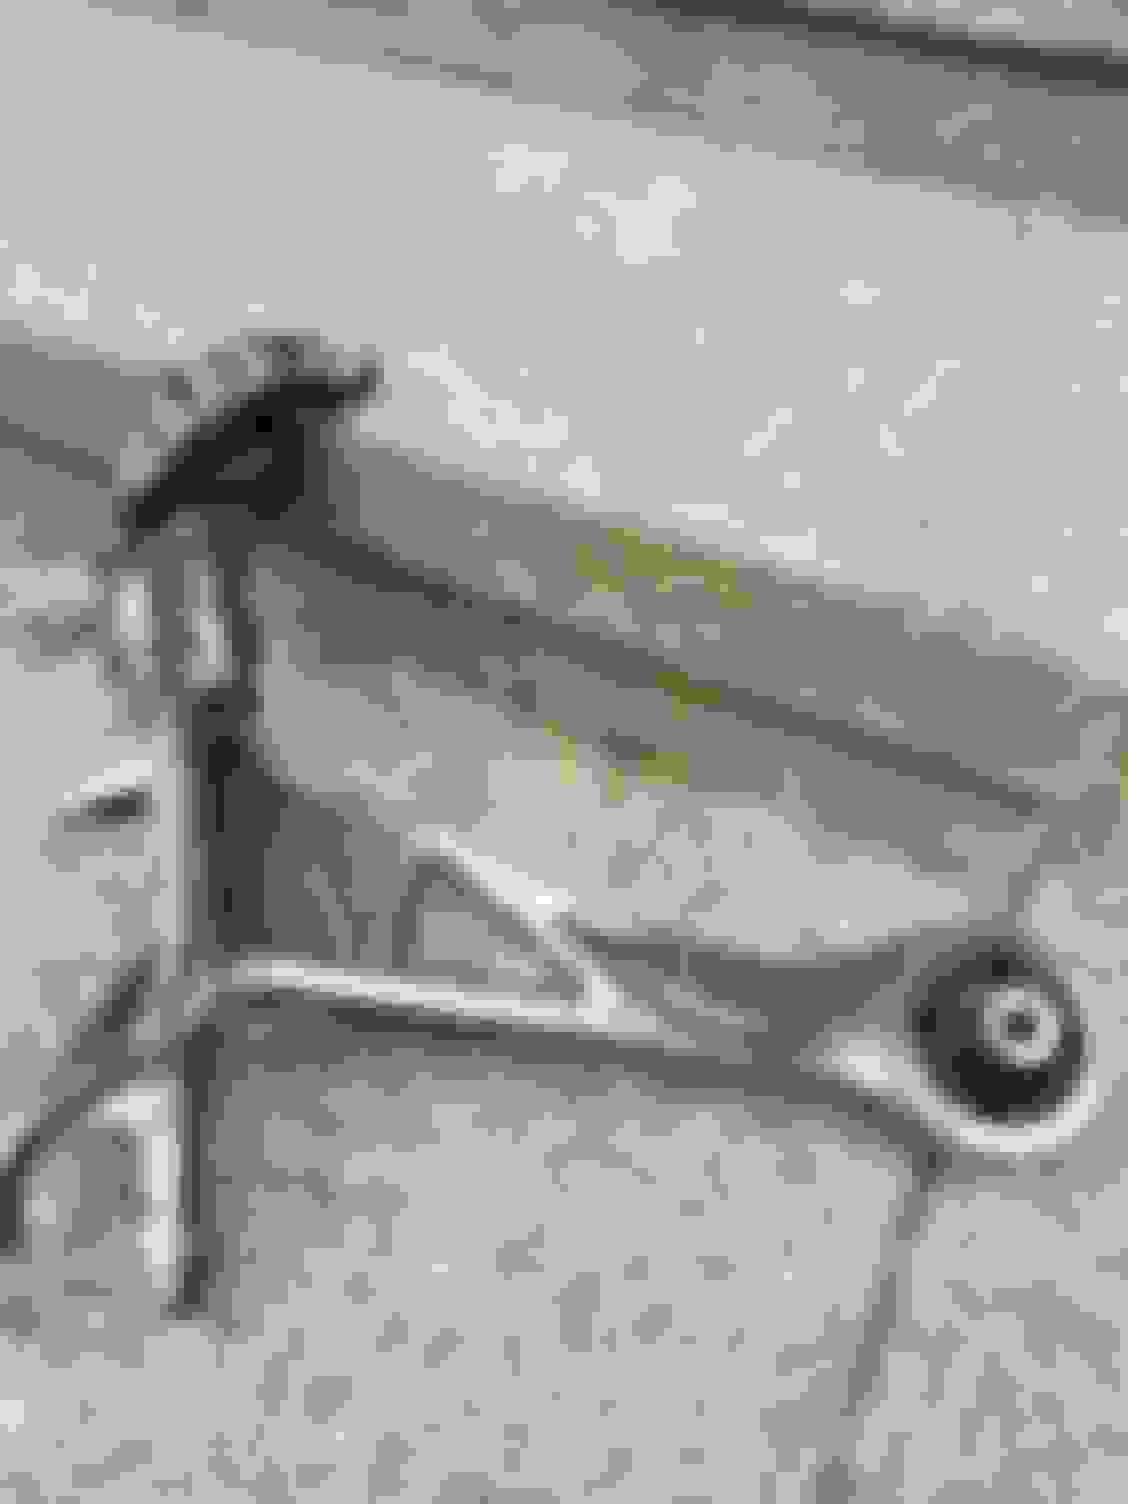
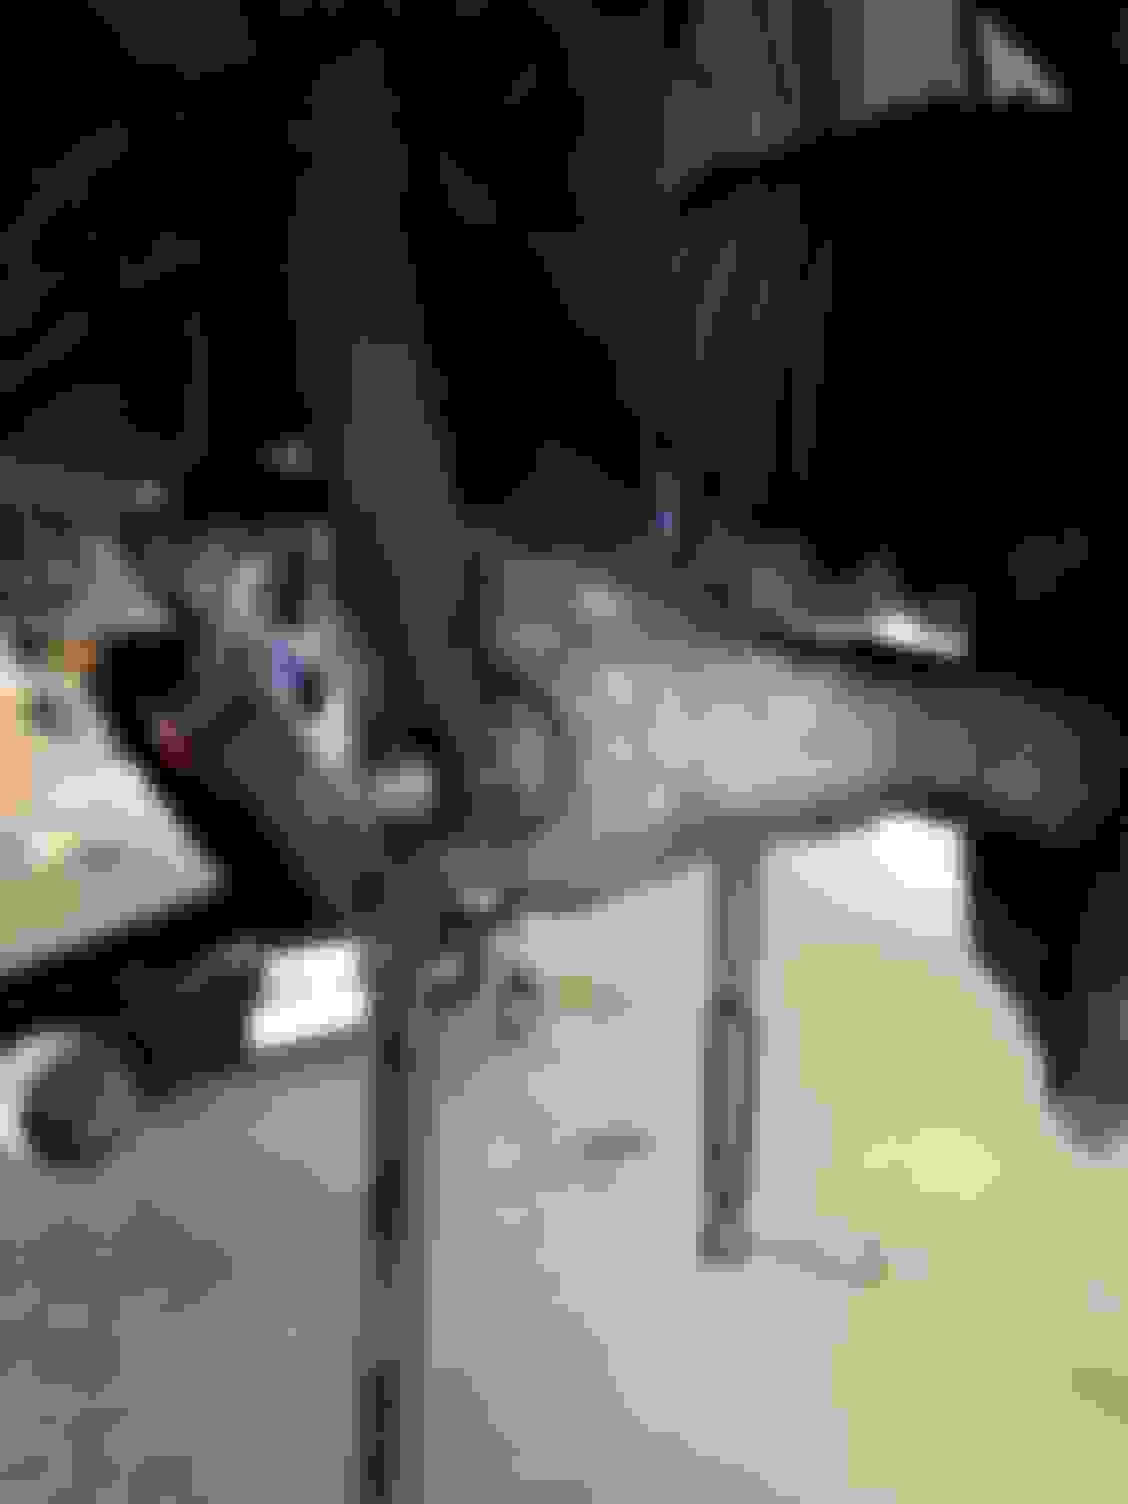
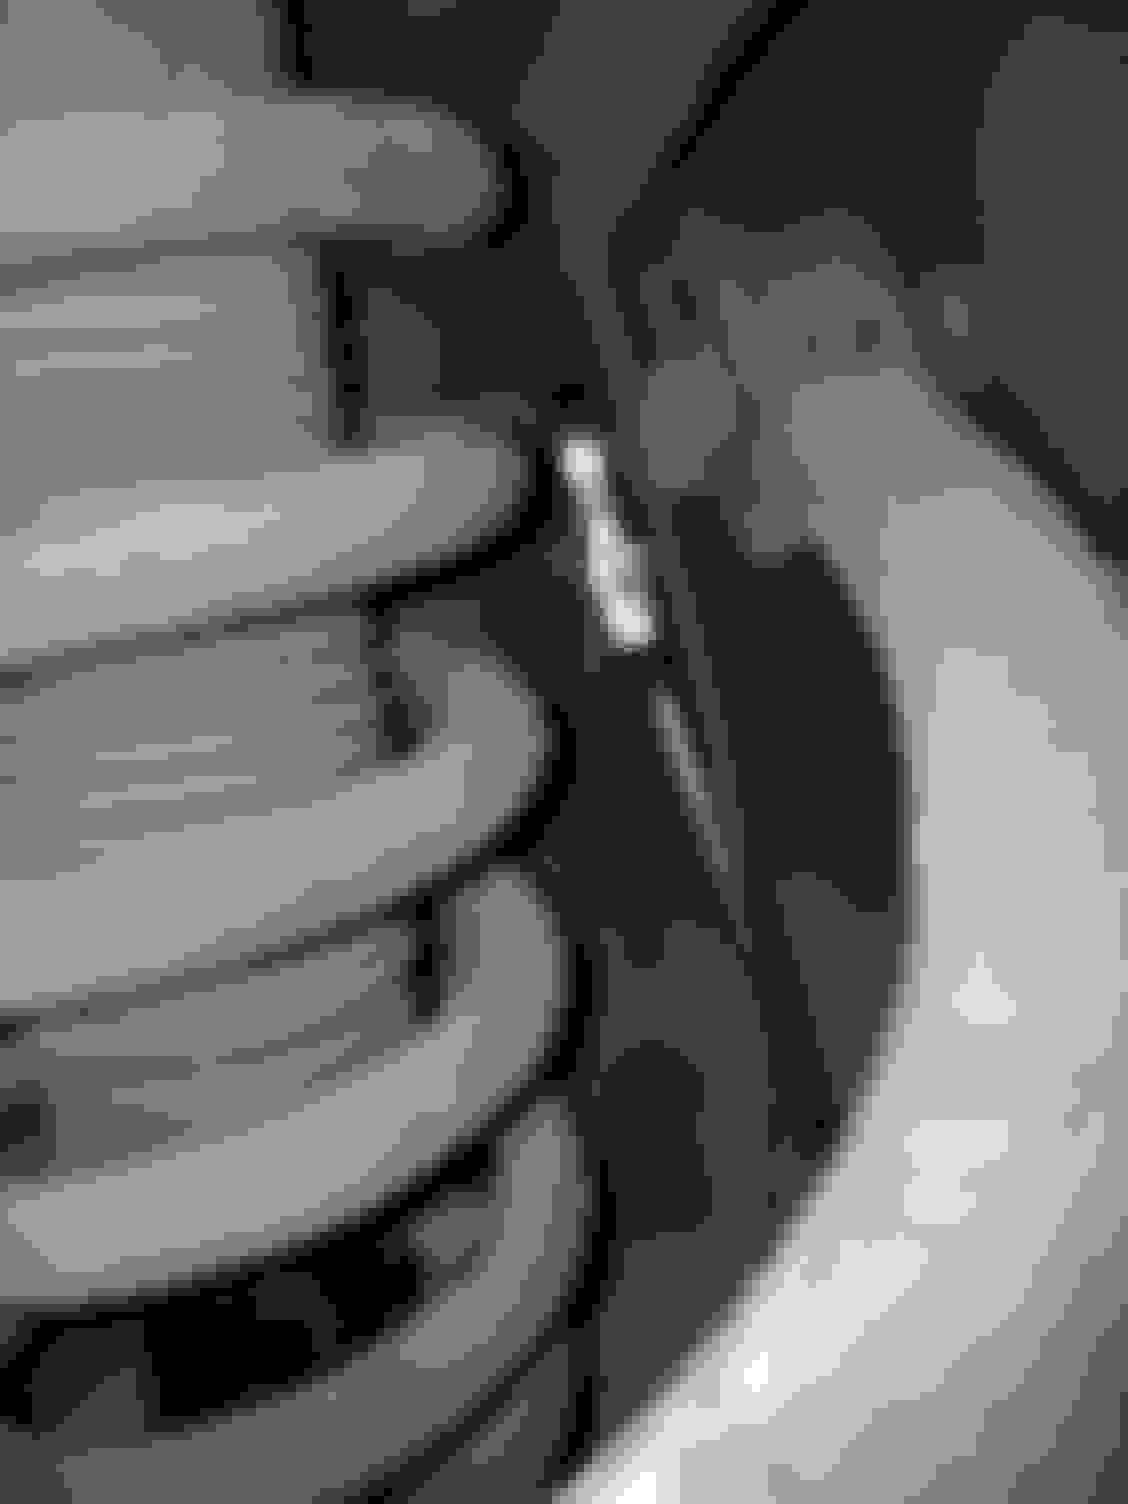
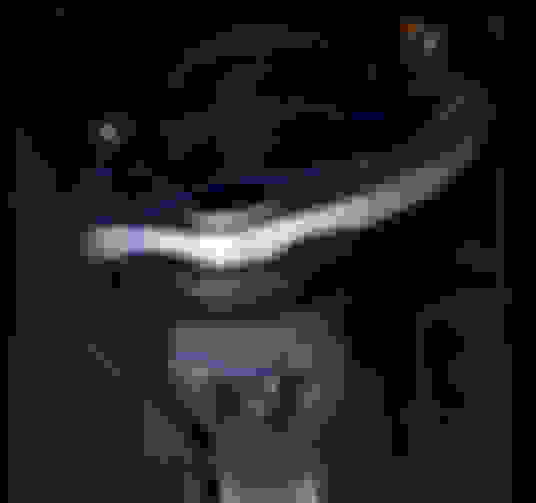
The upper control arms are really easy to remove and install folks. Here are more photos to aid you with the process. This is what it looks like out of the car. 14mm bolts at the two top where the bushings are. the smaller circles are for the wheel sensor bracket bolts to. Pry open with a flat head screw driver. Lastly, the bottom circle is the ball joint. This is what it looks like installed Ball joint separator tool used to pop open the upper control arm ball joint from the knuckle
HDNBenjamin did you replace the shocks with OEM? I am planning refresh my RL however OEM part kinda pricey. I think with upper/lower control arm along with shocks cost around $2100 for parts.
HDNBenjamin did you replace the shocks with OEM? I am planning refresh my RL however OEM part kinda pricey. I think with upper/lower control arm along with shocks cost around $2100 for parts.
Yup, I replaced with OEM shocks but if you don't want to spend that much coin KYB is the next best thing.
$690 OEM shocks
$386 BeckArnley for both front upper and lower control arms
total is $1,076 shipped. Do the install yourself. You can rent the ball joint separator and spring compressor from autozone for free!
Any idea why RockAuto no longer carries the right side upper control arm? I ordered the two lowers and the left upper, but I guess I'll have to get the Acura right upper.
Any idea why RockAuto no longer carries the right side upper control arm? I ordered the two lowers and the left upper, but I guess I'll have to get the Acura right upper.
RockAuto pulls the parts off their website when they are no longer in stock. When it is restocked it will be relisted. I'd just wait rather than spend more money on OEM.
Also, google the discount code..it is 5% off and usually covers the shipping costs.
so i changed both upper and lowe control arms for my 2005 acura rl , not sure where i messed up but when i finshed I lowered the car and it had extreme negative camber to a point where im afraid to even drive it ! I took the whole knuckle off for the proccess , also unbolted the shock... where did i go wrong ? Would a alignment fix this ? Sorry im not the best mechanic LOL
so i changed both upper and lowe control arms for my 2005 acura rl , not sure where i messed up but when i finshed I lowered the car and it had extreme negative camber to a point where im afraid to even drive it ! I took the whole knuckle off for the proccess , also unbolted the shock... where did i go wrong ? Would a alignment fix this ? Sorry im not the best mechanic LOL
Did you ensure that the suspension was preloaded prior to torqueing the bolts down? PM your email and I will send you the service procedure.
Just finished installing the lower control arms. Shout out to Teh CL for his advice of taking off the whole arm without separating the ball joint. The ball joint separator was definitely too small to fit. I unbolted the bracket holder bolts and nuts from the knuckle, took the whole arm out..and then used a hammer to hammer out the ball joint from the bracket. So if anyone struggle taking the ball joint off the bracket, take teh CL advice, by leaving the bracket on with the whole arm. remove arm and then use a hammer and hit it a few times on the ball joint bolt and it should come off.
I actually did my LCA today too. I'm honestly shocked you guys were able to get the bracket holder as easy as you guys did. My car doesn't see salt and we still had to use a 25 ton press AND a torch to heat everything up
I actually did my LCA today too. I'm honestly shocked you guys were able to get the bracket holder as easy as you guys did. My car doesn't see salt and we still had to use a 25 ton press AND a torch to heat everything up
I must have been lucky then lol. How does the car drive now? Worth the money?
Yup, I replaced with OEM shocks but if you don't want to spend that much coin KYB is the next best thing.
$690 OEM shocks
$386 BeckArnley for both front upper and lower control arms
total is $1,076 shipped. Do the install yourself. You can rent the ball joint separator and spring compressor from autozone for free!
Where did you get those front and rear shocks so cheap? Everywhere I looked the fronts are like $244 and rears are $150 and $180.
Also there are 2 different part numbers listed for rear shocks right and left and 2 different prices.
#005PartNo: 51605-SJA-A52SHOCK ABSORBER UNIT, R. FR. $244.26
#005PartNo: 52611-SJA-A52SHOCK ABSORBER UNIT, R. RR. $156.47
#006PartNo: 52612-SJA-A52SHOCK ABSORBER UNIT, L. RR. M $181.31
acuraoemparts .com make sure you put in promo code acurazine for 5% off.
acuraoemparts .com make sure you put in promo code acurazine for 5% off.
I have been there many times.
5% off is good and I would do that however the starting prices on the shocks you bought were much lower than what I am seeing listed.
Front shocks your price $183.33 my price $249.87
Rear Shocks your price $146.74 my price $158.61 and $178.79
I bought them on 8/7/2017 but just recently installed them a couple of months ago. I just looked and you are right, the prices are higher now. You could call them and ask why such a huge jump in price. It is pretty ridiculous to me.
According to his post he bought the parts less than 60 days ago. That's one hell of a jump!
Originally Posted by HDNBenjamin
I bought them on 8/7/2017 but just recently installed them a couple of months ago. I just looked and you are right, the prices are higher now. You could call them and ask why such a huge jump in price. It is pretty ridiculous to me.
the older the vehicle the part price keep increase, I think this because the stock more item for car that newer like 2010-2015 model. You can call them and ask for the price jump but don't expect they price match what HDNBenjamin paid.
 02-20-2018, 06:39 AM


 I will work on this Sunday. Ill take as much photos as possible to help you.