When you click on links to various merchants on this site and make a purchase, this can result in this site earning a commission. Affiliate programs and affiliations include, but are not limited to, the eBay Partner Network.
So my brand new valve covers came today, both front and back, and they come w/ brand new spark plug tube seals on them already. So, I no longer need the the spark plug seals I bought. Anyone want them for free? You pay for shipping?
So my brand new valve covers came today, both front and back, and they come w/ brand new spark plug tube seals on them already. So, I no longer need the the spark plug seals I bought. Anyone want them for free? You pay for shipping?
Took me 2.5 hours to do the adjustments. Overall, it is not a hard job except adjusting the rear cylinder exchaust valves due to limited space and clearance. Exhaust valves on cylinder 1 and 5 were extremely tight. I adjusted intakes to .008 to .009 and exhausts to .012 to .013. If the valves meet tolerance then i left them alone. I still need to put everything back but calling it a day for now.
Anyone know what part number the rear valve cover grommet is? I need to tramsfer them to my new cover but unable to. thanks
Is there a reason you are replacing those plastic parts? Their only job is to hold the wiring harness in place.
Yes, my new valve cover in the rear does not come with them. So, I must reuse the collars. I am having a difficult time removing them, do not want to use too much force and break the collars. I'll take a picture of the new valve covers for reference.
It may but I do not think so. I think this plastic thing like the OP suggested is to hold the engine harness in place
I took a photo of my new valve cover and old one, notice I need to transfer the collars over but they are so hardened I fear of breaking.
It may but I do not think so. I think this plastic thing like the OP suggested is to hold the engine harness in place
I took a photo of my new valve cover and old one, notice I need to transfer the collars over but they are so hardened I fear of breaking.
Honestly man, with those new covers, i would not remove these old thing and place them. I'd just go buy them new. They cost nothing right?
If you take a close and side pic of them in mean time, to see if it looks like those stem seals or not. the stem seals have like a coil around the diameter.
Honestly man, with those new covers, i would not remove these old thing and place them. I'd just go buy them new. They cost nothing right?
If you take a close and side pic of them in mean time, to see if it looks like those stem seals or not. the stem seals have like a coil around the diameter.
100% agreed, but for the life of me, I cannot find the part #.
I figured it out. After comparing the new valve cover to the old one, I see that these must have been attached by adhesive rather than screwed in. Previously, I used a plier to try to twist them off, this time I used a rubber mallet and hammered it off and it worked. I plan on applying Honda Bond to these onto the new cover..thank you everyone.
I'm glad you're giving this car the care it deserves
Love this car! Going to keep it as long as I can. Hoping to get at least 300k out of her so I do not mind spending money on maintenance. Lower insurance, tabs and other costs offsets buying a new car.
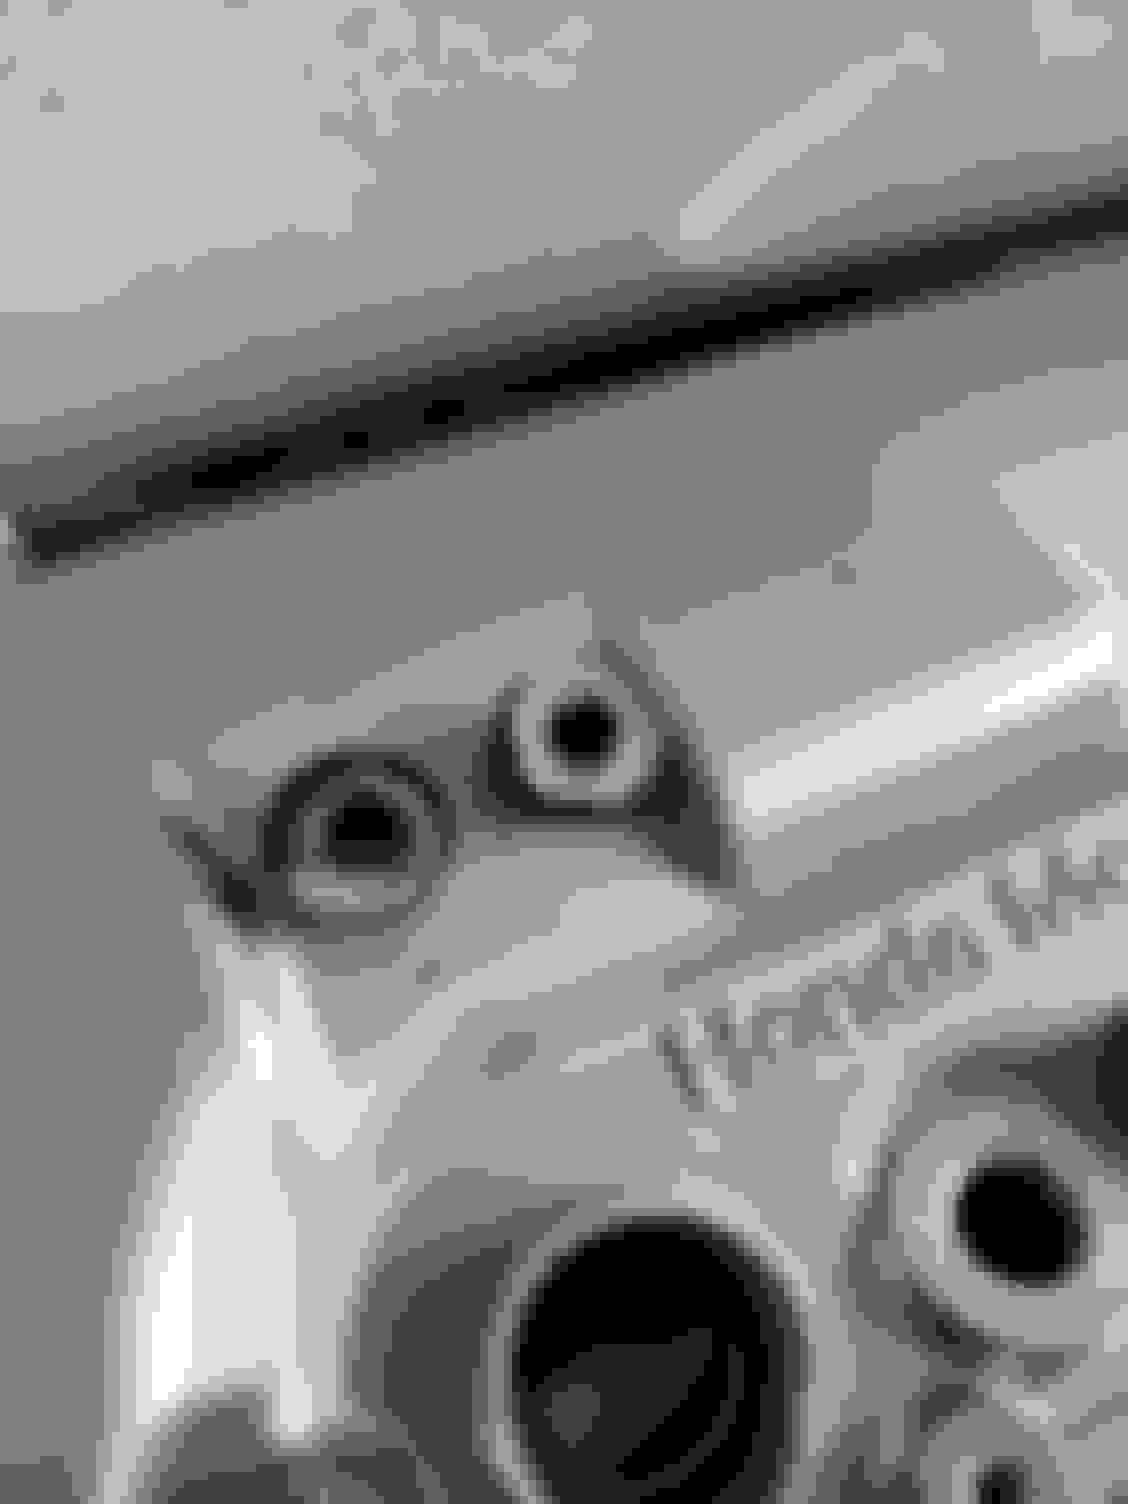
these two plastic collars i've circled. not sure how i can remove them.
Also, these collars or whatever theyre called is to prevent the harness from directly contacting the valve cover. It makes sense since heat can cause the harness to melt if in direct contact with metal.
I used some angle wire cutters to cut the rubber seals off the bolts. Using a knife or utility knife could cause a potential injury cutting the hard rubber. I used a dab of Napa Syl-glide to help ease the new seals of over the end of the bolts. It doesn't harm rubber and is high temperature.
I used some angle wire cutters to cut the rubber seals off the bolts. Using a knife or utility knife could cause a potential injury cutting the hard rubber. I used a dab of Napa Syl-glide to help ease the new seals of over the end of the bolts. It doesn't harm rubber and is high temperature.
great tip!
I finished the job today and took it for a spin. The car idles very quiet and it pulls hard like a brand new car. I am sure my previous issues with the sparkplugs burning off was due to valve 1 and 5 of the exhaust being too tight causing the car to run like crap.
Now I'm itching to do mine too. According the service records, no valve adjustment has been done before. I should at least check it out @ 125k miles lol. Nice work!
Now I'm itching to do mine too. According the service records, no valve adjustment has been done before. I should at least check it out @ 125k miles lol. Nice work!
Open up the plenum cover and egr to see how much carbon you have. If a lot, my guess is a few of your exhaust valves may be too tight and so you should do an adjustment. You might as well replace the valve cover gaskets, spark plug tube seals, egr cleaning and valve adjustment all in one go at 135k. Maybe a 5 to 8 hour job.
When you adjust your valves you will need a .010 and a .008 feeler gauge. Also a 10mm wrench to unto the lock nut, a thin screwdriver and some patience. On the timing belt cover is a rubber plug, Open the plug and turn the engine over with a socket and ratchet until a mark shows in the window. That means that one of the valves is closed and can be adjusted. There are two valves per cylinder.
The trick is to set the adjuster so there is just enough drag between the adjuster and valve. It should be an easy drag, but not loose or too tight. You can check with a .feeler gauge that is either to thick or thin on either side of the set clearance. Remember that as you tighten the lock nut securely, the adjuster will change. So double check after tightening the nut. Adjust as necessary.
Do this for all 24 valves. It takes a while but the result is worth it as you will get back a gob of power and it will run so much better.
Time to revive this thread on adjusting the valves. I have just replaced the radiator fan motor and when I started the car up after sitting a while, that knock is back. It is on the backside of the engine like I when started with before I adjusted the valves. I got out the stethoscope and it is definitely on the back bank. When I put the scope on the end of black plastic cam cover, you can hear it really well.
I called my neighbor over who was a former mechanic and he says it is on top on the back. He said it could be a valve that has come loose. While we were standing there with the engine idling, the noise just went away on its own. It was still a faint clicking sound, but nothing like it had been.
This sound is definitely a cold engine scenario.
So we discussed the options and the best we can figure out is a "sticky" valve when cold, and as the engine warms up it frees itself.
So, I am going to drop some Lucas injector cleaner in the gas tank and some Marvel Mystery Oil in the crankcase and see if this will free up that valve. It sure beats having to open up that back cylinder bank and check the valves.
If neither of these resolves the issue, I will see if the Honda agency in town can diagnose the issue.
If you have any other suggestions, I would like to hear them.
Time to revive this thread on adjusting the valves. I have just replaced the radiator fan motor and when I started the car up after sitting a while, that knock is back. It is on the backside of the engine like I when started with before I adjusted the valves. I got out the stethoscope and it is definitely on the back bank. When I put the scope on the end of black plastic cam cover, you can hear it really well.
I called my neighbor over who was a former mechanic and he says it is on top on the back. He said it could be a valve that has come loose. While we were standing there with the engine idling, the noise just went away on its own. It was still a faint clicking sound, but nothing like it had been.
This sound is definitely a cold engine scenario.
Frequently, the valvetrain will rattle loudly on startup due to oil draining from the lifters when the vehicle is parked. This is not considered a significant issue provided the noise disappears within a couple of minutes; typically it usually lasts only a second or two. A rattle that does not go away can indicate a blocked oil feed, or that one or more of the lifters has collapsed due to wear and is no longer opening its valve fully. The affected lifter should be replaced in the latter situation.
If it was hydraulic lifters we would have the problem narrowed down. The RL, unfortunately, has manually adjustable tappets, using a clearance of .008 & .010. I just adjusted the valves not to long ago and now the tapping rattle is back. Like I posted, as we were standing there discussing the issue, it went away. This leads me to a sticky valve. So this week I will toss in some MMO and see if that cleans up the stems.
If it was hydraulic lifters we would have the problem narrowed down. The RL, unfortunately, has manually adjustable tappets, using a clearance of .008 & .010. I just adjusted the valves not to long ago and now the tapping rattle is back. Like I posted, as we were standing there discussing the issue, it went away. This leads me to a sticky valve. So this week I will toss in some MMO and see if that cleans up the stems.
Me too I'd like to understand this. I hear a tak tak tak in morning, then after a cpl of mins it reduces. https://streamable.com/2njkjd
I have already put in a injector cleaner in April, and recently a 20 dollar engine cleaner bottle. but didn't do much difference.
Mechanic last April had said this car has auto valve adjustment and wouldn't attempt to adjust. So i dunno how to resolve.
If the O9 has hydraulic lifters you probably have one that has a hole that has some junk in it, so until it gets warm it won't pump up, creating the noise.
The valve springs are not very heavy so it won't take much to create a sticky valve, especially at 240,000 miles on our car. The entire life of the car has had nothing but synthetic, so this surprises me that I would have an issue like this. Payday is Wednesday and I will put in some MMO and drive it to see if I can get the noise to go away.
Last edited by alfadoctor; 08-18-2020 at 02:49 AM.
If the O9 has hydraulic lifters you probably have one that has a hole that has some junk in it, so until it gets warm it won't pump up, creating the noise.
The valve springs are not very heavy so it won't take much to create a sticky valve, especially at 240,000 miles on our car. The entire life of the car has had nothing but synthetic, so this surprises me that I would have an issue like this. Payday is Wednesday and I will put in some MMO and drive it to see if I can get the noise to go away.
Don't forget MMO you have to change the oil in 500 miles max after usage. Preferably 300.
Here is the latest on this "noise" from the back cam bank. My neighbor came over and said to go see if there is anything on YOUTUBE that might give you an idea.
I searched and found a couple of videos that nailed the noise. It is a failed timing belt tensioner. It allows the idle tensioner to bang against the hydraulic tensioner at idle. as there is too much clearance. The worst-case scenario is the timing belt jumps and wipes out the valves.
Tomorrow I am going back to the shop that installed the timing belt kit to see if they went cheap on me and did not replace the tensioner. I just hope I can contain my ire while talking to them. The belt has about 30,000 miles since it was installed. What happened to the 100,000 miles? I knew I should have asked for the old parts back.
I will let you know how this gets resolved.
Good luck! Hopefully no damage to the valves and it is just the idler tensioner that needs replacing. How many miles do you have?
I should roll over 239,000 miles. The rule is that if you replace the belt, you replace the idle pulley, any bearings, water pump and tensioner. That was you get 100,000 miles worry-free. There are two ways this could have happened. The new part failed or the shop didn't put in a new tensioner. If the tensioner wasn't replaced, then it would have 135,000 miles on it. Makes me wonder now if the water pump was replaced. I will know more when I talk to the shop today.
This thread is for everyone to learn from so you don't have the same issues I am going through.
UPDATE: The hydraulic tensioner failed. Being that the part failed, it was a guaranteed part, so I got it for free. The shop split the labor with me. So now all I hear is the ticking of the injectors.
Case closed as far as I am concerned..
UPDATE: The hydraulic tensioner failed. Being that the part failed, it was a guaranteed part, so I got it for free. The shop split the labor with me. So now all I hear is the ticking of the injectors.
Case closed as far as I am concerned..


 06-01-2020, 04:46 PM