When you click on links to various merchants on this site and make a purchase, this can result in this site earning a commission. Affiliate programs and affiliations include, but are not limited to, the eBay Partner Network.
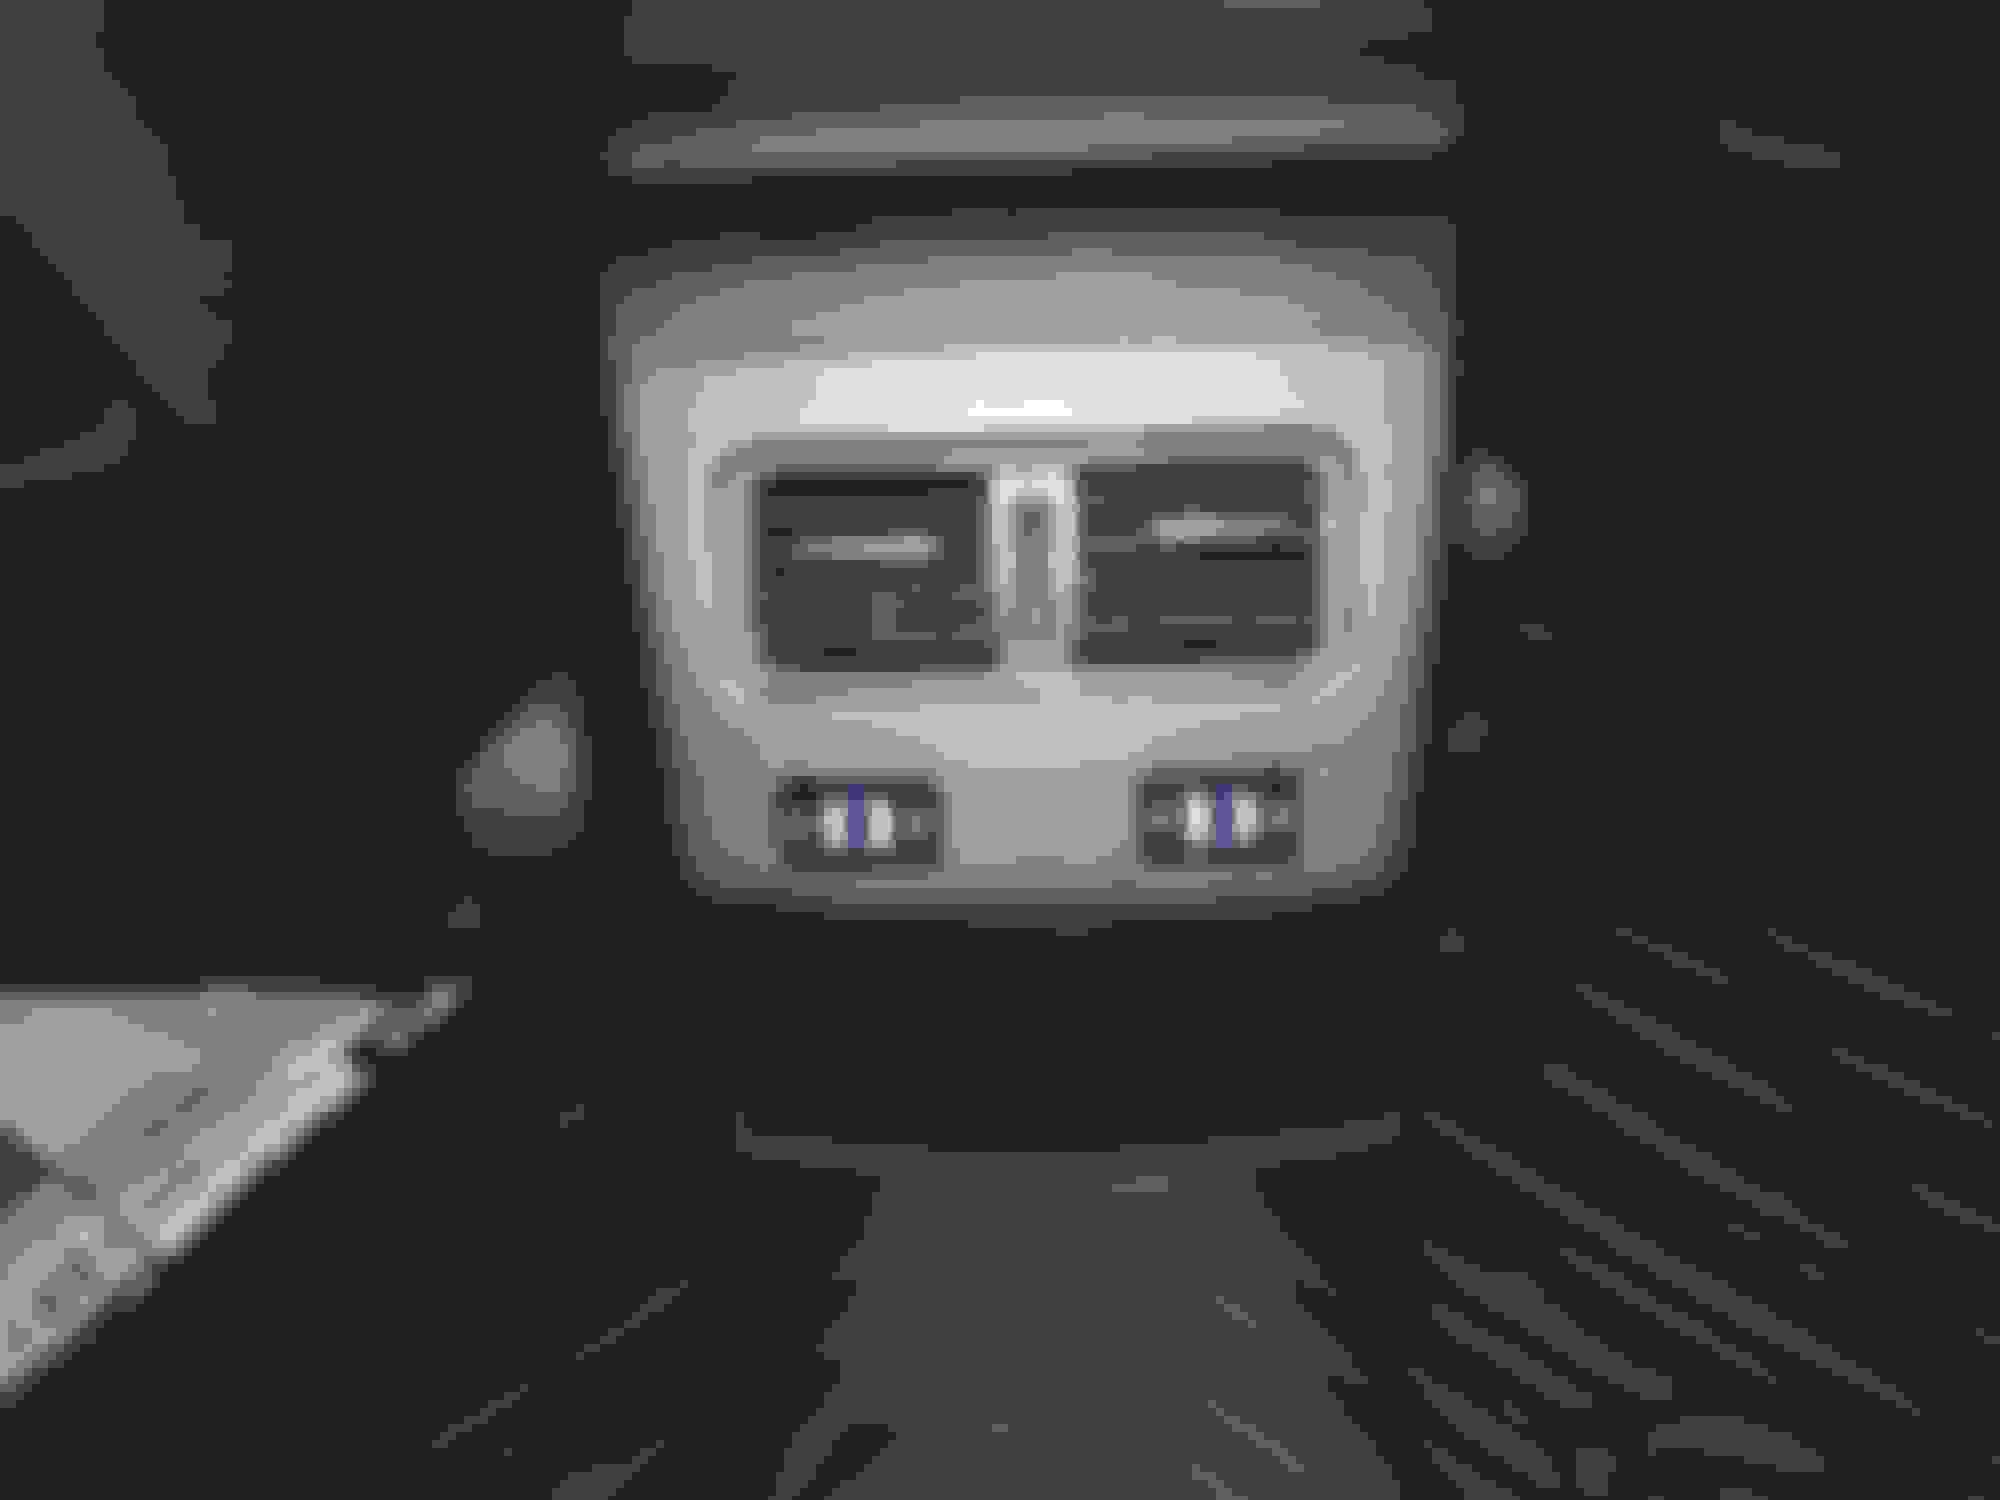
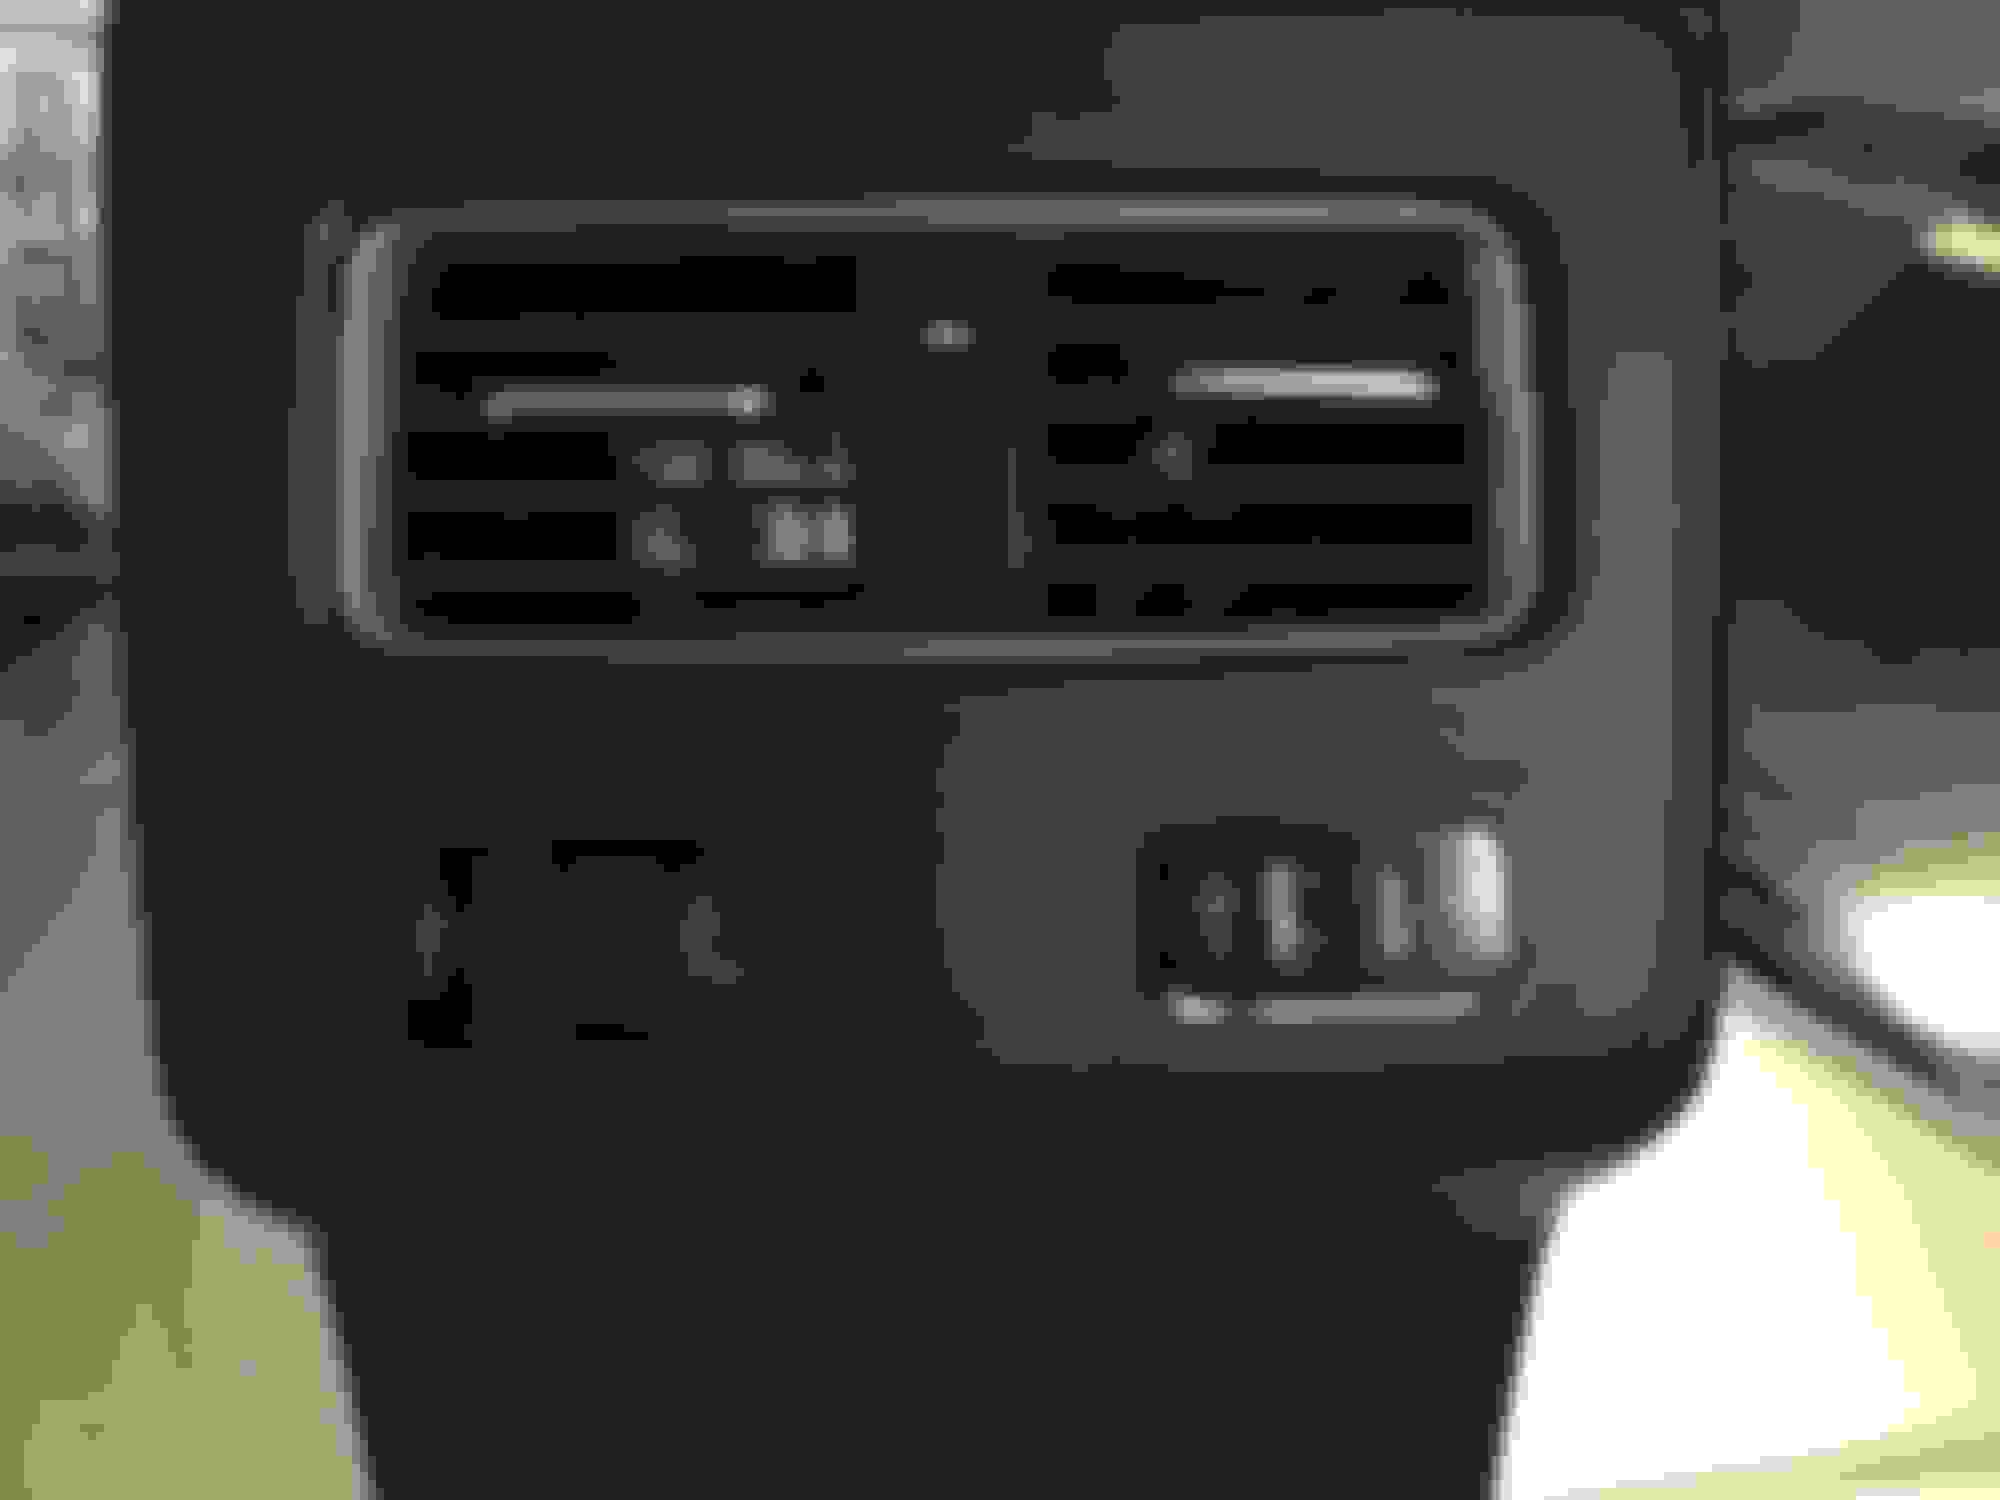
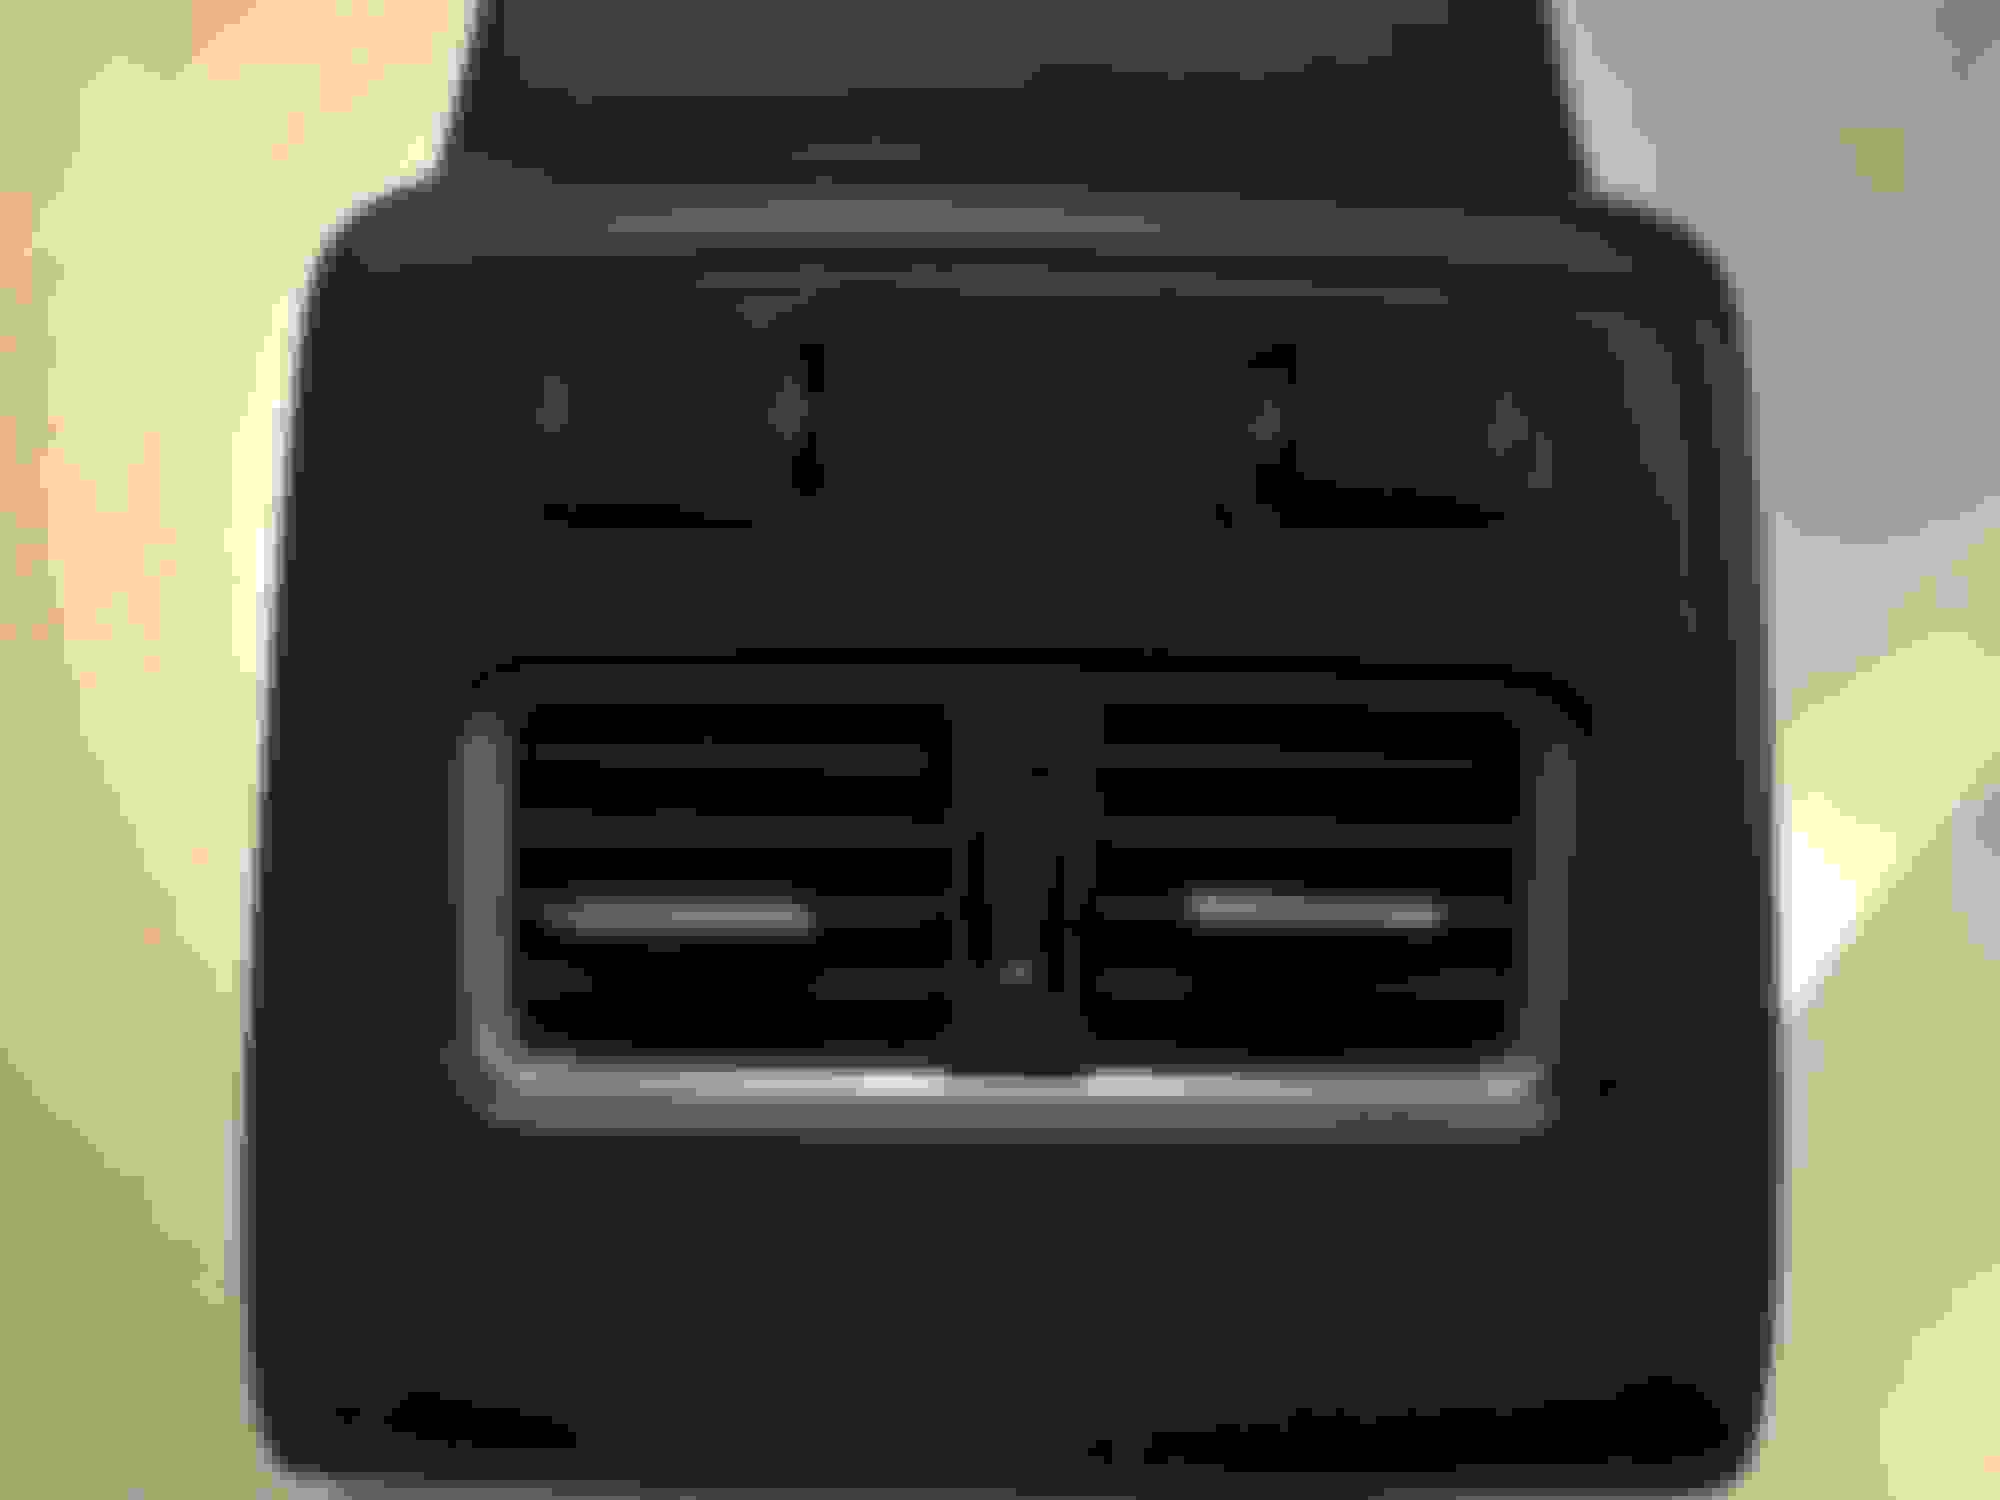
For a fully loaded car, I have no idea why there are two blank ports in the rear center vents, so I took time this weekend to add USB ports.
Fully loaded for acura, but behind industry standards for many cars - i.e. every toyota (including the corolla) has, as standard equipment, the safety package that is available only on the advance. Many cars offer mutiple USB ports in the front and also in the back. Many manufacturers offer things not even available on the advance. But, I believe those two blank ports in the rear seat vents used to be for the rear seat heaters (offered in many cars) that acura removed in 2016 when they installed the vents to the rear seats (offered in many cars for many years).
Canadian Acura Elite (the equivalent of advance) has rear seat heaters. That is what those slots are for. Not sure why they did not add them on USA models.
I just did some reading and Canada gets heated rear seats and power folding side mirrors... I feel short changed now, lol. I guess Acura thought US isn't cold enough for heated rear seats
But I'd rather have the USB ports than the heated seats. (Although my buddy's Grand Cherokee has heated rear seats, USB ports, and a 115V plug)
I posted the same mod last year but your post is far superior with all the detail. Nice work!
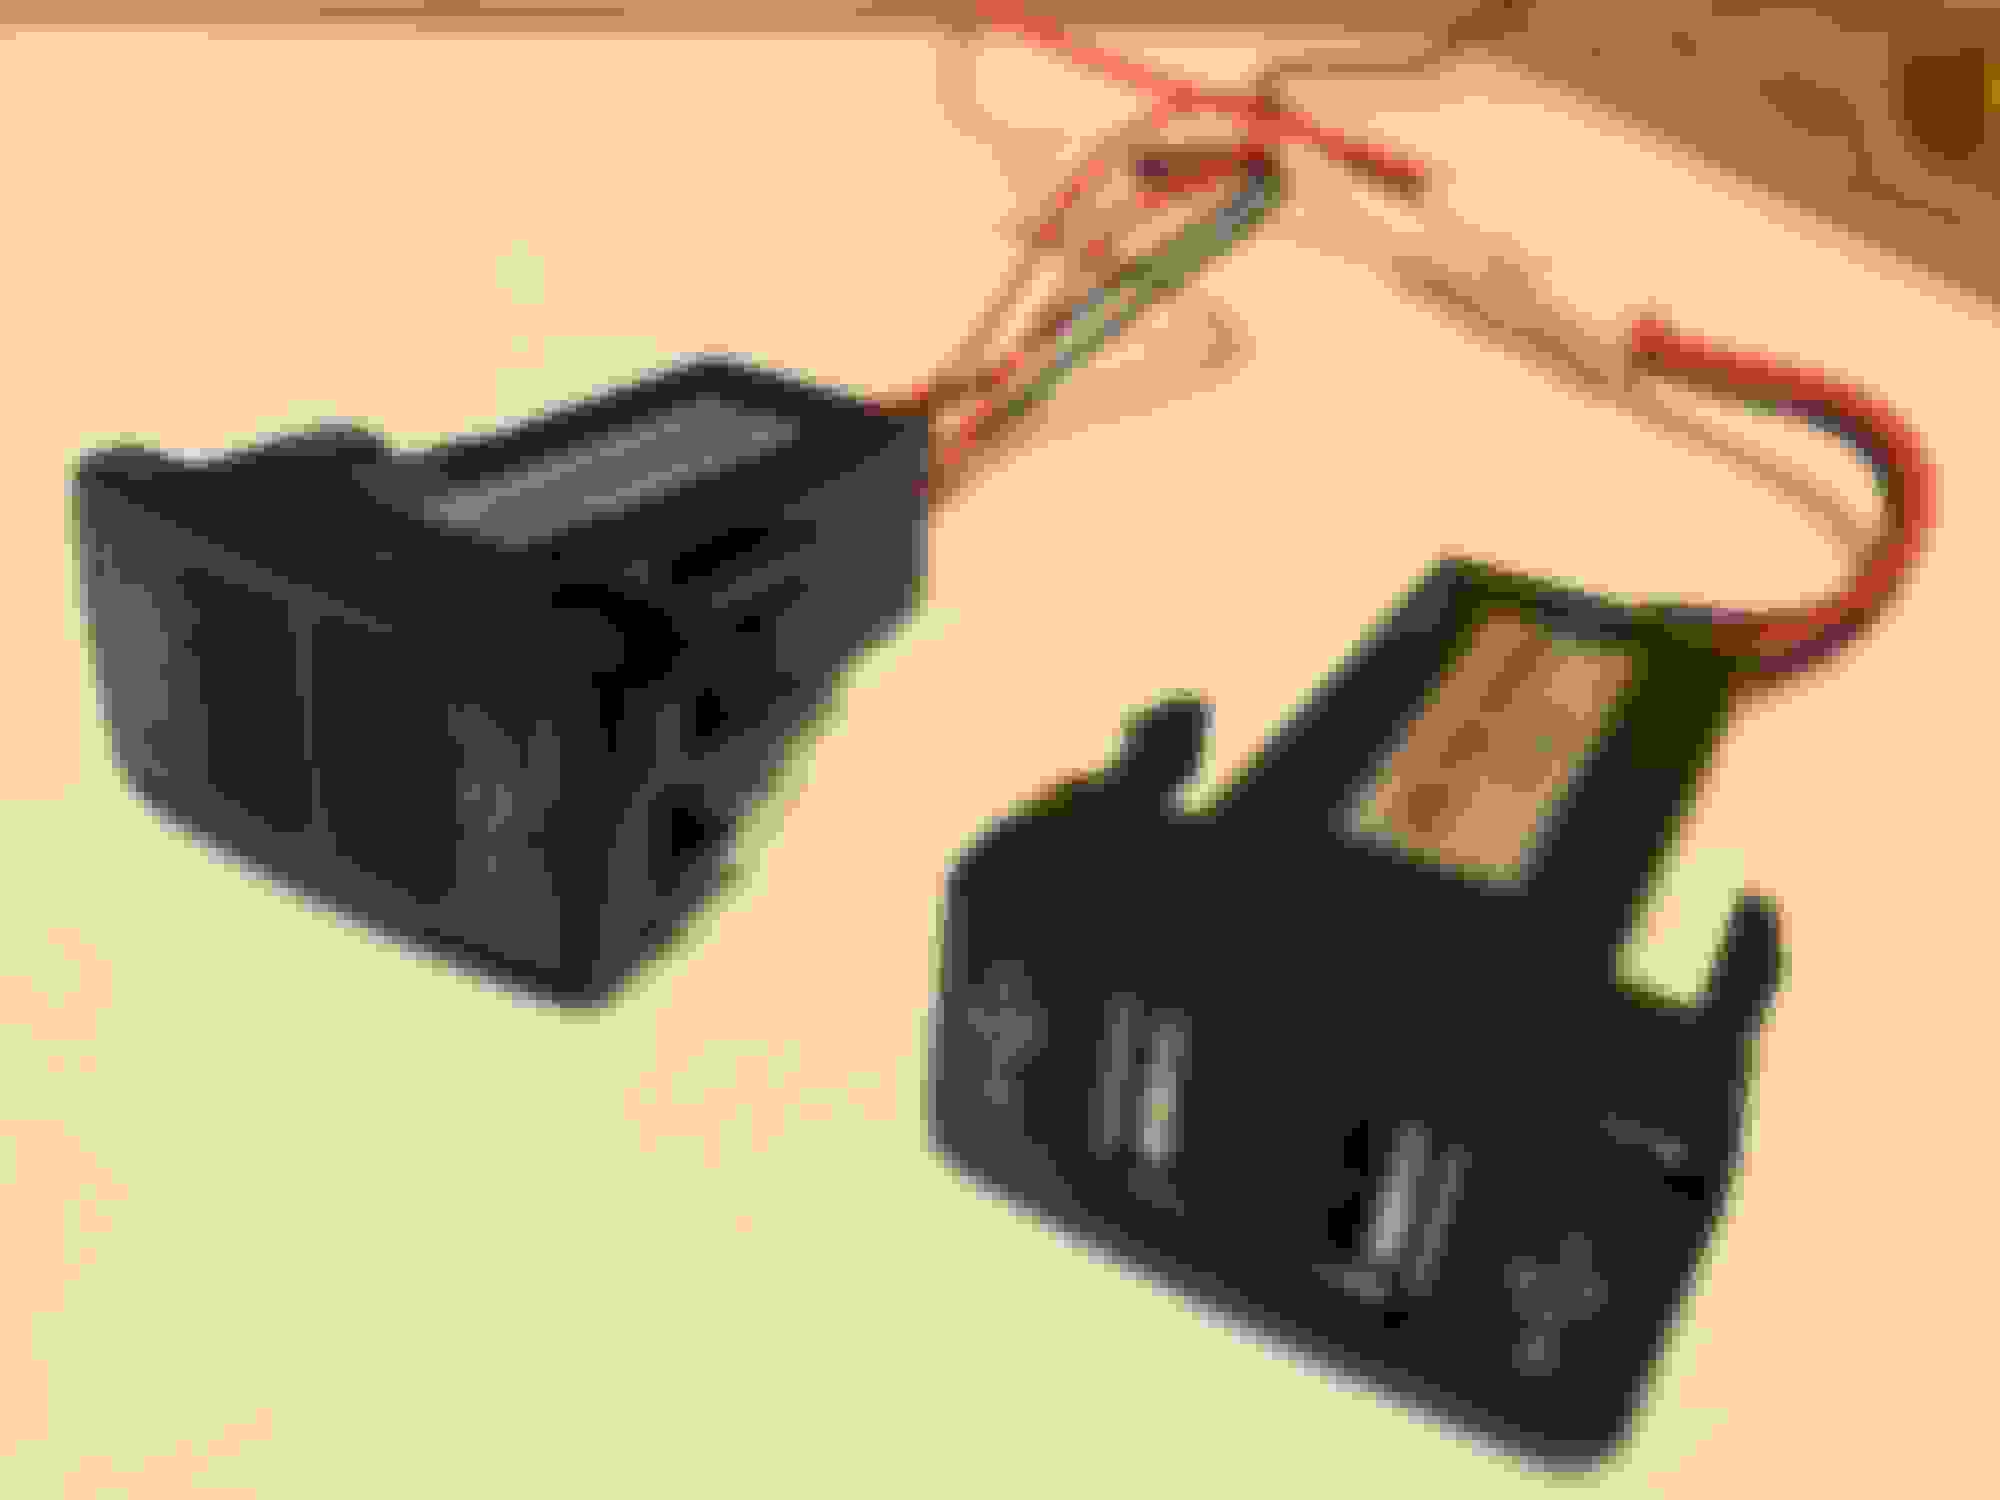
I didn't know this was done before. I ordered a toyota specific port, not knowing there is a honda specific port so there's a gap at the bottom. Did a search for Honda ports and they do look wider than toyota's so I ordered them. I'll see how the new ones fit once they come in. Ordered LEDs to replace the cubby lights as well.
My experience, the Honda parts were a little larger than the switch holes. I had to go after the excess plastic on the USB assembly with a file trimming just a little then test fitting, trimming again etc. It would have been easier just to enlarge the holes.
I didn't know this was done before. I ordered a toyota specific port, not knowing there is a honda specific port so there's a gap at the bottom. Did a search for Honda ports and they do look wider than toyota's so I ordered them. I'll see how the new ones fit once they come in. Ordered LEDs to replace the cubby lights as well.
Where and what lights did you order for the cubbies? Thanks
My experience, the Honda parts were a little larger than the switch holes. I had to go after the excess plastic on the USB assembly with a file trimming just a little then test fitting, trimming again etc. It would have been easier just to enlarge the holes.
Cheers!
Lol, thanks for the tip. I usually like to keep the OEM parts untouched, just in case I want to return back to stock form, so I'll probably take my time trimming to fit.
Where and what lights did you order for the cubbies? Thanks
The center console cubby has an ambient light right above the 12V outlet. I ordered some white LEDs (bulb size 74) to replace since I'll have the center opened up again. There's also an ambient light under the radio, so I'll replace that then too.
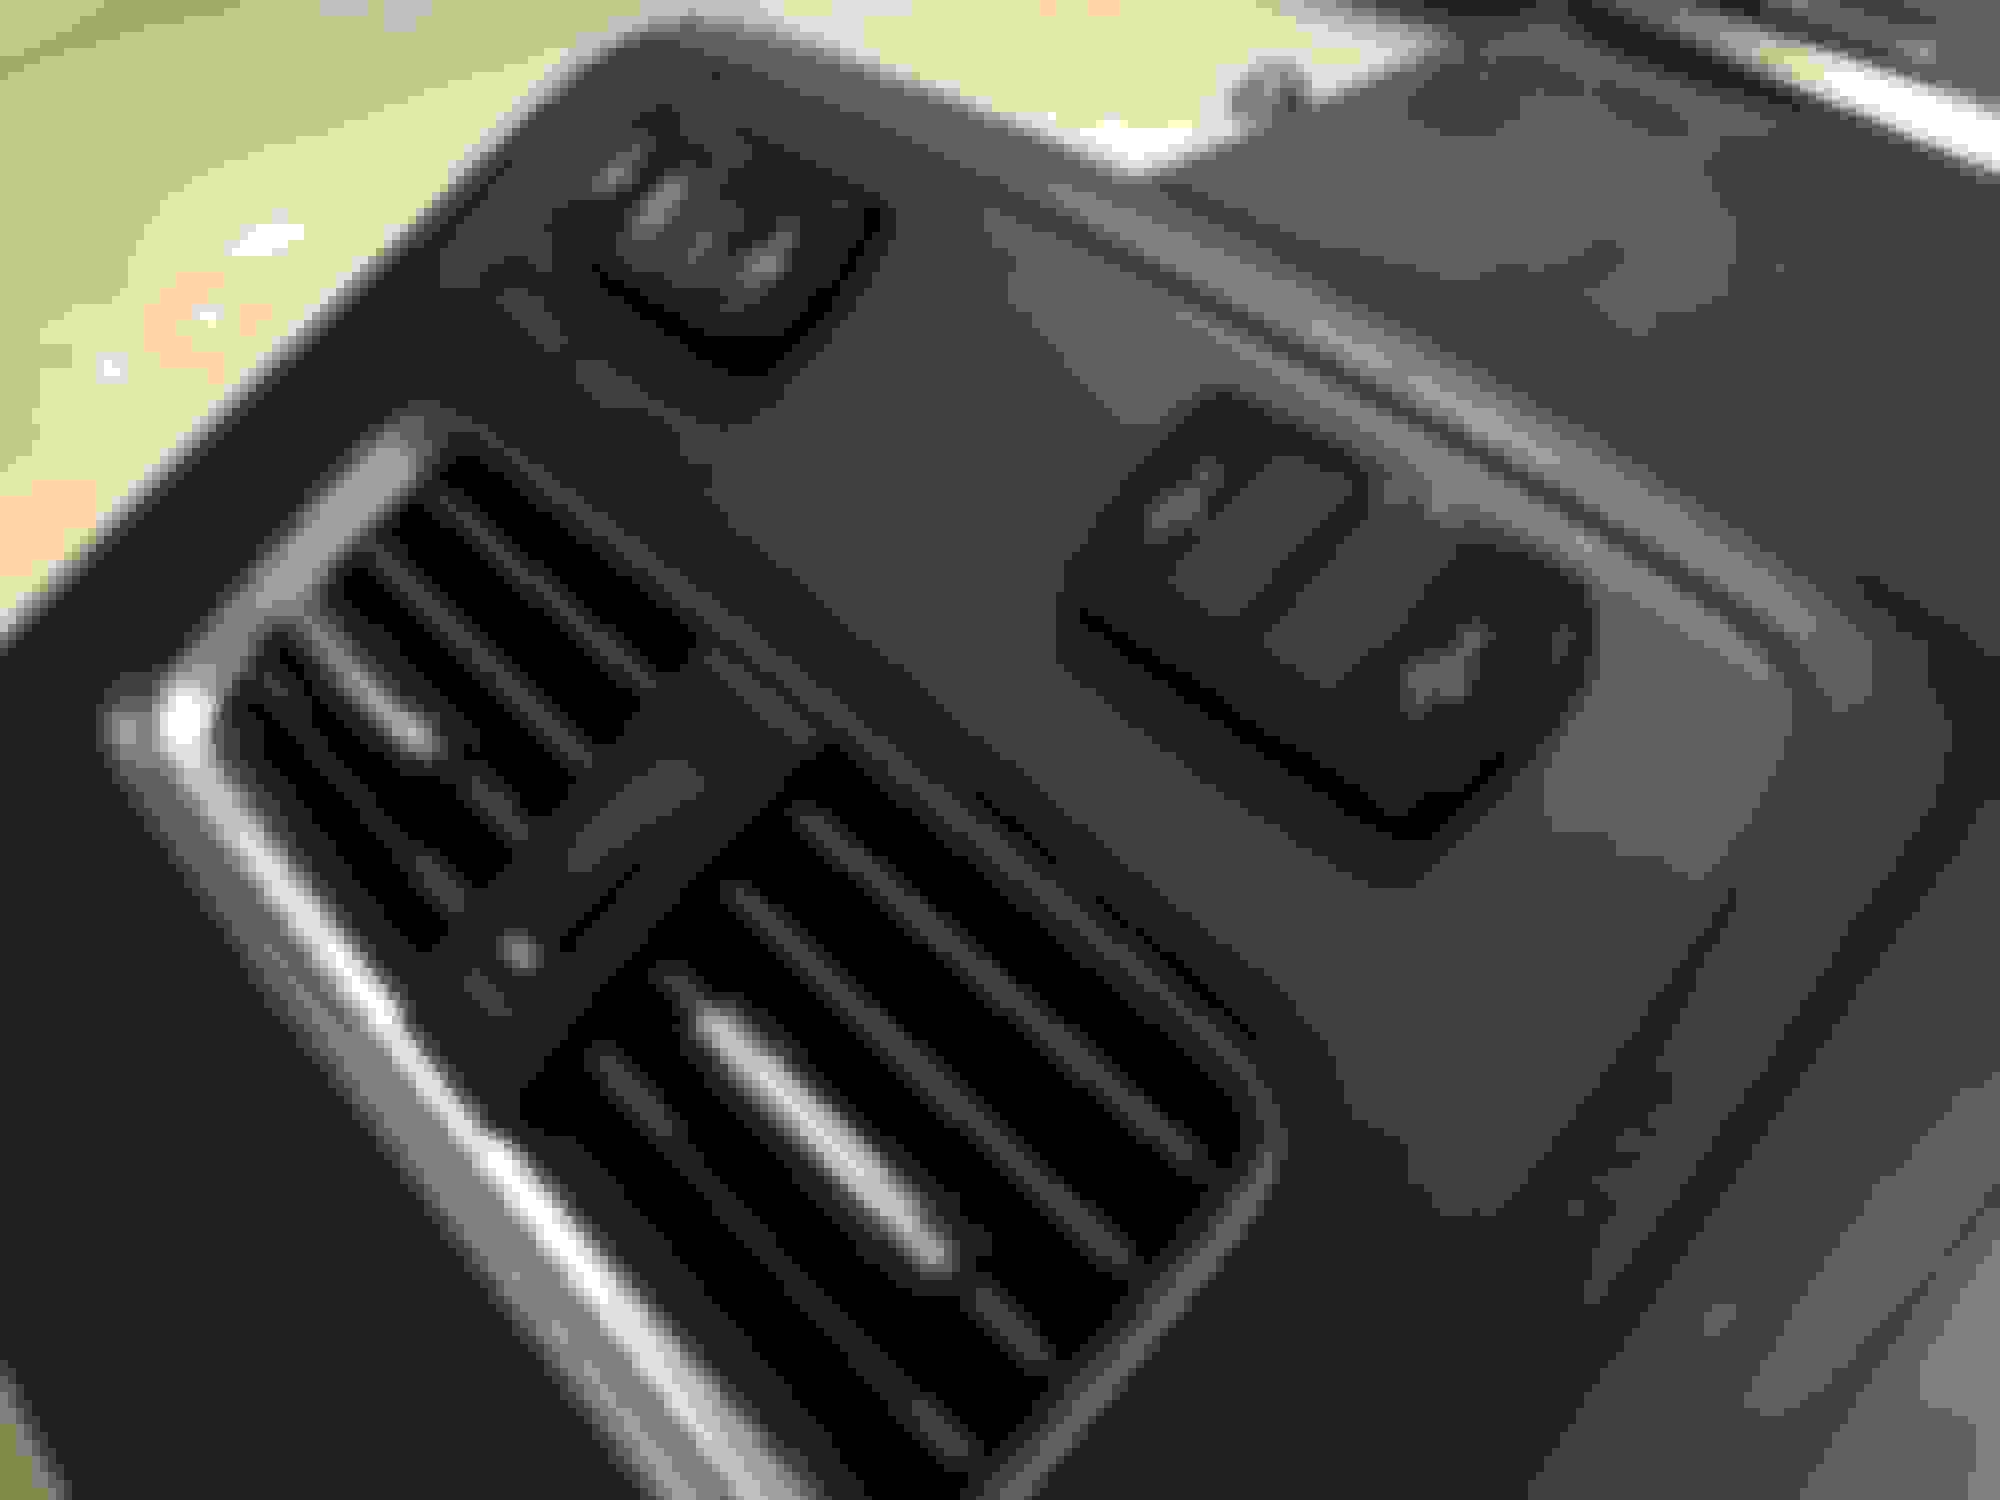
New USB ports came in today! Definitely a better fit overall but did have to shave down the side brackets with a dremel. Wiring and reinstall will be done tomorrow. LEDs also came in, so I'll install those too. Enjoy the pics!
open the center console and the back of the shifter console ends inside of the it. gently pry it up working from one side to the other then working forward. you might have to shift out of park into neutral or even drive to work it all the way out.
I just did some reading and Canada gets heated rear seats and power folding side mirrors... I feel short changed now, lol. I guess Acura thought US isn't cold enough for heated rear seats
But I'd rather have the USB ports than the heated seats. (Although my buddy's Grand Cherokee has heated rear seats, USB ports, and a 115V plug)
Lol.. Acura did the same thing for 2015-2017 TLX. Canadian model got heated rear seats, keyless buttons on rear doors, power folding side mirrors, heated steering wheel whereas US models didn't. Well they changed that strategy for 2018 TLX, so here's hoping 2019 redesigned RDX won't have any differences.
Damn, this is a legit mod. I may have to do this mod next. Seems pretty straight forward and a great upgrade.
Thanks! I've seen your build thread. Yours is where I want to be. I'm about to start my own build thread, currently in the process of swapping all the lights to LED.
Can you add USB ports to the front console ? I just got my RDX and pt bmw had 2 in the front (traded my bmw in) but little things like only one USB is annoying !!! ;(
Yes, you can add USB ports pretty much anyplace you want BUT there aren't any ready made cutouts like you find at the rear of the console. You'll have to cut your own hole. Also, the USB modules being used for the mod in this thread are a couple of inches long so you need clearance. You'll find that inside the center console next to the 12v accessory plug and 'maybe' in the front cubby where the OEM usb port is (you'd have to get in there and measure obviously). Fortunately both of those locations have easy to access 12v connections so that's not an issue.
Take these instructions out to the car and follow along. You'll discover it's a very simple process.
The good news is, you don't have to remove the console. All you have to do is remove the rear section and a panel on top.
The rear piece goes from floor to the top of the vents and is removed just by pulling toward the rear of the car. You can start at the top or bottom, doesn't matter but pull straight back until you feel the clips releasing. Then move up (or down) a few inches and do the same. In less than a minute you'll have the entire panel in your hands, ready for a trip to the workbench where it'll be a whole lot easier to fit the new USB assemblies.
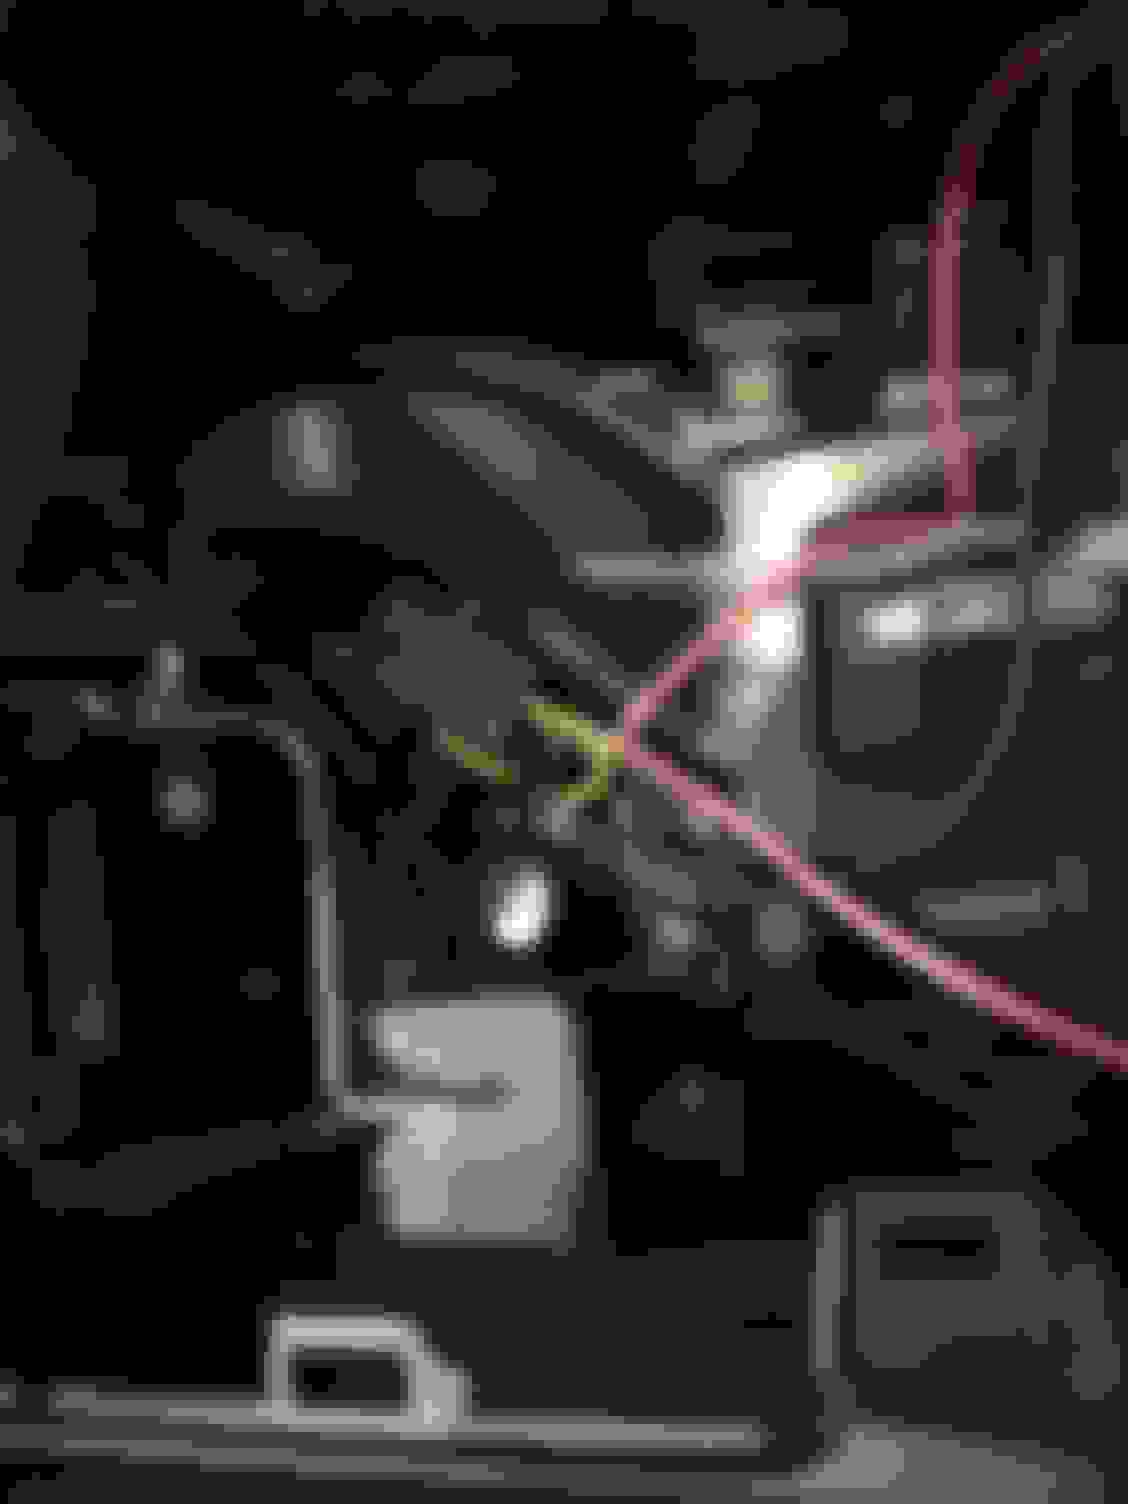
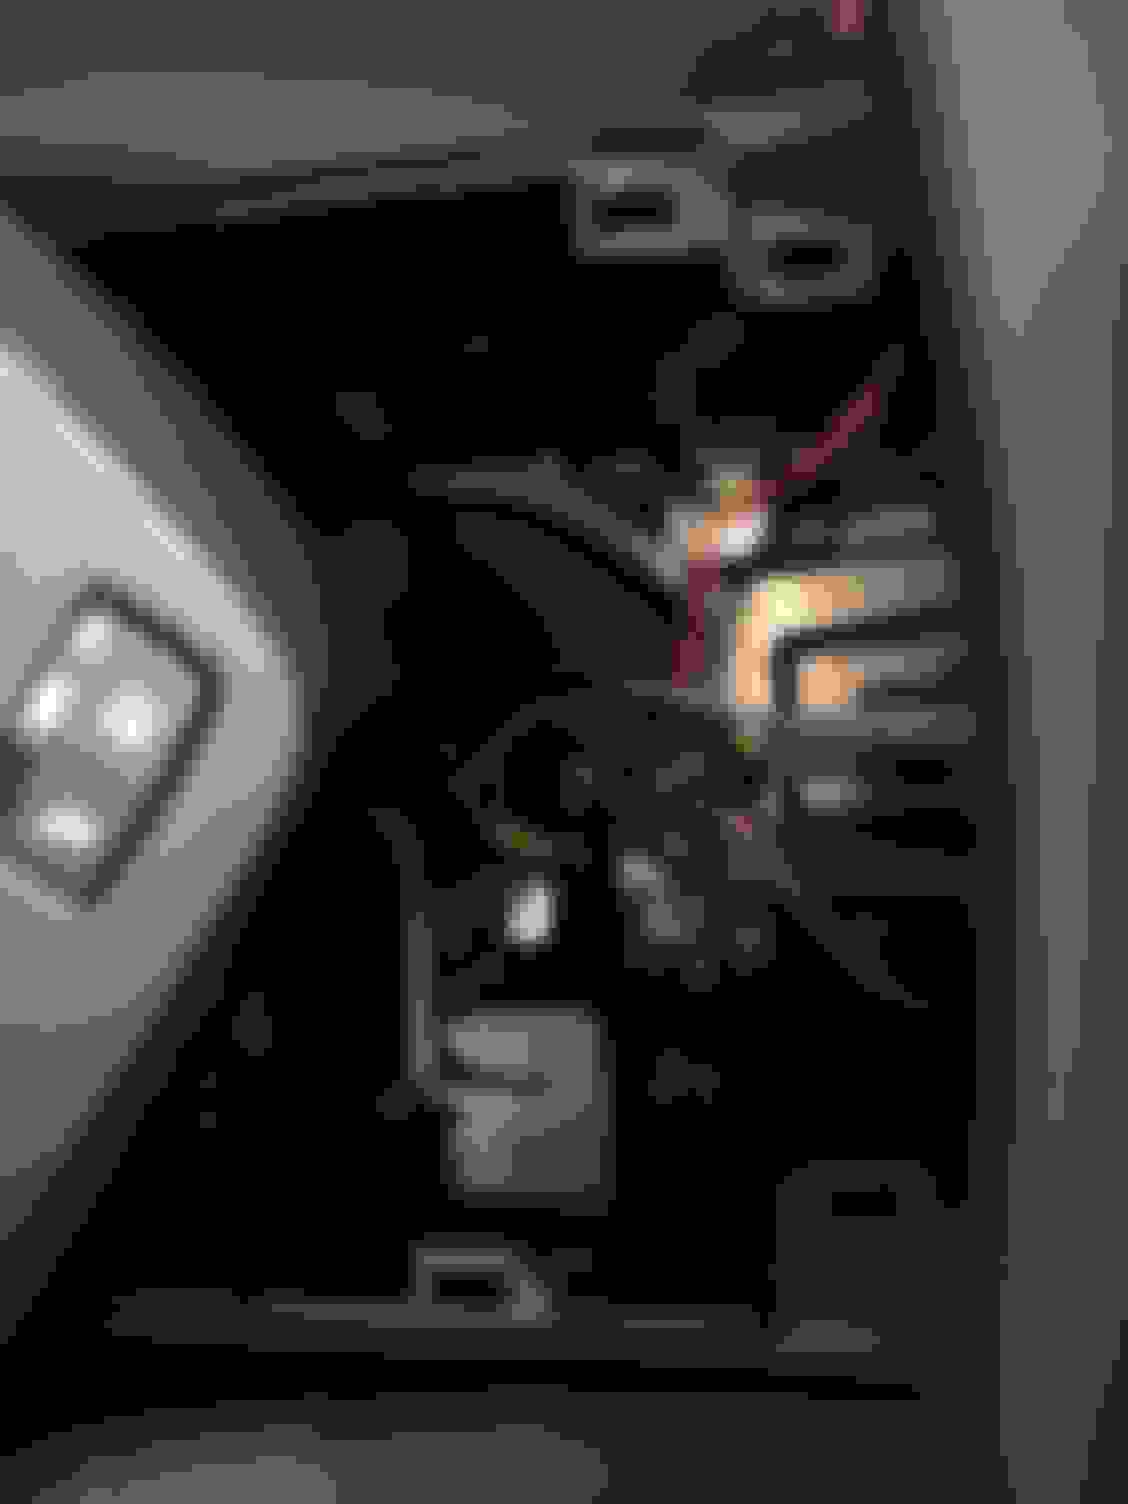
For access to the 12v power supply just remove the top of the center console that flows from just in front of the shifter to the vertical piece that leads to the console lid. The panel is easy to distinguish because it's probably a different color than the plastic trim below it (unless you have an all black interior) Again, it's just a simple matter of lifting. It's easier if you use a thin flat blade screwdriver that's padded with tape or (better) a plastic tool made for removing panels. Just get under the console top (right side is easier to work from) at the rear and pry (or lift) upward. The clips will begin releasing as you move toward the front. Some have probably removed the whole piece, (which requires removing the shift knob) but I just lifted it a bit then swiveled it out of the way. If I remember correctly I pulled the shift lever out of park to D to make room for turning the panel then, once turned, pushed the lever back up to park. Now there's room to reach down and get your hands on the power wires running to the accessory outlet. Tip: A flashlight or work light will make it a lot easier to sort the wiring.
What a great description. I have a 2014 RDX base with no blanks. Any idea as to where I should locate the USB in the back piece. I was thinking just below the cubby. Thoughts?
Thank you for the photos. I now have the confidence to give this a try.
All, I just posted a center console removal DIY if you guys want to mod anything in that area. For me, my next project will be adding wireless charging into the front cubby. Happy modding!
Wiring from the USB assembly is attached to the same wires that power the 12V plug in the center storage area. You can fish the wires through either side of the console from the rear using a stiff piece of wire.
Cheers!
Anyone have an updated ebay link or what search terms to use to find this style of USB ports? My generic "car usb ports" search turns up every style but these. Thanks!
 08-12-2017, 06:05 PM