When you click on links to various merchants on this site and make a purchase, this can result in this site earning a commission. Affiliate programs and affiliations include, but are not limited to, the eBay Partner Network.
While replacing the transmission pressure switches, I also plan to disassemble the solenoids (2 total), clean the screens (3 per solenoid or 6 total), check the resistance of each solenoid with a multi meter, and re-install. I figured if I'm changing the pressure switches, I might as well clean these too while I'm in there. I purchased replacement gaskets for the re-install as well.
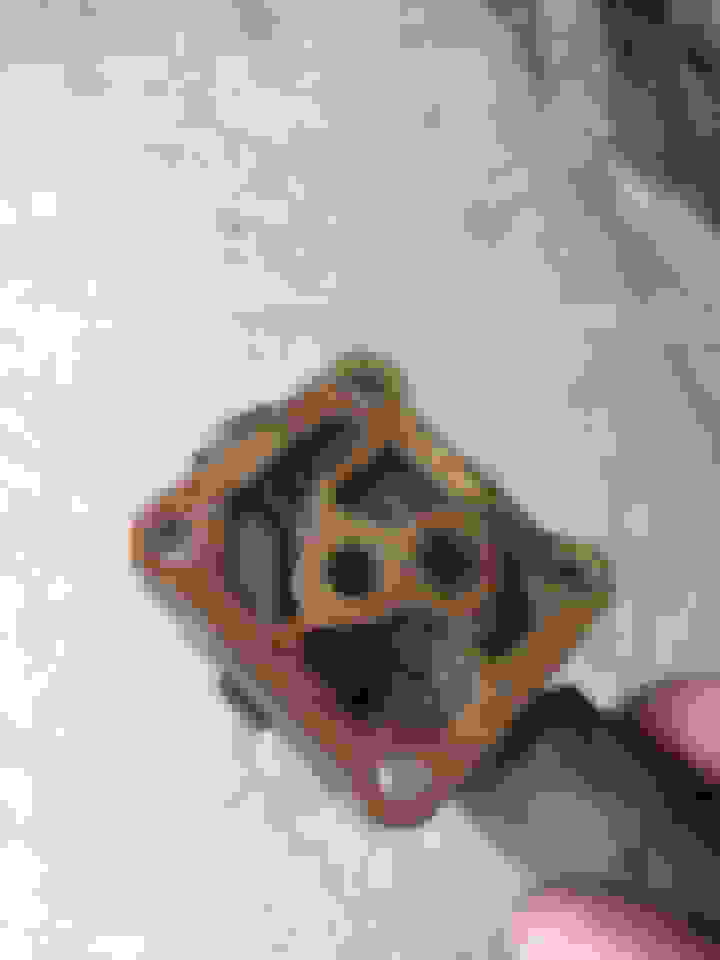
Depending on which solenoid, the thin gaskets can easily become destroyed when dissembled . Some gaskets are rubber while others are almost like a thin cardboard cutout.
Here are a few pictures of the gaskets that I took this past summer. This show the differences between the rubber and cardboard-like gaskets on my 2005 Acura TL:
ok, does are in the trans, the other wasn't.
If we talk about screens to clean that lets not forget the one on the bolt of the oil tube in the turbo.
we going to have a lot to clean if this goes on.
I may clean the ones in trans as they are accessible now.
For anyone who would like to see some images, I completed this maintenance recently and am sharing my experiences.
Here is a diagram of the parts that I replaced:
Here is a list parts you will need:
2nd Gear Transmission Pressure Switch (Part #: 28600-RKE-004)
2nd Gear Transmission Pressure Switch Crush Washer (Part #: 90471-PW7-A00)
3rd Gear Transmission Pressure Switch (Part #: 28610-RKE-004)
3rd Gear Transmission Pressure Switch Crush Washer (Part #: 90471-PW7-A00)
4th Gear Transmission Pressure Switch (Part #: 28600-RKE-004)
4th Gear Transmission Pressure Switch Crush Washer (Part #: 90471-PW7-A00)
Here is a list of (optional) parts you will need if you'd like to clean the solenoids:
Solenoid 1 Gasket (Part #: 28262-RDK-000)
Solenoid 1 O-Rings (Part #: 91301-PC9-003) x 2
Solenoid 2 Gasket (Part #: 2852-RDK-000)
Solenoid 2 O-Rings (Part #: 91301-PC9-003) x 3
3rd Gear Transmission Pressure Switch Replacement
You do not need to jack up the vehicle. You can easily access all clips and screws by turning the steering wheel all the way to the left. First, remove three clips and one screw as outlined in the below image:
Next, you'll need to remove two more clips and one screw underneath the bumper.
From there, just peel back the splash guard and you will see the 3rd gear transmission pressure switch that you need to unplug and unscrew.
4th Gear Transmission Pressure Switch Replacement
To replace this pressure switch, I recommend removing the battery, battery casing, and the air intake box. To remove the air intake box, simply unscrew the band that is connected to the hose and remove two 10mm bolts at the bottom of the air intake box (I did not get a picture of this step, but refer to the below diagram with comments).
Once the air intake box is removed, you will see the transmission pressure switch below:
2nd Gear Transmission Pressure Switch Replacement
This is by far the hardest transmission pressure switch to access and replace. Once the battery, battery casing, and air intake box are all removed, you will need to remove the air flow tube. Simply loosen the other Philips head screw from the second mounting band and tube will easily come out.
After the air flow tube is removed, unscrew the 10mm bolt that holds the turbocharger inlet pipe to the stay assembly. Removing this bolt will allow you to move the inlet pipe a little more, giving you more room to work with.
The next step is to remove the air bypass outlet pipe. To remove this pipe, two clamps need to be opened. I found that using a small vice grips works best here. Once each of the clamps are opened and the pipe is wiggled free, set it aside.
The pump assembly purge jet is the last object that has to be moved out of the way. This is mounted with two 10mm bolts. These are a pain to get to, especially the bottom bolt. I found that using a small 10mm wrench was easier than trying to fish a socket in there. Be careful not to drop the bolts! Once the bolts are broken free, I found that it is best practice to remove the bolts by unscrewing them the remainder of the way using your fingertips. Again, be very careful not to drop them.
With the bolts removed, bend the purge jet backwards and use a bungee cord to keep it out of your way. Bend it backwards, but not too much as you do not want to rip any of the hoses. It’s a delicate balance, but use common sense her
From there, you should now see the 2nd gear transmission pressure switch. It is a very tight space, even with all of these items removed. However, I was still able to get a full size 22mm wrench over the pressure switch and break it free. I did purchase a short (“stubby”) 22mm combination wrench per dcmodels's original suggestion. However, I was able to access and remove this switch without one. Here is a link if you’re looking for this tool. They are rather difficult to find in stores:
Linear Solenoid Assembly Cleaning
If you wish to take this maintenance one step further, you can also disassemble and clean each of the solenoids.
If you refer to the steps for replacing the 4th gear transmission pressure switch, you will notice that the solenoid is mounted right next to the pressure switch on top of the transmission case.
To remove the first solenoid, you will need to unplug the electrical connector and remove the four 8mm bolts that hold it in place. Now, if this has never been removed, it will be on their pretty tight. I had to use a flat head screw driver and a hammer to pry this off. Obviously, be careful not to let the screw driver slip.
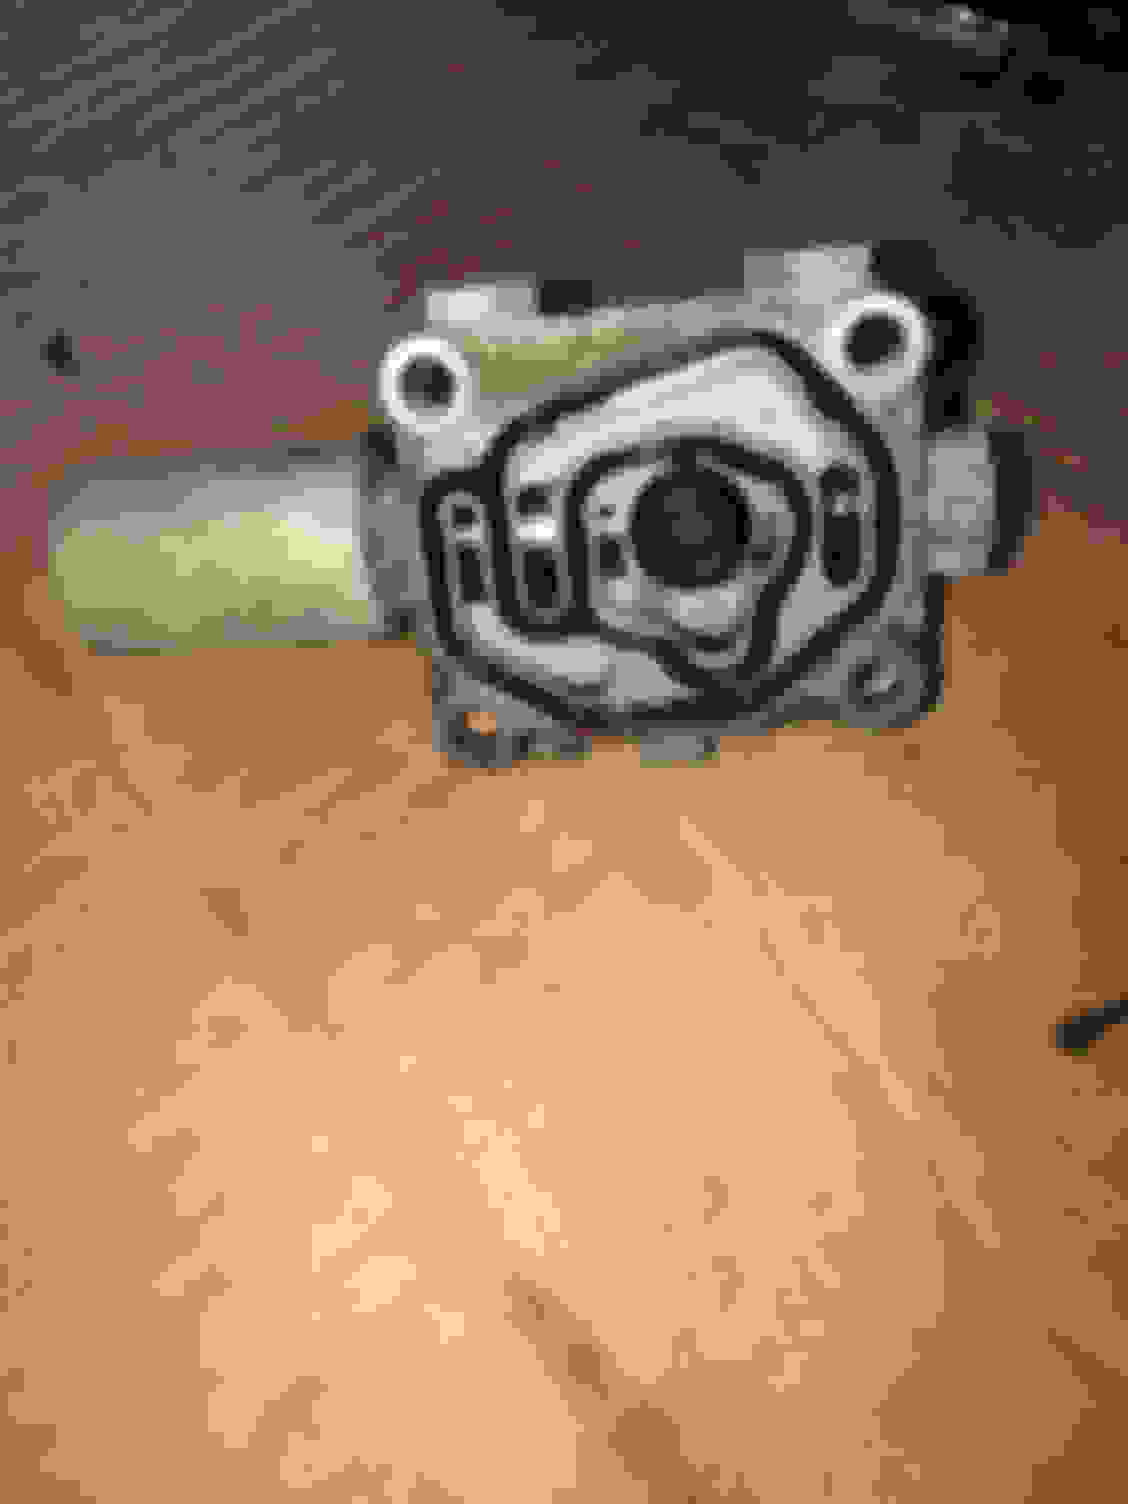
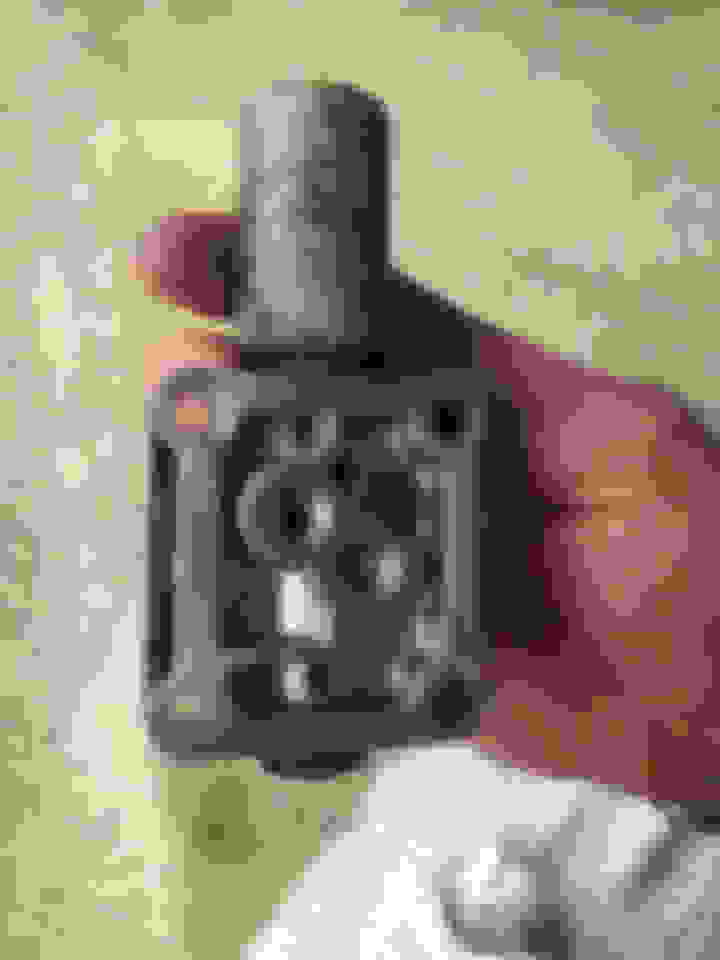
Once the solenoid is removed, you will see the vertical pipes, o-rings, and gasket. As you can tell, the gasket is a paper-like substance and is pretty much destroyed. It should be replaced.
I removed each of the pipes and they were actually pretty clean, which is great. However, I still used Gumout Carb and Choke Cleaner to clean the pipes and solenoid.
While I had the linear solenoid assembly out, I tested its resistance with a multi-meter. I was measuring 5.7 ohms, which I believe is rather low. My minimal research suggests that resistance for these solenoids should be between 12 and 25 ohms. I will have to research this further and potentially replace it if I experience any issues. More to come...
*I did not clean the second solenoid, so this remained untouched. If, in the future, I find a way to access this, I will open it up and clean it. However, the same steps to disassemble and clean would apply.
I hope that this helps at least one person! If not, it was fun to document
I am just about to start this repair on my wife's 07 RDX. Thank you so much for the info and photos!
P.S. These solenoids make me appreciate you TL Type-S's 6spd manual even more! LOL!
Oh my gosh! I can completely attest to the struggle with he 2nd gear connector. Getting that connector back on was such a pain in the neck! I actually had to ask my wife to do that with her dainty hands lol.
Okay, so this past weekend, I decided that my car wasn't going to defeat me and I told myself that I was going to figure out how to access the second solenoid for cleaning. After reviewing the transmission diagram, I began taking things apart.
Similar to before, once the battery, battery casing, and air intake box were removed, I was able to re-locate the first solenoid. Looking more analytically, I was able to locate the second solenoid, mounted vertically in a similar location. I don't know how I missed this previously . I think my patience had run out and I was getting annoyed back in June.
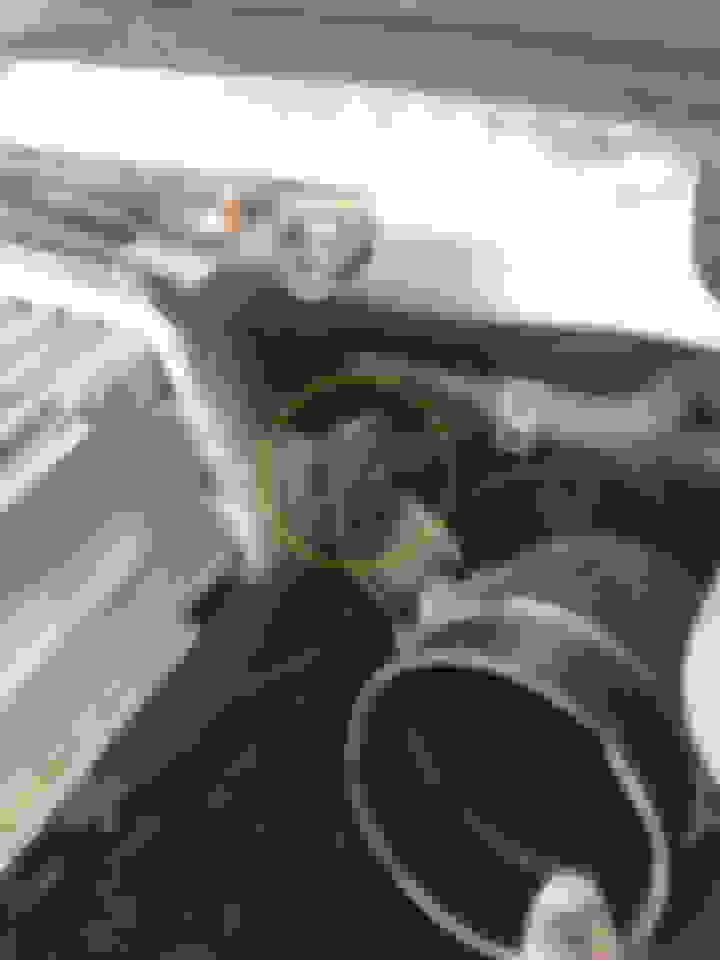
Unfortunately, even though I was able to locate the solenoid, the metal battery tray was in the way and there was no way I was going to be able to disassemble the solenoid carefully with this in the way. Therefore, I had to figure out how to remove the battery tray.
There were three 12mm bolts on top of the engine bay, holding the battery tray in place. These were easily removable, but there were also two 12mm bolts underneath the tray, which were a bit more tricky to get to and mounted sideways to the vehicle's frame. Using several extensions and a little ingenuity, I was able to fish my swivel head 3/8 flex head socket wrench in there to remove them.
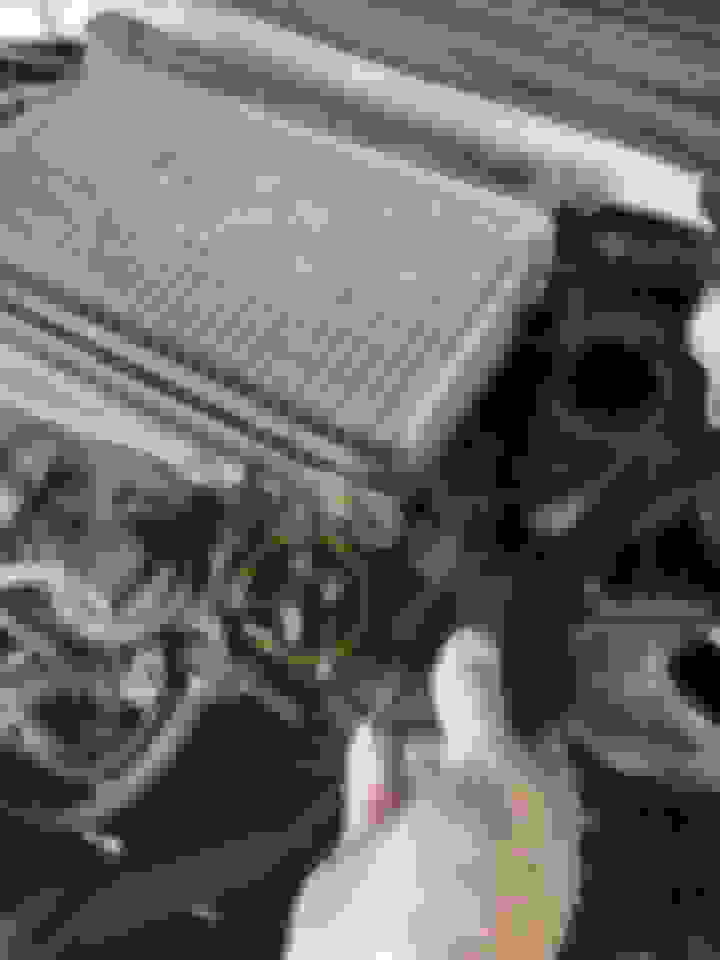
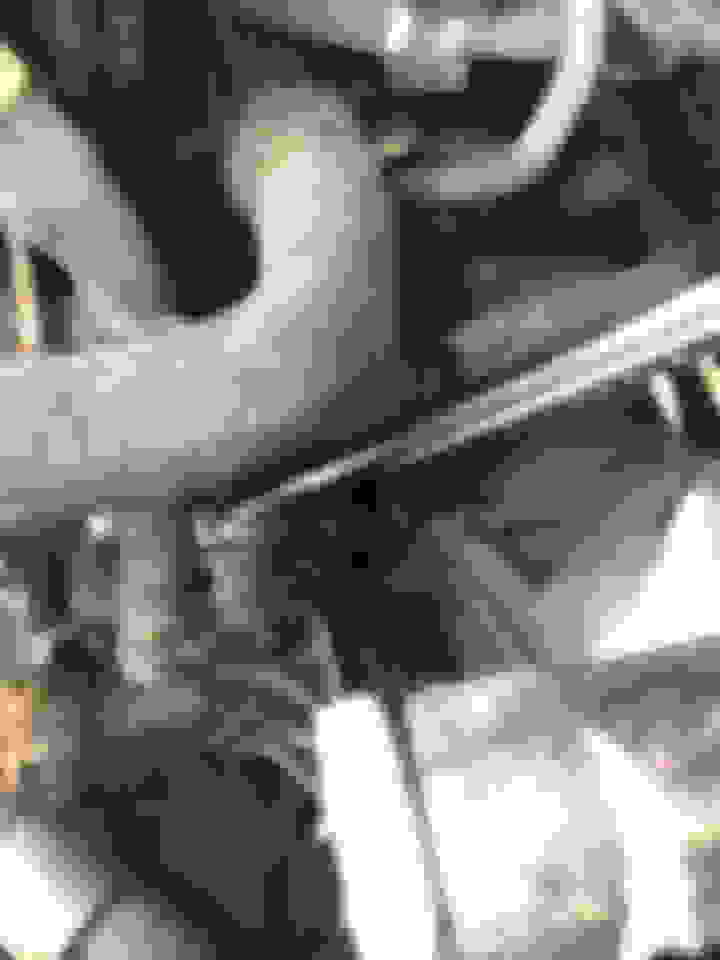
With the battery tray removed, I had much more access to remove the wire harness clips (which were on there soooo tightly).
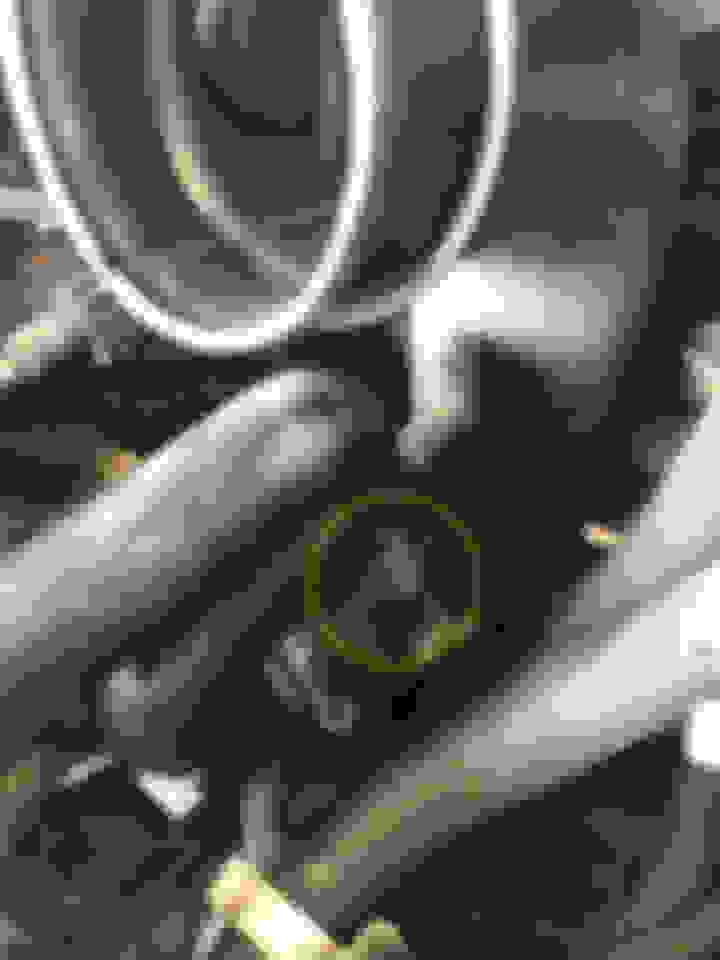
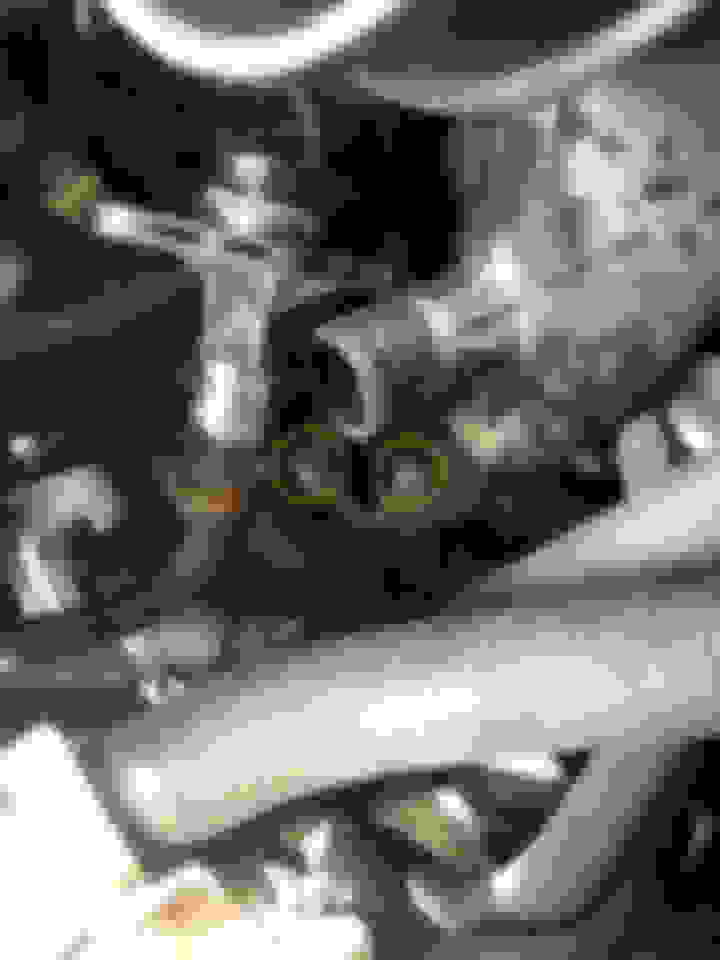
Upon further inspection, I ran into another problem. As you can see in the above image, there is a hard black plastic wire loom directly in front of the solenoid, making it impossible to access several of the 8mm bolts required for removing the solenoid. After struggling with this for quite some time, I finally felt a 10mm bolt with my fingers in the general area circled below. Although I wasn't able to see it, I managed to get my socket wrench in there and remove a 10mm bolt that was holding this wire loom in place. Once the 10mm mounting bolt was removed, I was able to move it out of the way, giving me the required room for removing the six 8mm bolts, holding the solenoid in place.
With the plastic wire loom moved to the side, I was able to remove the six 8mm bolts.
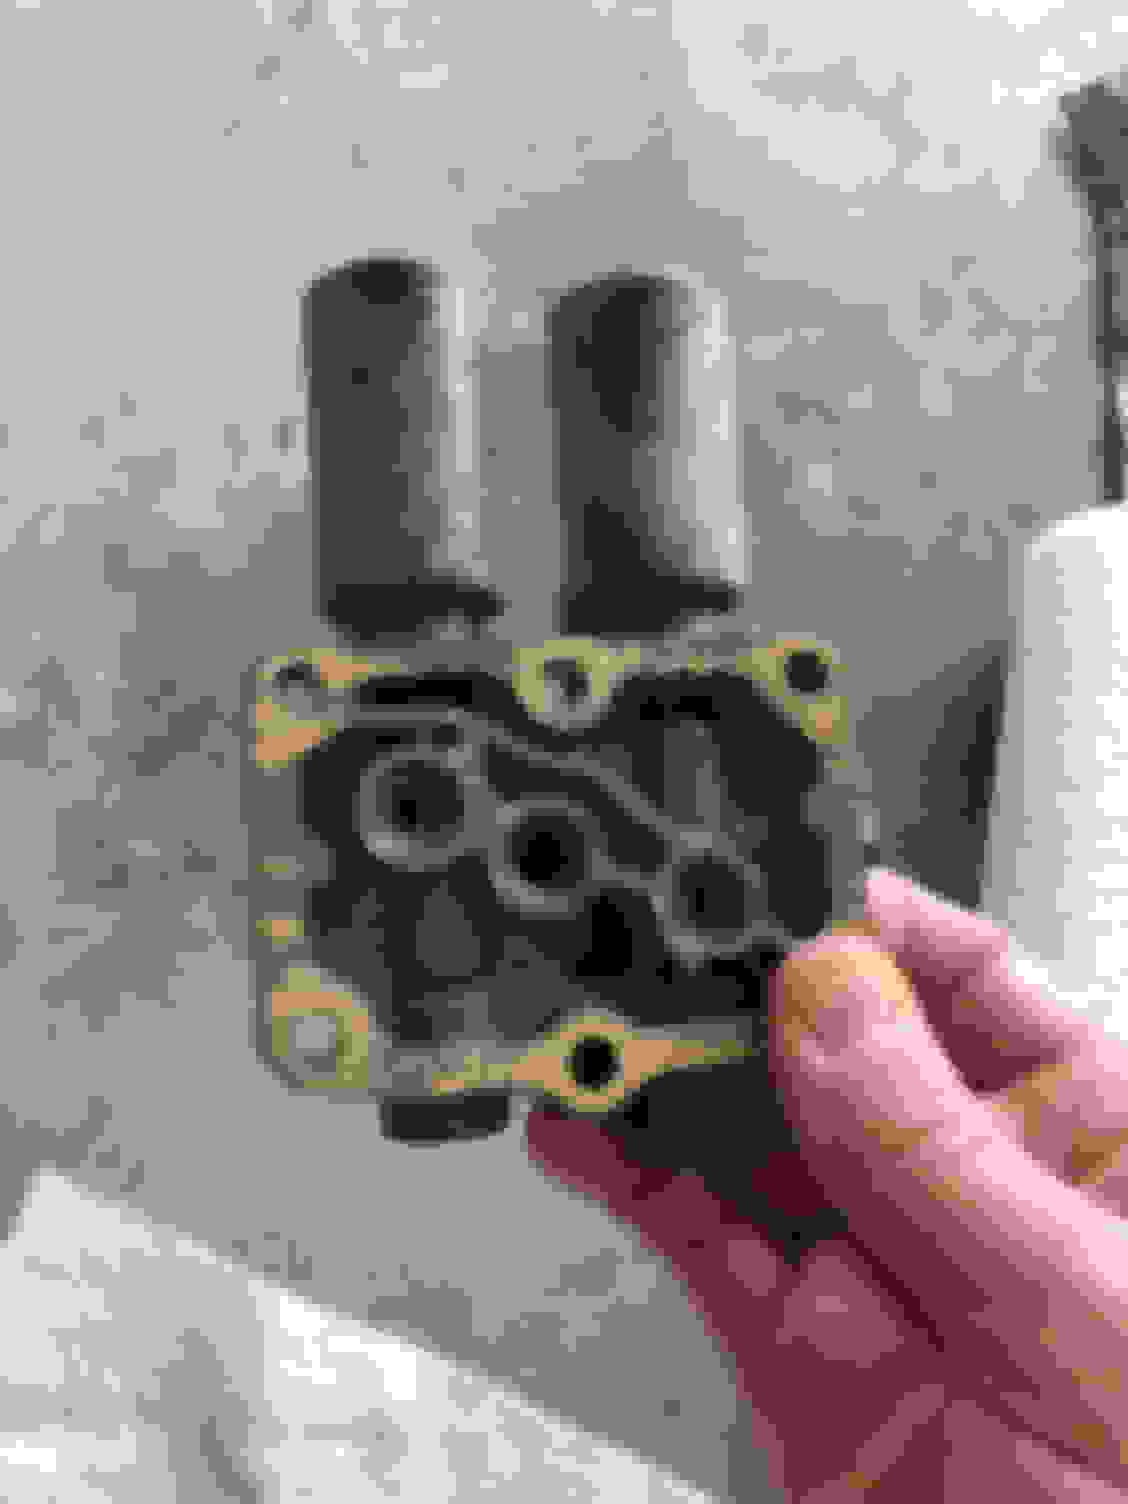
With the solenoid finally removed, I thoroughly cleaned each pipe with carburetor cleaner. I used a fresh piece of paper towel for each pipe and as you can see, they were quite dirty. Before reinstalling each pipe, I made sure to also install a new rubber o-ring.
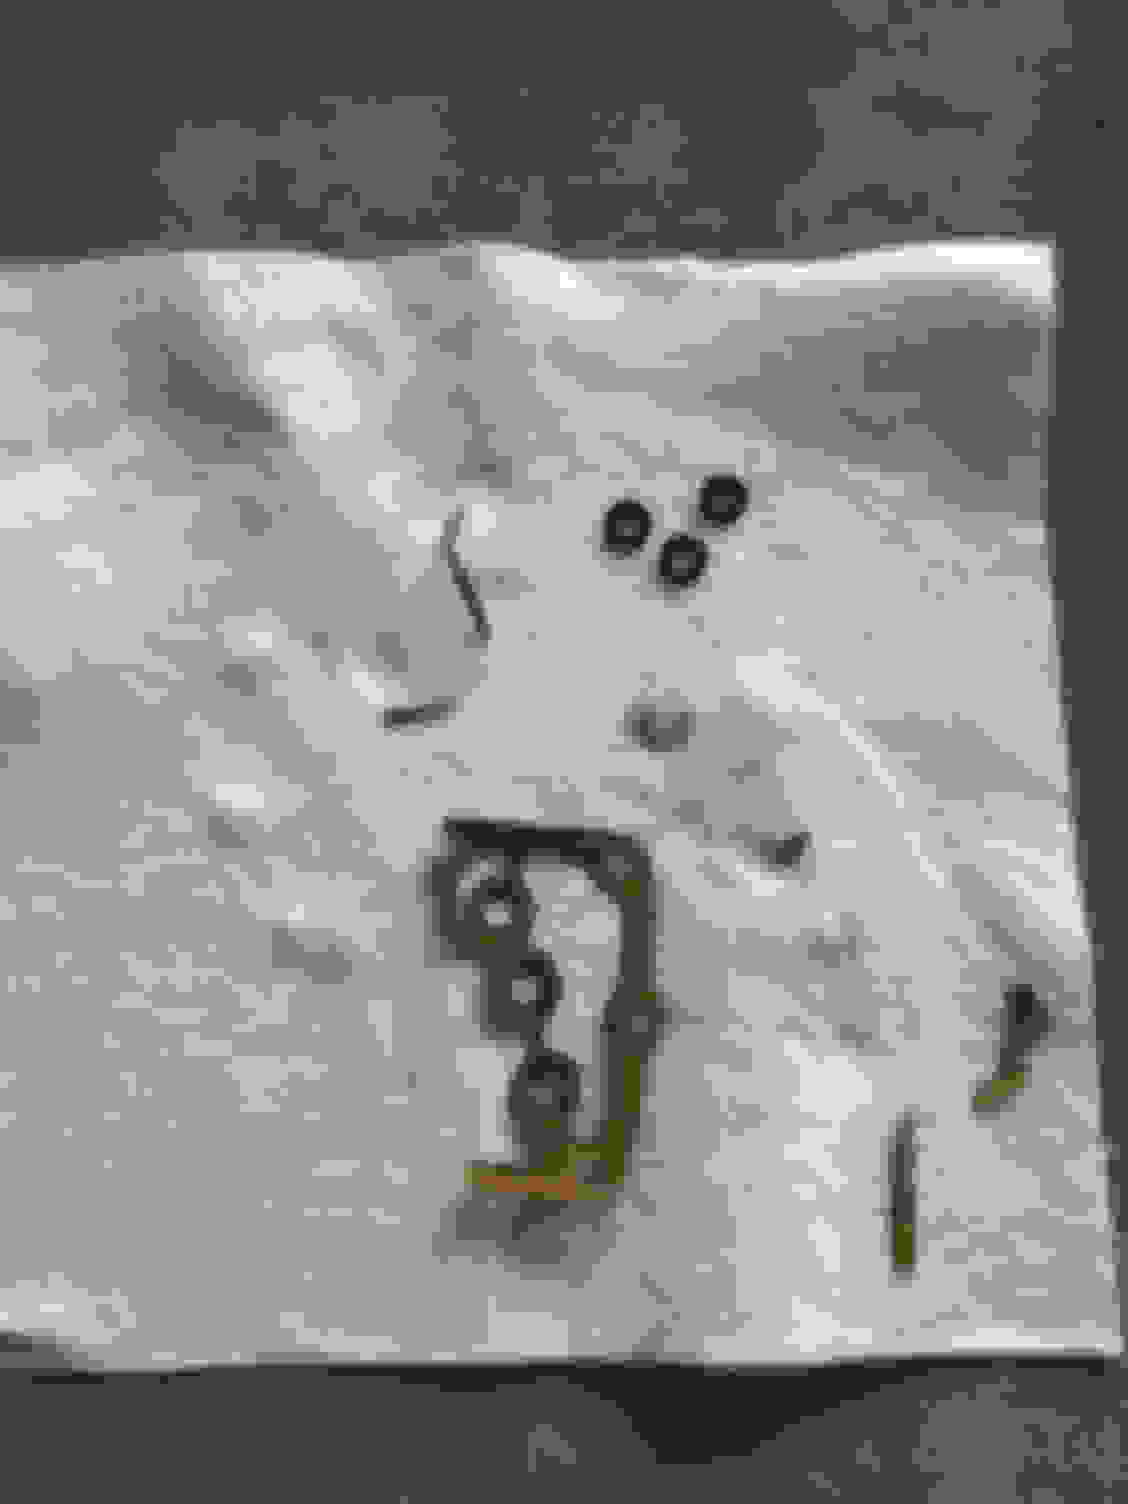
Lastly, I removed any remnants of the old paper gasket with an X-Acto knife, while making sure that no debris fell into any crevice of the solenoid. Once that was complete, I reinstalled everything and cracked a beer
Guys i have question. The oem part numbers for 2007 and 2010 are different, but the aftermarket uses the same switches for 2007-2012. So now the question is, are the oem switches same with different part numbers?
Well, it has been another 30,000 miles on my wife's 2007 Acura RDX. I'm really not in the mood to change all of the pressure switches and clean the solenoids again. It's so much work lol.
2nd Pressure Switch
Original Part #: 28600-RAY-013
New Part #: 28600-RKE-004
3rd Pressure Switch
Original Part #: 28610-RAY-013
New Part #: 28610-RKE-004
4th Pressure Switch
Original Part #: 28600-RAY-013
New Part #: 28600-RKE-004
I'm not sure about the washers for the 3rd and 4th switches, but I can confirm that the correct washer for the 2nd switch is part #90471-PW7-A00
So ordered the part number mentioned on this post for the 2nd Pressure switch and when I went through all the steps to get access and remove the pressure switch the connector was very different from PN 28600-RKE-004. Went to my local Acura dealer here in the Greater Toronto Area and they advised that switch is for a TL. Asked him what the part number for the 2nd pressure switch is for a 2010 Acura RDX and he advised its 28600-R36-004. Its the same part number for the 4th pressure switch as well.
Any way I ordered the 28600-R36-004 and will get it tomorrow. I have attached pictures here that show the difference between the 28600-RKE-004 and the 2nd pressure switch I took off my 2010 RDX.
But I wouldn't have gotten this far without the help of you all so thank you for making life easier and saving money.
I just re-checked the part number and confirm that 28600-RKE-004listed is CORRECT for my 2007 Acura RDX. It's not just for a TL. Please refer to the below:
Whenever you buy parts, you always need to make sure that you check your specific year, make, and model. I'm glad you got yours installed, but just keep this in mind for the future.
For sure. I always recheck but I think in my desperation I overlooked doing some checking on my end. But thanks again for your input in this post.
PS: If anyone is looking to purchase a new, unused 28600-RKE-004, please hit me up. I have one to sell. =)
 03-13-2019, 07:25 PM


 .
.


 . I think my patience had run out and I was getting annoyed back in June.