When you click on links to various merchants on this site and make a purchase, this can result in this site earning a commission. Affiliate programs and affiliations include, but are not limited to, the eBay Partner Network.
RDX 1st Gen Tech Package USA SPEC iPod installation instructions
I've succeeded in installing an aftermarket iPod integration kid on my 1st gen RDX w/Tech and it is AWESOME. Does everything it says on the tin.
I used the USA SPEC PA15-ACUxl in this case, and this is the correct USA SPEC device for this application, but I'm pretty sure all "RDX Tech package" aftermarket solutions from all brands connect to the XM receiver, so these same instructions should apply.
There's lots of videos online for other Acura models that show how NOT to do this, but I did find one for this model based on the iSimple solution:
With that video as the basis, here's exactly what I did.
Step 1: Remove Glove Compartment Box
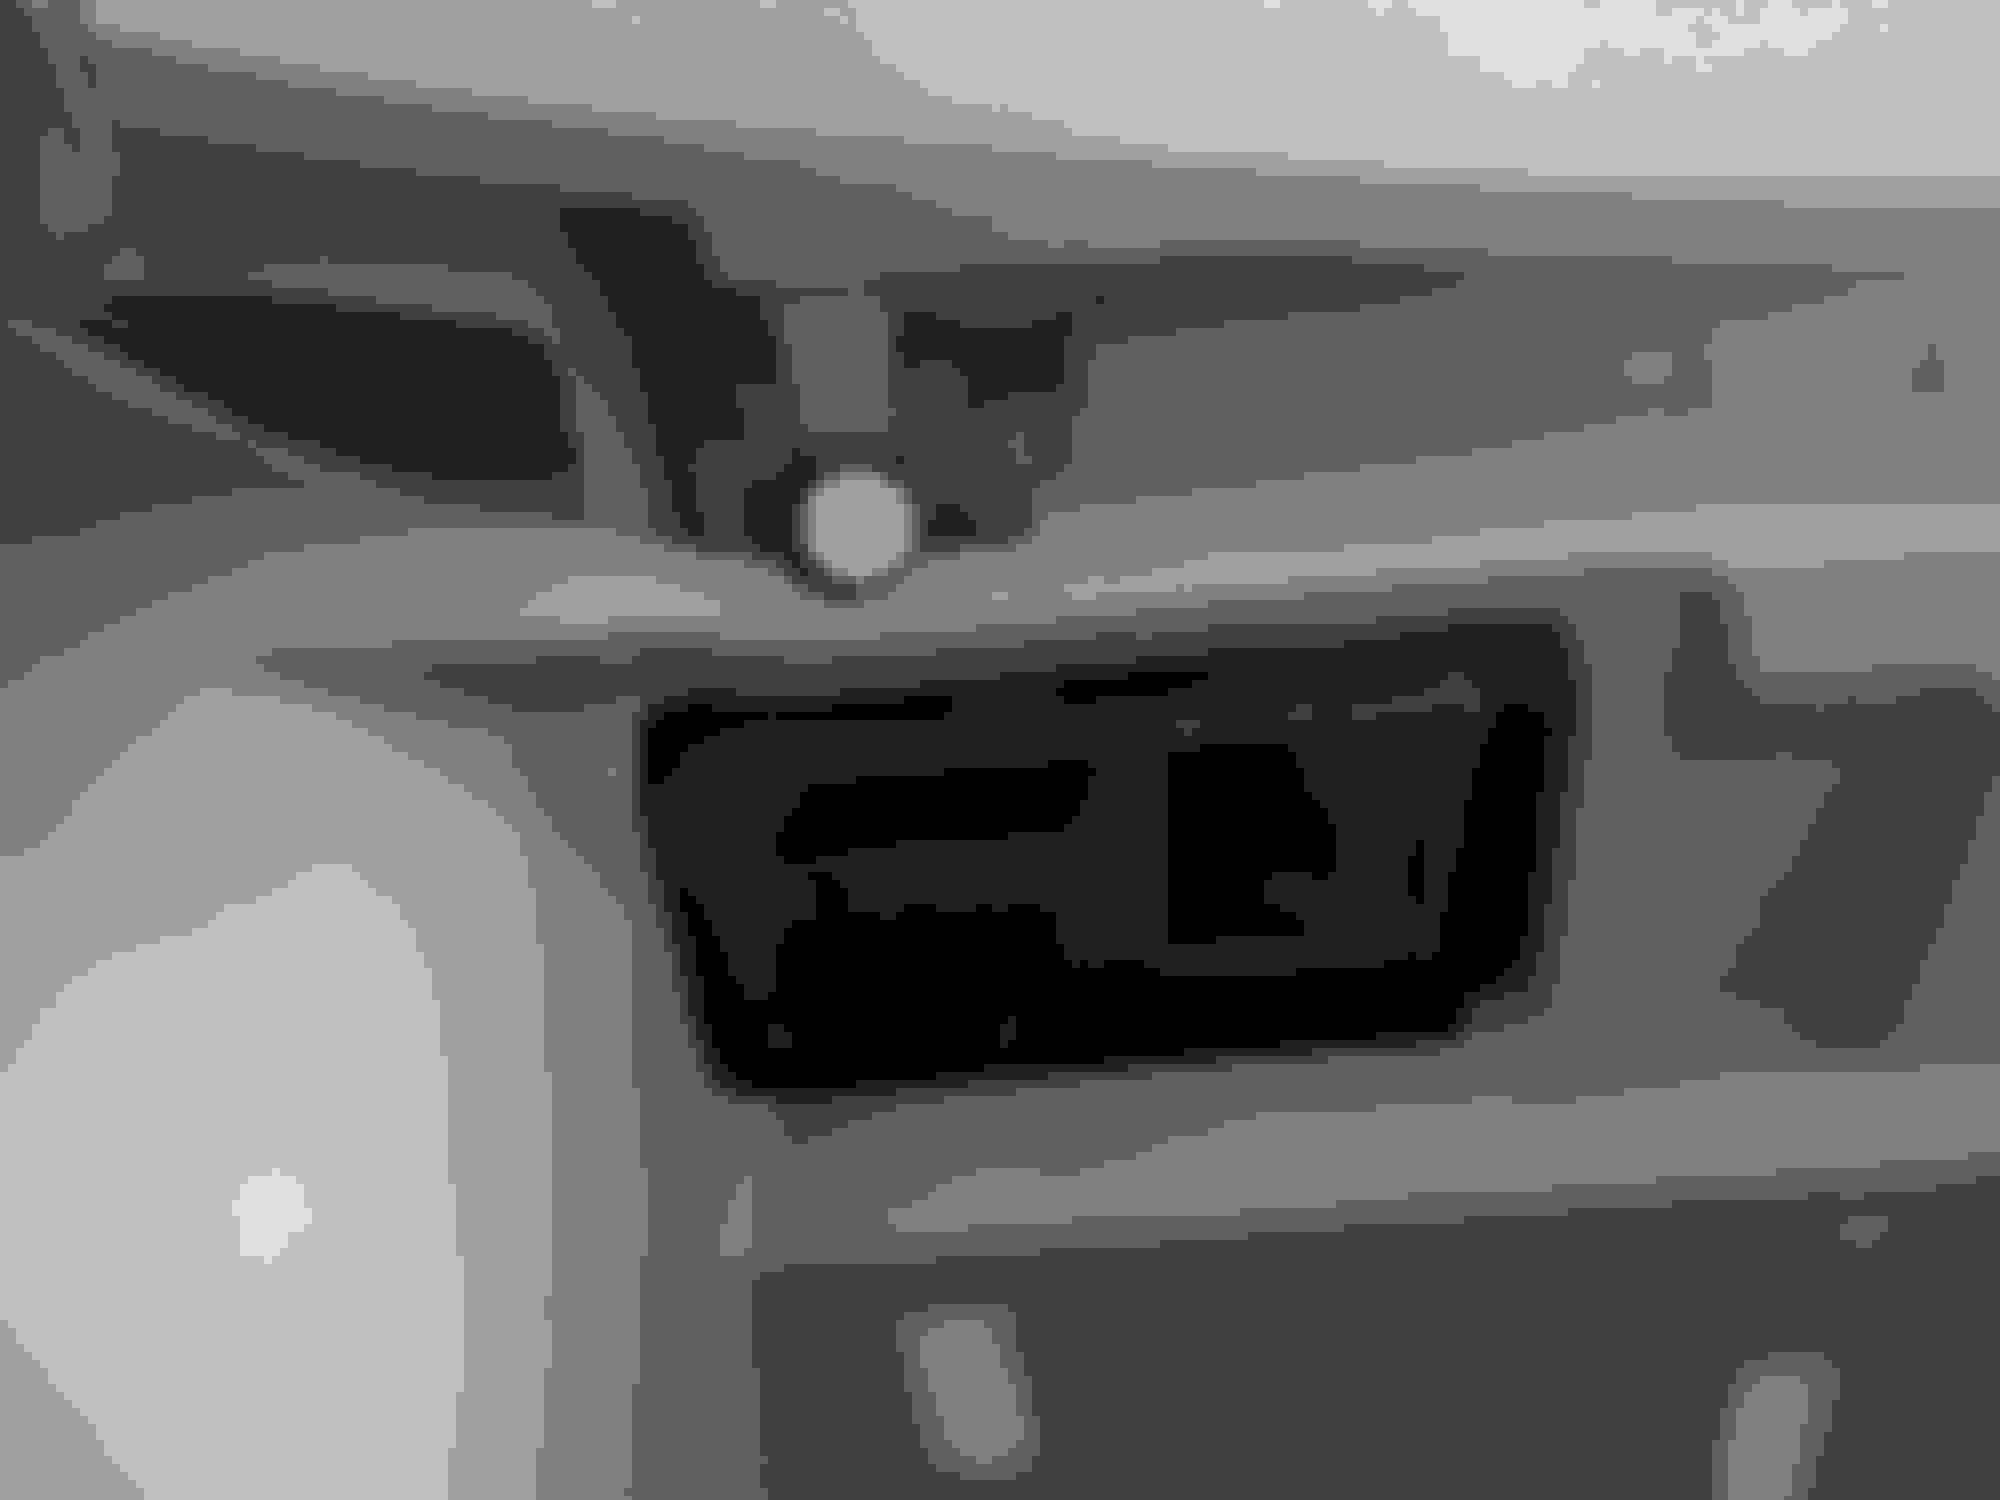
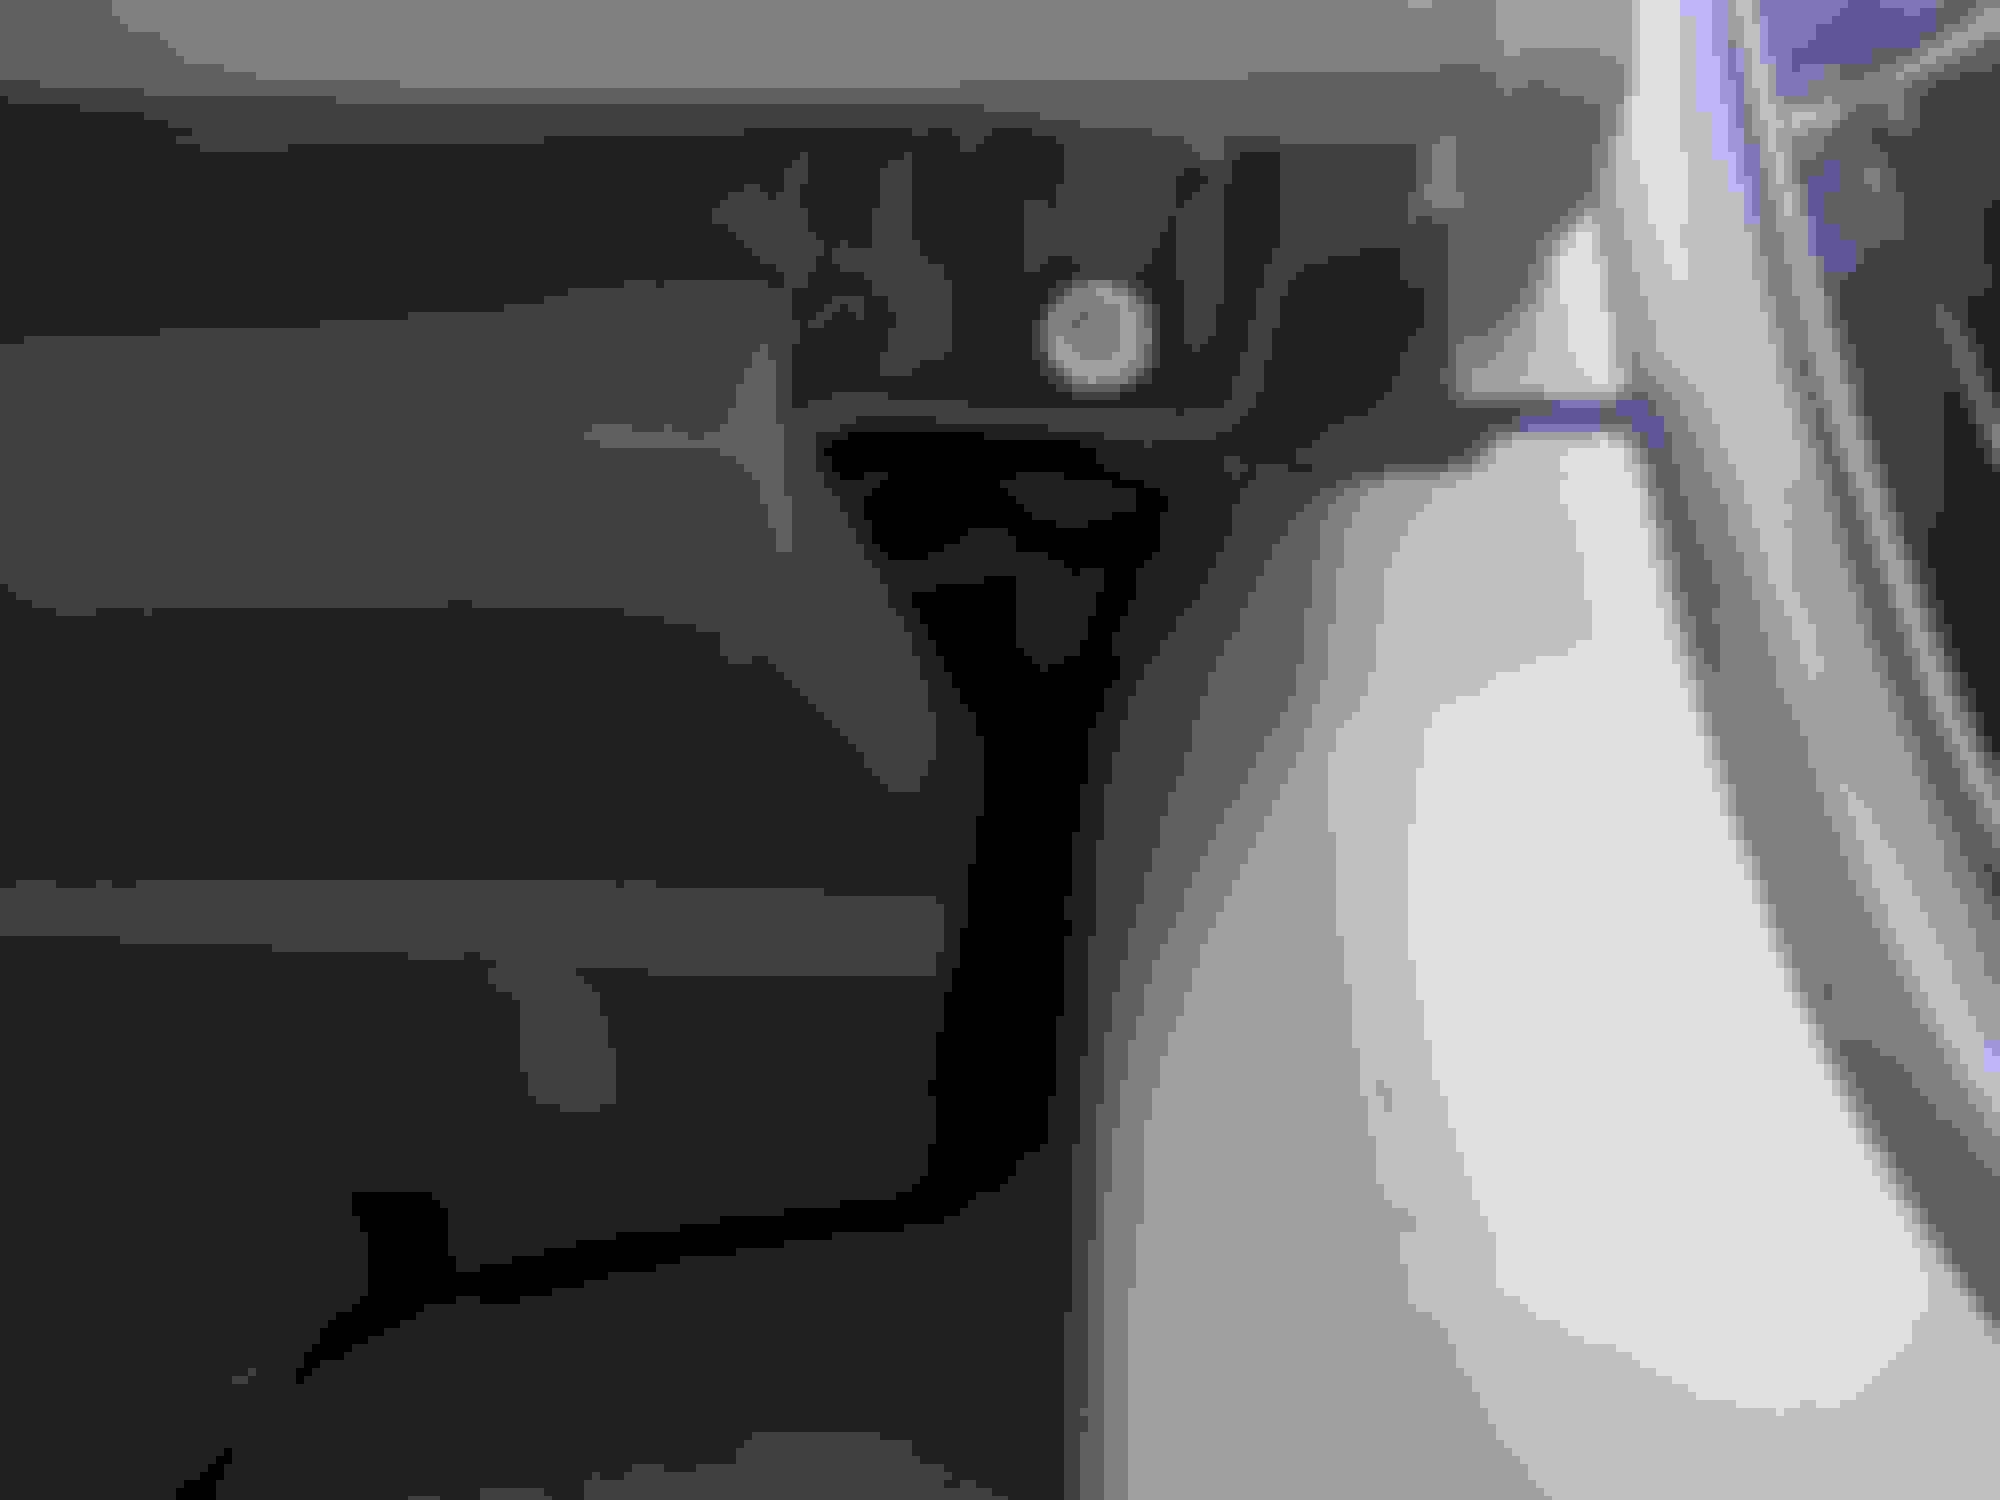
I had to lay on my back on the passenger side footwell to see the two silver bolts that hold the glove compartment hinges to the dashboard. The hinges stay attached to the glove box itself after removal. You can use a phillips head screwdriver to remove these in a pinch, but a socket wrench with an 8mm socket and short extension is the perfect tool. NOTE: there is also a black plastic clip on the right side that provides the "soft touch" experience when opening/closing the glove box, not pictured here but explained well in the YouTube video above. Remove the clip before removing the glove box. The locations of these bolts are hard to see but very easy to access; I had to lay on my back on the passenger footwell to do the work (and take these pics):
Left hinge
Right hinge
Step 2: Locate the XM receiver unit and connect the Y-connector
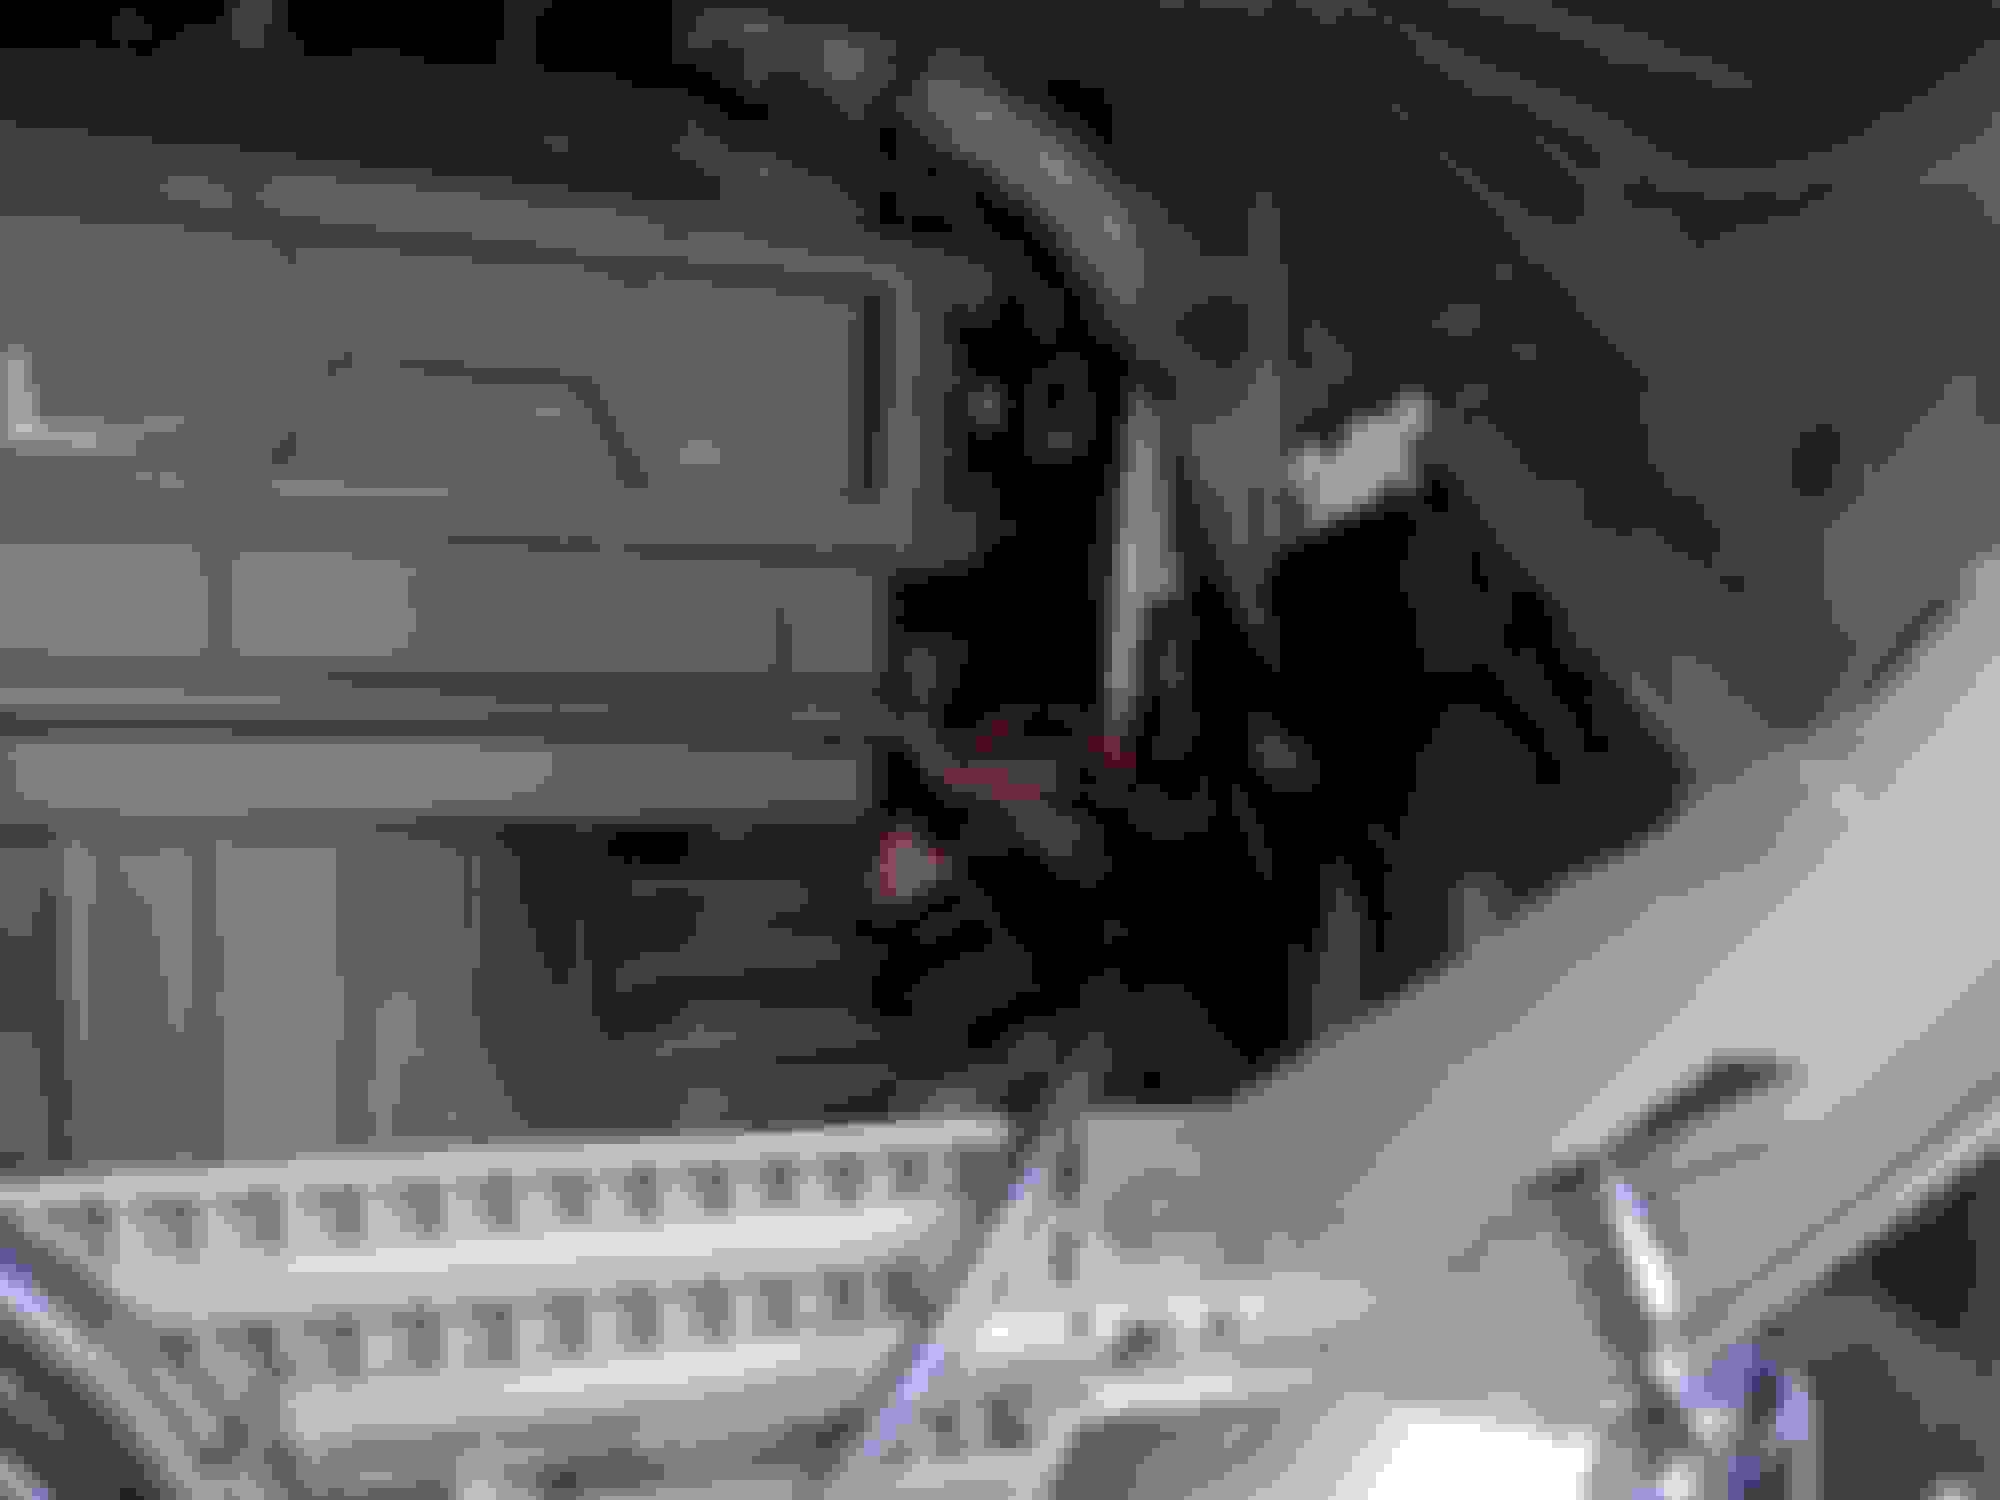
In the RDX 1st gen, the XM receiver unit is hidden pretty well; it's a silver box ALL THE WAY ON THE RIGHT SIDE of the area behind the glove box. It has two different cable connectors going to it (power and data). You want to use the y-connector that comes with the kit on the data cable connector (the larger of the two). Nonetheless, because of the awkward location of the XM receiver, I removed the power connector first, to make the data connector easier to work with. Just remember to reattach the power connector when you're done too! Here's how it looks with the y-connector attached:
XM Receiver (silver) with aftermarket y-harness connected
Step 3: Route the iPod, put it all back together again, and rock out
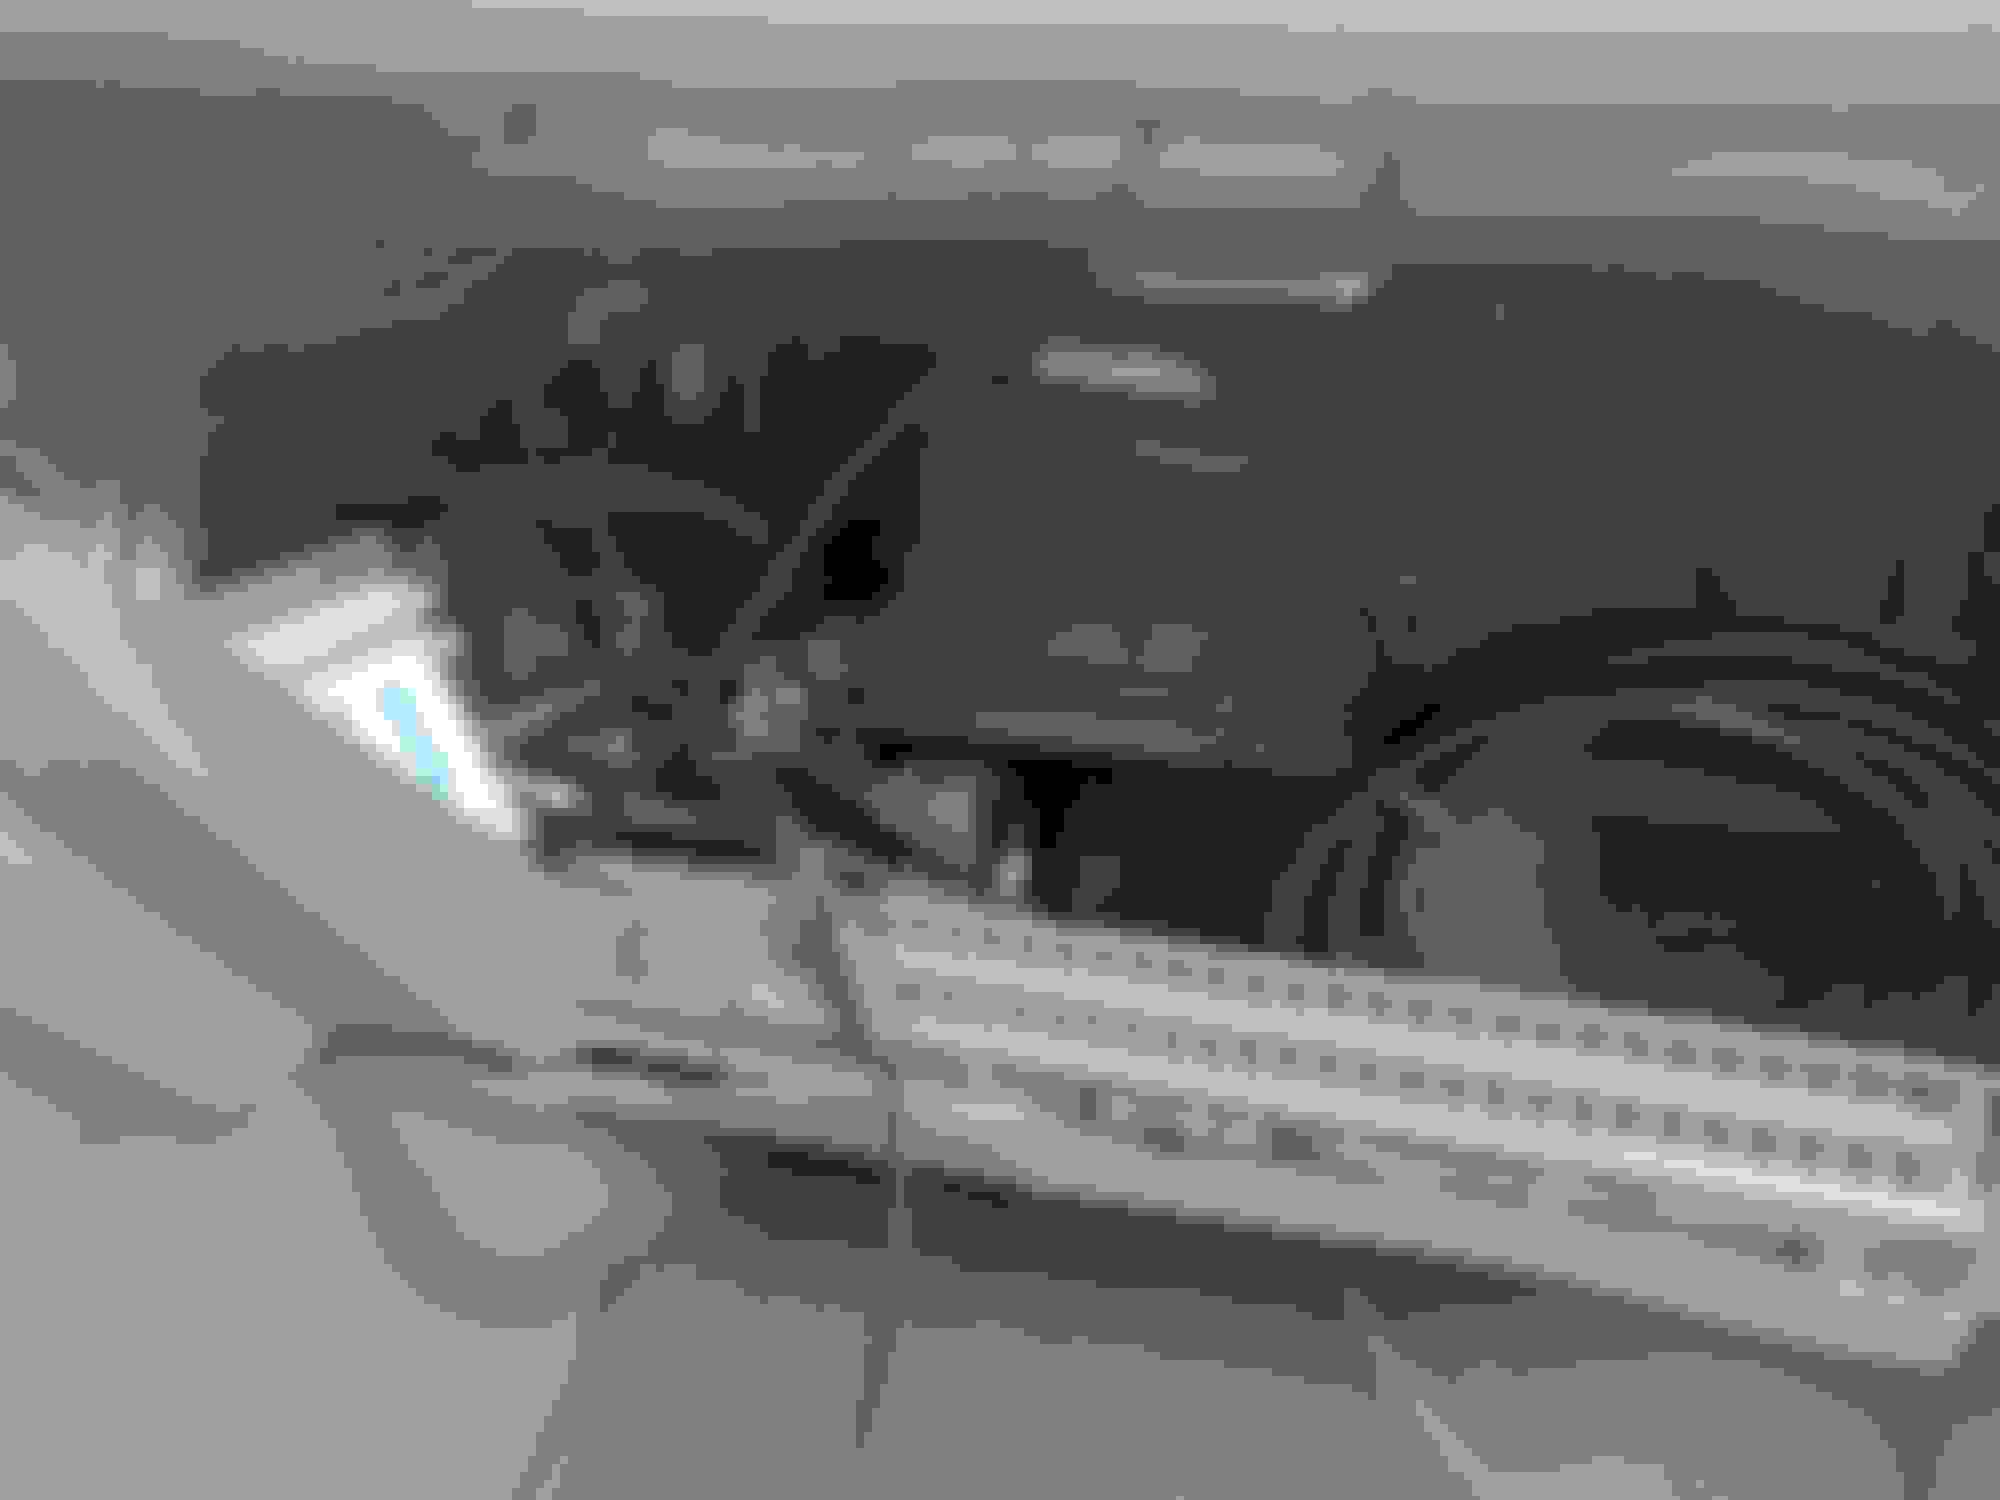
Now you have to find a place for the actual aftermarket adapter. I placed it on the opposite side of the glove compartment area, near the center console. There's a perfectly sized space there. Then, you can keep the iPod connector cable (and your iPod) in the glove compartment. Reattach the glove compartment the same way you removed it (bolts first, and then finally the clip), hook up your iPod-dock-compatible device, and ROCK OUT!
USA Spec device and cables routed across compartment area and stored near center console
iPod connector cable ready for use
P.S. Don't forget to TEST the connection before reassembling. Plug in your iPod, turn on the vehicle, and turn on the stereo and put it to XM1. Your iPod should start playing.
Nice! I used a USA-Spec adapter for my previous car that had XM and an aux input, but no USB. It worked perfectly and would definitely recommend their stuff.
 07-16-2017, 10:27 AM