When you click on links to various merchants on this site and make a purchase, this can result in this site earning a commission. Affiliate programs and affiliations include, but are not limited to, the eBay Partner Network.
ISHD651 iSimple Installation for 2007-09 Acura RDX
I. Introduction
In this thread, I will be detailing how I installed the ISHD651 iSimple in my wife’s 2007 Acura RDX. With limited audio integration options, I decided to install an aftermarket interface that provided us with the Bluetooth streaming options that we’ve come to love. I’ve used the ISHD651 iSimple in my 2005 Acura TL for nearly four years now and it has served me well. To-date there is not a detailed thread for the first generation Acura RDX (2007-2012), so I wanted to share my experiences with the Acurazine community.
II. Audio Integration Background
USB audio input and Bluetooth audio streaming options became available for first generation Acura RDXs in 2010 (see below link for reference):
Unfortunately, owners of 2007-2009 Acura RDXs are not as privileged and only really have one option for connecting personal devices to the factory head unit. If an individual wants to connect a personal device to the OEM audio interface, it has to be connected manually by using the auxiliary input, located on the face of the factory radio. Although, this option is indeed functional, the practicality behind an auxiliary cord is actually somewhat dated and there are better solutions for technology enthusiasts.
As a result of some of these shortcomings, companies like HP, have developed aftermarket interfaces that allow individuals to integrate modern day audio solutions. The ISHD651 iSimple is an aftermarket interface that allows Acura and Honda owners to utilize auxiliary/RCA, USB, and/or Bluetooth audio streaming options. This is a great alternative to installing messy-looking aftermarket head units and keeps the front dash looking great.
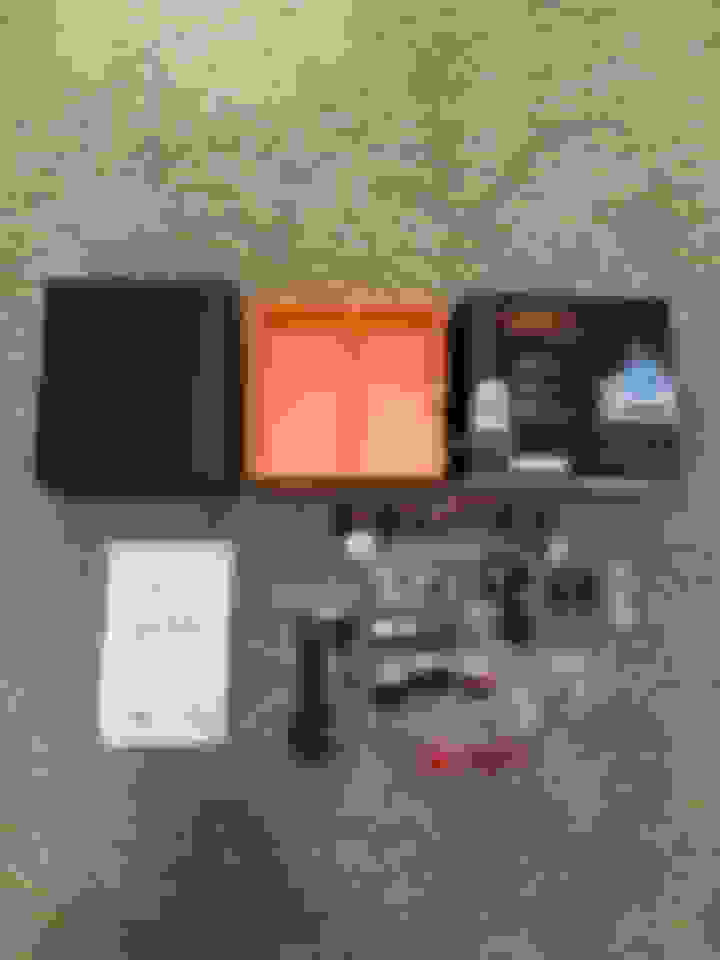
III. Parts Needed
*Most users will only need the iSimple kit and a set of basic hand tools. However, my installation was a little different and required a few additional parts.
Required
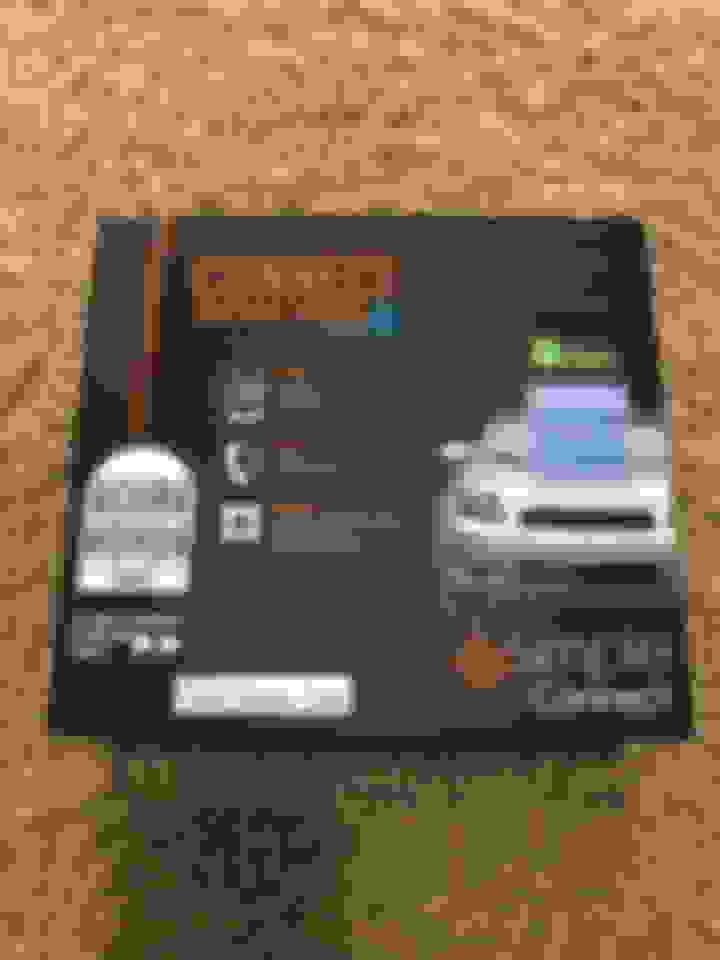
-HP PAC ISHD651 iSimple
-Philips Head Screwdriver (Required)
-Flat Head Screwdriver or Instrument Panel Removal Tools (Required)
-10mm Socket with Extension (Required)
-3/8’’ Socket Wrench (Required)
Optional
-3/4 Inch Spade Bit
-Duct Tape or Electrical Tape
-Command 3M Photo Hangers
IV. Removing Radio (Step 1)
The ISHD65 iSimple connects to the factory head unit through the XM antenna port in the back of the radio. To gain access to this plug, the factory radio had to be removed.
*WARNING: When removing interior dash pieces, I always recommend that individuals use their hands as much as possible. This helps avoid unnecessary scratching and marring of the interior plastics if a tool were to slip. If a tool is required, an instrument panel removal tool is the best solution. However, if this type of tool is not available, a small flat head screwdriver can also be used effectively if the metal tip is covered in duct tape or electrical tape
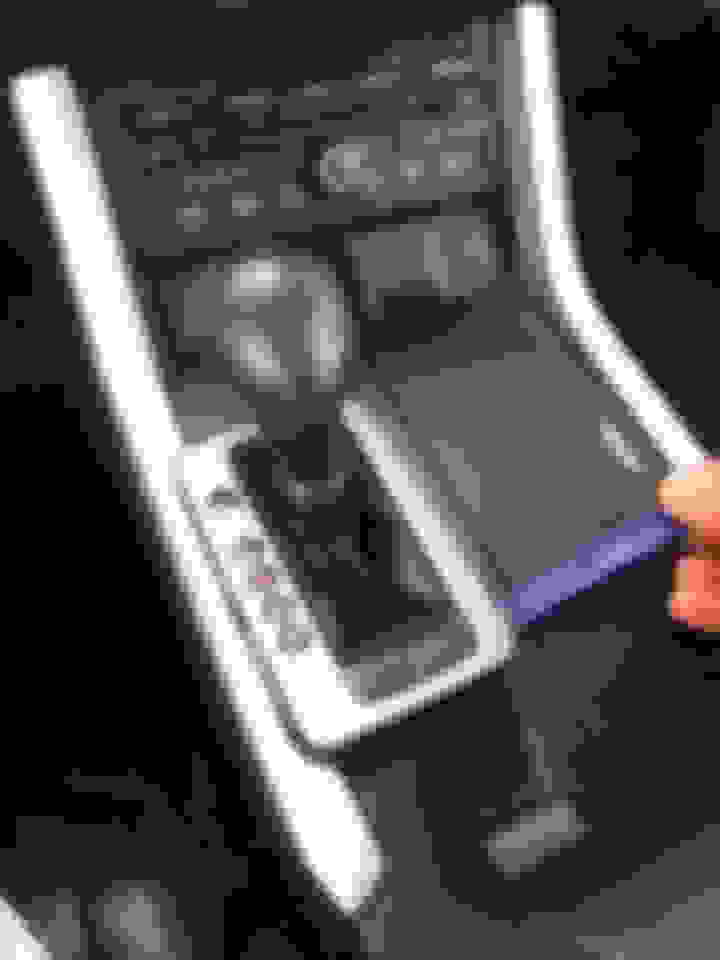
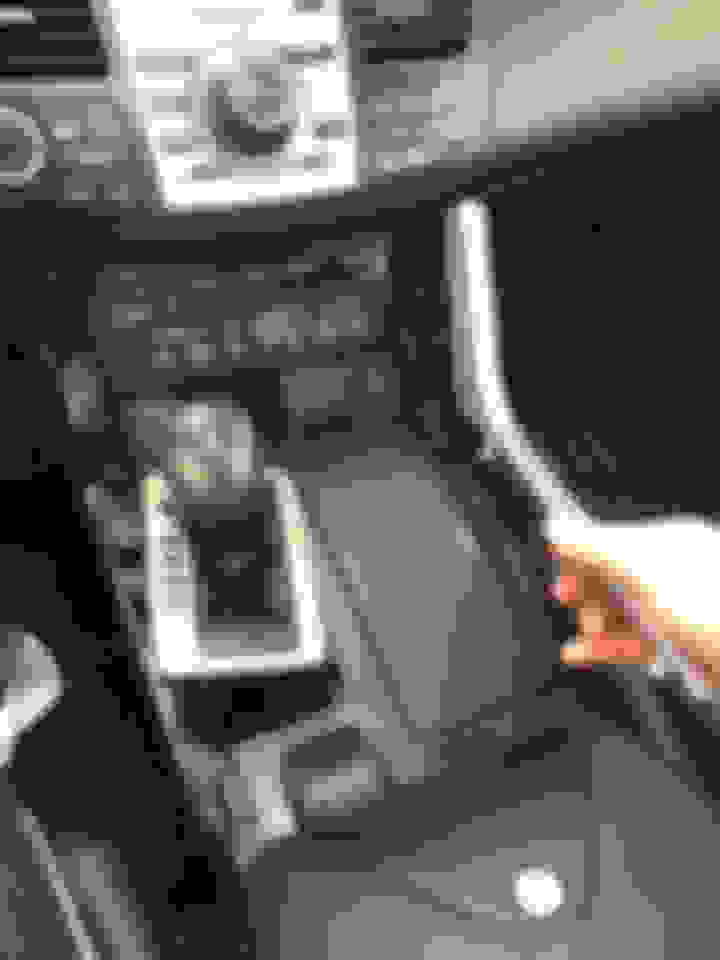
A Removing Gear Shifter Trim Piece
The silver trim piece surrounding the gear shifter had to be unclipped. The leather from the gear shifter is attached to this exterior trim piece, so this piece cannot easily be removed. However, simply unclipping this piece sufficed.
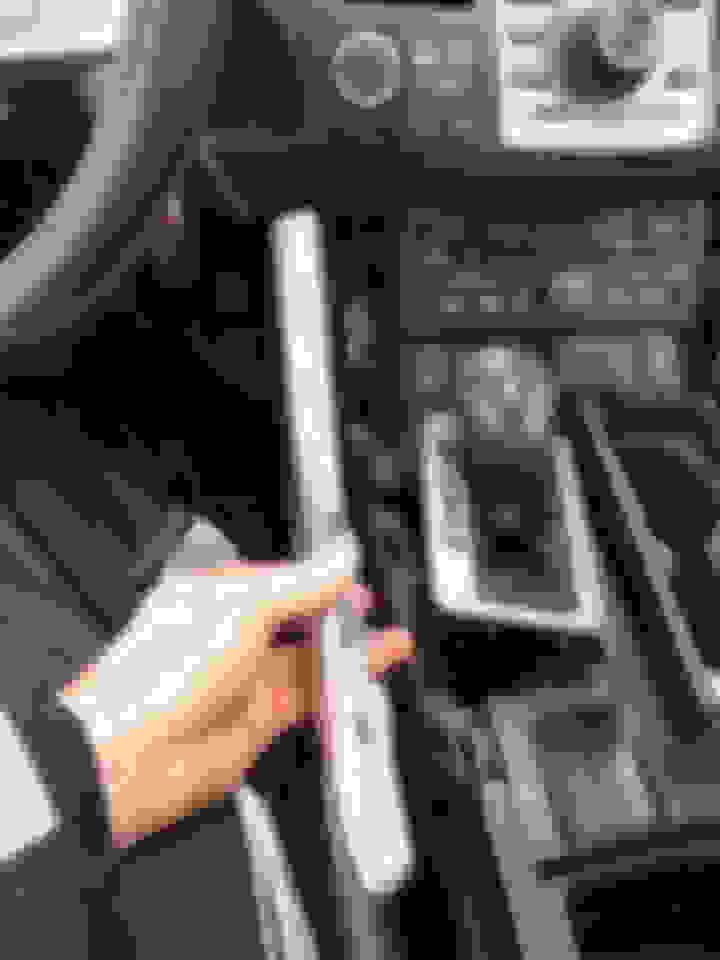
B. Removing Center Console Trim Pieces
To remove each of these pieces, I placed my instrument panel removal tool in between the center console and the trim pieces (Driver’s Side: Near the gear shifter; Passenger Side: Near the cup holder) and pried upwards. It took some force, but eventually the bottom clips came unhinged. Using my hands, I pulled upwards until the bottom sections were unclipped and then pulled towards myself for releasing the top sections. You will notice that the trim pieces bend upwards at about forty five degrees. The clips that hold the top portion of the trim pieces to the dash area need to be pulled towards the seats and not upwards or outwards towards the doors
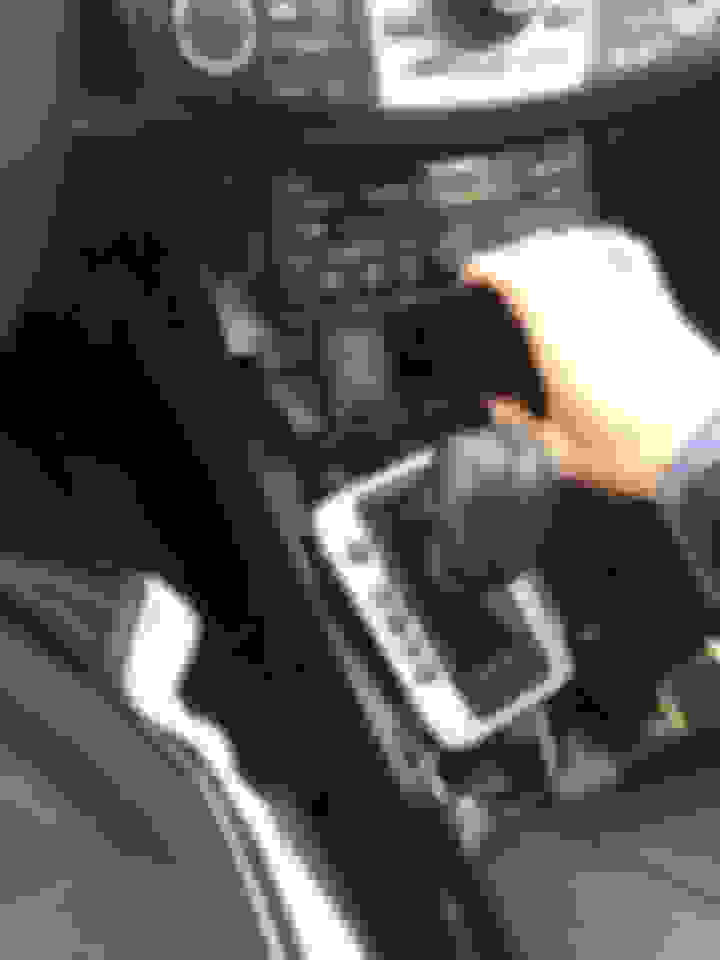
C. Removing Center Console Tray
To remove this large piece, I used my instrument panel removal tool and gently pried up on each corner of the tray area until all clips were removed. After each clip was removed, I had to move the gear shifter back to create the appropriate angle that allowed for me to remove the large plastic tray. To do this, I simply started the car and put it in neutral, while holding my foot on the brake. Once I was able to remove the tray, I placed the vehicle back in park and turned off the engine.
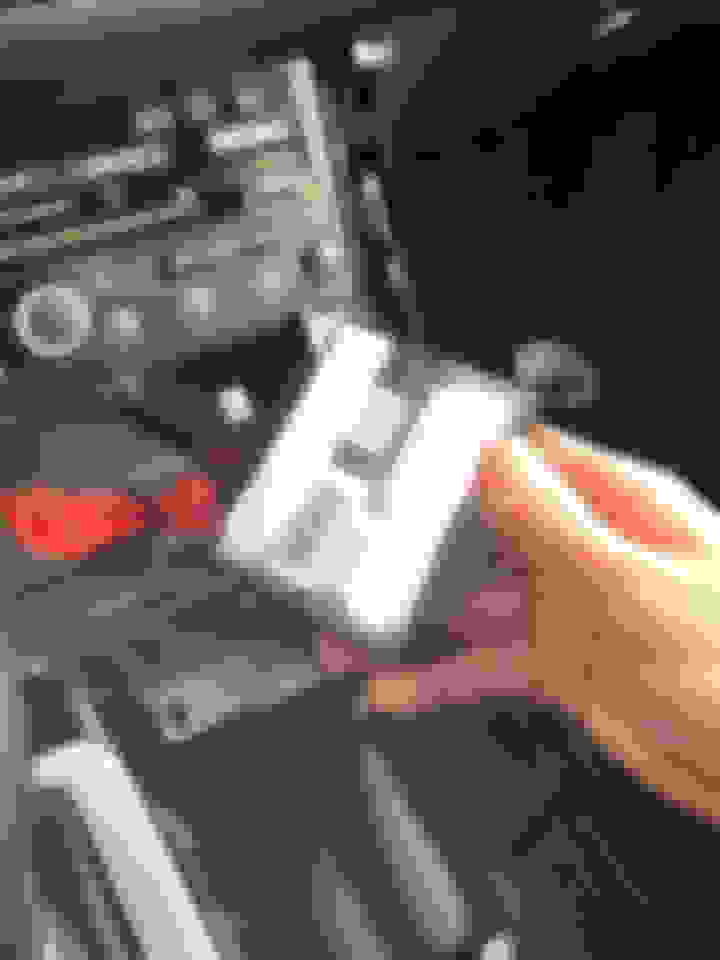
D. Removing Lower Cubby
After the center console pieces were removed, I proceeded to remove the lower dash cubby by unscrewing two Philips head screws.
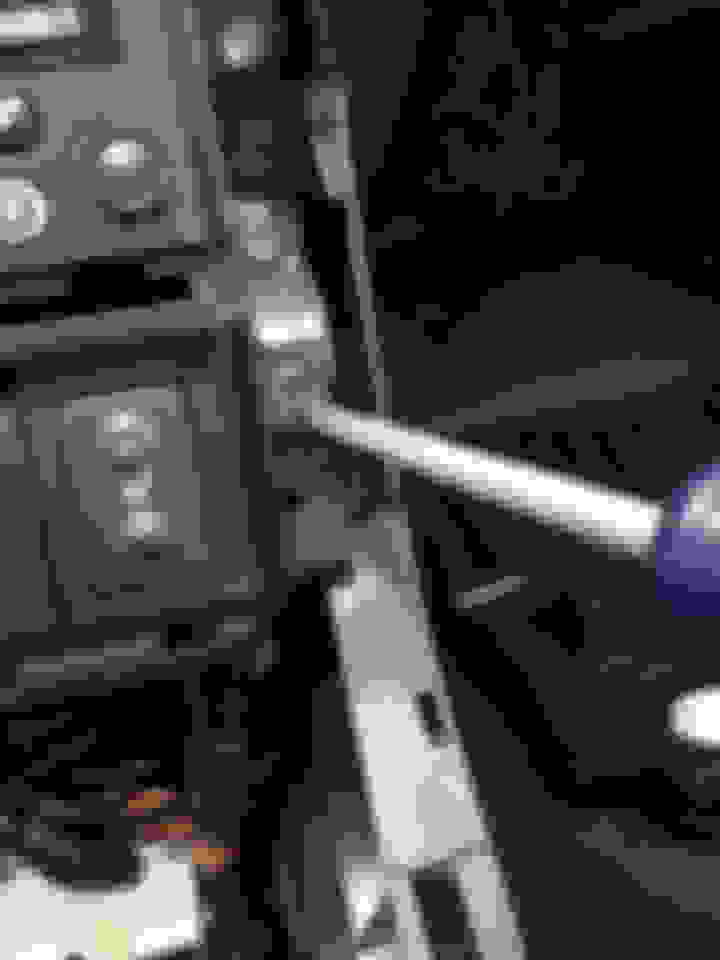
E. Removing Radio
Lastly, I released the radio by unscrewing two 10mm bolts from each side of the radio. I did not get a picture of this, but the two bolts are black and you can see them easily in the previous two pictures.
V. Installing ISHD651 iSimple (Step 2)
A. Mounting with Command 3M Photo Hangers
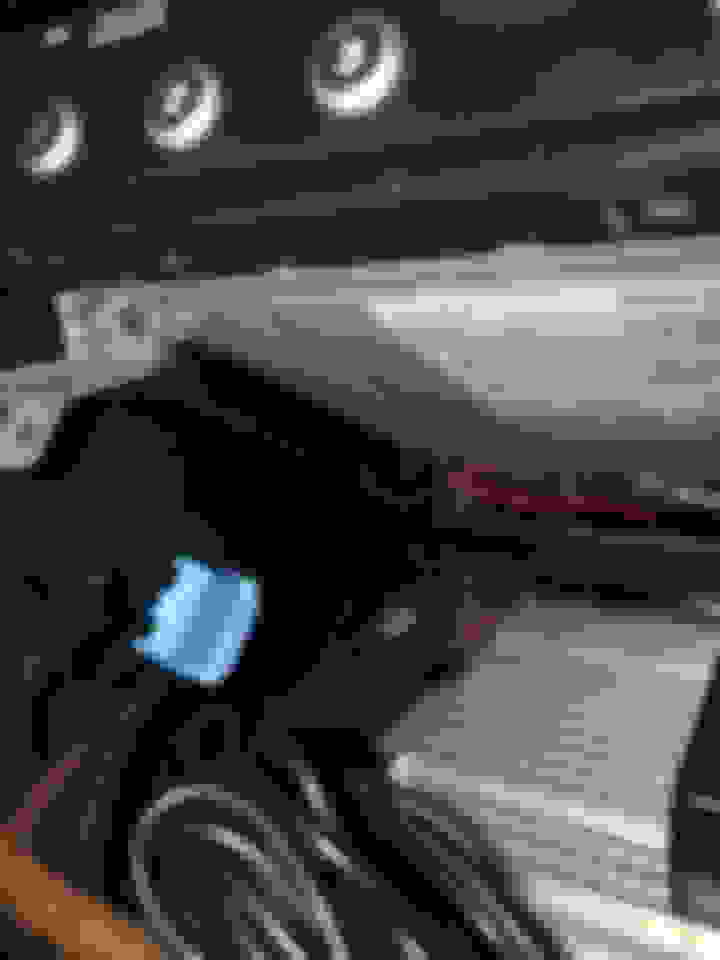
As you will see in the below pictures, I used two Command 3M Photo Hangers to mount the ISHD65 iSimple to the top of the factory amplifier. The open area behind the radio was just large enough for the interface to fit comfortably. I had to mount the interface to the far right side of the open space, because the ash tray compartment from the lower cubby protrudes deep into this opening. Using the Photo Hangers’ Velcro contact ensured that the interface will not move while the vehicle is in use. The Photo Hangers are very strong, yet also easily removable if I ever have to remove this interface.
B. Installing XM Wiring Harness
As previously stated, the ISHD65 iSimple connects to the factory head unit via the XM antenna port in the back of the radio. Therefore, I unplugged the XM antenna and used the provided wiring harness adapter to reconnect the XM antenna and the ISHD65 iSimple to the factory radio.
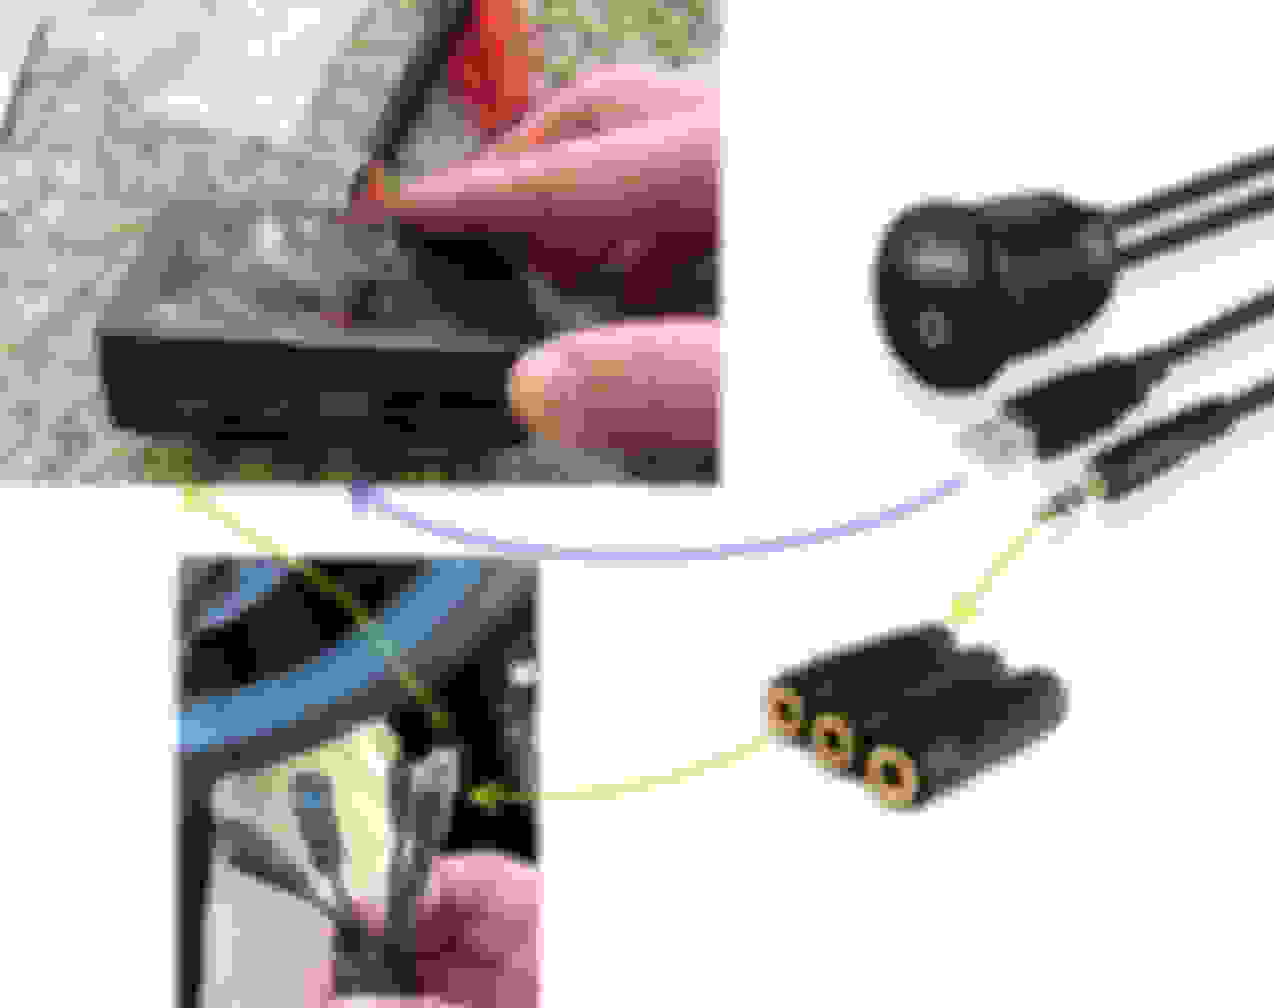
C. Installing Reset Wire
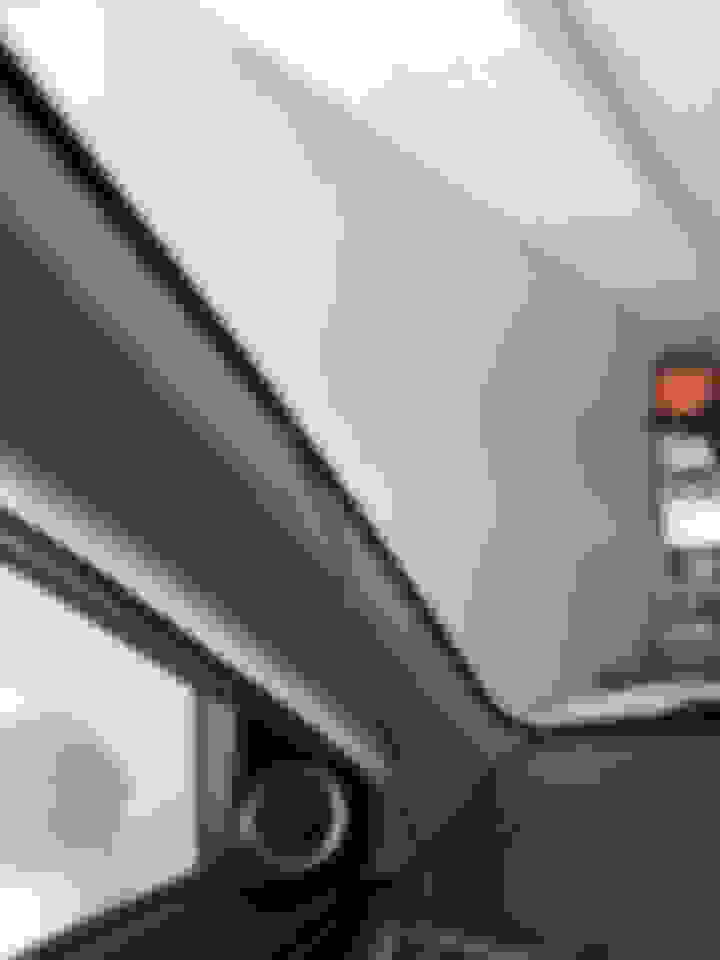
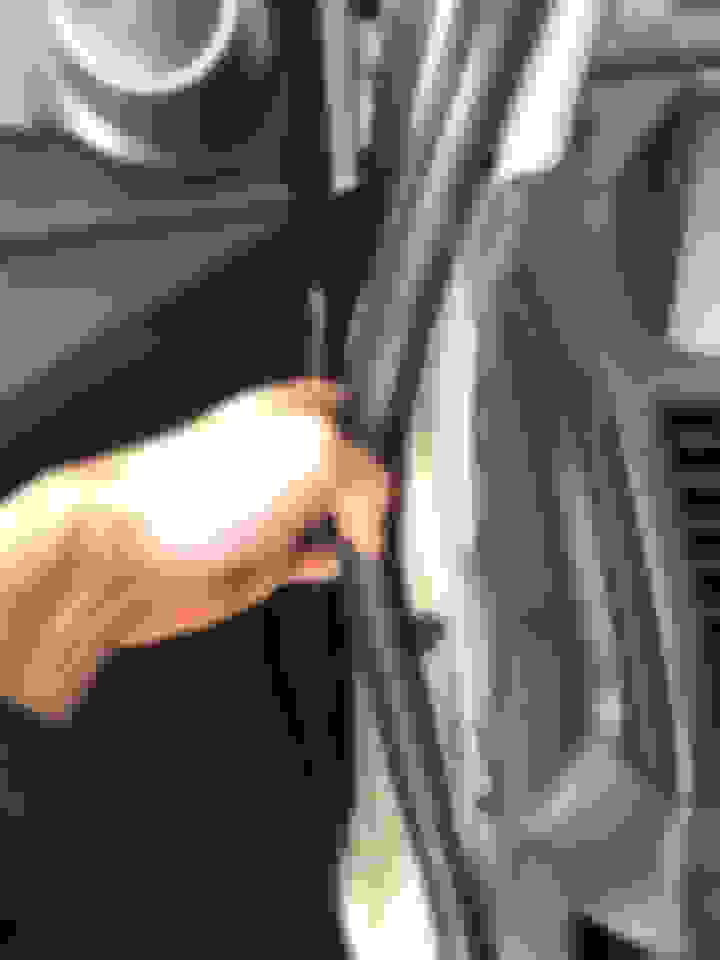
The ISHD65 iSimple interface is also equipped with a factory reset button that clips into the interface through a long red wire. This button needs to be accessible and pushed if the interface ever has to be reset. For this reason, I ran the wire through an opening behind the driver’s side lower pillar and taped the wire behind the carpet. This way, the reset button is easily accessible, yet hidden from normal viewing. In the below photo, you can see my finger in the small opening where the wire was fed through.
C. Installing Bluetooth Microphone Wire
I installed the Bluetooth microphone above the driver side window visor. I performed a few test phone calls to find the best placement and this location proved to deliver the best clarity for the recipient. I tucked this wire behind the sides of the dash and then fed the wire through the same opening as the reset wire.
*Tip: The opening behind the driver’s side lower pillar was a bit difficult to access. Therefore, I used a coat hanger and taped the cord to the end of it to pull it through.
D. Installing Auxiliary Wire
The ISHD651 iSimple is built with two auxiliary input options (AUX 1 or AUX 2), which is a great feature if anyone has multiple devices that they plan to switch back and forth from. However, it’s important to note that only one auxiliary input can be used at a time and the kit does only come with one auxiliary wire. However, a second can be purchased if needed.
One end of the provided wire includes the port connector and the other end of the wire includes RCA female nodes and a male auxiliary jack. Most individuals prefer to run the auxiliary jack through the center console and into the glove box. The wire is hidden and provides for a clean installation. In fact, this is actually how many third generation (2004-2008) Acura TL owners, like myself, have routed this wire in the past However, I followed a different approach, which I will detail in just a few steps.
E. Installing USB Wire
The ISHD651 iSimple is also built with one USB input. Included with the kit is a USB wire that includes a male USB connector on one end and a female USB connector on the other end. The female USB connection comes pre-installed with a circular mounting port can be installed on the face of a dash, within the ash tray compartment, or inside the center console.
To install the circular mount piece, a 3/4’’ spade bit can be used to drill a hole in the desired location. When I installed the ISHD651 iSimple in my 2005 Acura TL, I drilled a hole in my center console, similar to what is highlighted in the following pictures:
This option is very clean and works great. However, for this installation I decided to use an auxiliary/USB combination port.
VI. Installing Auxiliary/USB Port (Step 3)
With my wife’s Acura RDX, I like to keep things looking as stock as possible. Therefore, instead of drilling a hole in the center console (like I did with my 2005 Acura TL), I decided to remove the front cigarette lighter receptacle and install an auxiliary/USB combination port. The port that I purchased came with two pig tails, one for a USB connection and one for an auxiliary connection.
The USB pig tail contains a male USB end and connects right into the ISHD651 iSimple. However, the auxiliary pig tail contains a male 3.5mm jack that does not connect into the ISHD651 iSimple due to the unique port on the interface. Therefore, I had to buy a female-to-female 3.5mm jack adapter in order to connect this pig tail to the provided RCA/auxiliary cable, which then plugged into the iSHD651 iSimple. When I plugged the provided wire into the interface, I taped off the RCA nodes since I wouldn’t be using them.
VII. Reinstalling Radio and Interior Dash Pieces (Step 4)
After I tested each input to ensure the interface was working properly, I put everything back together and this was the end result, a nice clean factory looking installation
Thank you 🙏🏻, for the most amazing write up. Your dedication to this forum is amazing. It’s very in depth and very helpful. Glad people are still modifying their RDX’s! This is a great fix to a problem that should have never been there!
Hey, thanks for the compliment. I appreciate the kind words. Hopefully, this can help someone or, at a minimum, it's at least an entertaining read lol.
Your very welcome, it’s nice getting write ups that are easy to follow like this one. I would do it myself but I’m to lazy to take everything apart and put it back together. I just listen to my XM radio haha 😆.
You should totally attempt this. It's not that bad at all. If it's something you're interested in doing, it won't take you more than 2 hours to complete!
Great write up. I previously had this setup but the Bluetooth version and I had to constantly reset it everytime I got into my RDX. I reached out to the company and they sent me a replacement. It still did the same thing. Eventually they refunded back my money. Maybe that problem was with the Bluetooth version only but make sure you test it out well before it runs out of warranty or the return period
Hmm that's interesting. this is the Bluetooth version and I've had the iSimple ishd651 in my 2005 Acura TL with very limited issues. I recall only having to reset the Bluetooth module a handful of times over the past few years.
So far, there haven't been any issues with the device in my wife's 2007 Acura RDX. Hppefully, it continues to run smoothly.
I got one of these off eBay but the box says it's only for 2007-2008. I unfortunately bought the 2009 RDX. As far as I know the sound system looks the same on the outside. the isimple.com site does not list this as compatible with 2009. I'll probably have to return this.
I can almost guarantee that this will work for the 2009 models. You should just install it first and then if it doesn't work, you can return it. It's just a matter of plugging in a few things. If it doesn't work, unplug it and ship it back .
I can almost guarantee that this will work for the 2009 models. You should just install it first and then if it doesn't work, you can return it. It's just a matter of plugging in a few things. If it doesn't work, unplug it and ship it back .
Yeah the box isn't sealed or taped up in any way. I'll just do it very nicely.
I went through the wire diagrams and connectors for both an 07 and 09 they are identical. Gonna try it later today.
That's great. Let us all know how it goes for you. If you're having difficulty setting up the Bluetooth pairing with your phone, keep in mind that your phone may ask for a PIN. The PIN for this device is "0000."
That's great. Let us all know how it goes for you. If you're having difficulty setting up the Bluetooth pairing with your phone, keep in mind that your phone may ask for a PIN. The PIN for this device is "0000."
Just did a quick test install and it works! Plug n Play. I didn't do a full install yet as it's a work day. Don't want to rush it and make a mess. Left the wire harness under the cup holder compartment and will finalize the module, USB, and inputs on my day off.
Thanks again for the detailed instructions and photos. It made it a lot easier. So glad I don't have to buy a stack of CD-Rs for my MP3s.
Awesome Johnny! I'm glad to see that this at least helped one person . That's what this community is all about. Post some pictures of your installation if you remember to take them on your day off.
Pics will be posted soon but I just got finished somewhat with the install. I will only use the USB and BT features so I skipped the mic and aux inputs. I can just use the built in stock functions if needed.
I got it pretty much finalized. The reset and USB extension is inside the center console under the front false bottom. This way it is easily accessible by me yet away from view. Had to dremel a hole big enough for the USB with the ferrite core to pass through. I used the included "under dash" attachment but screwed it on to the bottom of the center console.
I really wanted to take apart the Center Console but it was one hole long piece attached to the sides and to the dash! Really bad design IMO. I was able to pull it backwards enough to work with the cables on the bottom but it was time consuming to fish the cables through the bottom along with drilling and dremeling.
I mounted the iSimple module with heavy duty velcro on top of what looks like the factory bluetooth module underneath the cup holder area. Also used a zip tie for backup in case the velcro adhesive fails.
USB and Reset switch under the front false floor in the center console. False floor folded up to to the left in picture. Excuse the dremel shavings. LOL.
To take apart the center console, passenger side carpeted side disassembly. This is in addition to all the stuff already taken apart from OP's instructions. Driver's side
The huge center console piece. The two floor bolts (B) are under cutouts in the carpet. I only had to slide it back in order to run the USB and reset switch wires.
Typically, yes you do lose the XM radio function. However, sometimes one of the input options reads “SAT” and allows you to use the XM radio feature. It’s not consistent, and I’m not sure why this input isn’t always there. Maybe it only shows up if you have an XM radio package available, like when I’ll randomly get free trials without me knowing? I’m not exactly sure, but I usually just leave it on “BT” (Bluetooth) 99.9% of the time.
 01-30-2019, 08:57 PM


 .
.


