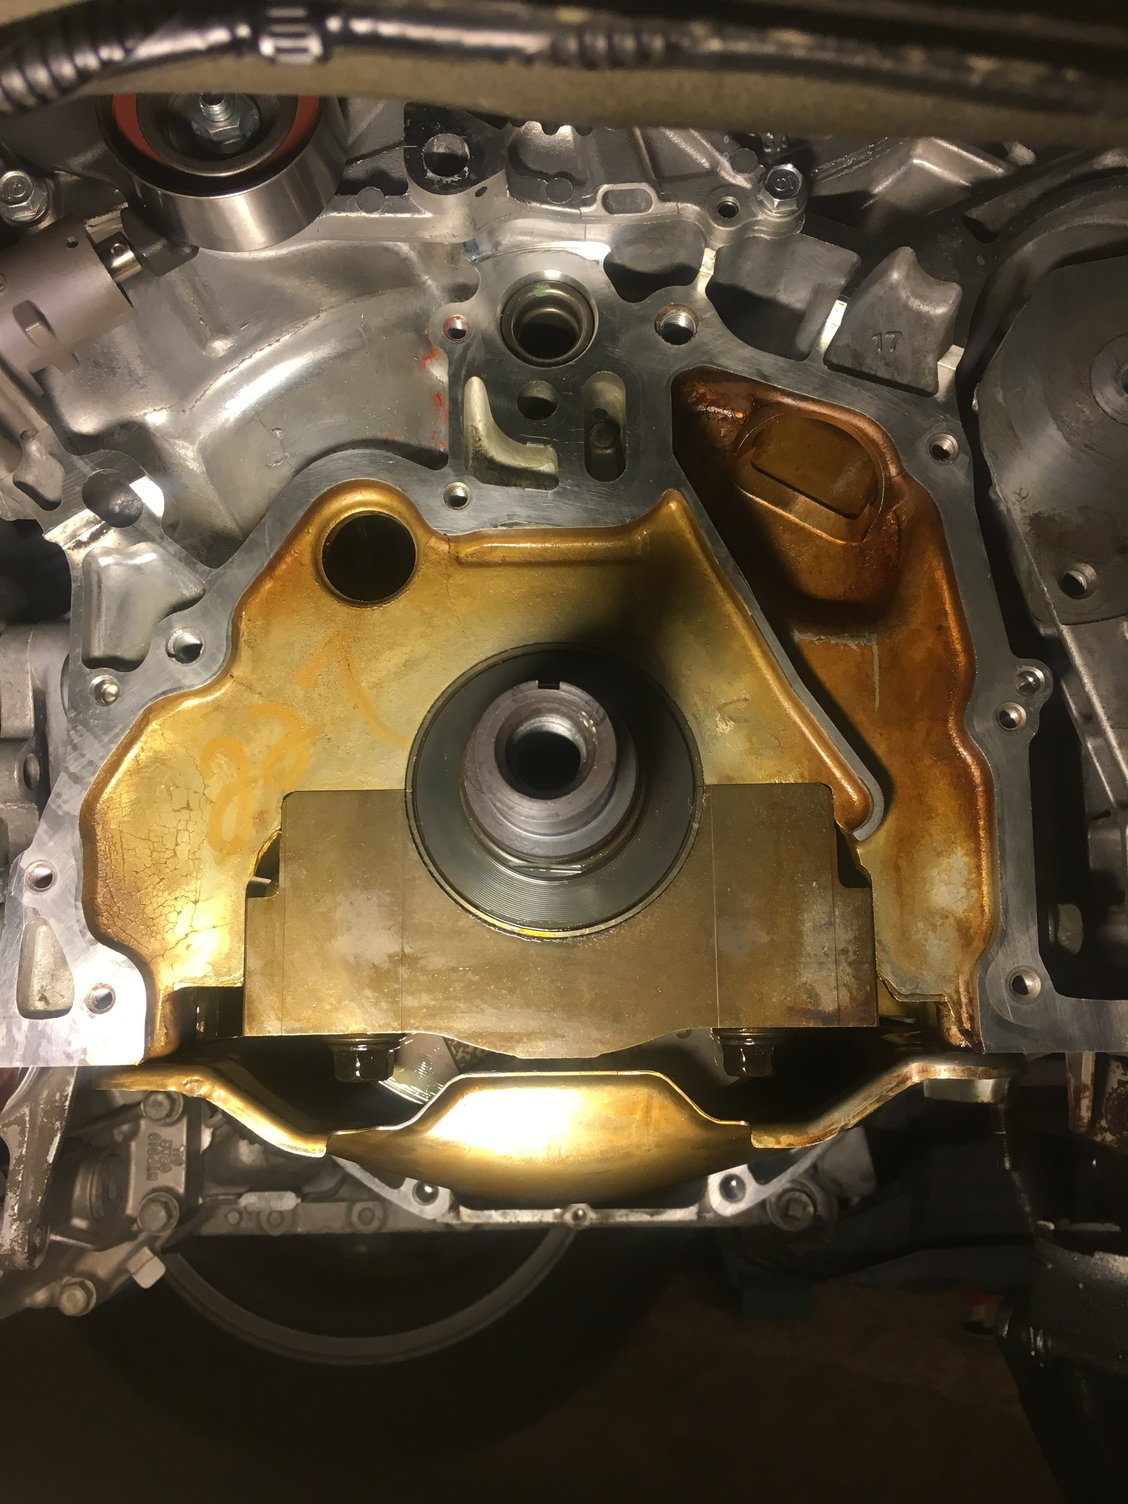
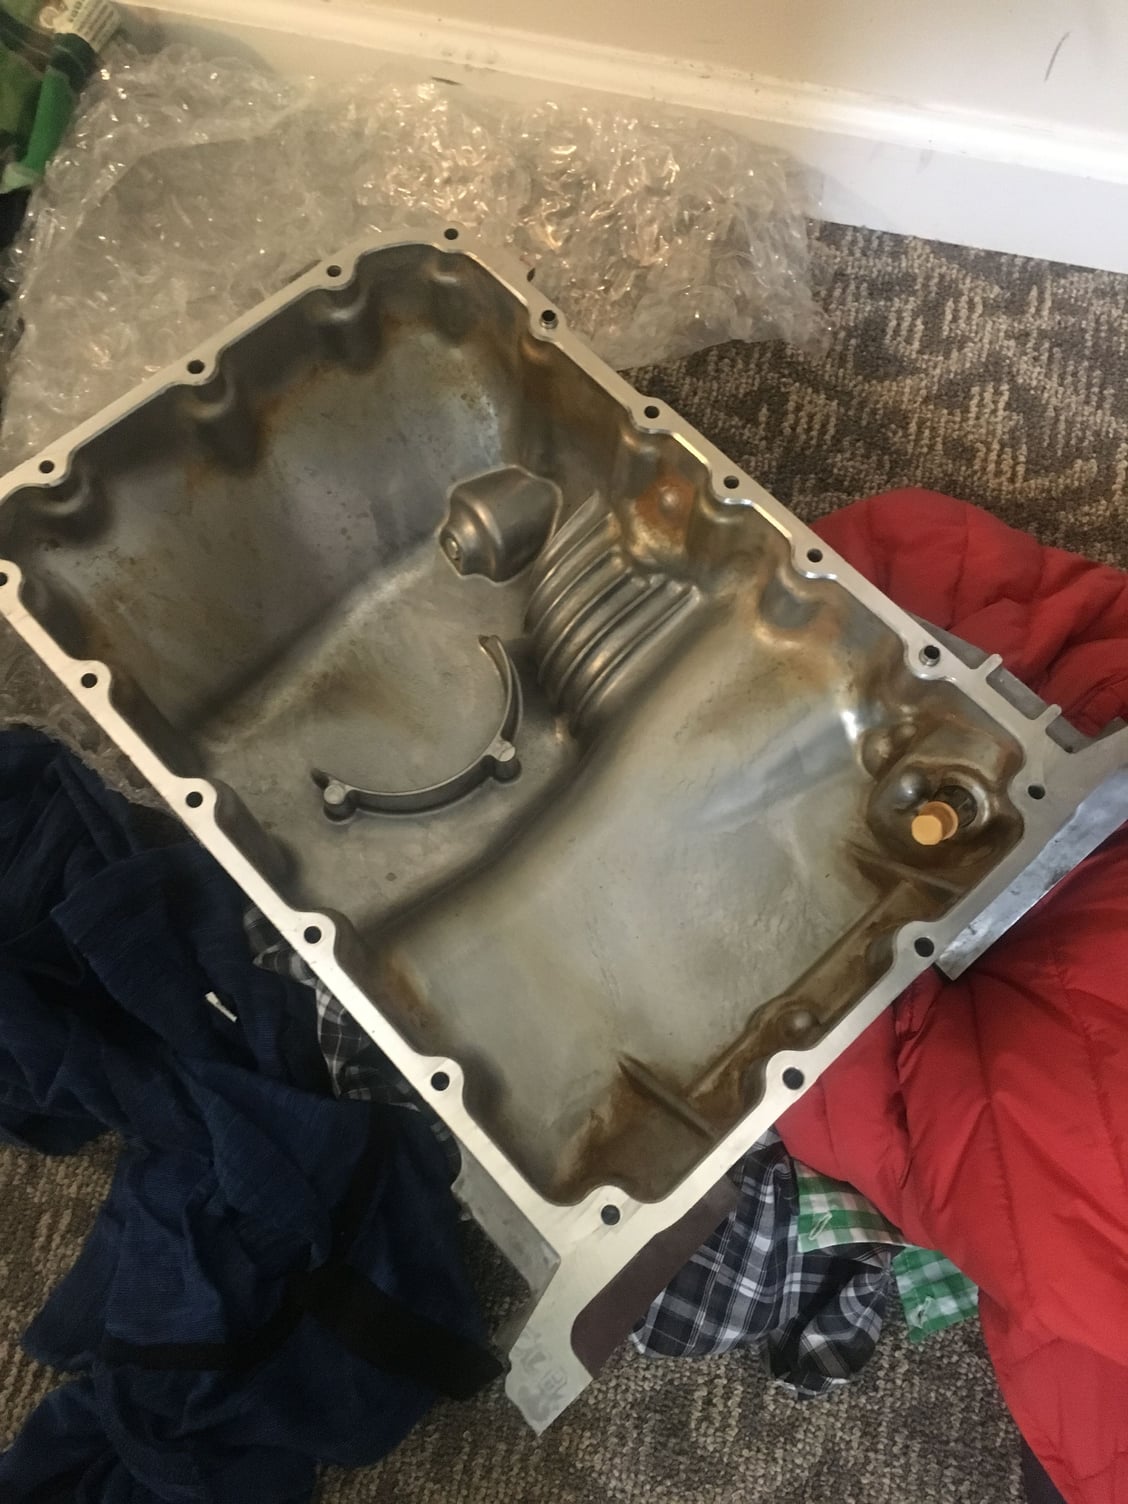
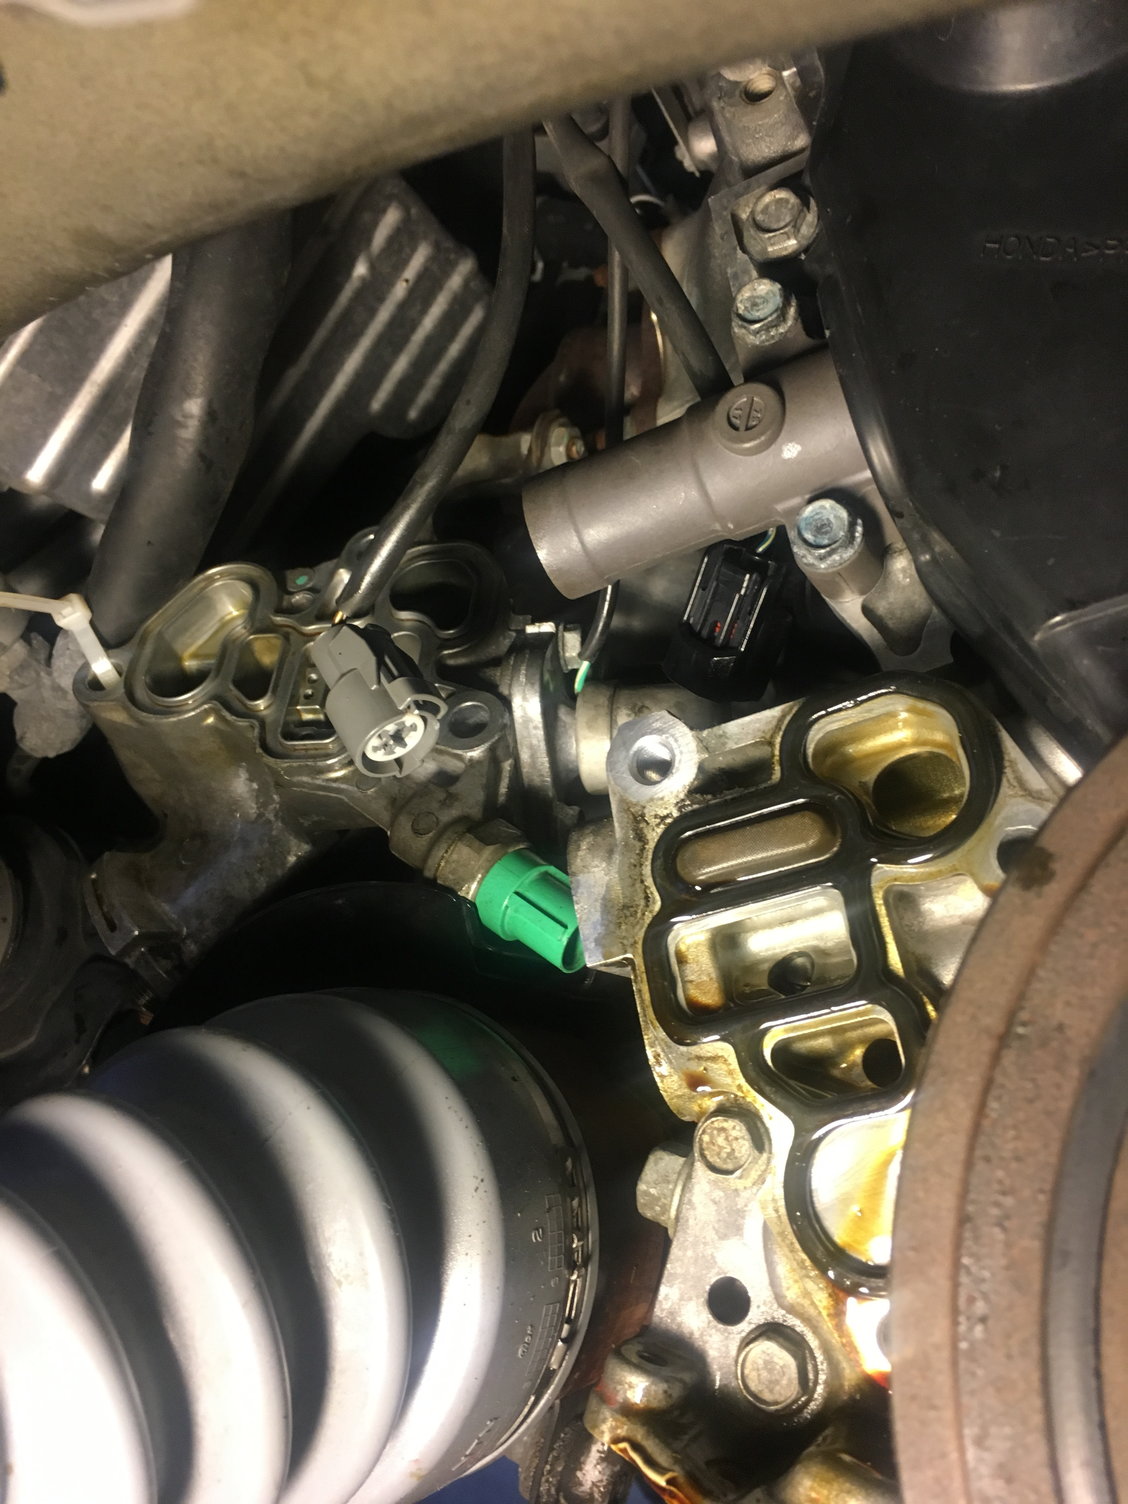
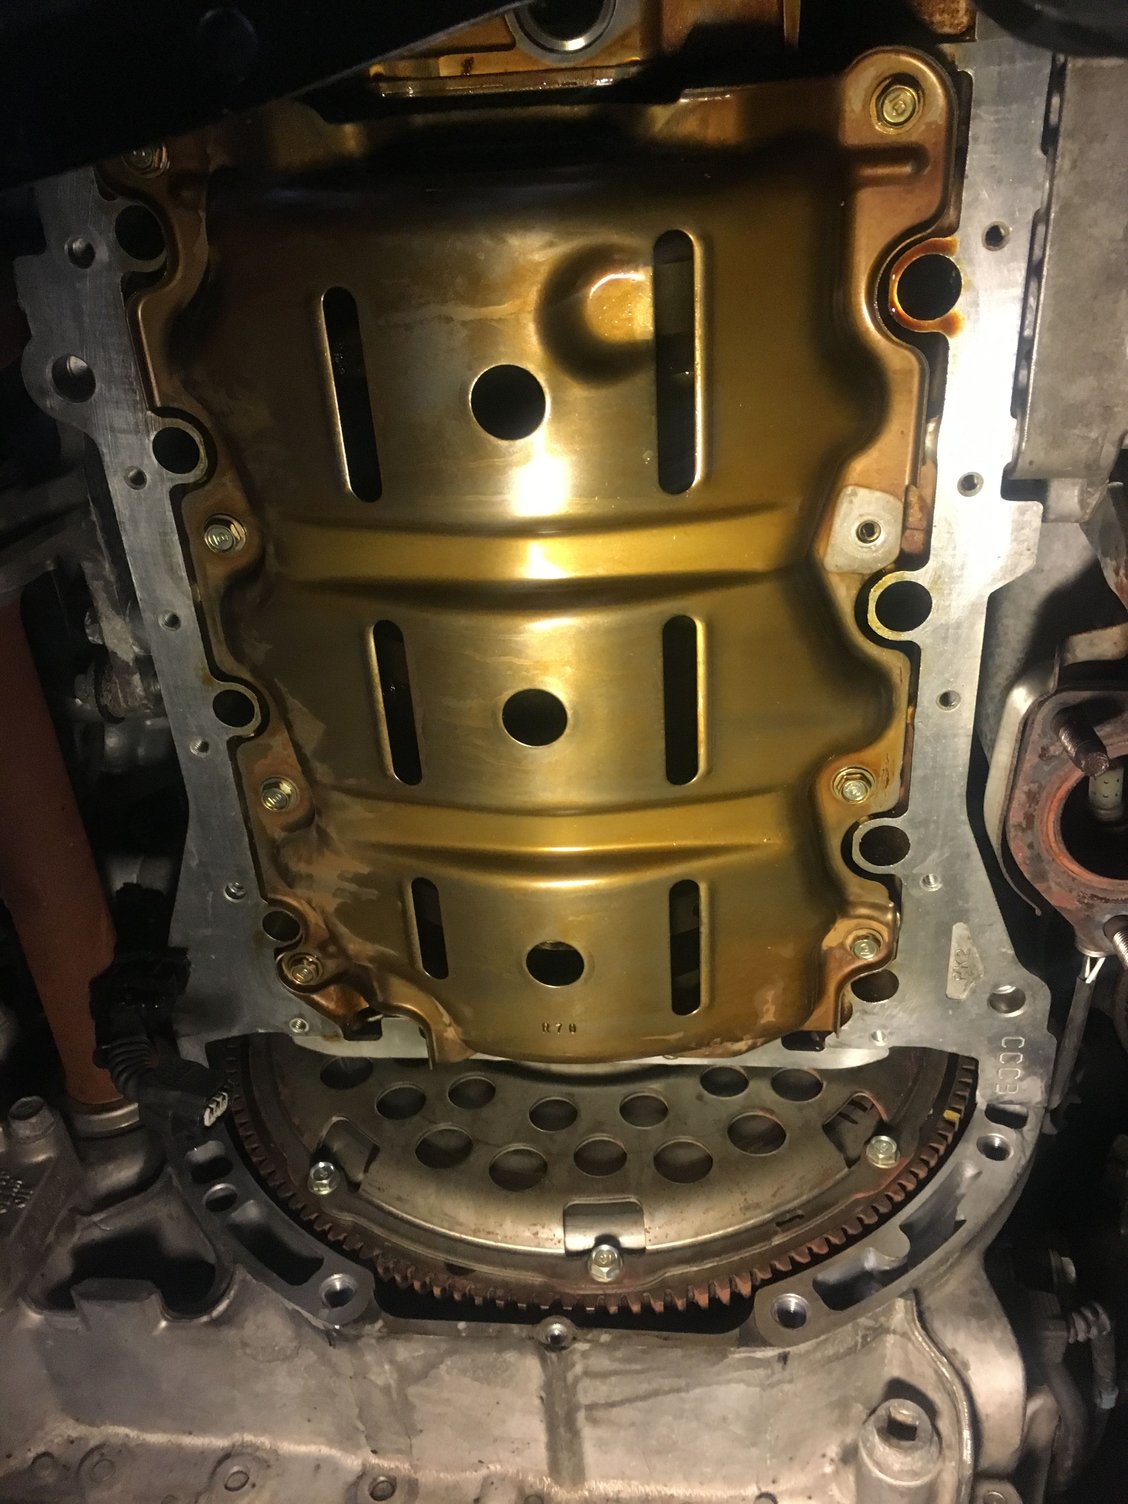
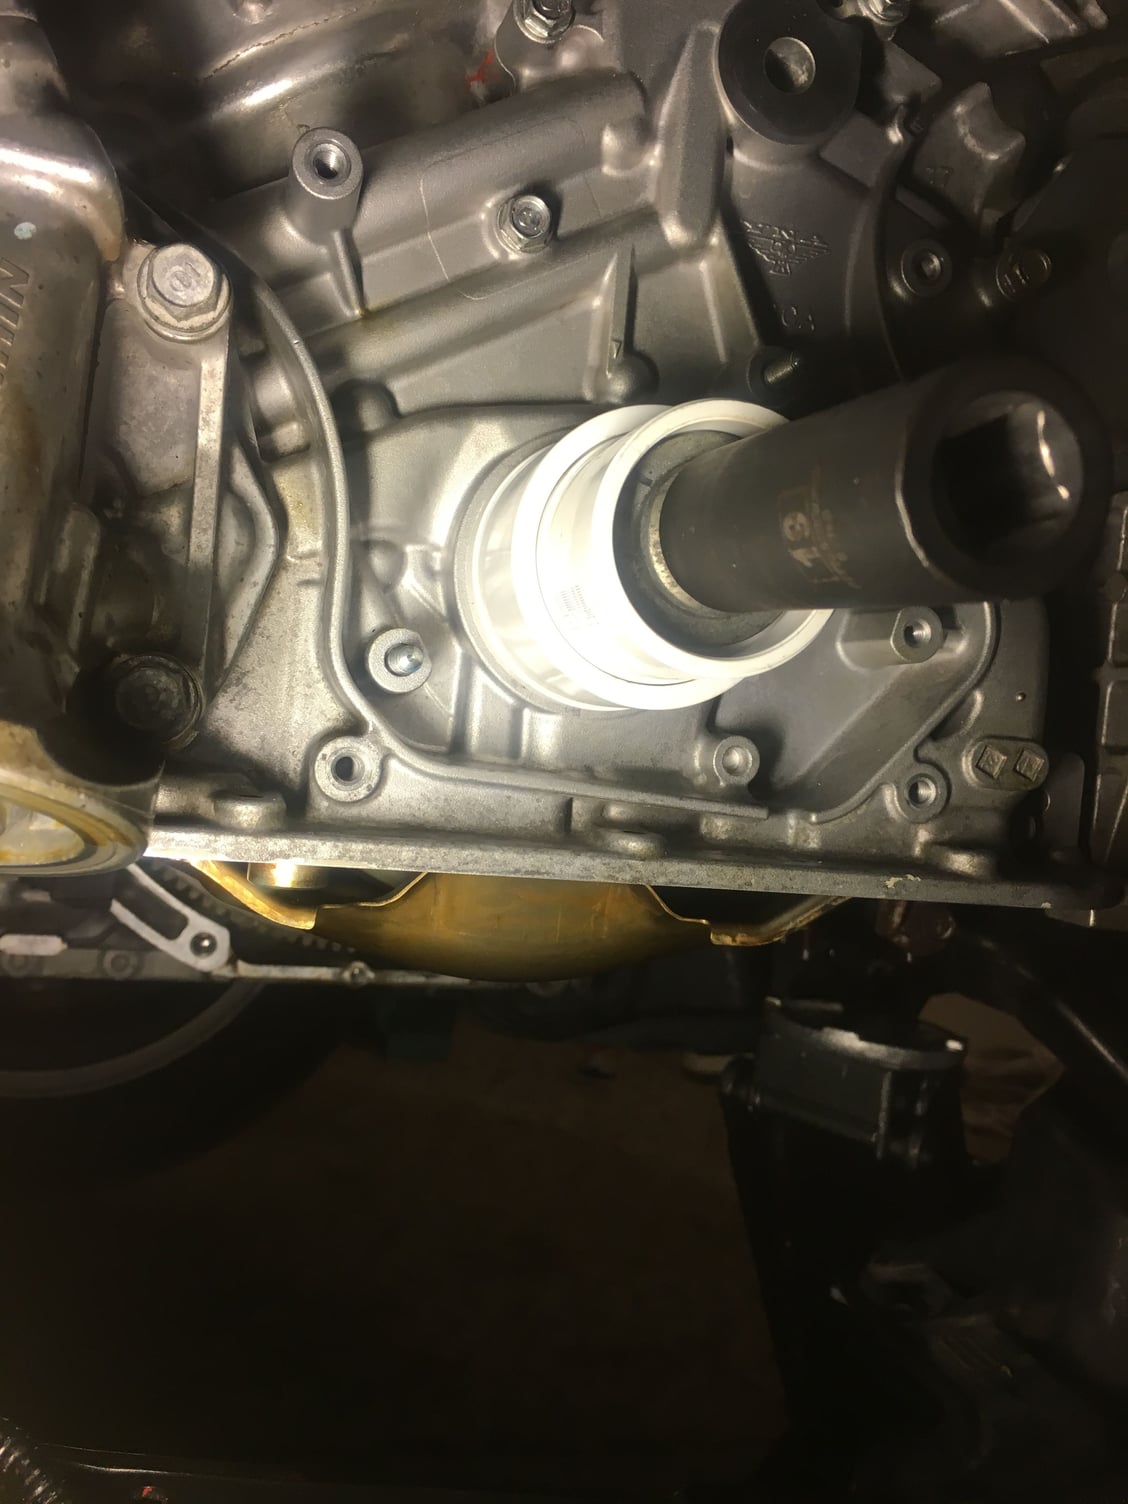
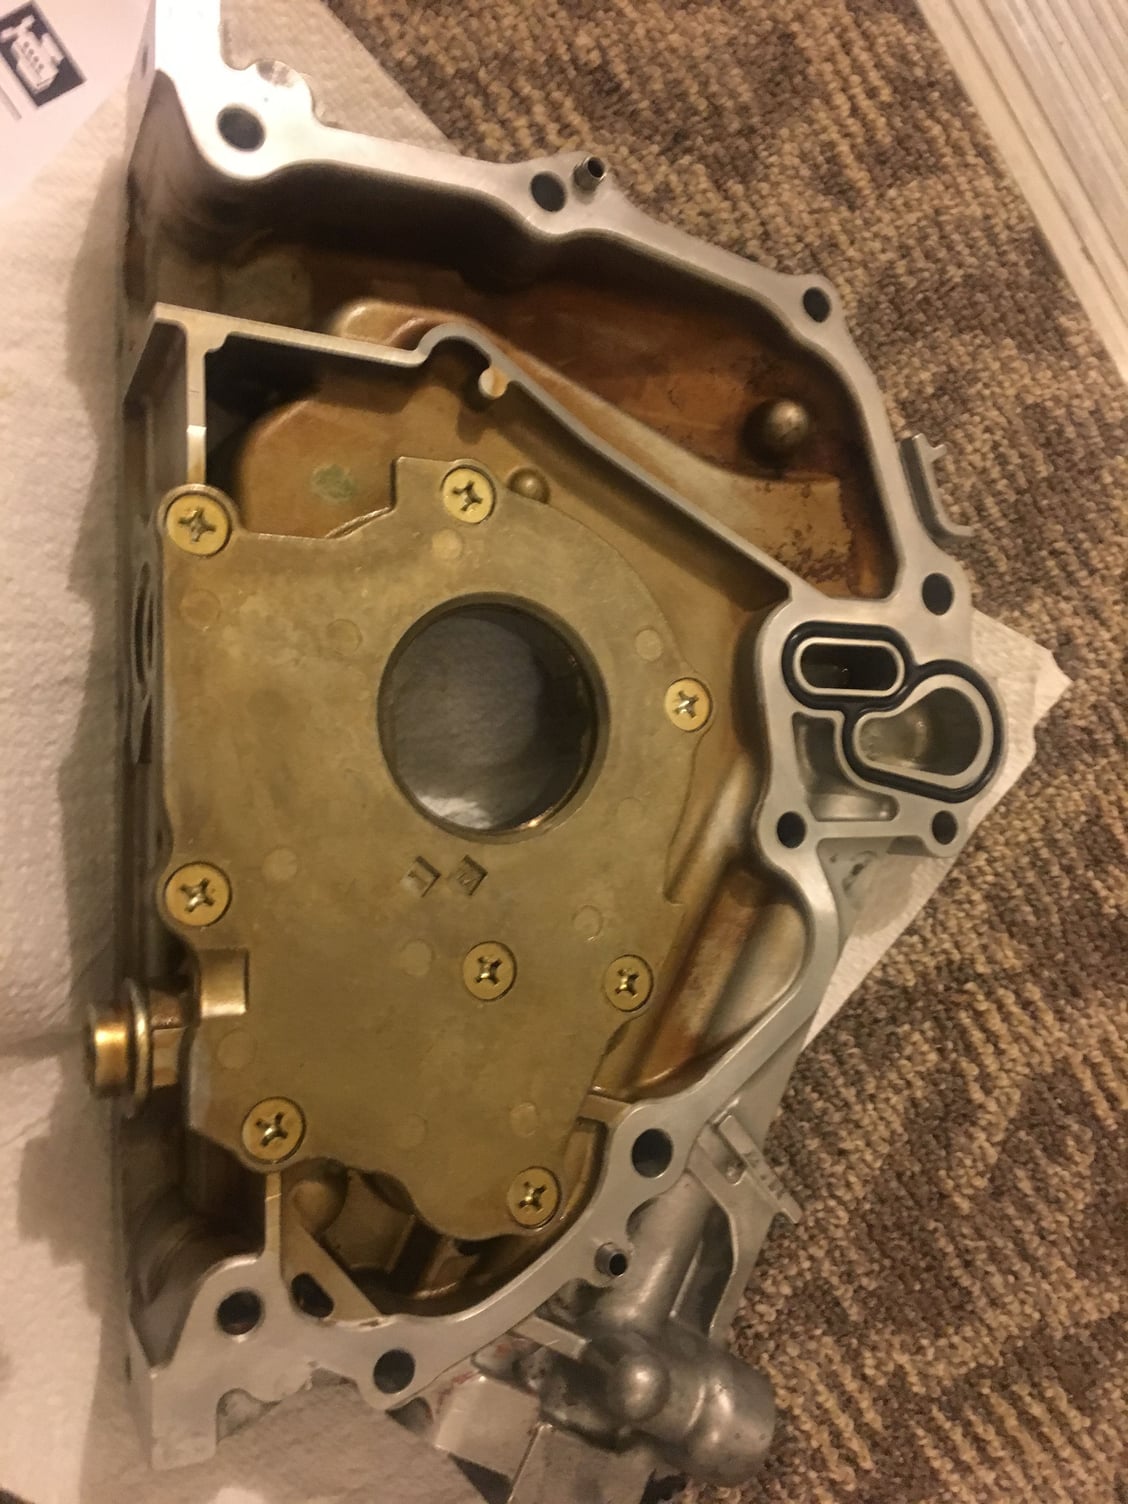
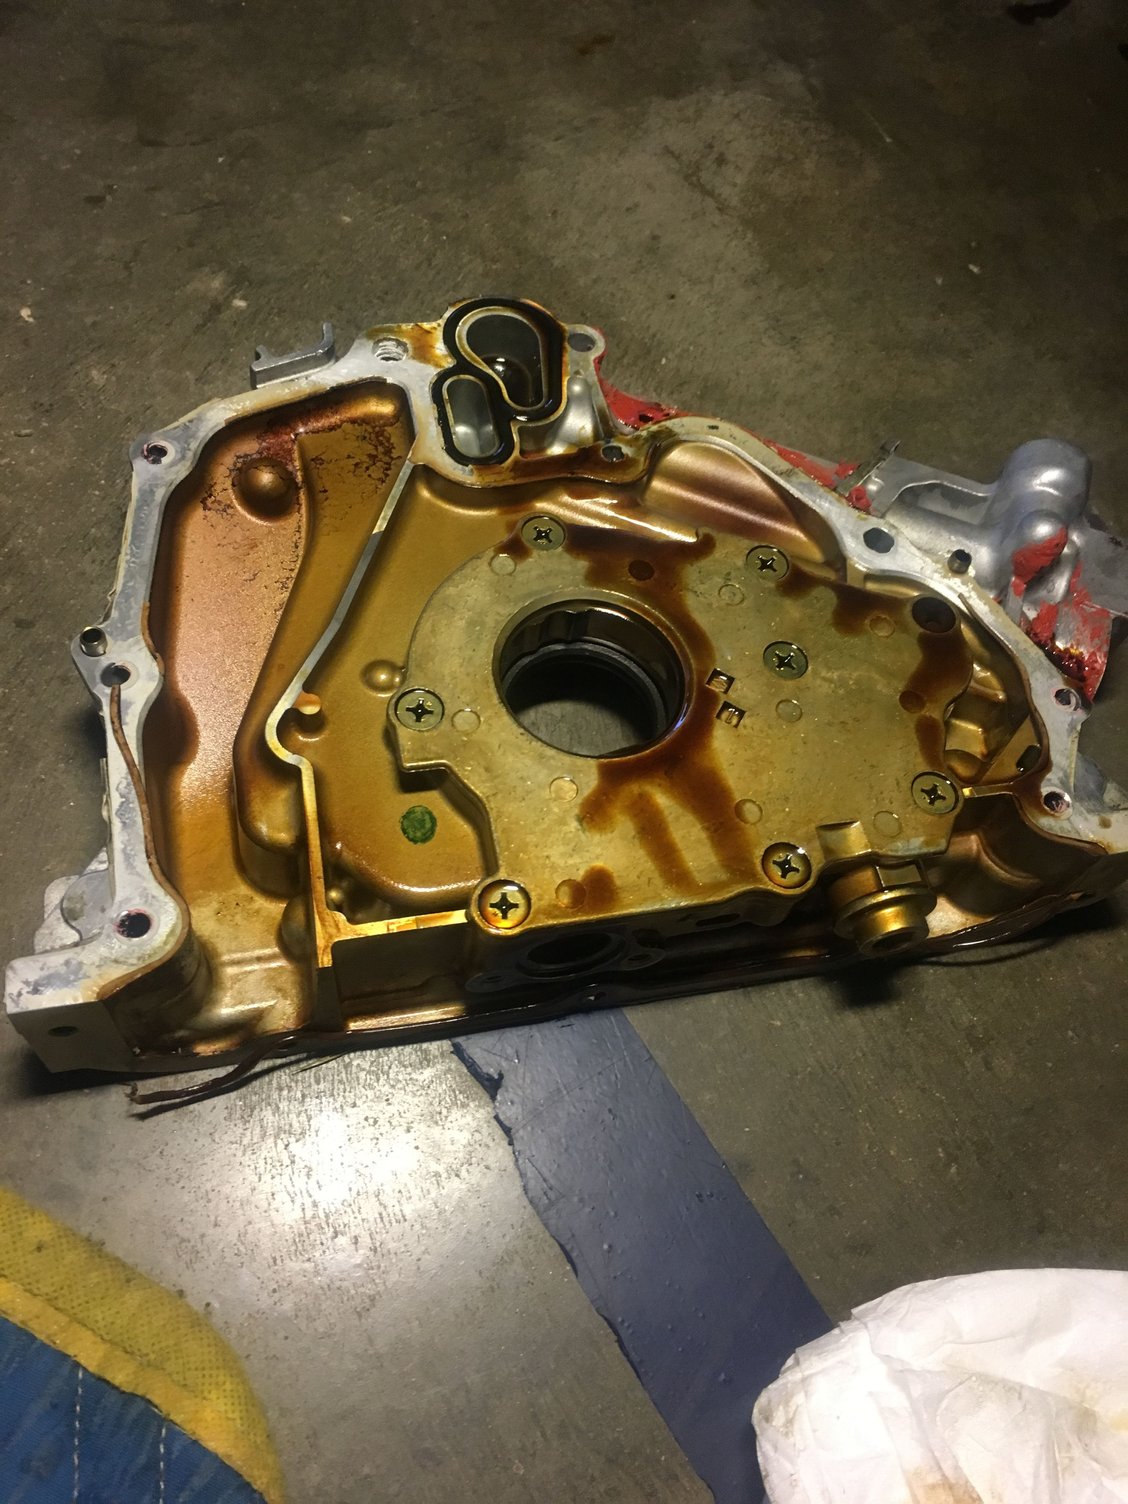
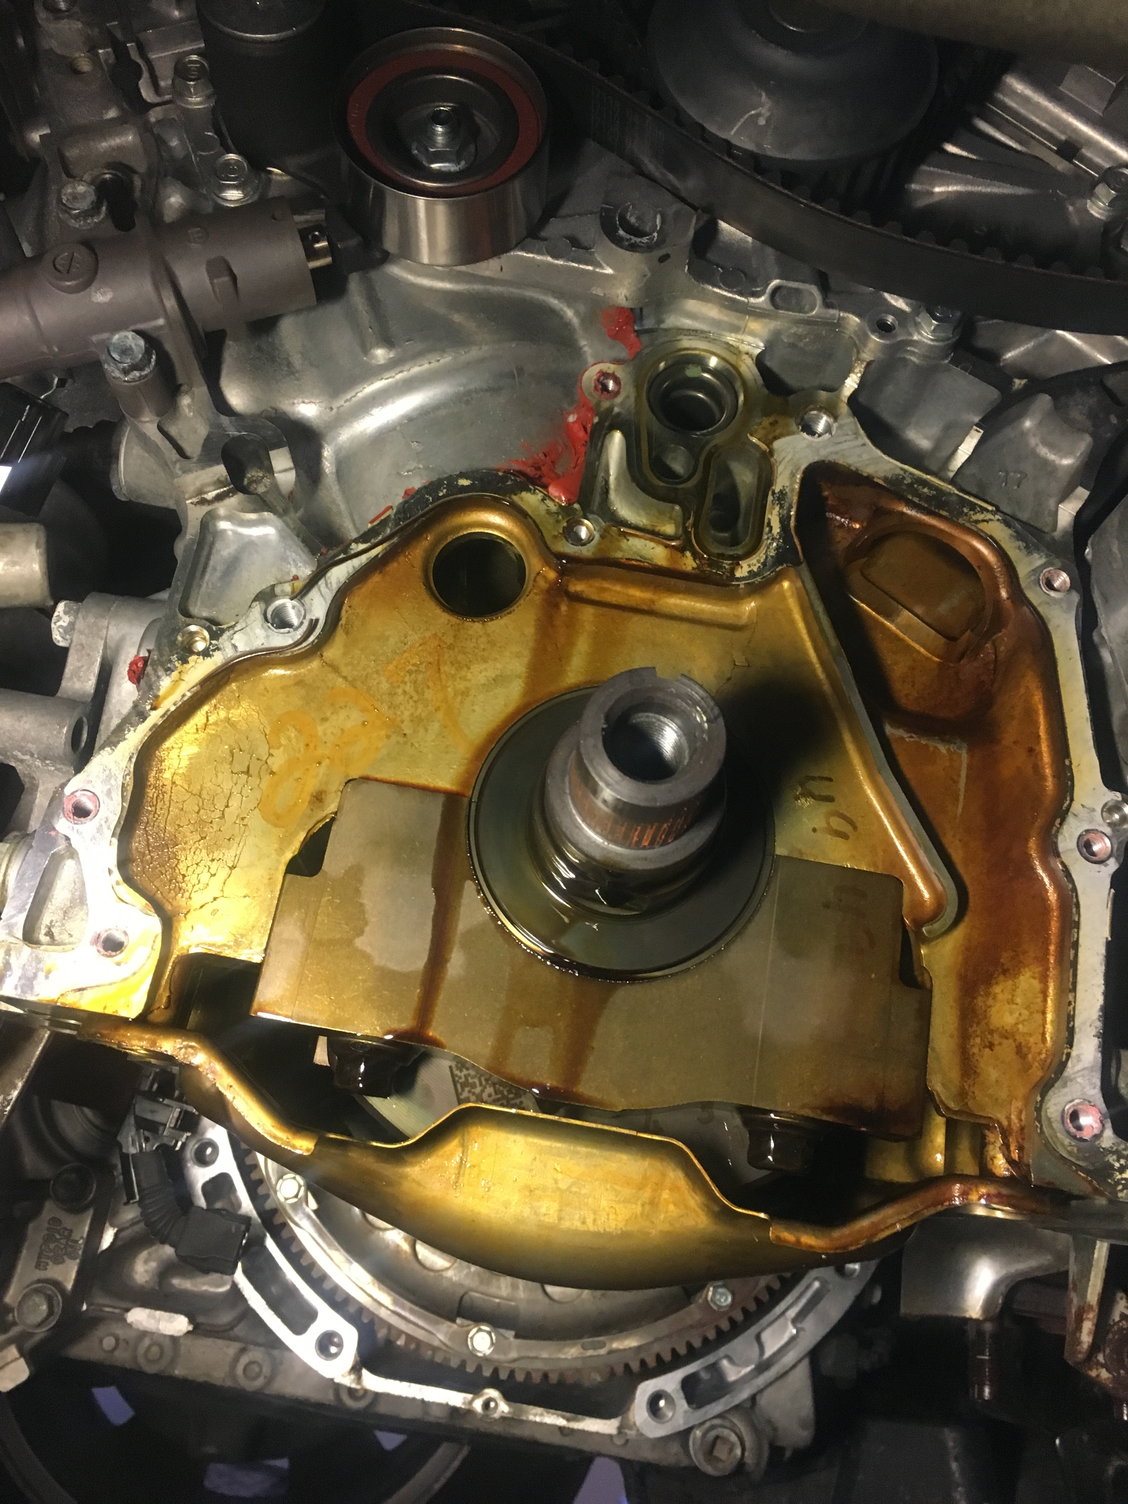
Removing oil pump... it was FUN!
#2
Burning Brakes
Awesome pictures, just what I was wondering about. Did you have problems removing the exhaust nuts/bolts?
And hondabond all around the outside edge of the oil pump or no, when you put it back? thanks
And hondabond all around the outside edge of the oil pump or no, when you put it back? thanks
Last edited by t-rd; 03-24-2018 at 11:23 AM. Reason: question
#3
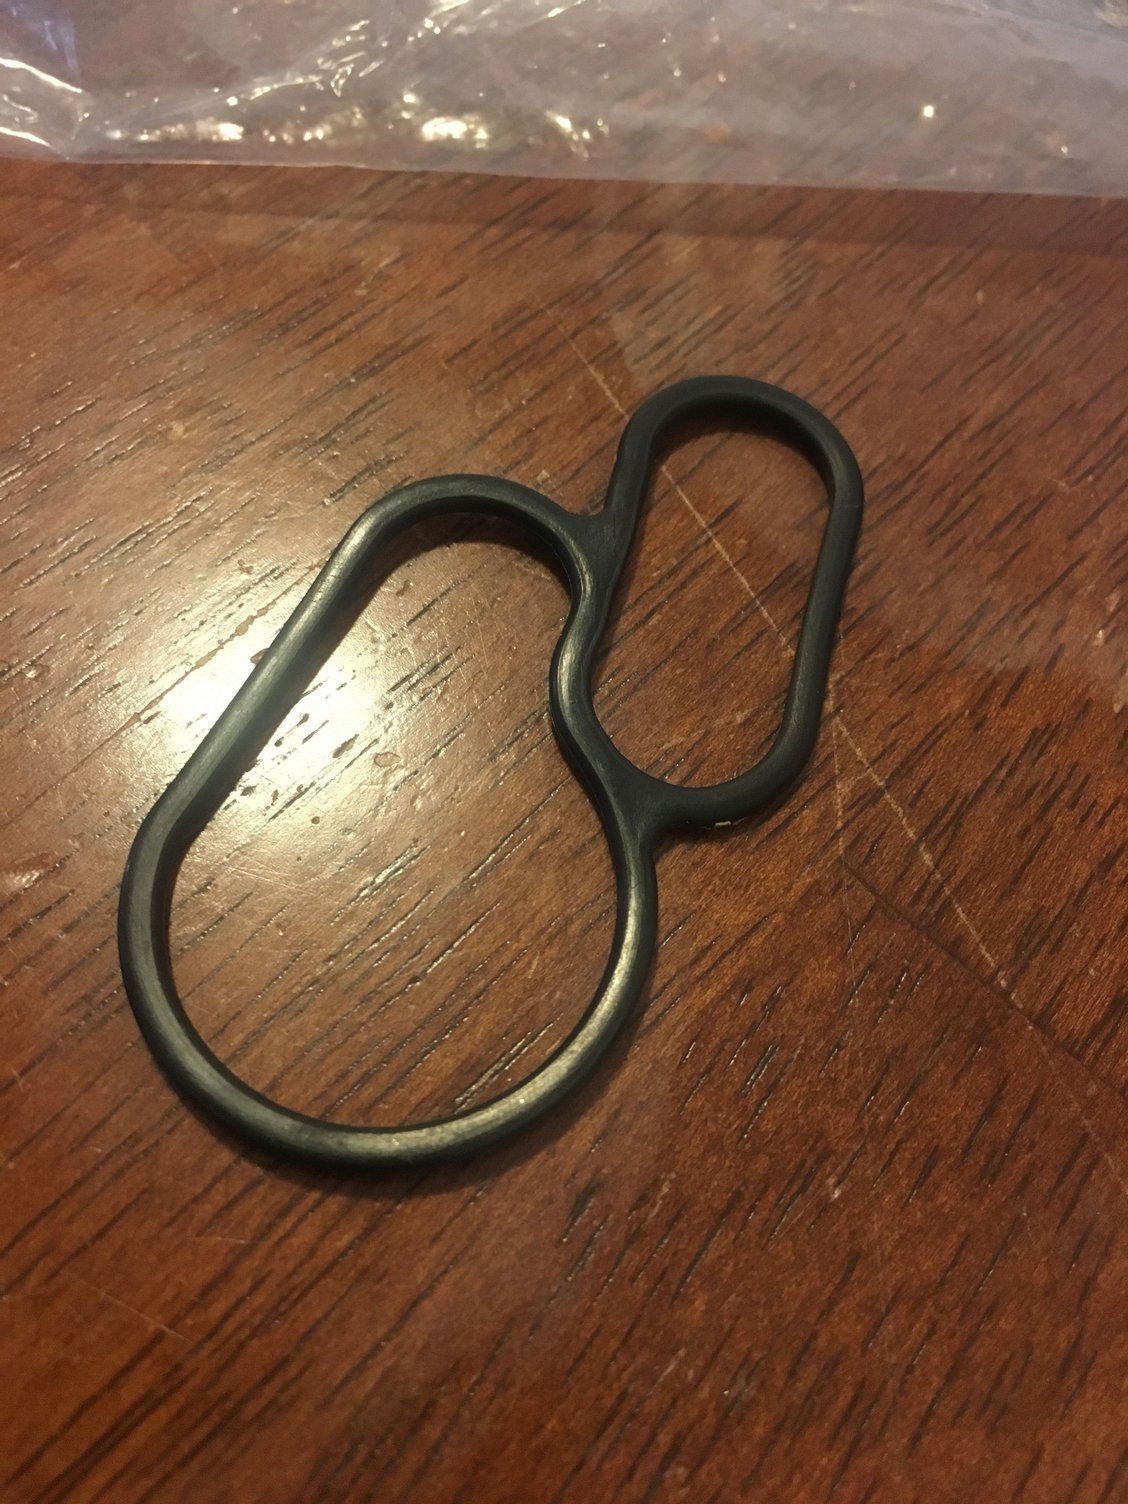
Of course I used hondabond on the oil pump and oil pan after the surface is super clean and oil free.
it was just PITA to get replace this oil pump gasket, which was causing the oil leak
#6

REMOVING:
1. Discount the battery
2. Remove the right wheel
3 Jack up the car and use a jack stand
4. Drain the oil
5. Remove the exhaust pipe
6. Remove the oil pan
7. Remove the timing belt
8. Remove the oil pump
IMSTALLING:
9. Install the oil pump
10. Install the timing belt
11. Install the oil pan
12. Install the exhaust pipe
wait 12 hour to refill the engine oil
Last edited by VictorTL; 03-24-2018 at 09:32 PM.
Trending Topics
#8
Burning Brakes
Thanks so much for that picture. I was wondering whether I should get a transverse engine support bar, but you made one yourself  I have pieces of wood laying around also and will be doing the same thing.
 I have pieces of wood laying around also and will be doing the same thing.
#9
http://www.mdxers.org/forums/showthread.php?t=159001
#11
#12
Burning Brakes
You mean there was very little to NO engine movement with the side engine mount removed, without the support? I just replaced the rear engine mount so I doubt my engine moves much at all.
#13
#14
Burning Brakes
There IS a good test I can do first, before I even tackle this job next year. Just remove the side engine mount and see how much the engine drops down, probably little to none at all because I have good front and rear engine mounts now.
One other question, did you install new exhaust gaskets and use new 14mm nuts when you bolt the j-pipe back on? It would be a waste of time after doing all that, ending with an exhaust leak.
One other question, did you install new exhaust gaskets and use new 14mm nuts when you bolt the j-pipe back on? It would be a waste of time after doing all that, ending with an exhaust leak.
#16
There IS a good test I can do first, before I even tackle this job next year. Just remove the side engine mount and see how much the engine drops down, probably little to none at all because I have good front and rear engine mounts now.
One other question, did you install new exhaust gaskets and use new 14mm nuts when you bolt the j-pipe back on? It would be a waste of time after doing all that, ending with an exhaust leak.
One other question, did you install new exhaust gaskets and use new 14mm nuts when you bolt the j-pipe back on? It would be a waste of time after doing all that, ending with an exhaust leak.
#17
Suzuka Master
iTrader: (1)
#18
Burning Brakes
yup, 9 exhaust nuts, 3 exhaust gaskets. Before I did this project the first thing I did was to make sure I was able to remove the exhaust pipe. I did that about 2 weeks before I even doing anything. It took me almost 3 hours just to get the nut loose. One I got the nuts loosen I spray some more penetrating oil and tighten them all back up. When I am ready to start the project this part is now is a piece of cake.
#19
Burning Brakes
I'm more curious about the scrubbing medium. Scotch brite? razor blade? I did the lower intake runner install, and used razor blades to carefully scrape away all old gaskets. But if my hand slips then there is a scratch. I have seen people use scotch brite "red" but not sure if this is safe.
#20
Suzuka Master
iTrader: (1)
I'm more curious about the scrubbing medium. Scotch brite? razor blade? I did the lower intake runner install, and used razor blades to carefully scrape away all old gaskets. But if my hand slips then there is a scratch. I have seen people use scotch brite "red" but not sure if this is safe.
Low Price on Lisle 81600 - Carbide Scraper 1-1/4" at ToolPan.com
I usually used razor blades; however, I'll invest in one of the above next time.

#22
Suzuka Master
iTrader: (1)
You'll have to go easy, by feel, at first to gauge how much pressure to use making sure to keep it flat on the surface; however,  it will scratch aluminum, if you go 'full gorilla'
  so be careful.
The benefits of 'easy removal' results far out way the hazards, like with razor blades and/or scratching, if used reasonably until you get-the-hang-of it.
Good Luck!
 it will scratch aluminum, if you go 'full gorilla'
  so be careful.
The benefits of 'easy removal' results far out way the hazards, like with razor blades and/or scratching, if used reasonably until you get-the-hang-of it.

Good Luck!
#23
Suzuka Master
iTrader: (1)
^
Here is a video of a guy using a 'carbide' scraper to give you an idea. He starts at around 14:40 on the clock:
Here is a video of a guy using a 'carbide' scraper to give you an idea. He starts at around 14:40 on the clock:
#24
I just used dull razor blade and very fine brush wire with breaker cleaner and at the final step I used acetone on a clean rags to wipe the matting surface clean before applying Honda bond. Lining up the oil pan and the block is very difficult when you donít want any Honda bond to get messed up. If mess up the Honda bond while trying to lineup the matting surface your seal is likely to compromised and you need to clean it up and do it all over again. Practice lining the oil pan before put the Honda bond. I practiced 5-8 times before I applied the seal and made the matting surfaces perfectly matched without moving side to side, just push the oil pan up and it locked with the Dowe pins. This is the hardest part of the whole job.
The following users liked this post:
frankjnjr (03-26-2018)
#27
#29
Burning Brakes
You misunderstood me. I meant pre-soak exhaust nuts and bolts for days, THEN attempt removal of them. I have done this same thing before, for suspension components before work was done.
I have been working on my car for years. Did you not read above that I did a lower intake runner install myself? I took half the engine apart down to the intake ports where you can see the valves.
I have been working on my car for years. Did you not read above that I did a lower intake runner install myself? I took half the engine apart down to the intake ports where you can see the valves.
#30
You misunderstood me. I meant pre-soak exhaust nuts and bolts for days, THEN attempt removal of them. I have done this same thing before, for suspension components before work was done.
I have been working on my car for years. Did you not read above that I did a lower intake runner install myself? I took half the engine apart down to the intake ports where you can see the valves.
I have been working on my car for years. Did you not read above that I did a lower intake runner install myself? I took half the engine apart down to the intake ports where you can see the valves.
#34
Burning Brakes
Because it's still cold in Chicago plus the timing belt and water pump aren't due for another 40k miles. Some people live in mild weather areas that have the luxury of being able to fix cars all year long, I don't touch my car until April or May. Things break in the cold weather when you get at them, especially rubber and plastic. I don't have a backup car either and I need to work so I have take a long weekend to do this.
No i haven't done the rear main seal but someone on here already did it, so do a search.
No i haven't done the rear main seal but someone on here already did it, so do a search.
#35
Burning Brakes
I just used dull razor blade and very fine brush wire with breaker cleaner and at the final step I used acetone on a clean rags to wipe the matting surface clean before applying Honda bond. Lining up the oil pan and the block is very difficult when you donít want any Honda bond to get messed up. If mess up the Honda bond while trying to lineup the matting surface your seal is likely to compromised and you need to clean it up and do it all over again. Practice lining the oil pan before put the Honda bond. I practiced 5-8 times before I applied the seal and made the matting surfaces perfectly matched without moving side to side, just push the oil pan up and it locked with the Dowe pins. This is the hardest part of the whole job.
The following users liked this post:
clsci02 (12-15-2018)
#36
Burning Brakes
The transmission has to be removed to access the rear main seal. Not your average Saturday afternoon repair. As much as I detest ANY oil leak, unless the rear main seal was causing excessive engine oil loss, I would ignore it until the need to repair or replace the transmission presented itself!
#37
Burning Brakes
there is already a thread on rear main seal: https://acurazine.com/forums/3g-tl-p...repair-761581/
I've been on this board for a long time. It's an even more involved job, you drop the entire subframe out then drop out the trans.
I've been on this board for a long time. It's an even more involved job, you drop the entire subframe out then drop out the trans.
#38
same thing with the oil pump. Practice with the fitting before do the final fit with the Honda bond!!
#40
The transmission has to be removed to access the rear main seal. Not your average Saturday afternoon repair. As much as I detest ANY oil leak, unless the rear main seal was causing excessive engine oil loss, I would ignore it until the need to repair or replace the transmission presented itself!


