When you click on links to various merchants on this site and make a purchase, this can result in this site earning a commission. Affiliate programs and affiliations include, but are not limited to, the eBay Partner Network.
Hello Folks..This is a mini Written Guide about Hardwiring a 12v Accessory Charger to the Center Console 12v Accessory Slot.
Background:
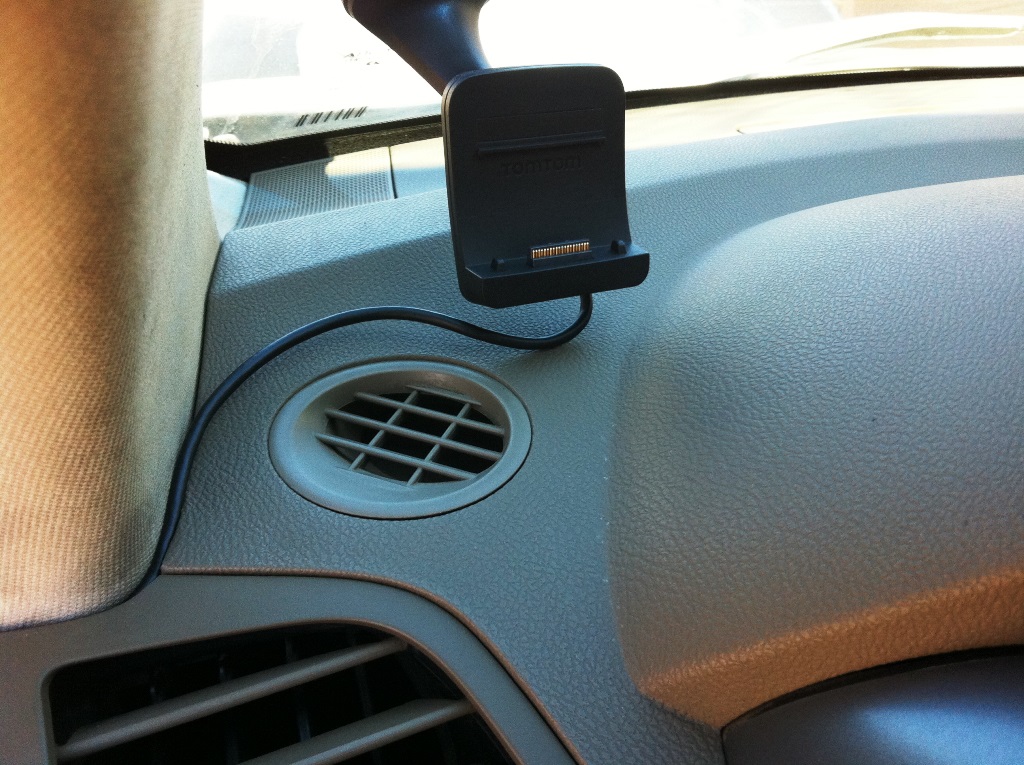
I travel a lot, and I mean A LOT (Currently Typing this from México) so I have to rely on a GPS for driving info about where I was going. At first the MDX NAV was useful but rather clunky and not very straightforward (Multiple Screens for Destination Input) and the lack of Maps for México was a let down, I even contacted Acura México to see if they could sell me a Map DVD for there but they told me they didn´t have anything that would work on my MDX since they started selling Acuras when the HD Based System was introduced. So I needed an External GPS that will work better in the US and work at all in México.. So I bought the TomTom GO 600.Currently it has been great! not even my Phone GPS has better integration and usefulness BUT there is an issue.. The GO600 is power hungry without plugging it, It only has around 1-2 hour lifespan at best and having to reach the backside of the GPS windshield cradle to plug the power cable is very difficult so I opted to leave it connected all the time, This presented the issue of cable routing.....
The cable is around 4ft long enough to reach the center console 12v Acc Slot but cable routing was tricky so I just routed the wire below the instrument panel between the dashboard and the steering column into the center console slot, Not a pretty sight at all. Friday Night I decided to give a very good cleaning to the MDX so I unplugged the GPS Charger and Found out that the Sliding Cover spring has fatigued to the point it doesn't fully close the door now, this is because of leaving it open so long to plug the GPS charger 24/7. So I decided to hardwire the charger to eliminate this ugly cable from my sight.
The Mini-DIY
Tools needed:
1x Philips Driver
1x Cable Stripper
1x Black Insulating Tape
1x Pair of 14-16awg cables about 2ft long
And an Infinite Amount of PATIENCE.
Step 1:
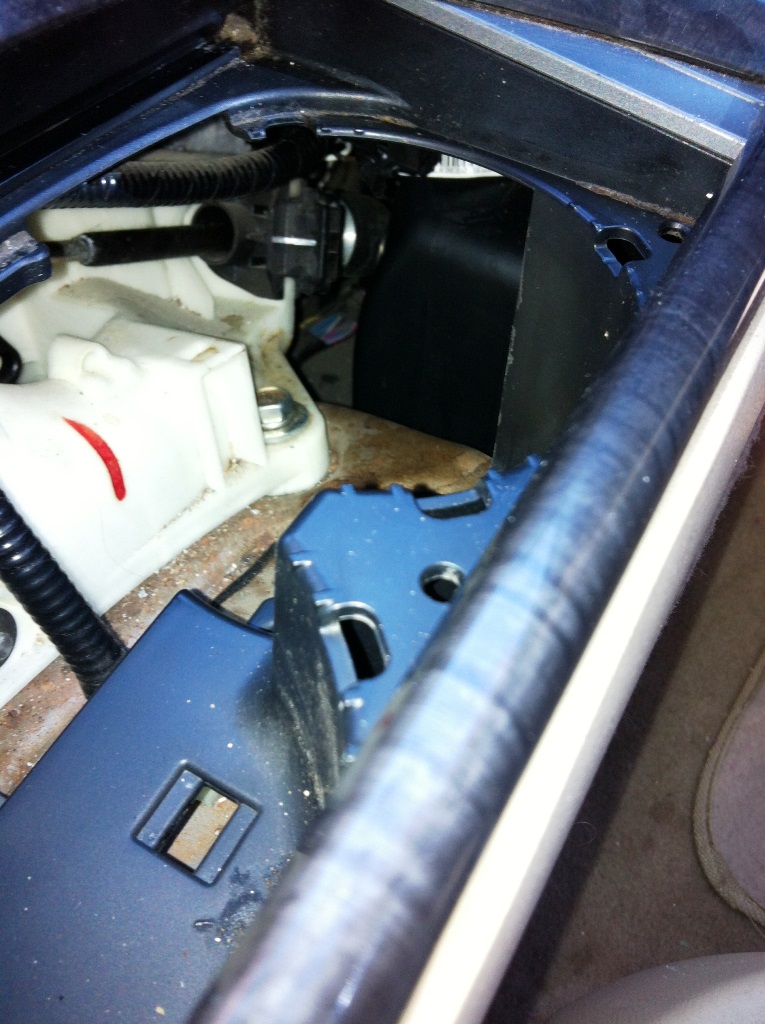
We need to remove both side panels of the center console, They just pop out from the very top (Closest to the firewall) into the Rear Section of the Center Console. The Driver Panel can be completely removed but the Passenger panel is held in place at the very end by a 10mm bolt that is unreachable without removing the passenger seat, You will need to.
Step 2:
Remove the low panel utility box from the Passenger Panel. This box is held in place by approximately 10 Philips screws there are 2 sized so you will need to mark or remember where they come out the majority are golden screws (Short ones) but there are 4 long Silver Screws. Once you remove them you will have to pop the box out of the panel this is done by giving it an angle and popping it out of its base, this is tricky and you will think its going to break something but it wont.
Step 3:
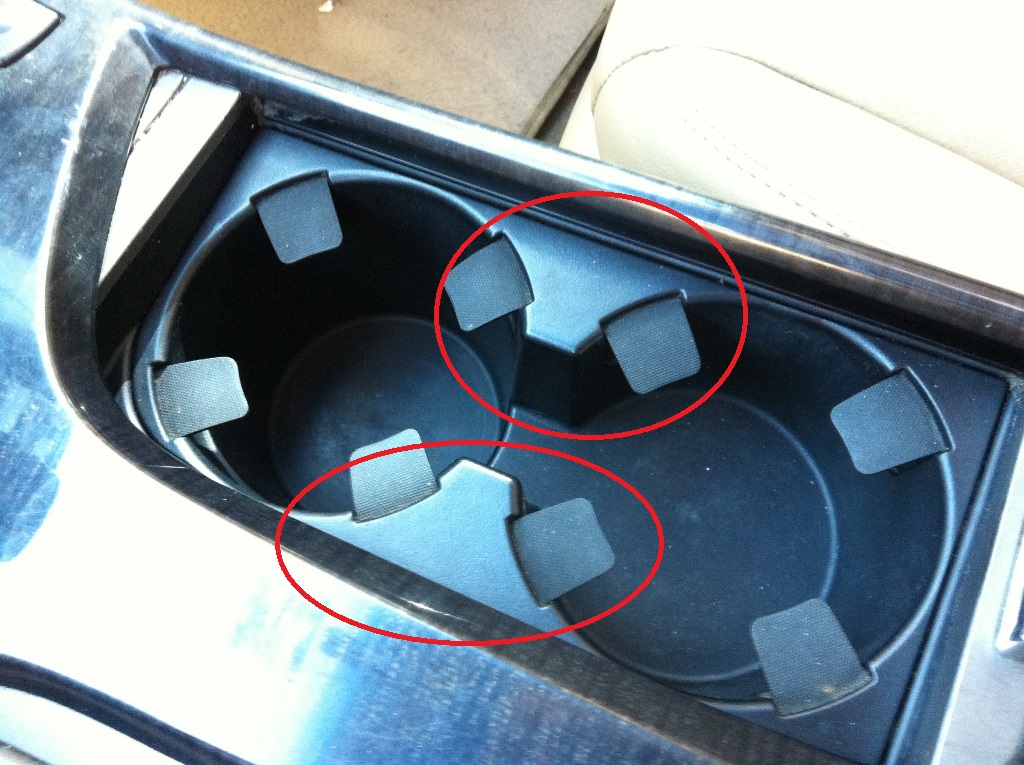
Remove the beverage cup holder by pulling it up, Grab it from the middle section and with a considerable amount of force pop it up, There are 2 pressure clips holding it to the center console.
Step 4:
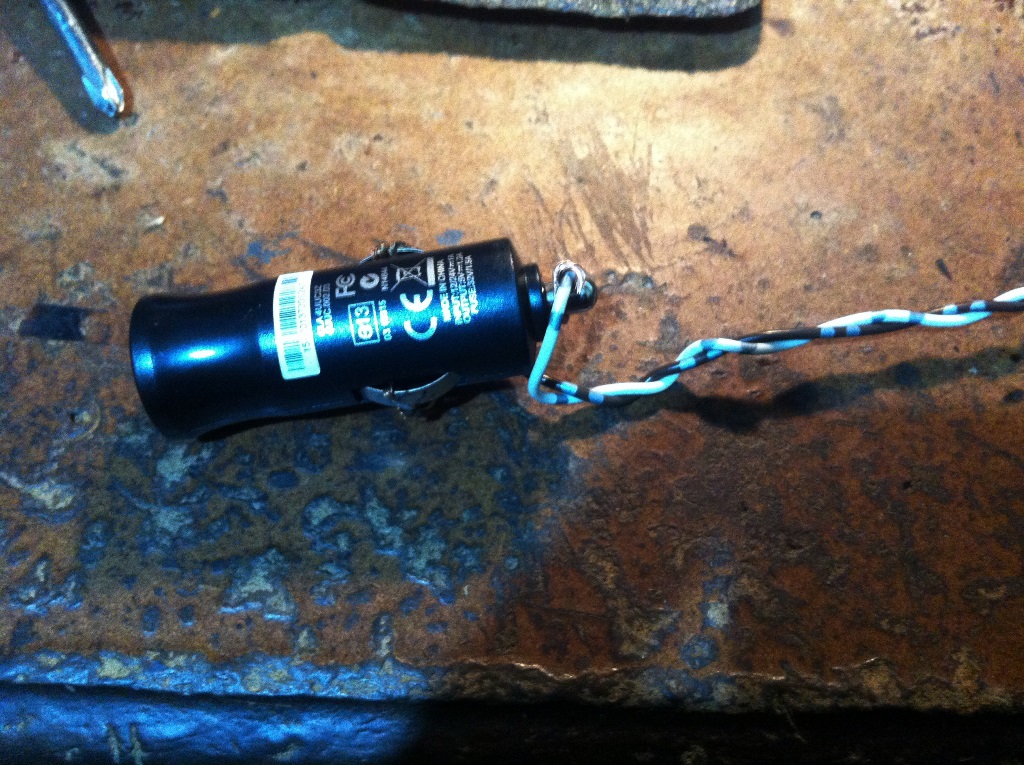
Remove the seat heater switch cables from both sides, these cables go to the center of the console and are inside the same wire loom the AC Power Cables are. When you unplug them you will have more room to work with the AC Power Cable that is way too short to move around easily. The AC Power Plug is a simple blade design there is no lock to press in order to remove it, just pull it and it will come out.Cable Codes are as Following:
White + 2 Silver Stripes = +12v lead
Black + 1 Silver Stripe = Ground
Step 5:
Use the wire Stripper and remove the wire insulation for about 6mm, Enough that the leads connect to the cable.
Use the black insulating tape to cover the connections making sure the +12v lead is fully insulated. Test the connection by opening the key to position (I) and the charger should have power.
Step 6:
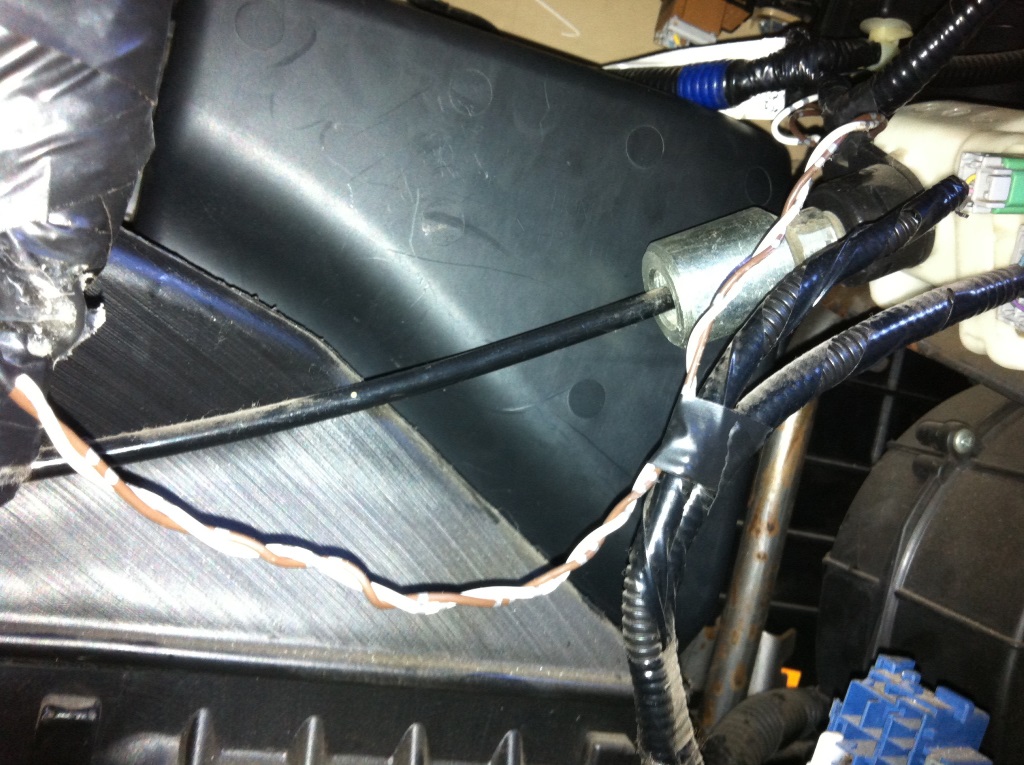
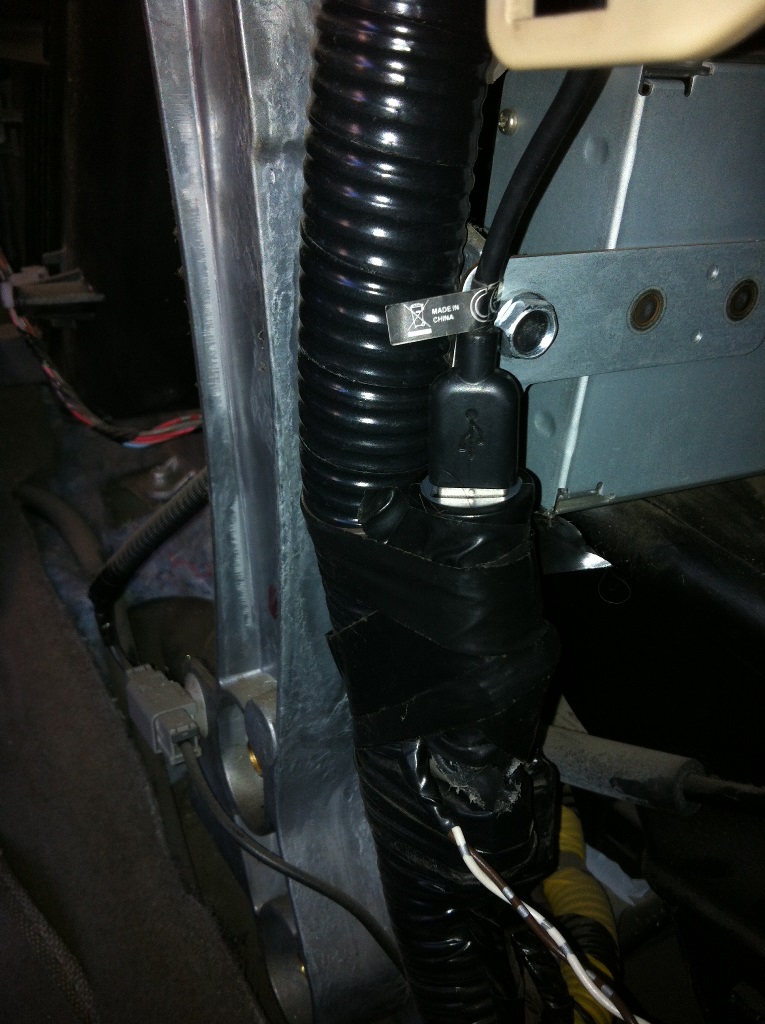
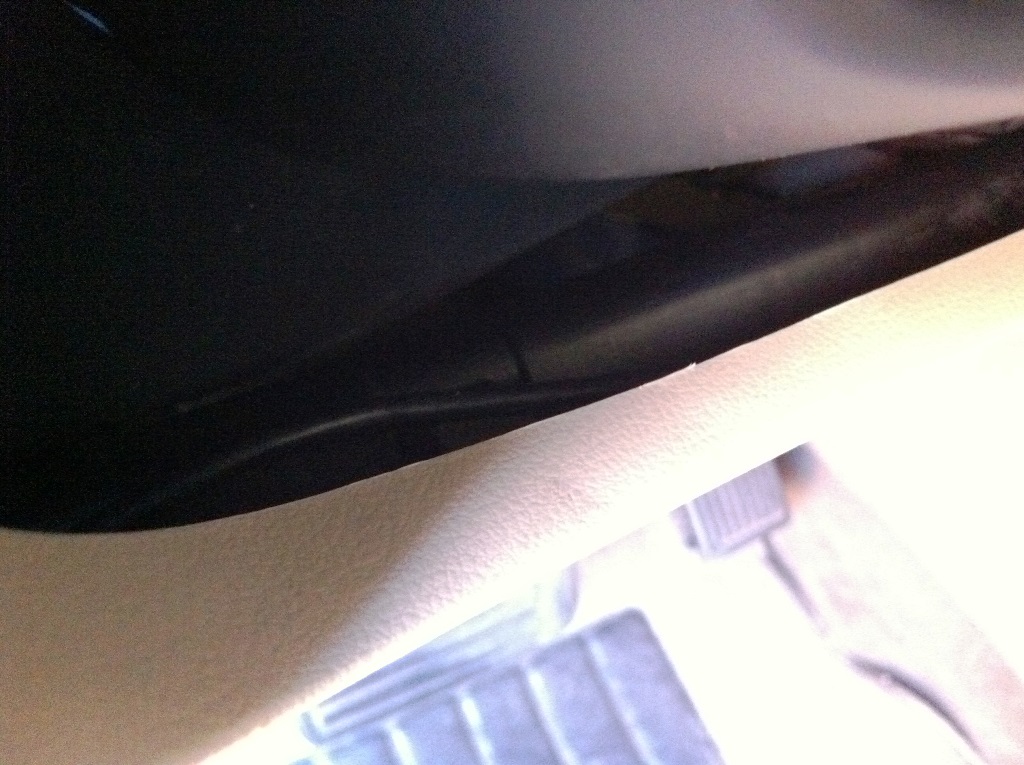
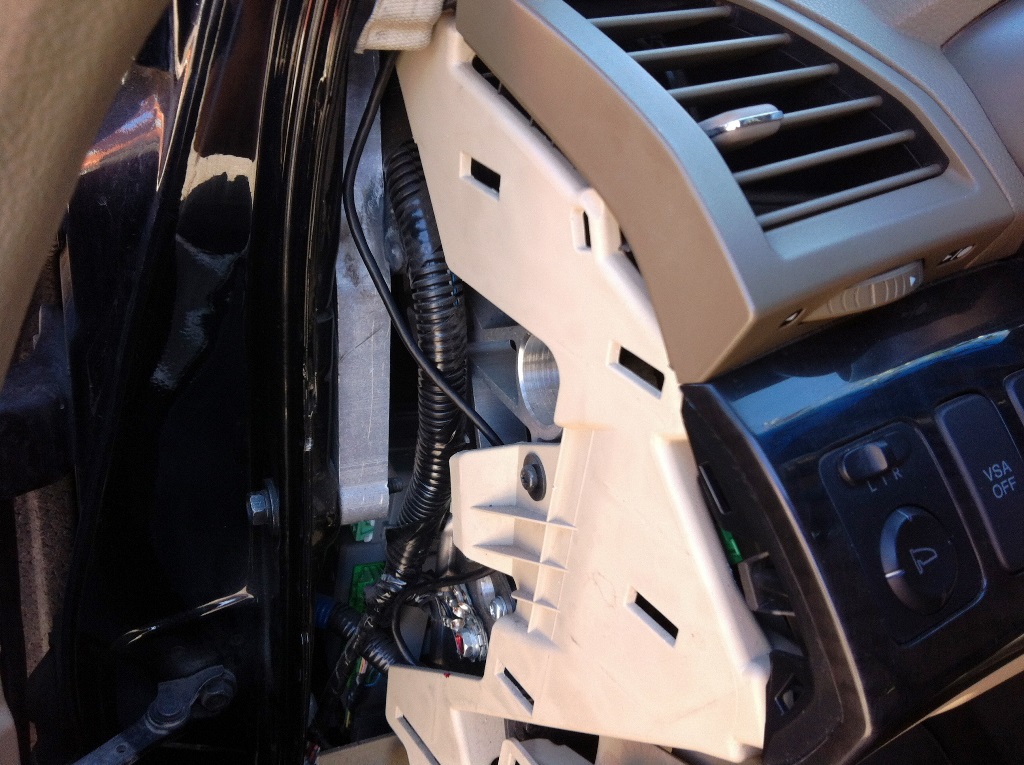
Route the wire in order that it doesn't touch the Gear Shift Cable, You can use tape to use the other wires to secure the cable so it doesn't move around making unwanted noise. Secure the GPS Charger into the big wire harness that is close to the Dashboard Magnesium Chassis in the Driver Side. Now you can route the GPS cable through the drive side A/C Vent into the dashboard side cover, behind the VSA Button into the Steering Column empty space into the center console side panel. If done correctly the only wire you will see is about 4inch that comes out of the A-Pillar into the GPS Cradle.Reverse Procedure to Re-Install!
and install it on the OEM Center Accessory Port, since its small profile the lighter door closes above it and the sliding door closes too so I can charge 2 Smarphones out of the OEM Lighter Port when I need it and keep charging the GPS all the time now without the eyesore cable.
.
Sadly I didn't take pictures because of the very tight fit below the center console, I can take pictures of the cable coming out of the A-Pillar and help with the instructions if you need it. Thanks!
Tomorrow I will pop the side cover to show my setup but like I said.. Its not an easy angle to take pictures so don't expect fully DIY worthy pictures.
The important bit (Connecting the lead cables to the Lighter Cabler) will be almost impossible to picture...
Just picture this.. I had to see everything I was doing from the Cup Holder hole and do everything with my right hand only, If I needed two hands I had to put my left arm inside the cup holder hole and do it by feel because there was no line of sight hahaha.
 10-09-2016, 10:53 PM


 so don't expect fully DIY worthy pictures.