DIY: Cleaning/Replacing A/C info screen
 04-14-2016, 07:46 PM
#1
Moderator
Thread Starter
DIY: Cleaning/Replacing A/C info screen
This is a small DIY to cover the replacing or cleaning the inside of the A/C Info screen. I didn't find any info on how to do this but started on the guts of "How hard can it be?" - Jeremy C.
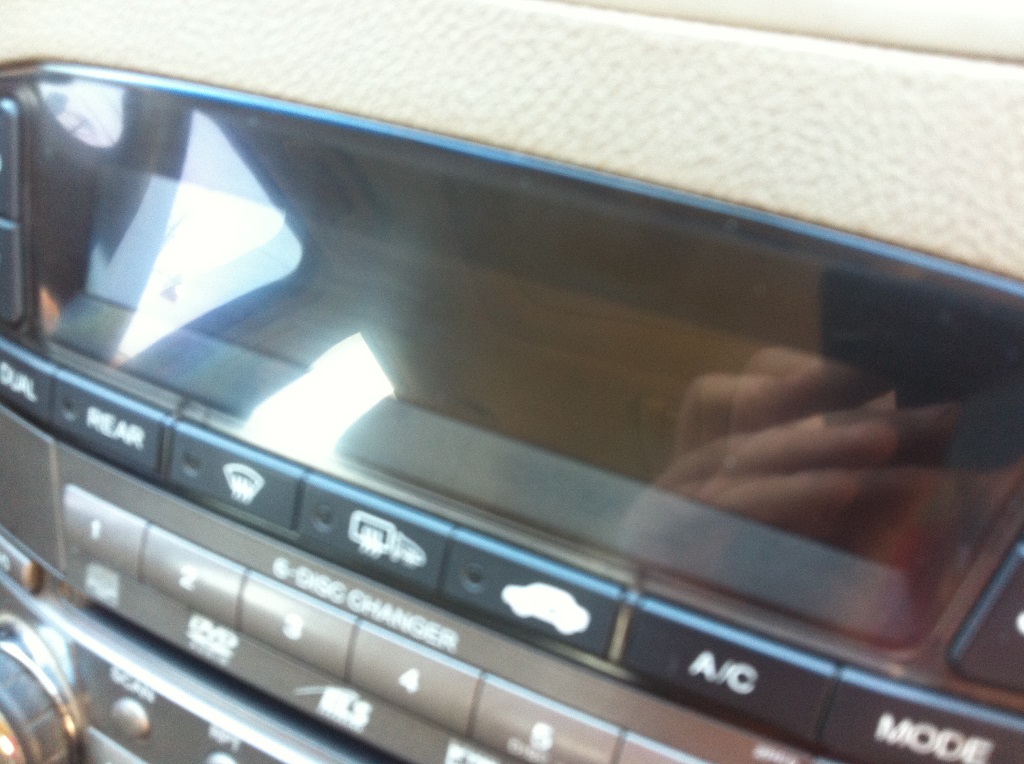
Now for background this was my problem:
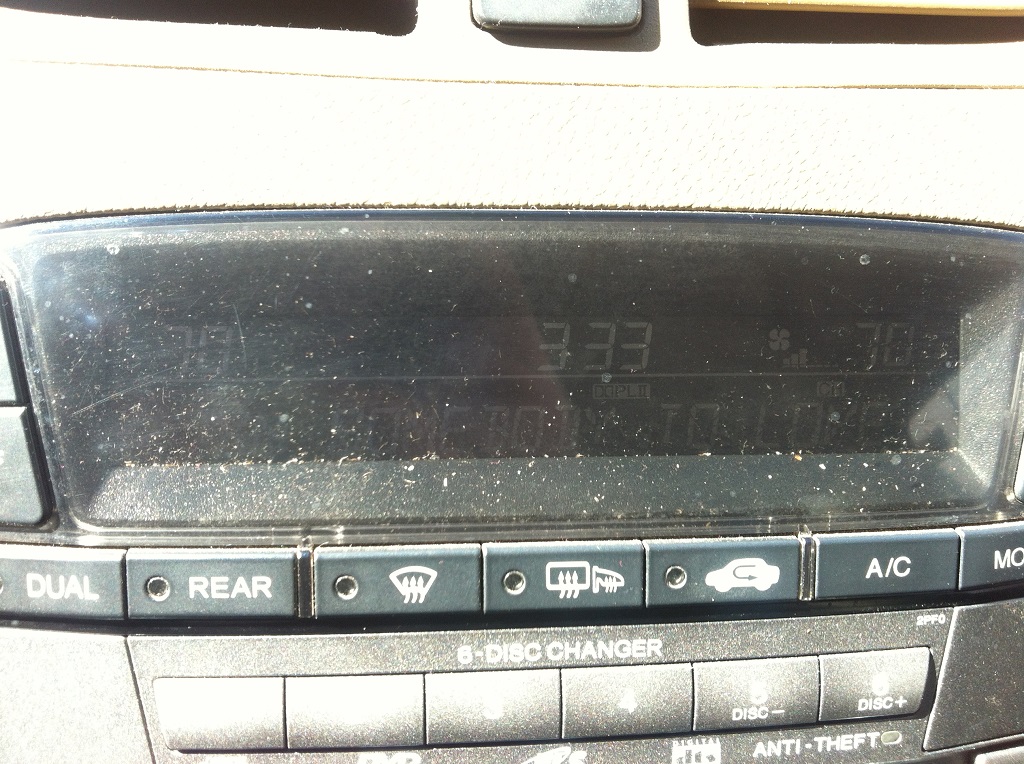
The space between the LCD and LCD Protector had a lot of dirt, So that�s what started this little project.
Time to do: Tops 15 minutes
Should cover all 2G Years and Models.
Tools used:
1x Philips driver
1x Flat driver with cloth (Recommended: Trim tool remover)
1x Small knife
Procedure:
First of all we need to unbolt the Stereo/AC assembly from the dashboard.
Use this video for reference but stop at the very last, don't disconnect any cables you can do this by just pulling the assembly out of the dashboard.
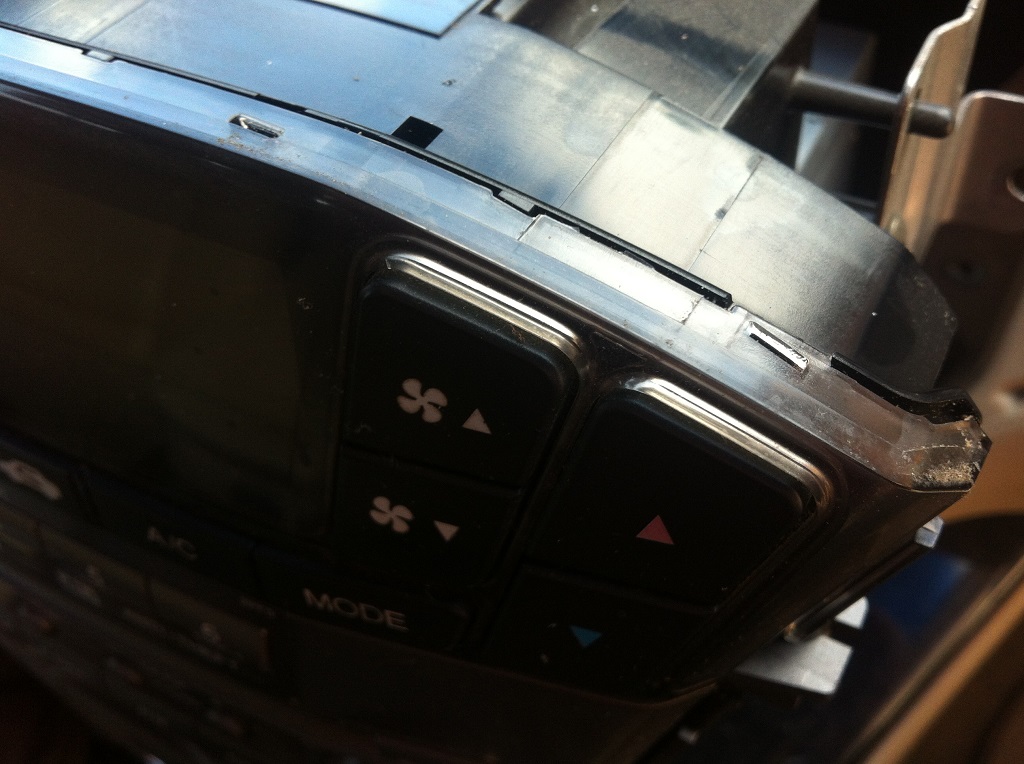
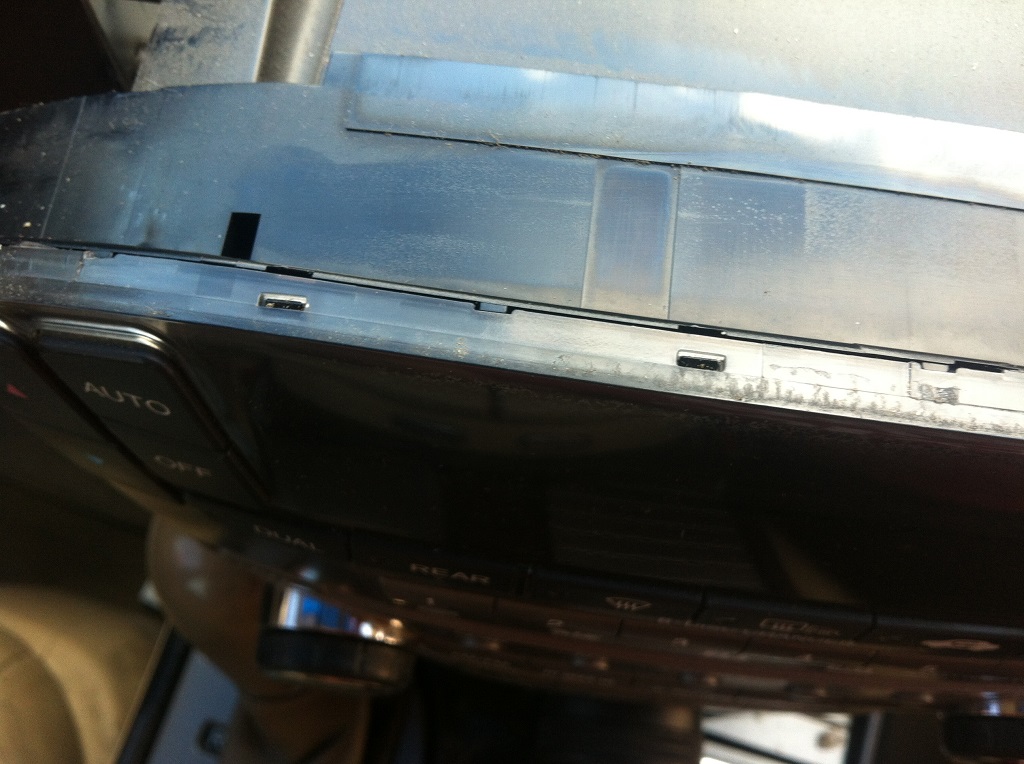
Once the stereo is unbolted pull it half out and locate the screws holding the A/C screen to the HU Assembly:

There is 2 on both sides.
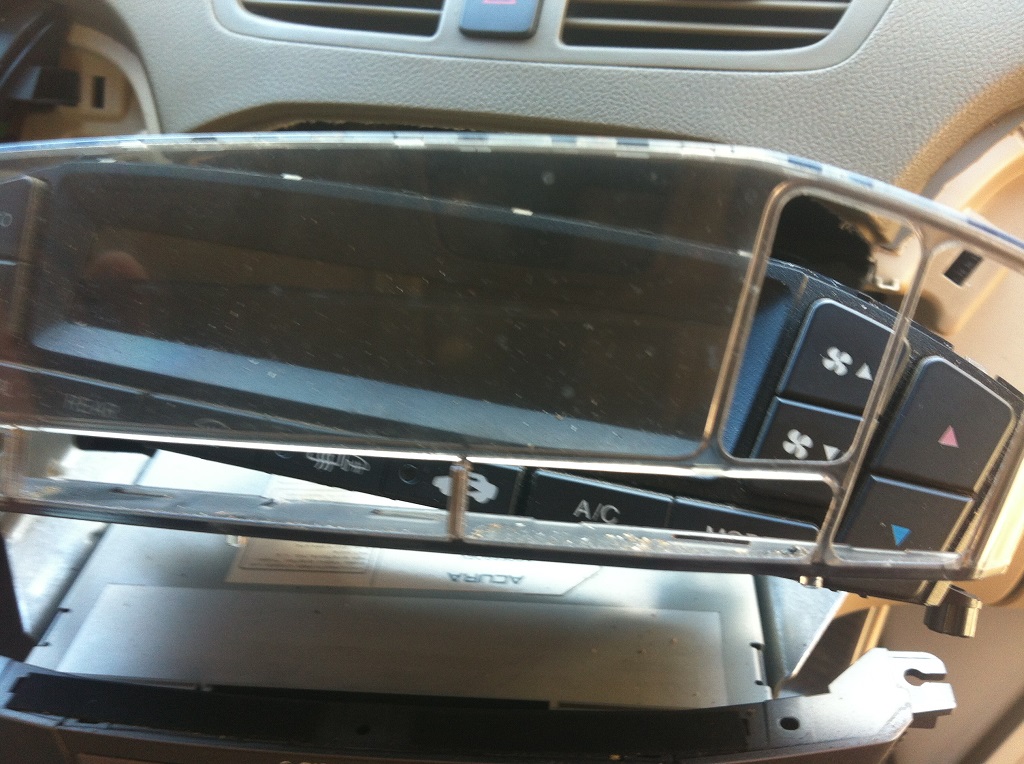
Now you can remove the A/C screen from the assembly by moving it to the side and it will come out.
The LCD Screen is pressed into the unit so you need to pry it off with a small knife or small flat driver.
And voila!
Now you can clean the inside and the dirt between the buttons, reverse procedure to install.
So finally clean:
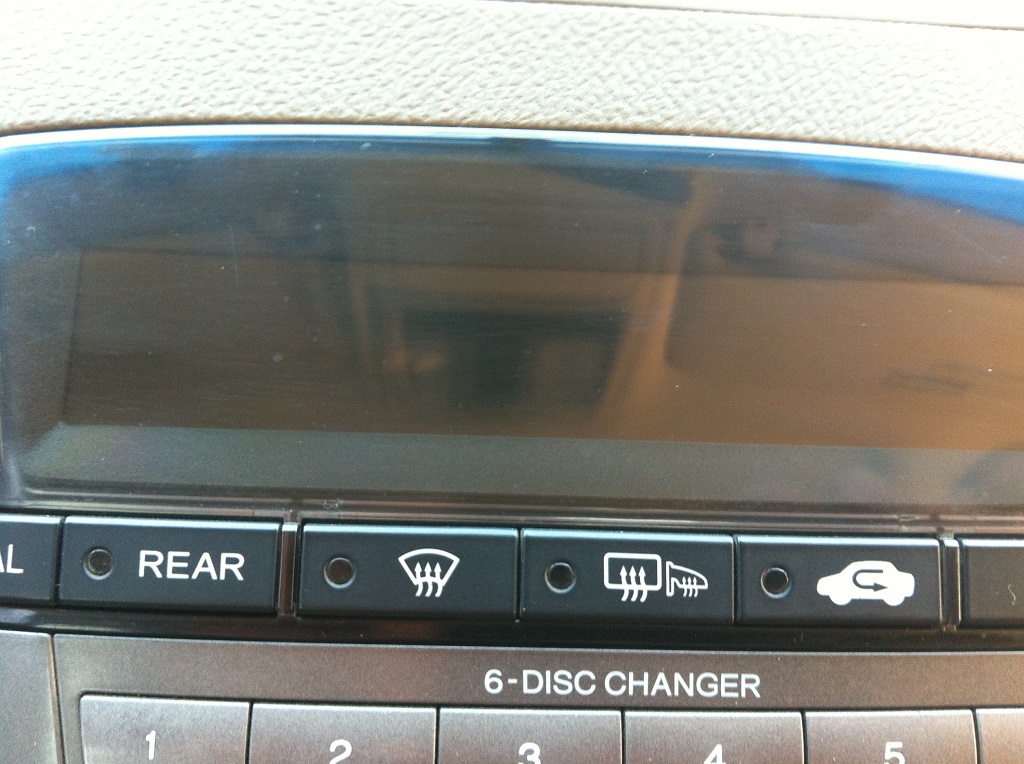
Just like new...
Hope this helps someone!
Thanks for watching it.
Now for background this was my problem:

The space between the LCD and LCD Protector had a lot of dirt, So that�s what started this little project.
Time to do: Tops 15 minutes
Should cover all 2G Years and Models.
Tools used:
1x Philips driver
1x Flat driver with cloth (Recommended: Trim tool remover)
1x Small knife
Procedure:
First of all we need to unbolt the Stereo/AC assembly from the dashboard.
Use this video for reference but stop at the very last, don't disconnect any cables you can do this by just pulling the assembly out of the dashboard.
Once the stereo is unbolted pull it half out and locate the screws holding the A/C screen to the HU Assembly:

There is 2 on both sides.
Now you can remove the A/C screen from the assembly by moving it to the side and it will come out.
The LCD Screen is pressed into the unit so you need to pry it off with a small knife or small flat driver.


And voila!

Now you can clean the inside and the dirt between the buttons, reverse procedure to install.
So finally clean:


Just like new...
Hope this helps someone!
Thanks for watching it.


Thread
Thread Starter
Forum
Replies
Last Post