
Proud new owner of a 6-Speed Diamond White TL in TN


Thread Starter
Colorado Springs
Joined: May 2009
Posts: 733
Likes: 40
Just wanted to update everyone on my recent mileage that I recorded on a trip from clarksville, TN back to Richmond, VA: 29.0 MPG at an average speed of 74 MPH! The mods definitely were the main contributors of this!
And speaking of modifications, check out my most recent mod I did last night...


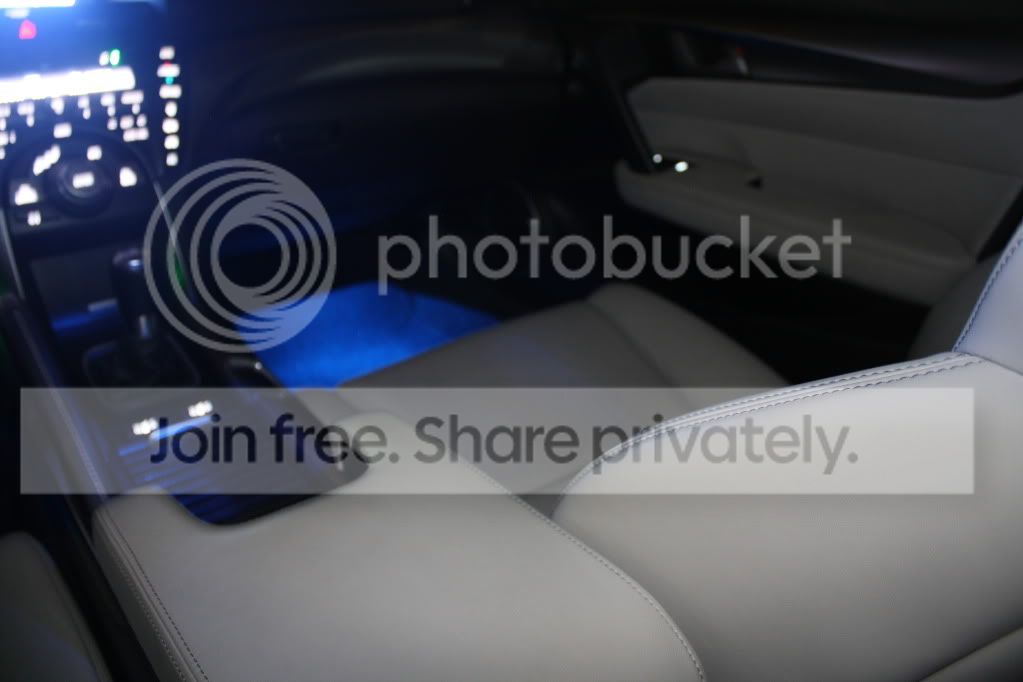

And speaking of modifications, check out my most recent mod I did last night...


Thread Starter
Colorado Springs
Joined: May 2009
Posts: 733
Likes: 40
The following is a copy/paste from a thread I have going on in the audio/electronics forum:
Ok, so here is the quick and dirty of tonight's session with the iPad and Kiwi PLX device. Tonight was definitely a practice/learning session because I had no idea how to get it to work right. Towards the end, I was catching on, but I'll give details a little later. For now, this testing was done thusly:
1. Drove up to the local state highway late tonight (rt 288) and pulled off on the side of the road. Turned flashers on and cleared last results and reset it to "0"
2. Waited for a decent time when no cars were in harms way in the front of me and no cars were approaching from the rear.
3. Usually revved up to 4,000rpms and dropped the clutch. I cut off anywhere from 80mph to 100mph and this was usually after shifting into 4th gear.
4. The REV program stored the highest numbers achieved and that's what you'll see in the pictures below.
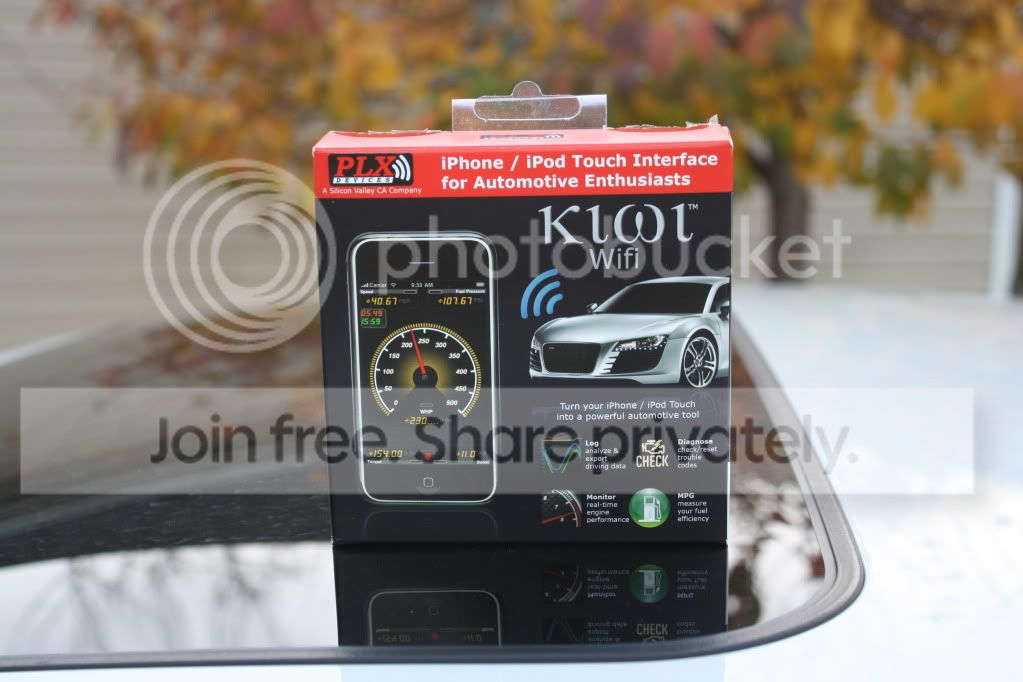
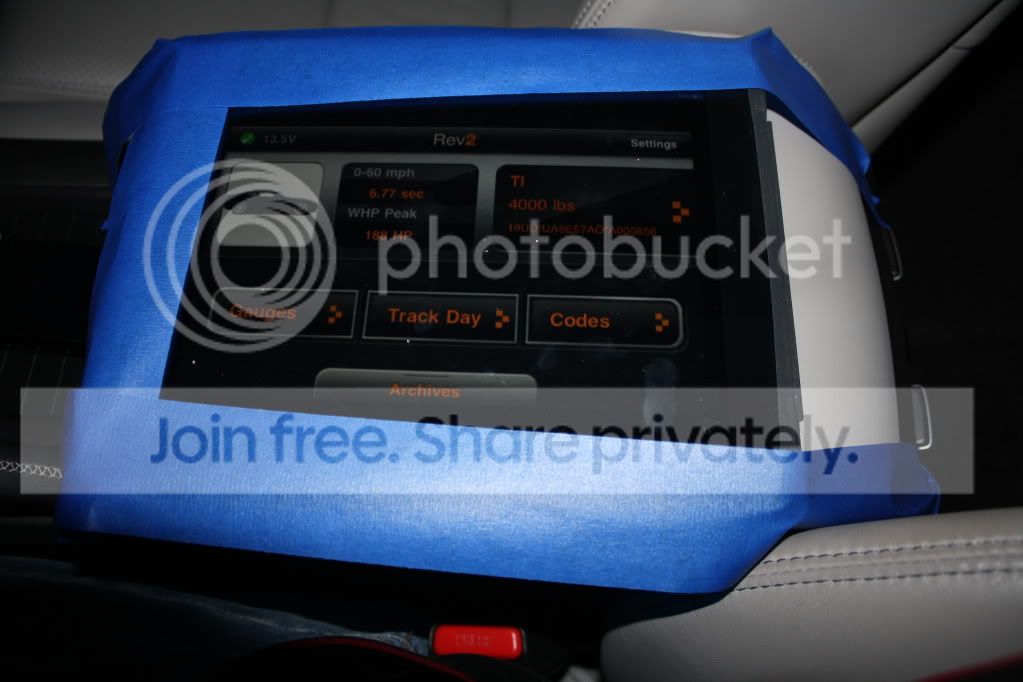
The Kiwi PLX WiFi device...
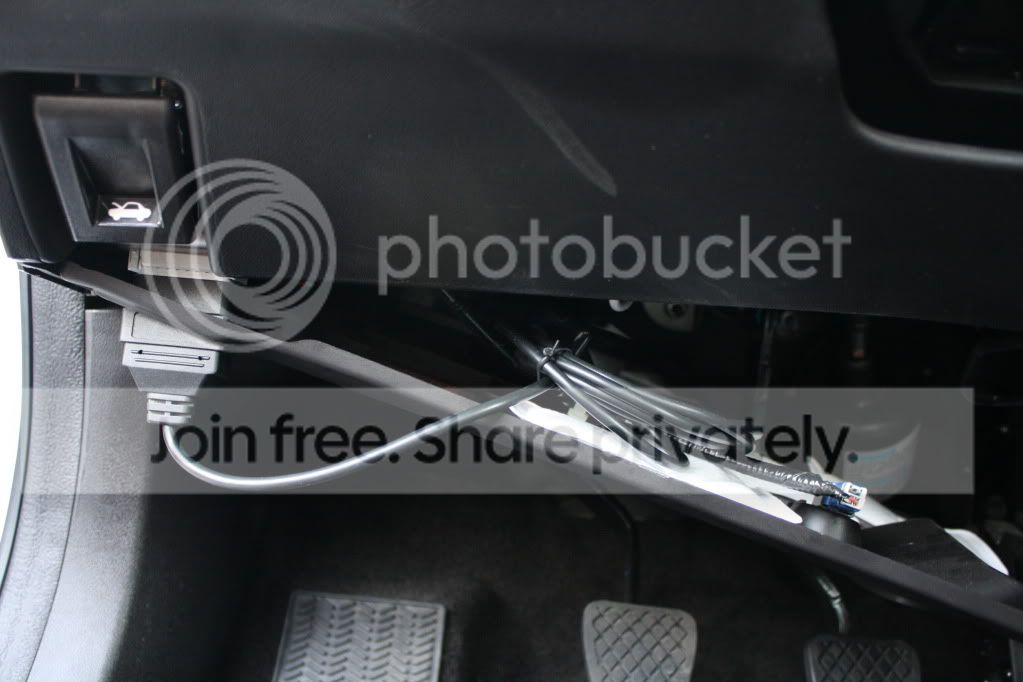
Where I tucked it in...
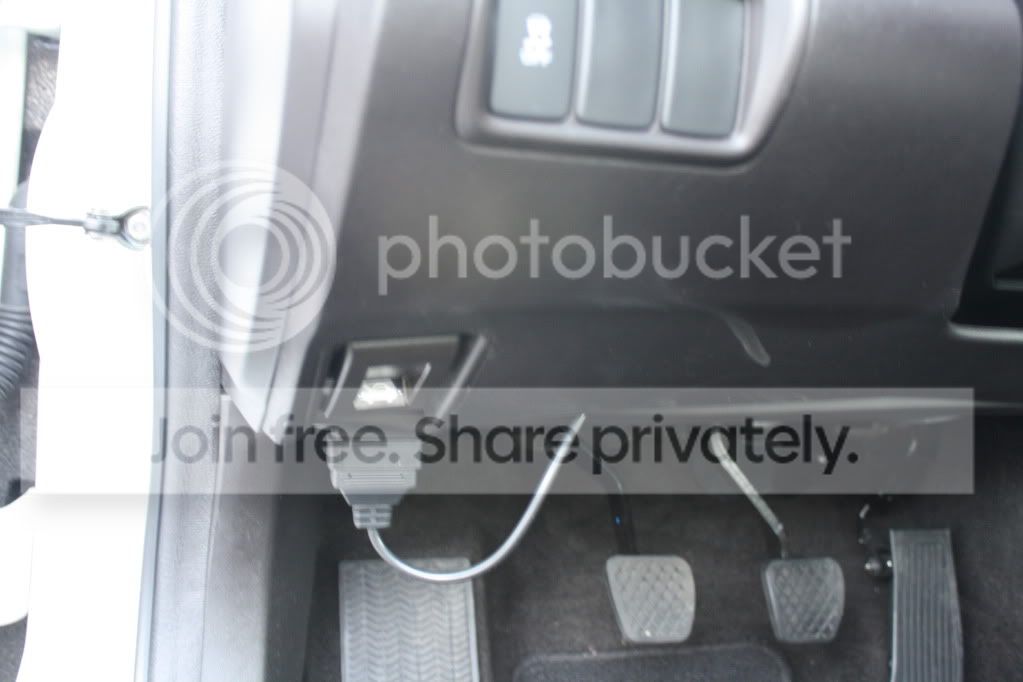
All buttoned up...
After 3 near-starts, I got a good reading on a run down the highway.
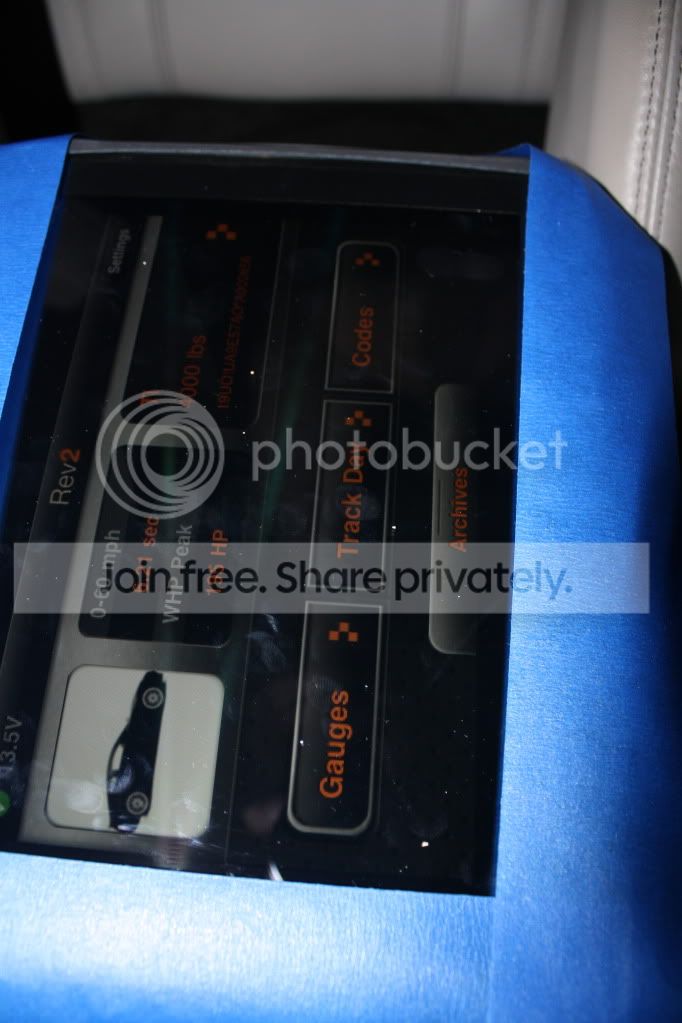
Second run.
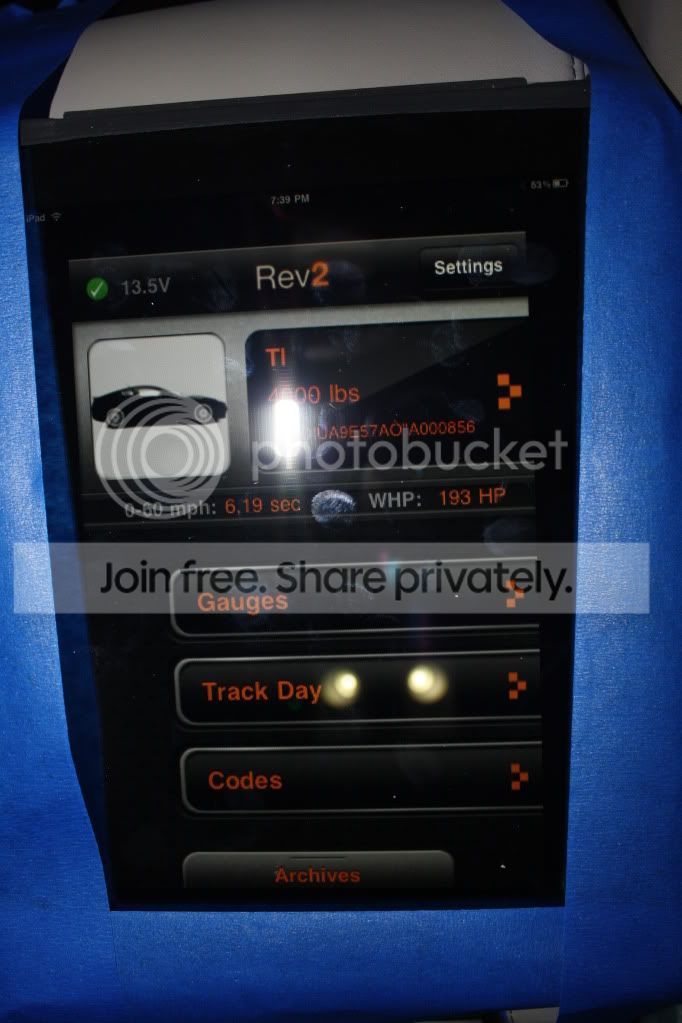
Third run.
And there was one more run after that, but I stayed on the rumble strips on the highway too long after initial blast-off and it hurt my time and WHP estimate more. So I didn't post it.
But the more I practice and get the hang of it, the more I will keep posting new results! We all know there is more HP in this thing than we see.[/quote]
Ok, so here is the quick and dirty of tonight's session with the iPad and Kiwi PLX device. Tonight was definitely a practice/learning session because I had no idea how to get it to work right. Towards the end, I was catching on, but I'll give details a little later. For now, this testing was done thusly:
1. Drove up to the local state highway late tonight (rt 288) and pulled off on the side of the road. Turned flashers on and cleared last results and reset it to "0"
2. Waited for a decent time when no cars were in harms way in the front of me and no cars were approaching from the rear.
3. Usually revved up to 4,000rpms and dropped the clutch. I cut off anywhere from 80mph to 100mph and this was usually after shifting into 4th gear.
4. The REV program stored the highest numbers achieved and that's what you'll see in the pictures below.
The Kiwi PLX WiFi device...
Where I tucked it in...
All buttoned up...
After 3 near-starts, I got a good reading on a run down the highway.
Second run.
Third run.
And there was one more run after that, but I stayed on the rumble strips on the highway too long after initial blast-off and it hurt my time and WHP estimate more. So I didn't post it.
But the more I practice and get the hang of it, the more I will keep posting new results! We all know there is more HP in this thing than we see.[/quote]

 Almost as bad as the 3G leather.
Thread Starter
Colorado Springs
Joined: May 2009
Posts: 733
Likes: 40
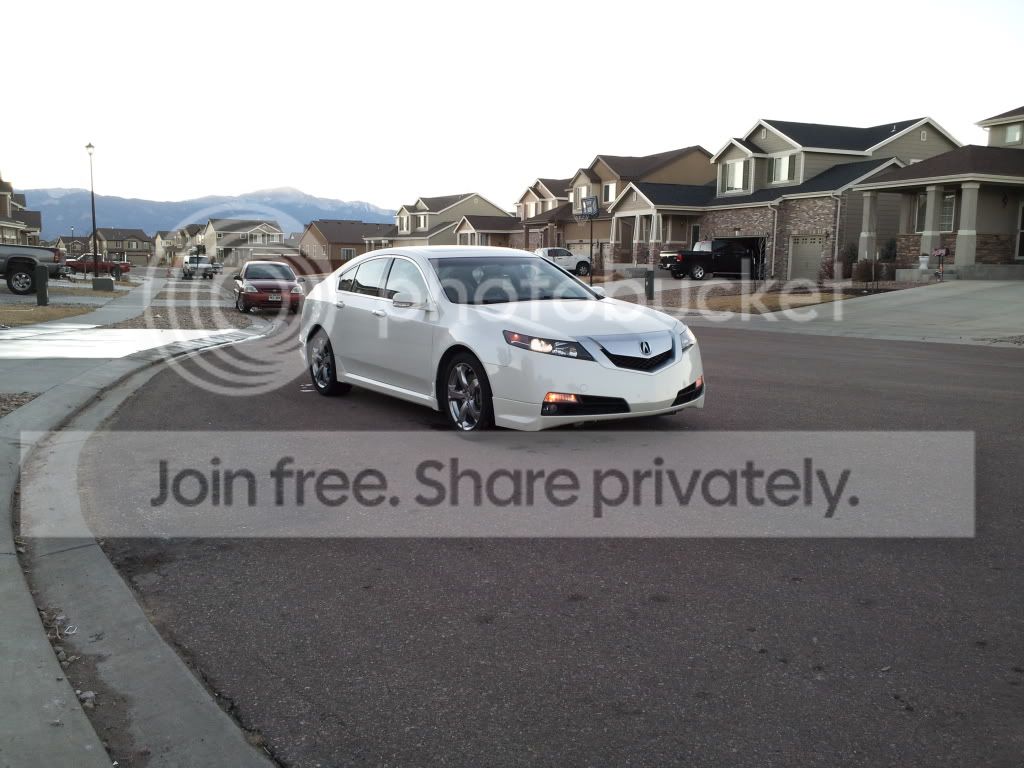
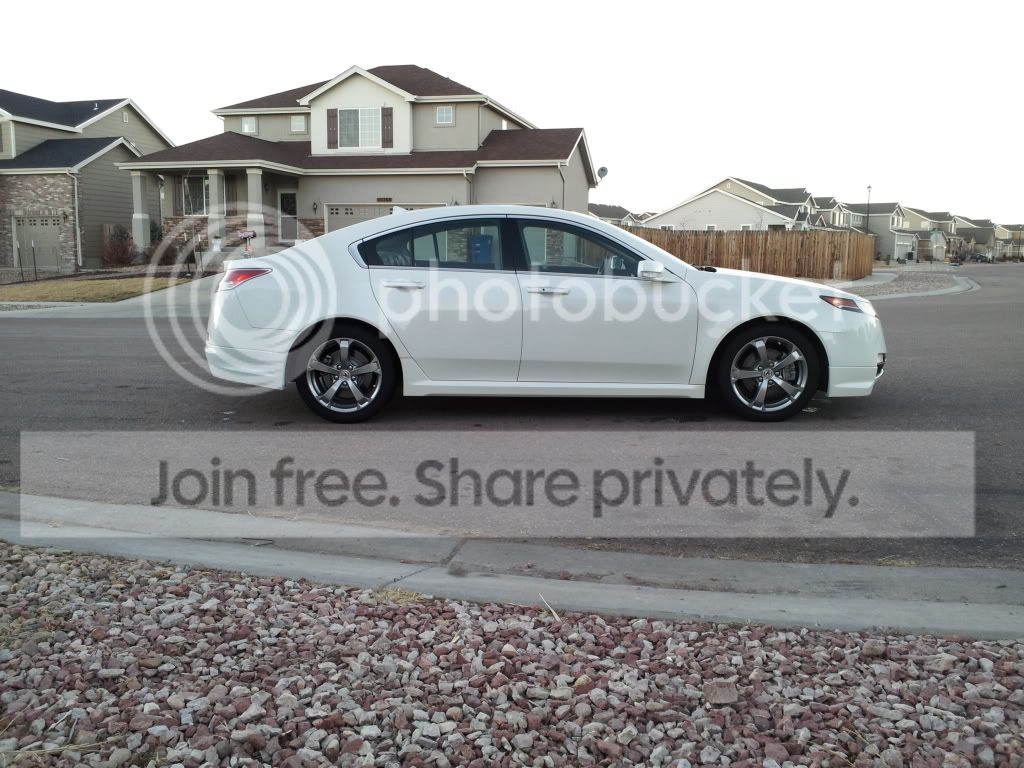
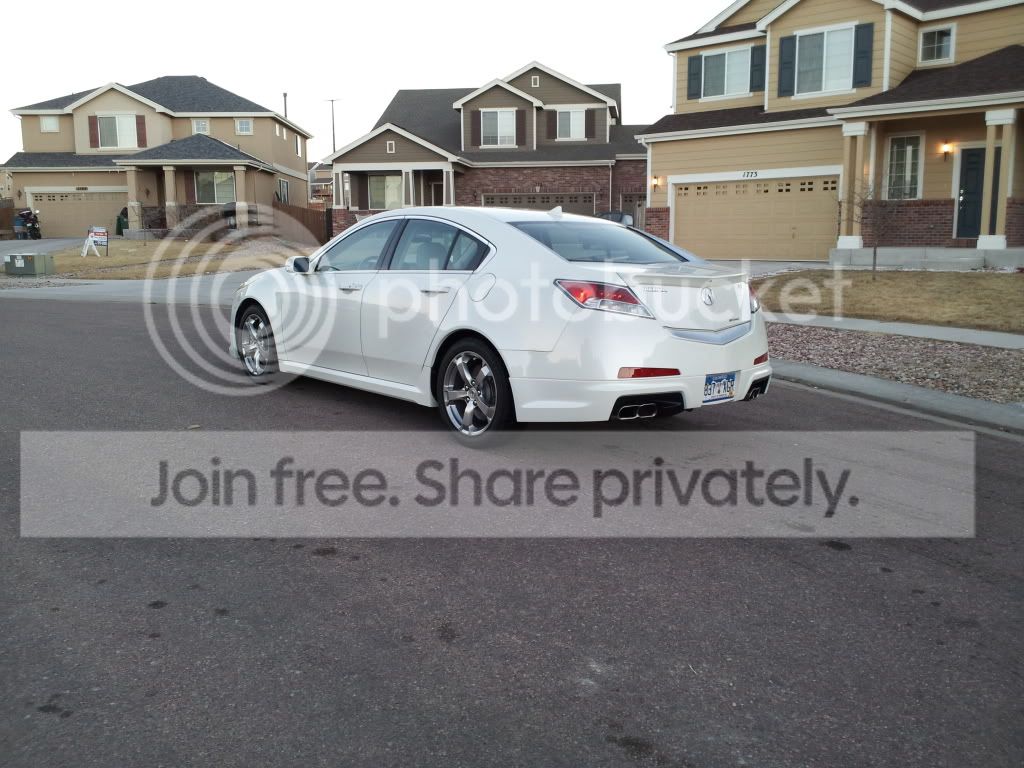
So after buying my TL 3 years ago, I have finally pieced together the entire under-body spoiler kit. My wife bought me the rear pieces back in September, but I was still deployed to Afghanistan, so now I've finally had some time to install it myself. I did a pretty good job IMO and am happy to provide a couple of pictures (sorry, took them with my Droid). I'm pretty proud of the condition I've kept it in over these past 3 years and 60,000 miles too. Aside from getting the passenger side seat bracket and the cat-back exhaust replaced under warranty a year ago, I really haven't had any bad experiences with my TL. I'm still hovering right around 23MPG on average throughout the life of my car. I also got new tires right at 53,000 miles, where I switched to Bridgestone Potenzas RE-970 (I believe). They have a lot more grip, but are estimated to last only 40,000 miles instead of the stock Michelin's 50k rating.
If I could do two more things to stick a fork in this car and call it done would be to buy some rims (I'm really set on Bronze TSW Willows) and lower it with lowering springs or Tein Coilovers, then I'd do it in a heartbeat, but who knows, at this pace it might take me another 3 years to beg the wife to let me have those things, haha.
Thanks for reading!


Thread Starter
Colorado Springs
Joined: May 2009
Posts: 733
Likes: 40
Since my last update, I've had more developments go on in my life such as moving to Indiana and buying my first house. My twins are almost 2 now, so money is still going to be a factor in everything I want to do to this car. It sure doesn't help when my clutch started to slip around 70,000 miles. I made a thread on that in the performance section of the 4G thread if you want to read more about it there.
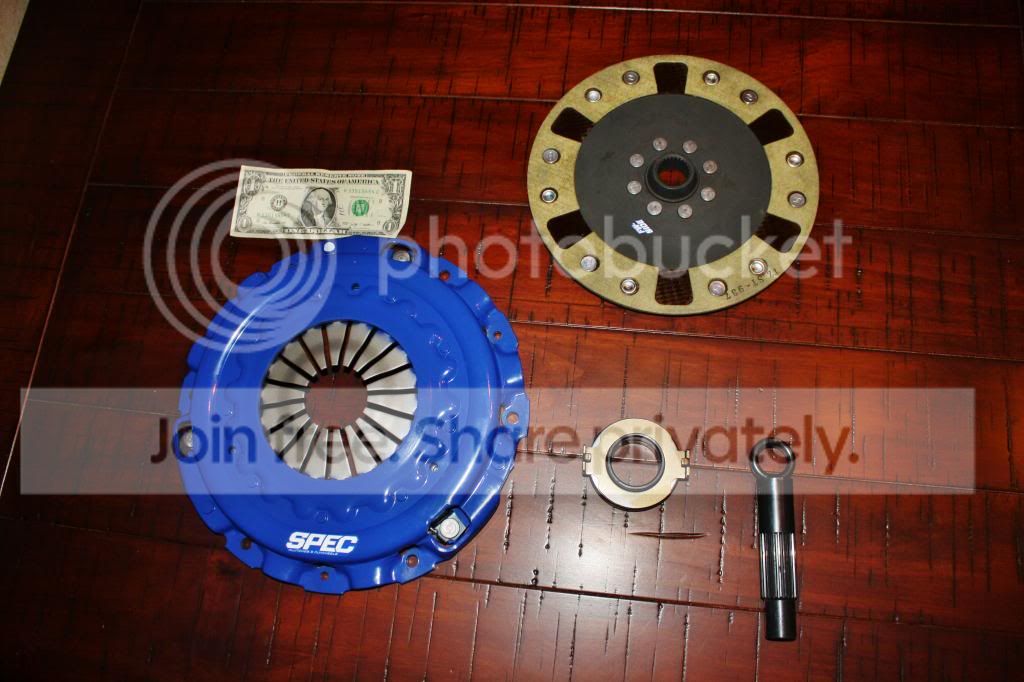
So $1500 later, I got a SPEC Stage 2+ clutch installed on my car. The shop that installed it gave me kind of a run around. First they quoted me on parts by a transmission components company named Luk, then they claimed that Luk does not make any parts for our car except for a master cylinder. Then I found out that all of the Acura clutch components together were going to cost right around $700, so I told the wife that it doesn't make sense to put back in the same clutch that originally failed me prematurely. So I got my way and got to purchase a SPEC clutch for $750 with free shipping. About 700 miles later, the clutch is finally feeling a little more broken in, but it does not like to be feathered at low speeds or take offs (it kind of shudders because the grip is so immense, it wants to just grab onto the flywheel and go).
Speaking of flywheel, I essentially have no warranty on my clutch because SPEC voids the warranty unless you install the clutch with a new flywheel or a resurfaced one. All 3 transmission shops I went to claimed they couldn't resurface a dual-mass flywheel, and the internet said so as well.
It turns out when it was all said and done, the transmission shop told me that they did "clean up and buff" the flywheel a little bit and felt that it was adequate enough. Then they told me that they knew a shop down the road that actually could resurface a dual mass flywheel, which I was pretty pissed about. I would've bought that kind of servicing in a heartbeat had I known. So key take-away for all you that might have to do this in the future, keep shopping around until you do find a shop that can resurface your dual mass flywheel.

Thread Starter
Colorado Springs
Joined: May 2009
Posts: 733
Likes: 40
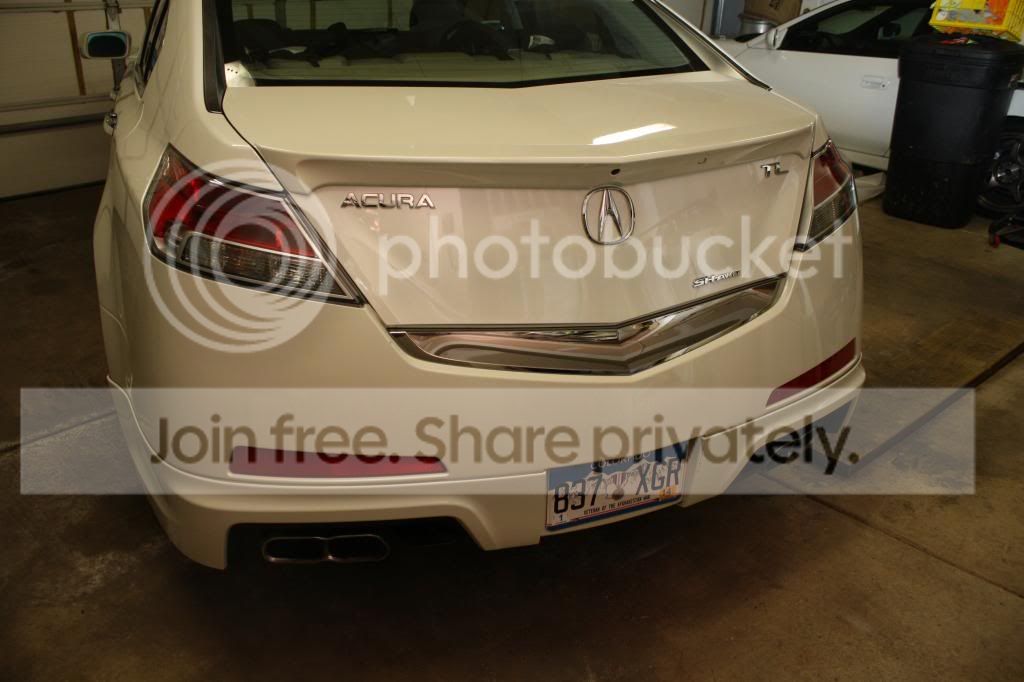
I have also decided that I want to go with the midnight chrome sport grill package for my TL. When it originally debuted, a lot of people saw pictures and hated it. However, it has recently grown on me. I really like the looks of it and have became tired of how bland the normal silver painted beak on my car makes the front end look. So I had some money stashed away to acquire the rear piece, and this spring I will tell the wife that I want to get new wheels, which she'll say no to, but then I'll say "fine, if you won't let me have them, at least let me spend $226 on the front grill." and she'll have to say yes, right? 
Regardless, I'll probably get new wheels some time in 2015 then. Ugh, I can't wait that long.
In the mean time, enjoy a little picture tutorial on how to install the rear midnight chrome piece. Also, don't buy the LED bumper lights that I did, they don't fit right. Get them only in the one "stack" high variety, then they'll fit.
jack it up
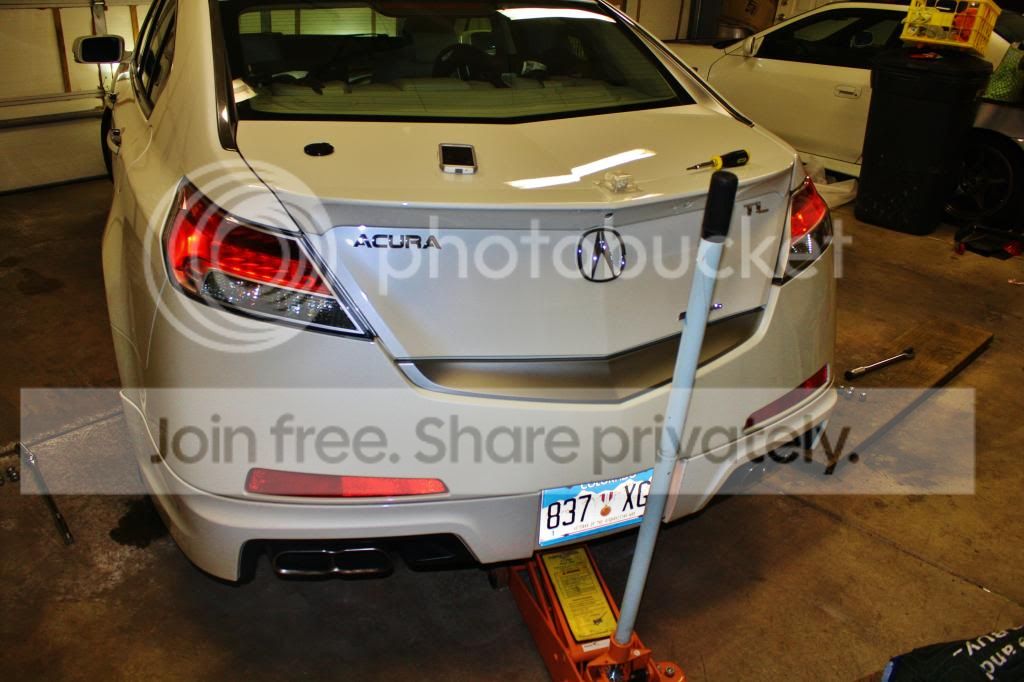
unscrewed the 3 screws in each wheel well and undid the two clips underneath the license plate. Then tug away!
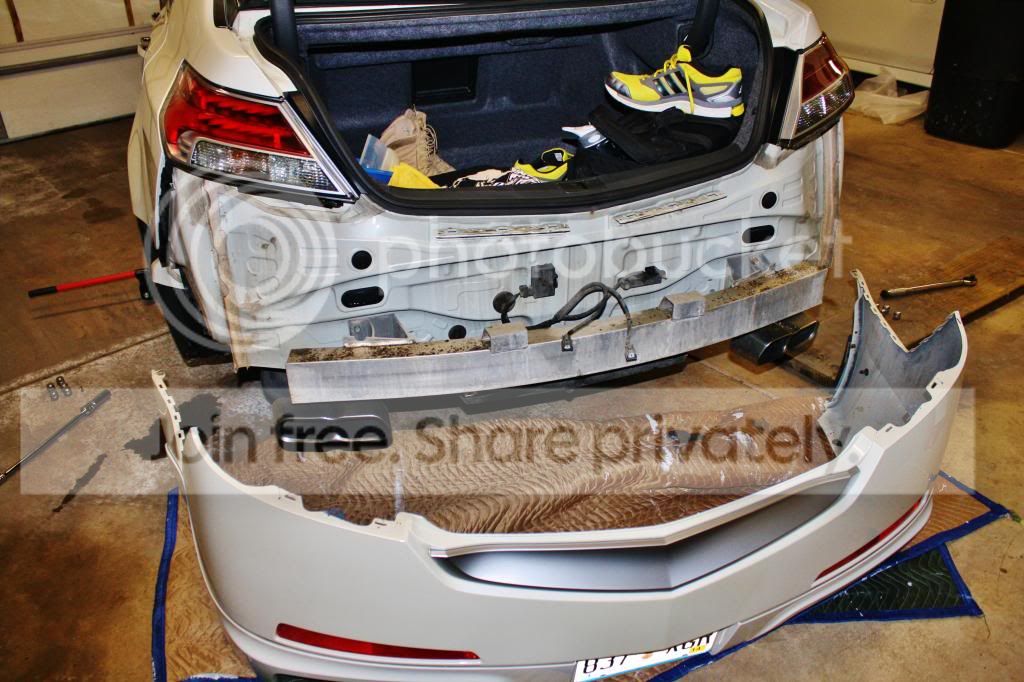
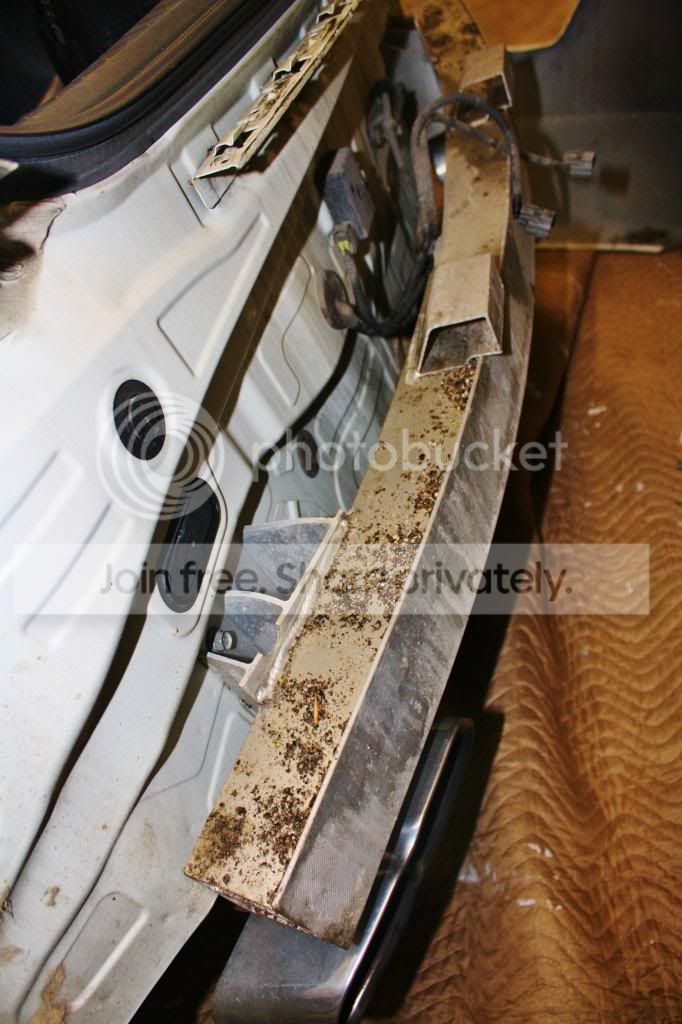
Clean off all of the dirt and sediment that gets stuck in hard-to-reach places
sh*t, I don't even know how I got this piece off, it was a pain the in ass that involved trying to push the clips out on the backside, and then finally wrapping a screwdriver in a towel and prying it off from the middle, outward.
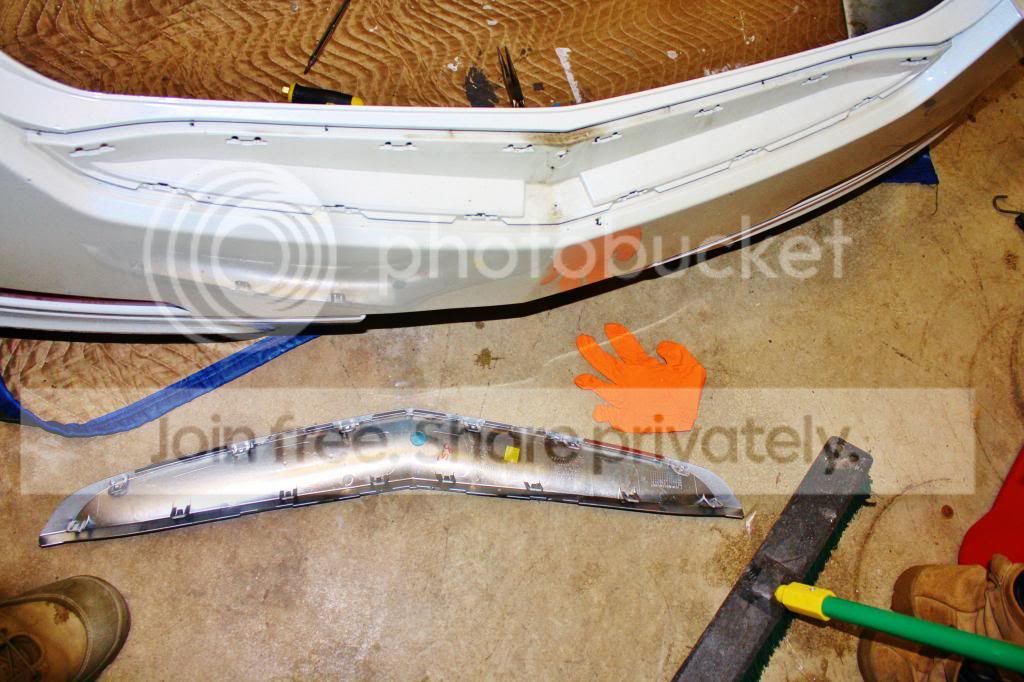
To put this piece on, you actually have to crack off 4 "over-cast" tabs that they left on, probably to dip it in the chrome treatment at the factory. Don't worry, just give them a couple of bends and they'll break off. Then press it in.
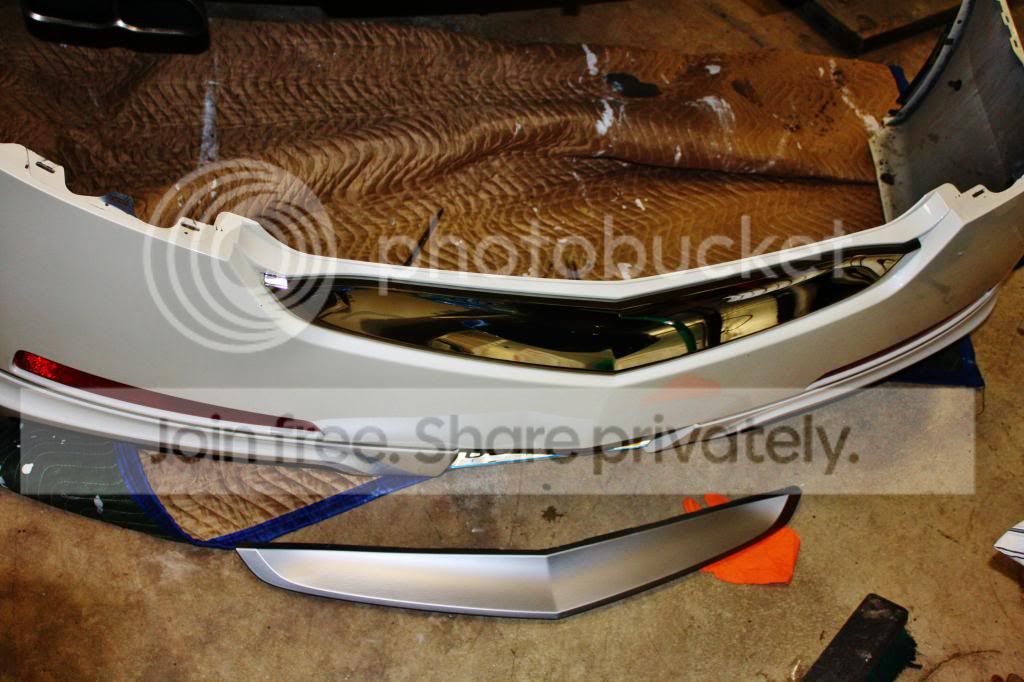
Screw in screws, pop in clips and don't forget to use a torque wrench to put the lug nuts back on the wheels.
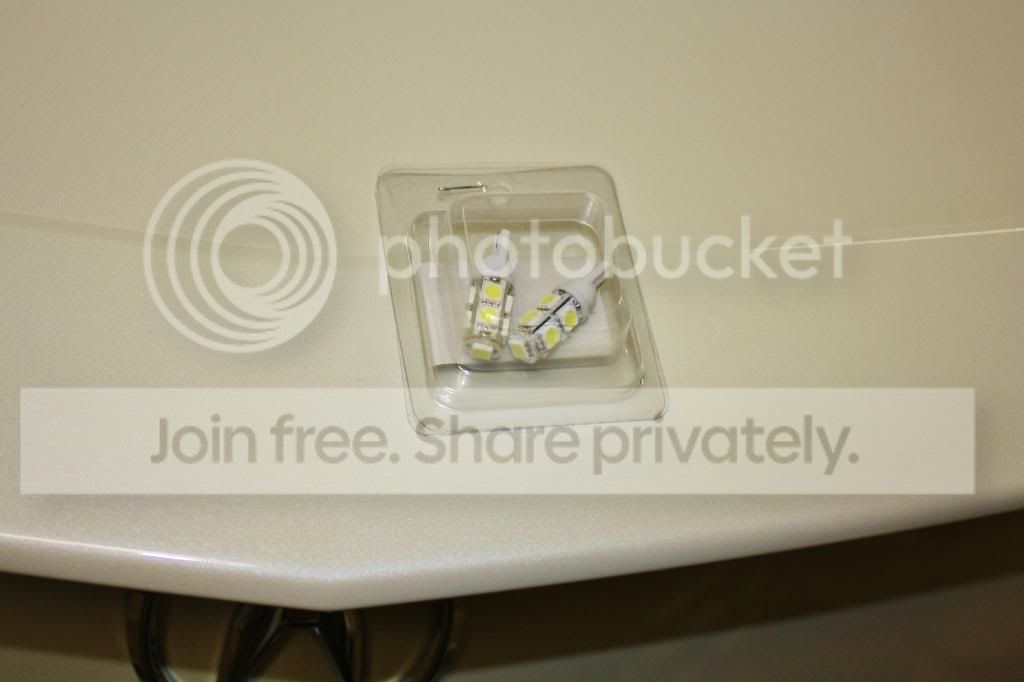
see how these LED bulbs have a total of 9 diodes? Get the ones with only 5. These ones are too long
I took this out while the bumper was off the car.
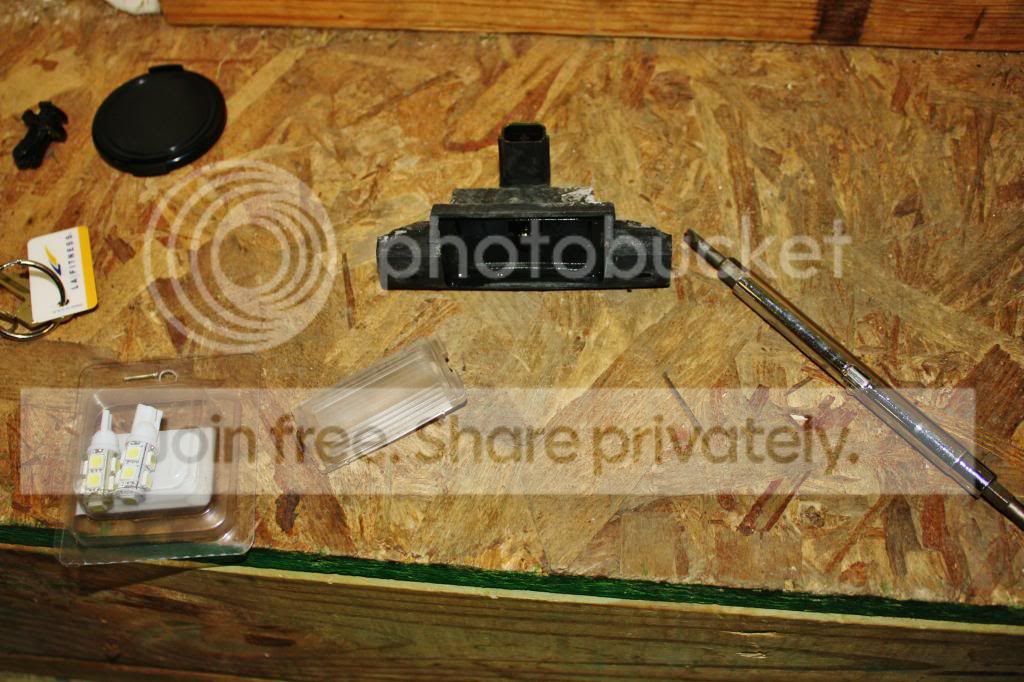
Bad first sign

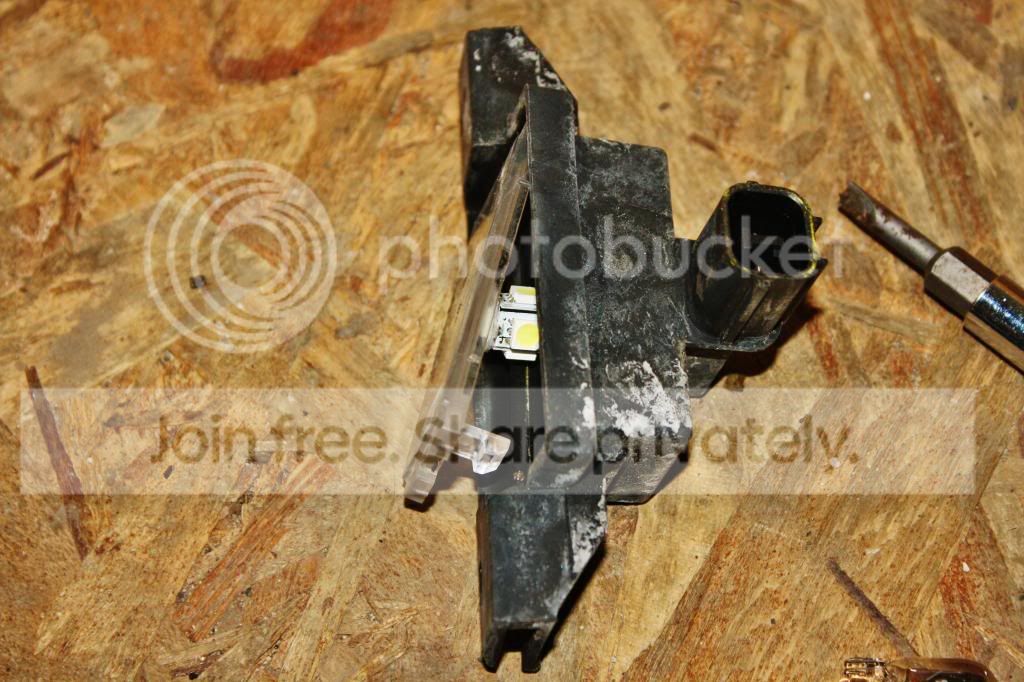
Well sh*t.
Regardless, I'll probably get new wheels some time in 2015 then. Ugh, I can't wait that long.
In the mean time, enjoy a little picture tutorial on how to install the rear midnight chrome piece. Also, don't buy the LED bumper lights that I did, they don't fit right. Get them only in the one "stack" high variety, then they'll fit.
jack it up

unscrewed the 3 screws in each wheel well and undid the two clips underneath the license plate. Then tug away!

Clean off all of the dirt and sediment that gets stuck in hard-to-reach places

sh*t, I don't even know how I got this piece off, it was a pain the in ass that involved trying to push the clips out on the backside, and then finally wrapping a screwdriver in a towel and prying it off from the middle, outward.

To put this piece on, you actually have to crack off 4 "over-cast" tabs that they left on, probably to dip it in the chrome treatment at the factory. Don't worry, just give them a couple of bends and they'll break off. Then press it in.

Screw in screws, pop in clips and don't forget to use a torque wrench to put the lug nuts back on the wheels.

see how these LED bulbs have a total of 9 diodes? Get the ones with only 5. These ones are too long

I took this out while the bumper was off the car.

Bad first sign

Well sh*t.

Instructor
Joined: Mar 2013
Posts: 167
Likes: 29
From: Barstow, Ca
nice...I sat here and read all of your progression...kudos! I've baked/separated/painted the headlights on my CB7 and Altima before...you have now confirmed that it is ALL THE EXACT SAME procedure, that will be my next mod.
Also, I agree with the midnight chrome pieces, I was thinking about color matching front and back trim pieces, but I'm with you on this (especially with the bling of our rims now).
Also, I agree with the midnight chrome pieces, I was thinking about color matching front and back trim pieces, but I'm with you on this (especially with the bling of our rims now).

Thread Starter
Colorado Springs
Joined: May 2009
Posts: 733
Likes: 40
Here is an update from another thread that I am talking about this topic in https://acurazine.com/forums/fourth-.../#post15509195 :
So I took a long hard look at Ray01's comment that the shift knob that I was talking about was one from a 2014 Accord MT and he was right. I looked it up in the Honda Catalog at a dealership and found the manual transmission shift knob, but the color listed was "gray" and I couldn't understand why it said that. In all of the pictures, it looked black. The price was also over $130, but as with all dealership parts prices, you can whittle them down (I ended up paying $101). This is still a long ways off of the $45 I paid for a second TL knob back in the day, but I digress...
So the knob came in and sure enough, it is a very dark gray, not a true black. Then the disappointing part was that Honda/Acura has engineered two different mounting base points for their shift knobs to fit into a shift boot. My pictures will show the rest.
The bottom line is that I am going to attempt to get this bad boy to fit perfectly in the shift boot collar to have a stock look.
I will try to weigh both knobs later to show that, I believe, the Accord shift knob weighs more than the Acura (which is nice), but it is thinner in girth than the TL which might not feel as substantial in your hand. Again, this is a personal preference.
Here is a side-by-side picture of the base mounting point differences. You can also tell that the Accord one is narrower than the TL one.

This picture shows how this knob will not mate up correctly to the shift boot collar.

So with thick spokes sticking out the sides, it's time to shave it down. I used a combo of wire cutters and a file to reduce the sides and bottom:


So with the outside of the mounting points shaved down, the shift boot collar won't latch onto it anymore, but I'm thinking of wrapping some sort of electrical tape to thicken up the diameter and then the collar will be held up by friction. Yes, it sounds hokey, but I'm betting it will work.


I had higher hopes for this to have a better plug-and-play approach, but it did not, so I am doing what I can. At worst, it will be a $101 mistake. At best, I'll still be able to put the stock knob back on with no damage to the stock setup while being able to switch off a more unique knob for different occasions. Most of all, I just wanted to see if this would all be possible. Let me know what you think!

Thread
Thread Starter
Forum
Replies
Last Post
rp_guy
Member Cars for Sale
9
Jul 16, 2017 07:33 AM
lanechanger
Member Cars for Sale
4
Oct 13, 2015 10:56 AM