
RV6 V2 Precat Delete Interest


Burning Brakes
Joined: Nov 2008
Posts: 836
Likes: 80
From: The Bean
Oh snappz we made the order already niceee, can't wait for this mod to happen...So hey Richie since I gave you deposit with combo deal package including am I getting all these products in one shot or seperate delivery times??

Thread Starter
Former Sponsor
Joined: Nov 2005
Posts: 1,697
Likes: 492
From: Chicagoland

Yes they are just put down a deposit at www.rv6-p.com to get one of the first sets.
Thread Starter
Former Sponsor
Joined: Nov 2005
Posts: 1,697
Likes: 492
From: Chicagoland
Burning Brakes
Joined: Nov 2008
Posts: 836
Likes: 80
From: The Bean


Thread Starter
Former Sponsor
Joined: Nov 2005
Posts: 1,697
Likes: 492
From: Chicagoland
I was only able to get enough gaskets from Honda for the first 13 sets. The remaining balance page is up. I will invoice those with combos using the same payment method. I should be able to ship everything Monday. Thanks for making this happen.
http://www.ecrater.com/product.php?pid=2480194

 .i felt lonely at .net so i joined this fourm to

Safety Car
Joined: Jan 2006
Posts: 4,442
Likes: 482
From: Houston, Texas
Excellent. Some new members to the PCD Club. In case anyone missed it previously, here are some threads discussing the install.
Post w/pics of the install (A) (click here)
Post w/pics of the install (B)(click here)
E-106: Official Pre Cat Delete HOW TO DIY (click here)
Precat-deletes V2 install (click here)
Post w/pics of the install (A) (click here)
Post w/pics of the install (B)(click here)
E-106: Official Pre Cat Delete HOW TO DIY (click here)
Precat-deletes V2 install (click here)
Full of water...
Joined: Mar 2007
Posts: 2,284
Likes: 11
From: Michigan
 what took you guys so long?

Thread Starter
Former Sponsor
Joined: Nov 2005
Posts: 1,697
Likes: 492
From: Chicagoland
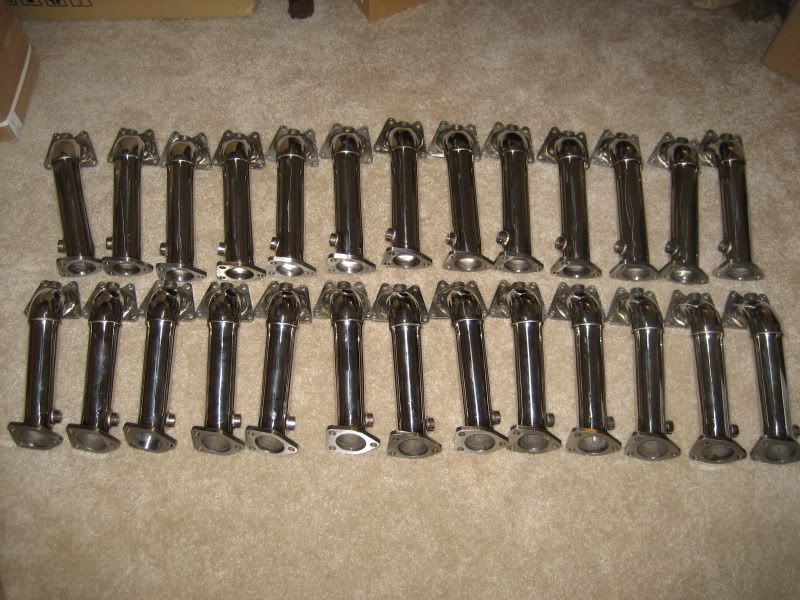
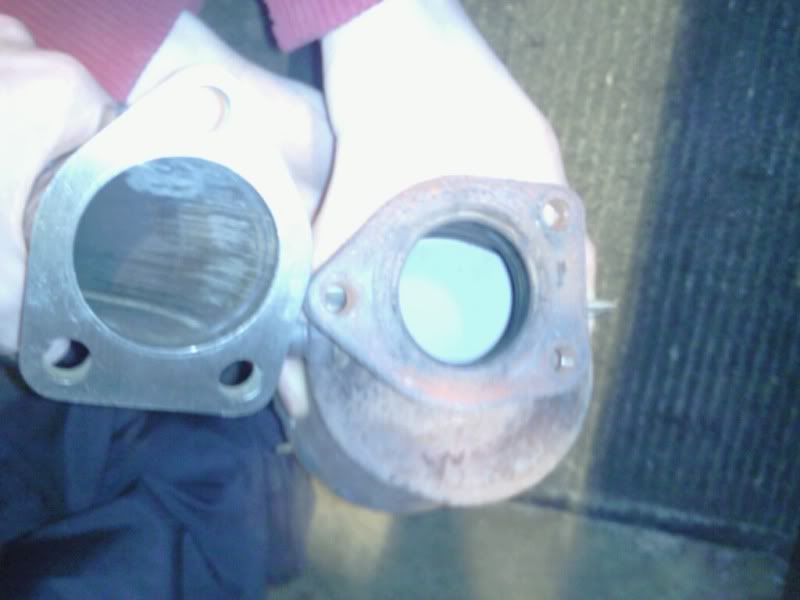
Here is a comparison pictures a stock precat verses a precat delete someone sent me today. I believe the diameter of the stock precat is actually smaller then stock jpipe. I will get my calipers out and measure them tomorrow.
Safety Car
Joined: Jan 2006
Posts: 4,442
Likes: 482
From: Houston, Texas
Hate to argue with the inventor  , but I disagree
  .
.
To me, there is *more* of a difference than depicted in Richie's pic.
The oem primary cats are more restricted (diameter wise) than shown in the pic.
To me when I was removing my oem primary cats, the most restrictive spot appeared to be this necked-down area highlighted in red.

, but I disagree . To me, there is *more* of a difference than depicted in Richie's pic.
The oem primary cats are more restricted (diameter wise) than shown in the pic.
To me when I was removing my oem primary cats, the most restrictive spot appeared to be this necked-down area highlighted in red.
Safety Car
Joined: Jan 2006
Posts: 4,442
Likes: 482
From: Houston, Texas
^ +1
I always look forward to reading the reaction from new pcd installs. The pcd's are such a departure from the normal oem that it makes it interesting to see people's reaction to the pcd's.
I always look forward to reading the reaction from new pcd installs. The pcd's are such a departure from the normal oem that it makes it interesting to see people's reaction to the pcd's.
Full of water...
Joined: Mar 2007
Posts: 2,284
Likes: 11
From: Michigan
i cant wait to install, but like most "big" installs i am hesitant and dont want to get in there and for some reason cant finish. i kinda want to wait till it warms up and dries out in my garage. but we will see.
so i know i need to get an O2 sensor socket...is this universal or is it sized specific for this application? any recommendations on brand or others things to look out for?
so i know i need to get an O2 sensor socket...is this universal or is it sized specific for this application? any recommendations on brand or others things to look out for?
Safety Car
Joined: Jan 2006
Posts: 4,442
Likes: 482
From: Houston, Texas
I honestly don't know what the deal is with the special O2 socket. 
I had no problem doing mine with no special socket. Actually, it was very easy for me.
Here is what I did. Take a 2 foot piece of 2x4 lumber. On one end of the board, place the cat's inlet against the 2x4. Pretend that the 2x4 is the cylinder head. Drill a pilot hole into the board where the bolts go thru the cat. Fasten the cat to the board with four large hex-head screws. If you have only bolts/nuts, then drill a hole thru the board to use the bolts.
Stand on the board (and/or cat) as you use a large Crescent wrench to loosen the sensor. Worked flawless for me.
Be extra careful with the sensors. Avoid having the wrench slip and banging the sensor. The sensor is sensitive to shocks/impacts. Do not hammer against the wrench, which would transfer the impact shock into the sensor. If needed, it is ok to stand on the crestent wrench with one foot as your other foot is on the 2x4. Also, make sure no oil/grease gets onto the sensor probe. The probe is the part that protrudes into the exhaust stream.
Sorry, I didn't take any pics of the 2x4 arrangement. Below is the best that I can do to illustrate for now.
Safety Car
Joined: Jan 2006
Posts: 4,442
Likes: 482
From: Houston, Texas
^ The car will run ok with a bad sensor. There would be a CEL (check engine light) and the car would get terrible gas mileage with a bad sensor. But, drivable.
Here is a close-up of the 2x4 arrangement.

Here is a close-up of the 2x4 arrangement.
Thread Starter
Former Sponsor
Joined: Nov 2005
Posts: 1,697
Likes: 492
From: Chicagoland
Thread Starter
Former Sponsor
Joined: Nov 2005
Posts: 1,697
Likes: 492
From: Chicagoland
FYI guys the dent on the rear precat is normal, it allows for clearance of the intermediate shaft. You will find the same dent on your stock precat when you install it. No need to send me detailed pictures of it.
Burning Brakes
Joined: Nov 2008
Posts: 836
Likes: 80
From: The Bean
nice good clarification Richie, cuz i received mine and I was wondering about that Dent, but I figured it was for clearing issues, which you stated above...Great product they look sooo Nyiicee..Will be going in first thing in the early morning tommorow....Video to follow in afternoon
Last edited by BostonSilverTypeS; Feb 12, 2010 at 05:31 PM. Reason: mispell