
How to replace rear door molding

Thread Starter
Pro
Joined: Feb 2006
Posts: 613
Likes: 15
From: Socal
How to replace rear door molding
As some of you may have known, there was a little incident with the RL getting scrapped. Now, the incident took off paint off the rear door molding:
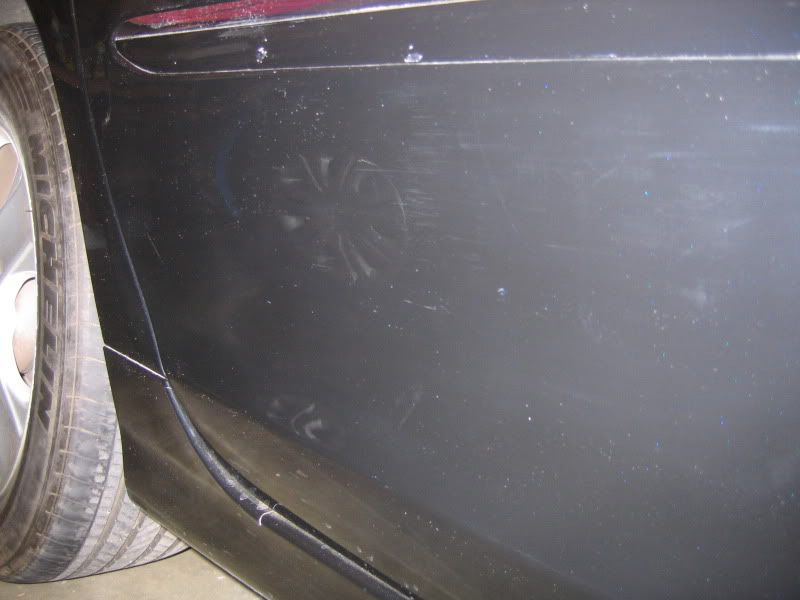
The two white dots right under the chrome strip.
I'm planning on replacing it because it is about the same price as if I were to get it repainted. Now, the question is, if I replace it, is it a simple DIY? Would I have to basically take apart the whole door panel to get to the clips (I assume) that hold it in, or is it possible to remove it from the outside? Does anyone know, or have a service manual for it? Thanks.
Torch & Pitchfork Posse
Joined: Feb 2007
Posts: 4,729
Likes: 1,807
From: Tampa, Florida
GARAGE Sticky > SERVICE MANUAL > EXTERIOR TRIM pdf
You can see the diagrams there. But here is the text:
DOOR MOLDING REPLACEMENT
Special Tools Required
KTC trim tool set SOJATP2014 *
* Available through the American Honda Tool and Equipment Program; call 888-424-6857
1. Remove these items:
Front door panel (see FRONT DOOR PANEL REMOVAL/INSTALLATION ) and plastic
cover (see step 3 under FRONT DOOR OUTER HANDLE REPLACEMENT )
Rear door panel (see FRONT DOOR WEATHERSTRIP REPLACEMENT ) and plastic
cover (see step 2 under REAR DOOR GLASS, QUARTER GLASS, AND REGULATOR
REPLACEMENT )
2. Release the clips, and gently pry the front door molding (A) or rear door molding (B) away from the
door while separating the adhesive tape (C, D, E).
Adhesive tape (C, D, E): Thickness 1.2 mm (0.047 in.)
Fig. 19: Identifying Door Molding
NOTE: Use the appropriate tool from the KTC trim tool set to avoid damage
when prying components.
Be careful not to pry too far or you may bend the molding.
Put on gloves to protect your hands.
2007 Acura RL
2005-08 ACCESSORIES AND EQUIPMENT Exterior Trim - RL
Courtesy of AMERICAN HONDA MOTOR CO., INC.
3. Install the moldings in the reverse order of removal.

Thread
Thread Starter
Forum
Replies
Last Post
mada51589
3G TL Problems & Fixes
80
Jan 9, 2025 04:40 PM
Yumcha
Automotive News
2
Sep 4, 2015 08:03 AM