Acura TSX: How to Replace Oxygen Sensor
A faulty oxygen sensor can cause your car to run rough or irregularly. Your fuel mileage will go down, and your emissions level will go up. Why wait? Replace it now.
This article applies to the Acura TSX (2004-2014).
Once an O2 sensor goes bad, it can result in not only a rough idle and overall poor running of the engine, but also worse fuel economy and pollution. Thankfully, replacing the oxygen sensor in the Acura TSX is an easy job that only requires a couple of tools and a few minutes of time. It is best if you use a proper O2 sensor socket, which is a deep one with a long slit, so you don't damage the wires, but a wrench can usually do the job as well. Plus, if you shop around, you can often find them for under $60. Keep reading and we'll walk you through the steps of replacing the oxygen sensor in your TSX.

Materials Needed
- 22mm/7/8" O2 socket
- Ratchet
- Penetrating fluid
- Floor jack and jack stands
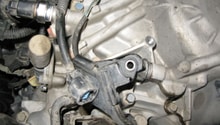
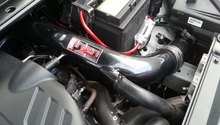
Most cars these days have more than one O2 sensor—one before and one after the catalytic converter—to monitor how well the cat is working. The upstream, or primary O2, sensor is typically very close to the motor, even in the exhaust manifold. In earlier model TSX, both sensors are screwed into the converter under the car.
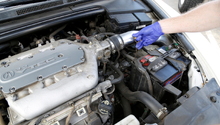
Step 1 – Remove the oxygen sensor
Raise the front of the car up using a floor jack and place it on jack stands. On 1st generation cars, it is under the car just before the converter. On 2nd generation cars, it is against the firewall in the exhaust manifold. Unscrew the sensor using a box wrench or the proper 22mm/7/8" socket. Use a little penetrating fluid if it's stubborn and won't break loose. Follow the wires from the sensor up into the engine bay, where you'll find the electrical connector for the sensor. Disconnect it and remove the entire sensor assembly from the car.
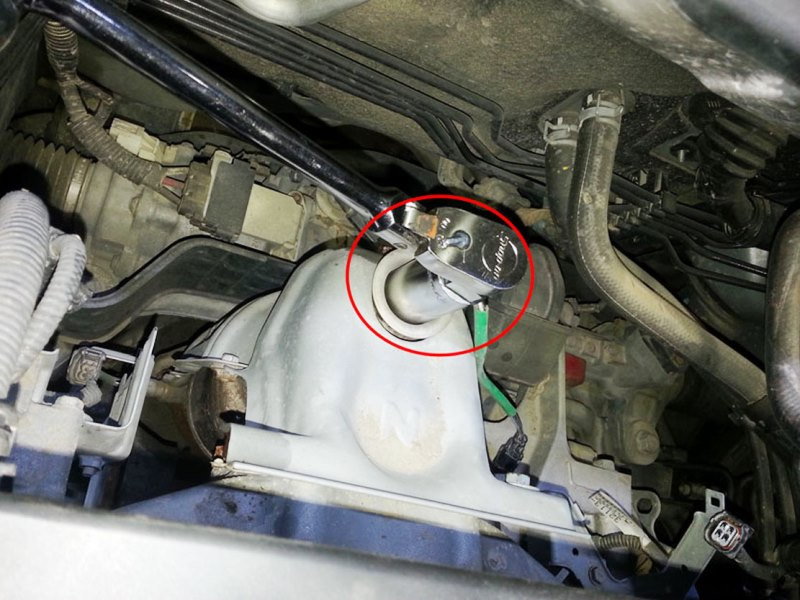
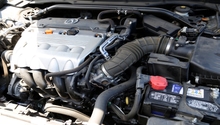
Figure 1. The upsteam O2 sensor on a later model TSX. 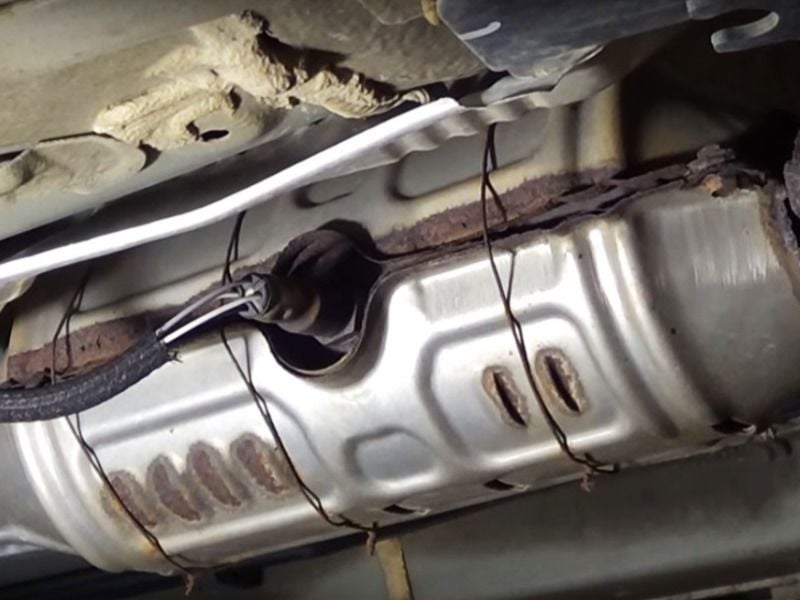
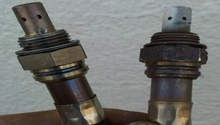
Figure 2. Catalytic converted mounter O2 sensor.
Step 2 – Install new oxygen sensor
If your new oxygen sensor didn't come already lubricated with anti-seize on the threads, add some. Be careful not to get any anti-seize on the actual sensors. Hand-tighten the oxygen sensor back into bung, and then turn it an additional 1/2 to 2/3 of a turn to secure it. Don't over-tighten! Feed the other end of the sensor back into the engine bay and reconnect the electrical connector.

Featured Video: O2 Sensor Replacement
Related Discussions
- TSX Oxygen Sensor Replacement DIY - AcuraZine.com
- O2 Sensor Socket Size - AcuraZine.com