Acura TSX 2004-2014: How to Replace Cabin Air Filter
Here's how to swap the cabin air filter out in just a few minutes, for just a few dollars.
This article applies to the Acura TSX (2004-2014).
Few of us forget to change out oil or the engine air filter on a regular basis, but almost all of us forget about the lowly cabin air filter. Cabin air filters do exactly what they imply – filter out all the nasty dust, pollen, and other pollutants from entering the cabin. But like any other filter, they need to be replaced every so often (Acura recommends every 10,000 miles) to keep your system operating at its peak performance. This is especially true during allergy season, more so if you are an allergy sufferer. For just a few bucks and a few minutes of your time, you can keep the air in your TSX fresh and clean, so there's no reason not to keep a clean cabin air filter in your car.

Materials Needed
- Flathead screwdriver (optional)
- Replacement cabin air filter
Here are some brands to choose from:
- Honda: 80292-SDA-A01 (micronAir part HN03104P)
- micronAir: MP 180; micronAir-US particulate filter HN03104P, combi filter HN03104C
- ATP HA5 (charcoal impregnated)
- Napa Gold: 4815
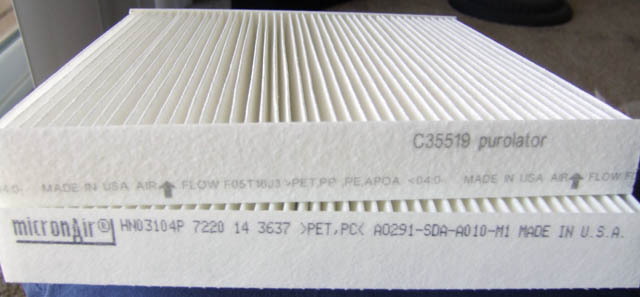
- Purolator: C35519
- Wix: 24815
- Bosch: P3875
Step 1 – Remove old cabin air filter
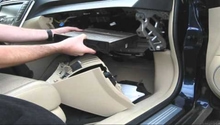
Open the glove box and locate the pneumatic stop arm on the right hand side. There is a "C" hook that holds the arm to the glovebox lid. Gently push back on the arm to release it.
Next, locate the side tabs. To remove them, hold the glove box up slightly above where the bumpers meet the fascia of the dash. Release the tabs by either pushing them into the glovebox with your fingers or by using a screwdriver to push them in.
Once the side tabs are released, you may need to raise the glovebox up a little more to get the bumper through the hole. When dropping the glovebox back down, be careful not to drop it too hard, as the string fastener can be easy to break.
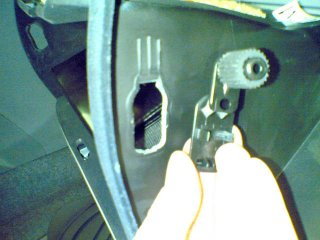
Figure 1. Remove the "C" hook from the glove box. 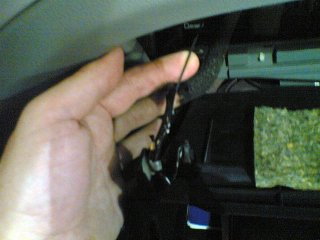
Figure 2. Drop the glove box down carefully so you don't break the strings.
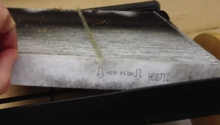
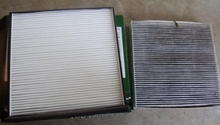
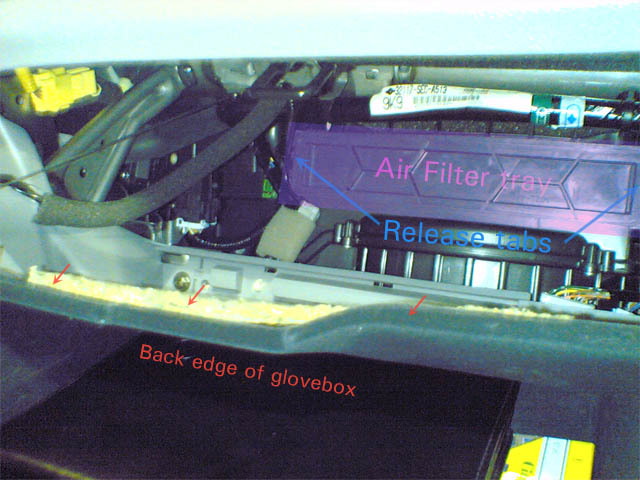
Remove the air filter tray by pushing the two tabs inward and sliding the tray straight out. Pull the cabin air filter out of the tray.
Step 2 – Install new cabin air filter
Slide the new cabin air filter in place carefully so you don't scrunch it up, making sure that the air flow arrow is facing the same direction as indicated on the tray. Make sure that the ends of the filter fit into the retaining slot to ensure the filter doesn't get bent while installing. Once the filter is in place, push the tray back in place. Push the glovebox back into the side tabs and reinstall the "C" hook.
Related Discussion
- Cabin Air Filter Replacement - AcuraZine.com