Acura TL 2004-2008: How to Change the Serpentine Belt
Why pay the dealership to change out a part they are likely going to overcharge for, especially considering how easy changing the belt yourself is? Even for the inexperienced, this job is pretty simple. Keep reading for the step-by-step guide.
This article applies to the Acura TL (2004-2008).
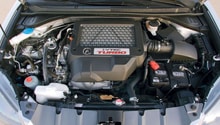
The serpentine belt routes engine power to each of the accessories, including the alternator, power steering pump, and A/C compressor. Changing it out is a relatively easy task. The hardest part of the operation is fitting your hands down between the front of the engine and the fender well. Things are tight there, but this really doesn't make it difficult by any means. Changing this out at home instead of relying on the "quicky" shops or dealership is a no-brainer. It just takes a few minutes and can be done on your time instead of theirs.

Materials Needed
- 14mm combination wrench (or serpentine belt removal tool)
- New serpentine belt
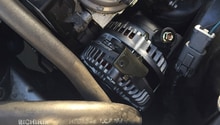
Step 1 – Remove the old serpentine belt
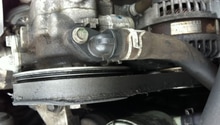
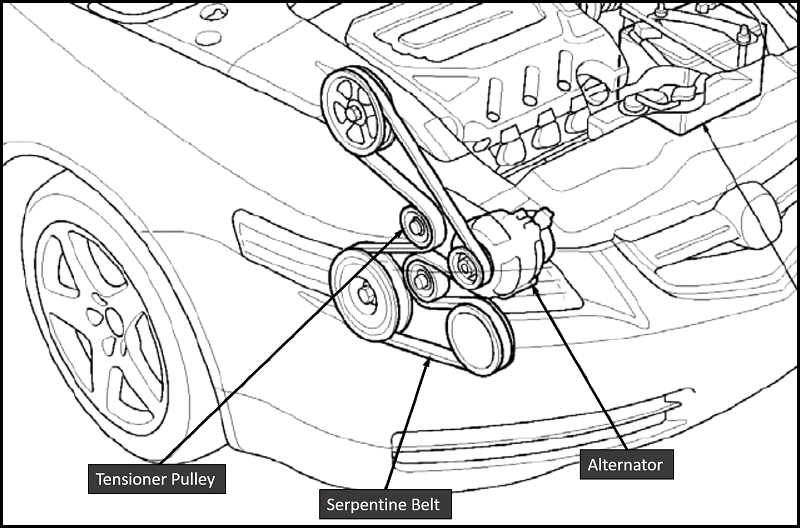
If present, remove the engine cover closest to the passenger side fender. Using the boxed end of the 14mm combination wrench, turn the tensioner pulley (Figure 1) counter clockwise to allow the serpentine belt can to loosen on the pulleys. Keep tension on the tensioner pulley until the serpentine belt can be removed from a single pulley. The easiest pulley to get to is the power steering pulley at the top of the engine. Once the belt is pulled off the first pulley, release the tension on the tensioner pulley. Continue to pull the belt off of the other pulleys until completely removed.
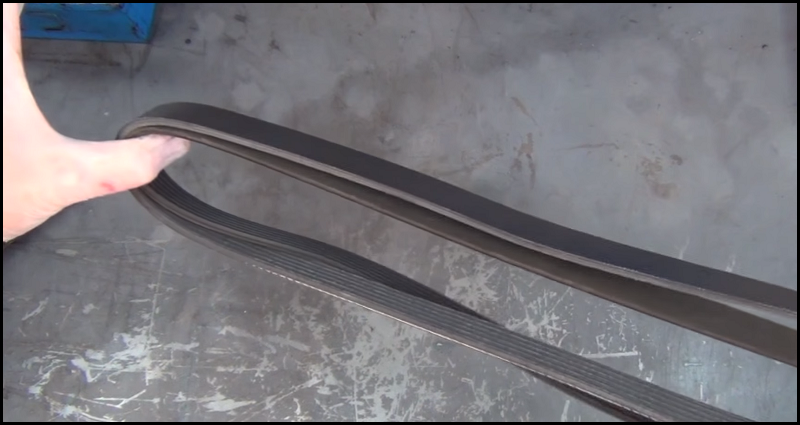
Step 2 – Compare new to old
Take the new belt out of the wrapper. Grab the old belt and hold it up against the new belt to ensure they are approximately the same length. The old belt, due to stretch, should be just a bit longer. With the new belt taught, the old belt should sag just a bit. Also check to ensure the rib count is the same between the two. The TL belt should have six ribs.
Pro Tip
Serpentine belt manufacturers usually incorporate the particulars of the belt into their part numbers. For instance, the Gates belt, PN: K060841, indicates the belt is 6 ribs wide and approximately 84" long.
Step 3 – Install the new serpentine belt
With the new belt in hand, loop the belt with enough of it to fit over the crankshaft pulley. Feed the looped belt down the front of the engine and secure the loop around the crankshaft pulley.
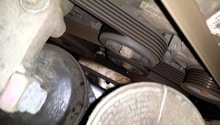
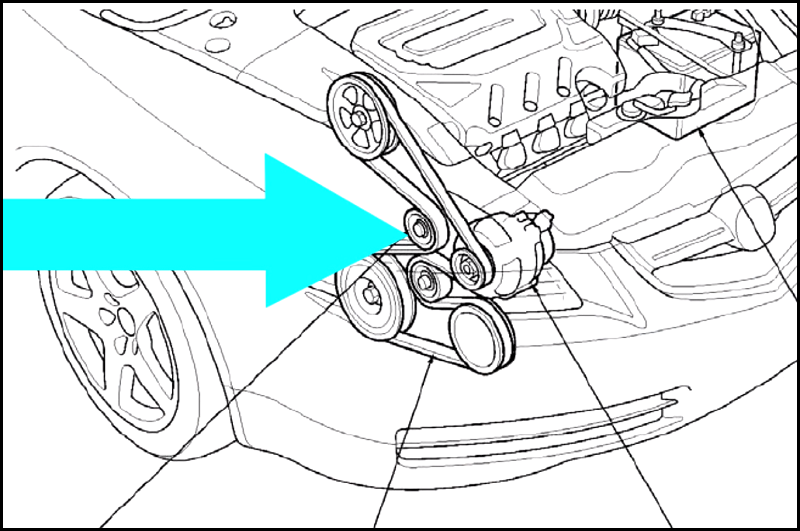
Once securely in place around the crankshaft pulley, finish by threading the belt over the other pulleys in the proper order (Figure 3). Route the belt to leave the power steering pump for last.
Place the combination wrench onto the tensioner pulley and turn it counter clockwise to allow the belt to have more slack. Continue to hold the tensioner pulley while slipping the serpentine belt over the power steering pump pulley.
When properly placed, release the tensioner pulley to take up the slack in the belt. Check each pulley on the engine to ensure the belt is properly engaging it. It's very easy to have it off by one tooth and not notice. While the belt would continue to work, it will wear out very quickly this way.
Once satisfied that the belt is in place, start the engine and observe the belt performs as it should. Shut the engine off, then reinstall the engine cover.
Related Discussions
- DIY 105k Service Timing Belt Water Pump Spark Plugs Thermostat - Acurazine.com
- Help Belt Pulley Squeals - Acurazine.com
- Weird Noise Serpentine Belt - Acurazine.com
- Belt Kit Serpentine Belt Pulleys - Acurazine.com
- Drive Belt Needs Replacement - Acurazine.com