Acura MDX: How to Replace Driver Door Actuator
This article will walk you through the steps of replacing your actuator and getting those locks working properly once again.
This article applies to the Acura MDX.
Your Acura's power door locks are controlled, like many other components, by an actuator. Actuators are pretty simple devices that use a small electric motor to turn a series of gears that serve as a gear reduction. The last gear in the series turns a gearset that is connected to an actuator rod, which turns the rotational spinning of the gears into a linear motion that locks or unlocks your doors. Generally, over time, the tiny little electric motors go bad and render your actuators useless. Replacing them is a fairly time consuming process, but it isn't too difficult. Keep reading and we'll walk you through the process.

Materials Needed
- Flathead screwdriver
- Phillips head screwdriver
- Small mirror
- 10mm socket and ratchet
- Door actuator
Step 1 – Remove door parts
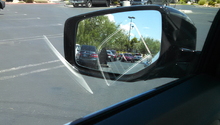
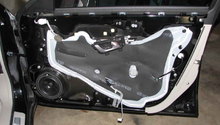
- Begin by removing the door panel and carefully peeling back the protective plastic, being careful not to rip it if possible.
- Remove the 10mm bolt holding the window guide mechanism in place.
- Remove the Phillips screw holding the upper lock rod white protector backing and pull the backing out.
- Remove rod A by flipping the plastic lock mechanism up, then slide the rod to the right to gain access to the door hole.
Step 2 – Remove the actuator
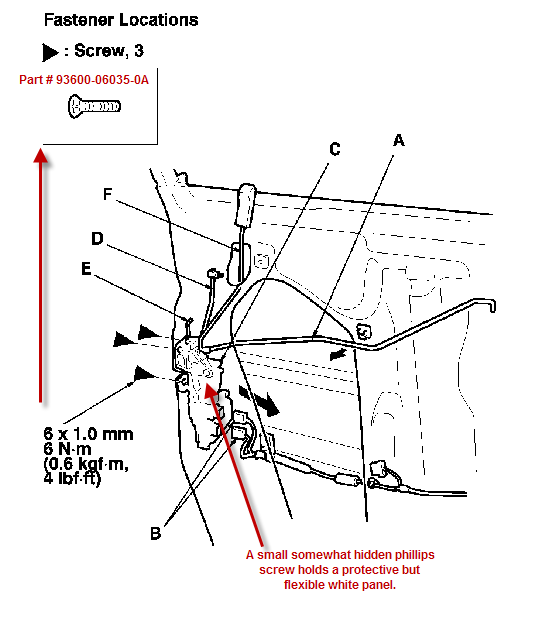
- Use a small mirror to locate the small Phillips screw which holds the white flexible protective panel to the lock/actuator unit.
- Bend the unit out of the way to locate the black plastic flip lock mechanism (E).
- Remove the external key door rod.
- Remove the three Phillips screws at the end of the door, being careful not to strip them.
- Lower the unit about an inch and disconnect the electrical connectors (B).
- Unscrew the plastic decorative door lock to gain the clearance necessary to remove rod F.
- Carefully twist the entire unit to remove the rods without breaking anything.
- Remove the three screws holding the door actuator to the door latch and pull it out.

Step 3 – Install the new actuator
- Set the new actuator in place and replace the three screws.
- Reinstall rod F and reconnect the electrical connectors.
- Reinstall the three screws at the end of the door, the external key door rod, and the screw in the lock/actuator unit.
- Reinstall rod A and the upper lock rod white protector backing and screw.
- Reinstall the window guide mechanism and bolt.
- Before replacing the door panel and plastic, test to make sure everything is working properly.

Related Discussion
- How to: Acura MDX 2004 replace driver side door actuator - AcuraZine.com