
Puddle Light wiring up schematics, and detailed pics.
 10-12-2011, 03:53 PM
#1
Puddle Light wiring up schematics, and detailed pics.
This thread is for connection purpose only, installation of puddlelight fixtures is all up to 
If you are deciding to wire up puddle lights, or want to run anything off the dome lights, here is some good info.
This was done on 07 tl-s, same connection applies to any 3G TL.
2 options for wiring up puddle lights.


You can find the diode at radio shack, get the 1am 50watt diode, they are around $2.39 for 2.
Blue thing is the wire splice connector, you can find them at radio shack also, or at any home store such as ACE hardware, home depot or any auto parts store, make sure they are 18-22 gauge connectors.
Rocker switch has one input from any ground source and other is on output for the negative wire that will turn the puddles on. You installed rockers its same thing, input and output...
Below is the location of the 5 pin connector...
Connector faces up, so the pin you have to press to release is facing up, push on it and pull it out, the 5 pin connectors doesnt have much wire to play around with so might be hard to splice into, but take your time and it will work.
Here is the picture of kick panel taken off and exposed fuse box.. the pin is located behind this fuse box, upper right corner..
5 pin plug located here, behind this grey relay, reach with your hand and the first pin you feel closer to top is the one, push on the release pin and pull it out

this is the 5 pin connector, looks like the Dome supervision green/red wire is the first wire looking straight at the connector.


If you are deciding to wire up puddle lights, or want to run anything off the dome lights, here is some good info.
This was done on 07 tl-s, same connection applies to any 3G TL.
2 options for wiring up puddle lights.
You can find the diode at radio shack, get the 1am 50watt diode, they are around $2.39 for 2.
Blue thing is the wire splice connector, you can find them at radio shack also, or at any home store such as ACE hardware, home depot or any auto parts store, make sure they are 18-22 gauge connectors.
Rocker switch has one input from any ground source and other is on output for the negative wire that will turn the puddles on. You installed rockers its same thing, input and output...
Below is the location of the 5 pin connector...
Connector faces up, so the pin you have to press to release is facing up, push on it and pull it out, the 5 pin connectors doesnt have much wire to play around with so might be hard to splice into, but take your time and it will work.
Here is the picture of kick panel taken off and exposed fuse box.. the pin is located behind this fuse box, upper right corner..
5 pin plug located here, behind this grey relay, reach with your hand and the first pin you feel closer to top is the one, push on the release pin and pull it out
this is the 5 pin connector, looks like the Dome supervision green/red wire is the first wire looking straight at the connector.

The following 6 users liked this post by vladkarnafel:
CubanLynx84 (10-16-2011),
DeathMetal (10-12-2011),
donnieb83 (10-14-2011),
dwb993 (10-12-2011),
lights (10-12-2011),
and 1 others liked this post.
10-12-2011, 04:14 PM
#4
Race Director
iTrader: (8)
Should come in handy in the near future.
Thanks =)
Thanks =)
The following users liked this post:
4Profit2k (05-29-2021)
Trending Topics
10-13-2011, 03:25 PM
#8
BANNED
iTrader: (33)

^yeah when you unlock the door with your keyfob, or open the door.
not sure about turning on the dome lights...i would imagine so.
not sure about turning on the dome lights...i would imagine so.
10-13-2011, 03:34 PM
#10
BANNED
iTrader: (33)
^lol yeah i just installed these 2 nights ago and wired them to the dome lights...so eventually, i'll reroute the wires to the location posted in this thread.
wish i knew about it before i did the install...

wish i knew about it before i did the install...
10-13-2011, 03:48 PM
#11
1. unlock door/doors with remote
2. open any of the doors, by closing the doors and wait till the all lights dim, the puddles will dim out too.
this wire that comes from the 5 pin plug only designed to have a (-) power when any door open or when you unlock the car thats why its called the domelight supervision wire. Map lights are connected through a different wire. By turning on any map lights the puddle lights will still remain off..
10-13-2011, 04:02 PM
#12
The puddle lights will only come on when:
1. unlock door/doors with remote
2. open any of the doors, by closing the doors and wait till the all lights dim, the puddles will dim out too.
this wire that comes from the 5 pin plug only designed to have a (-) power when any door open or when you unlock the car thats why its called the domelight supervision wire. Map lights are connected through a different wire. By turning on any map lights the puddle lights will still remain off..
10-14-2011, 08:34 AM
#17
BANNED
iTrader: (33)
 10-14-2011, 11:57 AM
#19
BANNED
iTrader: (33)
http://www.ebay.com/itm/2011-v-2-Bla...item19c5555fcb
10-14-2011, 12:23 PM
#20
I have purchased those ebay puddle lights before as well, they do seem to be good quality, they have very nice brackets to mount the puddles and they produce perfect circle output, also to mention they come with some extra wiring/switch. Good deal over all. I have made my own custom puddle lights before I could find these and it was a nightmare... glue... cut up pvc pipes, custom wiring, just buy the ebay product.
this is the same item from ebay...


This wiring will work for the door handle lights as well.
In the 2G tl there is no dome supervision wire, instead you can tap into the Door trigger wire which is located on top of passenger fuse box, its a black/white (-) wire in a 4 green pin plug.
this is the same item from ebay...
This wiring will work for the door handle lights as well.
In the 2G tl there is no dome supervision wire, instead you can tap into the Door trigger wire which is located on top of passenger fuse box, its a black/white (-) wire in a 4 green pin plug.
10-14-2011, 12:49 PM
#21
BANNED
iTrader: (33)
yeah those brackets are nice...but i didn't even use them. with my car being lowered, i didn't want to risk busting one loose. that would suck...
oh and for anyone questioning the durability/waterpoof nature of these...you're in the clear! i drove through some of the worst rain last night and all of them still work.
oh and for anyone questioning the durability/waterpoof nature of these...you're in the clear! i drove through some of the worst rain last night and all of them still work.
10-14-2011, 01:03 PM
#22
yeah those brackets are nice...but i didn't even use them. with my car being lowered, i didn't want to risk busting one loose. that would suck...
oh and for anyone questioning the durability/waterpoof nature of these...you're in the clear! i drove through some of the worst rain last night and all of them still work.
oh and for anyone questioning the durability/waterpoof nature of these...you're in the clear! i drove through some of the worst rain last night and all of them still work.
10-14-2011, 01:05 PM
#23
yeah those brackets are nice...but i didn't even use them. with my car being lowered, i didn't want to risk busting one loose. that would suck...
oh and for anyone questioning the durability/waterpoof nature of these...you're in the clear! i drove through some of the worst rain last night and all of them still work.
oh and for anyone questioning the durability/waterpoof nature of these...you're in the clear! i drove through some of the worst rain last night and all of them still work.

this is how I installed them on the truck and with them being always out in the open they been working for more than half a year now.. and we drive the truck in some worst conditions... used pressure washer couple times to wash under the truck, they passed the test of waterproof
These are mounted right under the running boards...
(sorry for bad phone pics)


 10-14-2011, 01:26 PM
#26
BANNED
iTrader: (33)
i don't have a video but i can take one and post it for you...gotta wait til it gets dark tho so it might be tomorrow morning before i can.
and damn, vlad! clean install with the waterproof tubing and everything...i should have used that stuff too.
10-16-2011, 08:27 PM
#31
Shark, where exactly did you mount yours in the side skirt or on the surface of it. I'm thinking drilling the hole for the flush look might be better especially for low cars and the wiring can be hidden within the skirt as well. looks like i just might order these soon.
Also, Vlad when you open a door does both sides light up or just the side with the door you opened?
Also, Vlad when you open a door does both sides light up or just the side with the door you opened?
10-16-2011, 11:09 PM
#32
Drifting
iTrader: (13)
Both sides will light up any time the system is activated (i.e.:doors locked/unlocked or switch thrown).
One other quick note---if you inadvertently leave the switch turned on, the lights will not turn off automatically. An unlikely scenario (since these lights will be so obvious) but something that should be mentioned.
One other quick note---if you inadvertently leave the switch turned on, the lights will not turn off automatically. An unlikely scenario (since these lights will be so obvious) but something that should be mentioned.
10-17-2011, 06:44 AM
#33
BANNED
iTrader: (33)
Shark, where exactly did you mount yours in the side skirt or on the surface of it. I'm thinking drilling the hole for the flush look might be better especially for low cars and the wiring can be hidden within the skirt as well. looks like i just might order these soon.
Also, Vlad when you open a door does both sides light up or just the side with the door you opened?
Also, Vlad when you open a door does both sides light up or just the side with the door you opened?
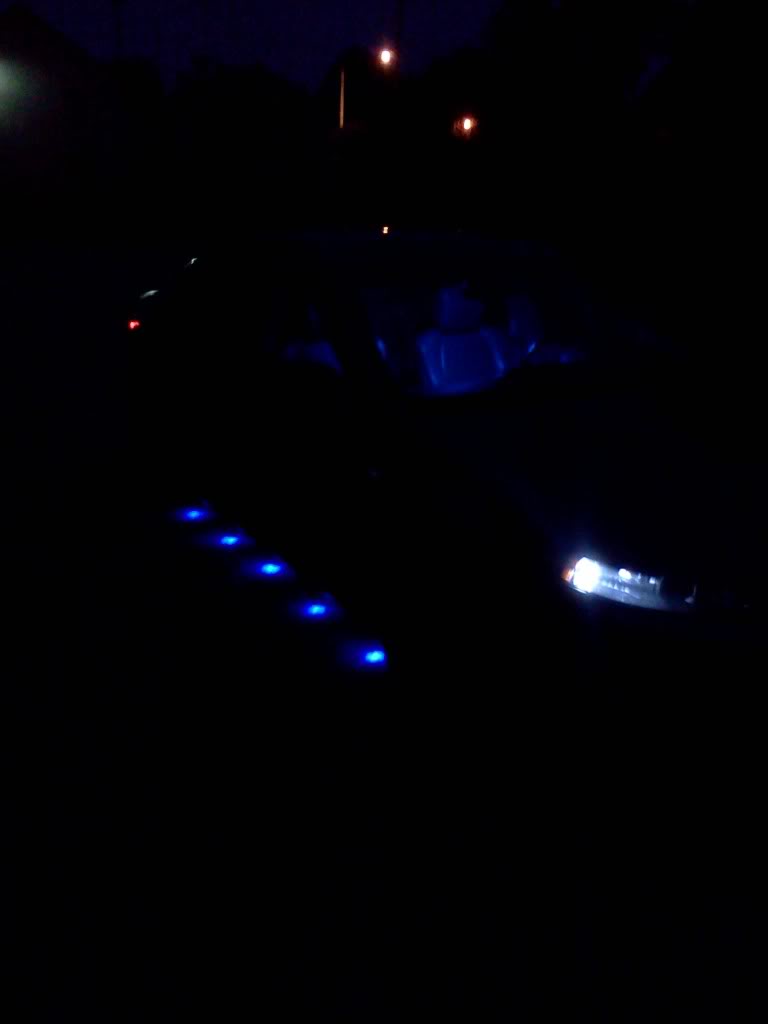
here is a quick vid showing them turning on with the keyfob and fading out with the interior lights.
 06-25-2012, 10:29 AM
#35
Drifting
iTrader: (13)
Quick update!
Sharksbreath and I worked on installing my puddle lights over the weekend. A couple of install notes:
1) Watch the spacing between the lights. These ebay kits do not allow for much more than 18" between lights. Even at that distance, I found the lights would come disconnected after trying to reinstall the sills. I wound up making the connections (bullet type connectors) and then mashing them with a pair of pliers! Fuckers stayed connected after that!
2) To run the wires into the cabin, you need to pull out the fender liners and reach your hand up until you feel a rubber grommet with wires going thru. Go inside the car and pull the kick panels (drivers side fusebox panel and the pass side panel covering the OEM amp). Reach up until you can feel the grommet and push it out from the inside. Run the wires through and replace the grommet from the inside. Its a bitch, but make sure it fits all the way back in, especially on the drivers side. You do NOT want water getting in behind the fuse box.
3) I wanted to add my footwell lights to the circuit to have them come on & off the same as the puddles, but when I tried to connect them, I wound up having a constant ground path active and all the lights remained on. The footwells are simple LED strips on a rocker switch. Its been a while since I installed them and I forgot how I wired them up, so I think I will have to go back in, rip everything out and start again. Vlad, can you post an updated schematic of how I would integrate them into the Dome Supervisor circuit with a rocker switch to activate them (and only the footwells) while driving? Is this possible?
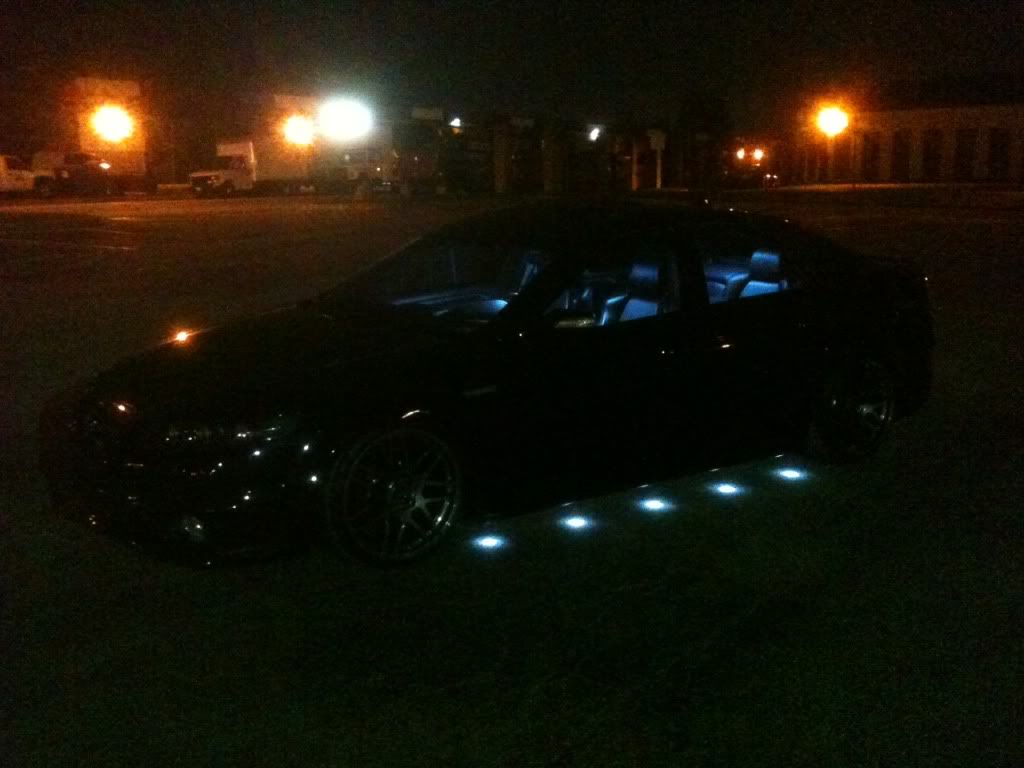
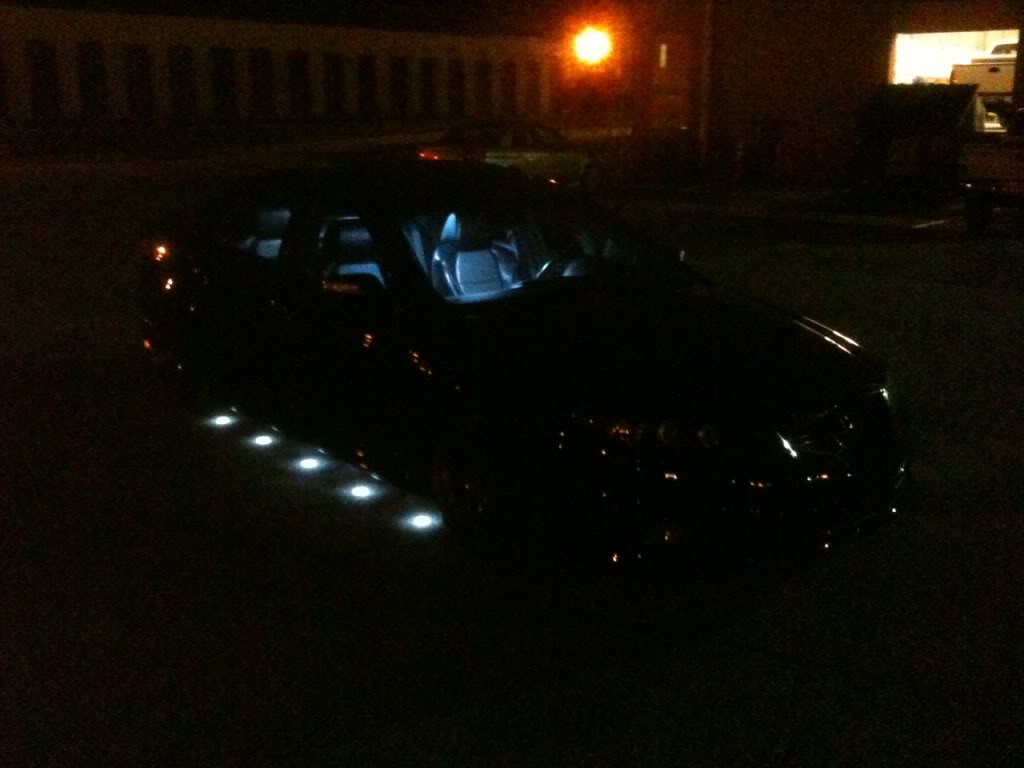
Anyway, here are the pics:
Sharksbreath and I worked on installing my puddle lights over the weekend. A couple of install notes:
1) Watch the spacing between the lights. These ebay kits do not allow for much more than 18" between lights. Even at that distance, I found the lights would come disconnected after trying to reinstall the sills. I wound up making the connections (bullet type connectors) and then mashing them with a pair of pliers! Fuckers stayed connected after that!
2) To run the wires into the cabin, you need to pull out the fender liners and reach your hand up until you feel a rubber grommet with wires going thru. Go inside the car and pull the kick panels (drivers side fusebox panel and the pass side panel covering the OEM amp). Reach up until you can feel the grommet and push it out from the inside. Run the wires through and replace the grommet from the inside. Its a bitch, but make sure it fits all the way back in, especially on the drivers side. You do NOT want water getting in behind the fuse box.
3) I wanted to add my footwell lights to the circuit to have them come on & off the same as the puddles, but when I tried to connect them, I wound up having a constant ground path active and all the lights remained on. The footwells are simple LED strips on a rocker switch. Its been a while since I installed them and I forgot how I wired them up, so I think I will have to go back in, rip everything out and start again. Vlad, can you post an updated schematic of how I would integrate them into the Dome Supervisor circuit with a rocker switch to activate them (and only the footwells) while driving? Is this possible?
Anyway, here are the pics:
The following users liked this post:
SharksBreath (06-25-2012)
06-25-2012, 10:45 AM
#37
2014 Jeep SRT
Looks great, Dave!
06-25-2012, 10:52 AM
#38
takin care of Business in
iTrader: (5)
Join Date: Jan 2008
Location: Kansas City, MO
Age: 40
Posts: 30,994
Received 4,732 Likes
on
4,064 Posts

well done Dave....
Great info by Vlad in the 1st post
06-25-2012, 01:06 PM
#39
Engineer in Training
If you're using the diode to prevent current from backfeeding into the source you're grabbing it from (door trigger), then you have it in backwards. The way you have it on the schematic will prevent positive flowing current from feeding into the door trigger, and allow ground to go to the door trigger.
06-26-2012, 12:36 PM
#40
Thanks for the wiring tip, always wondered where the light control was coming from. Well I have the service manual, just lazy to look it up so mine are wired to the rear maplights. They're rarely manually turned on the way the front ones are so it's never bothered me. I'll see how I can incorporate this into my next rebuild. Very, very cool mod.....just a pain.
I did my first set on puddle lights in 2007. They were "weatherproof" but got screwed in that first winter itself. Redid them in 2009 with different type of units and added plexiglass sandwiched in between for protection. Those lasted Until 2011. Now only 2/10 still work. (Actually totally disconnected 1 side because I saw flickering etc.)
So this will be my 3rd time doing them. There is no doubt they will last through rain/water, no problem. The real test is WINTER. I say that because when you see the failed units you see that the salt is what does a real number on them.
So my sincere advice to everyone doing this: Even if you have/make waterproof housings, if you live in the snow belt, take the extra measure to literally tape them up temporarily over winter time to give them even better protection. You will thank me in the spring.

