When you click on links to various merchants on this site and make a purchase, this can result in this site earning a commission. Affiliate programs and affiliations include, but are not limited to, the eBay Partner Network.
So, once upon a time, but not too long ago, before my TL started giving me troubles with engine knocks and leaking seals, I was looking for a way to kill my time and do something with the car. I didn't like the yellowish DRLs or fogs, so swapping bulbs was one of the options, too bad there wasn't anything I liked, CAIs somehow never looked interesting to me, I entertained a CT Supercharger Kit, but dismissed as overly expensive, risky and not giving enough bang for the buck, UR pulleys were too controversial, so I was looking, looking, and suddenly came across a few threads that were talking about illuminated door sills.
Apparently there was an offering from Supercomputers a few years back, where one would buy premanufactured replacement sills and would then spend a weekend hooking them up: https://acurazine.com/forums/third-g...-drive-807308/. The remnants of that offering still sometimes shows up in private trades, but nothing was available at the time when I was looking.
I searched further and found a few threads where people were actually making those sills either by modifying the stock ones or by manufacturing acrylic overlays. The two most interesting and inspiring threads were one from a TSX forum (DIY GUIDE - Illuminated Door Sills 1st Gen TSX - Acura TSX Forum) where Aragrev7 has bravely attacked his stock aluminum sills and cut out all the letters with Dremel, and one from acurazine (https://acurazine.com/forums/second-...rsills-828967/) where KillerG dismissed the idea of cutting sills from aluminum as impractical and instead went for laser-cut acrylic overlays.
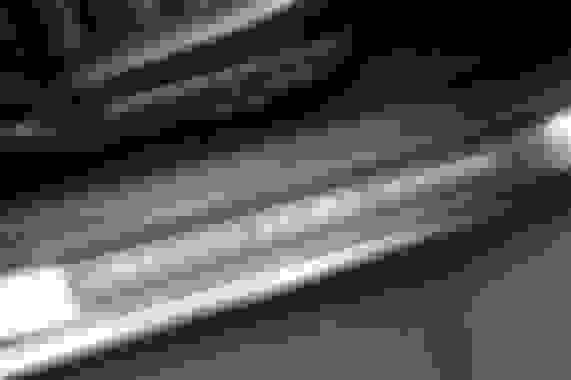
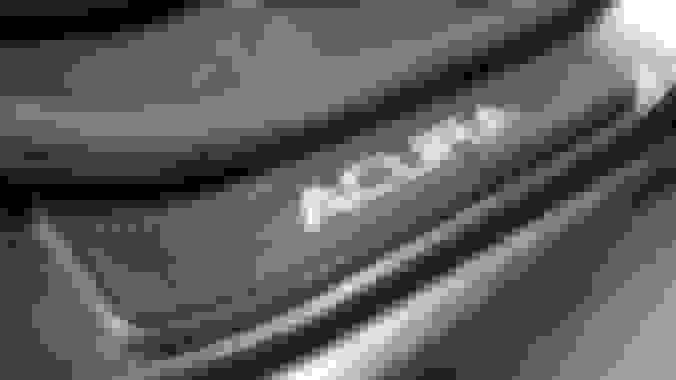
I liked the two above efforts a lot, and actually tried both of them, coming up with the results below:
In the following posts I'll try to show how it was done. You'll see a lot of similarities with the KillerG's project, but there are some differences as well. The most important one is how the sills are made weatherproof. The design and hook up methods are different too, and I'll go into greater details about how exactly the overlays are cut and finished.
My first attempt with the sills was based on the tsxclub thread. Aragrev7 was showing how to cut out letters in "ACURA" in such great details that I figured it should be pretty doable. The main disadvantage of his method was that it was of course very labor intensive, plus the results would show only "ACURA" glowing, since cutting additional and long lines with Dremel would be close to impossible.
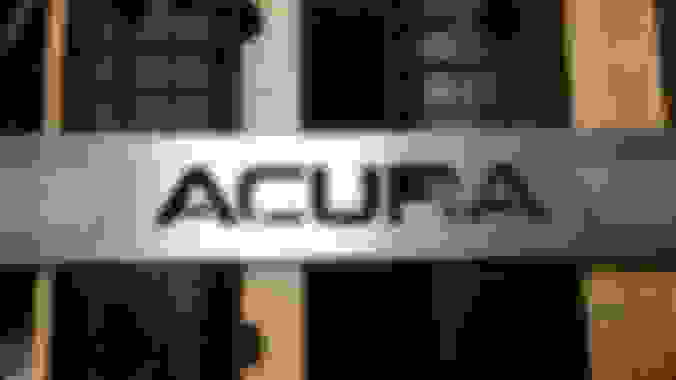
Nevertheless, I've tried, and after 2-3 hours of work with Dremel one night I've got this:
Dremel walked in a couple of places, and I've lost part of R (not a big deal since I was going to glue it back later). Other than that the results were pretty smooth and acceptable. Of course, I was all covered in aluminum shavings, used 4 Dremel cutting wheels, pretty much ruined carbide cutter as well, still had three sills to go, and some polishing had to be done as well, to get rid of the Dremel marks on the face.
So, I decided to postpone those efforts, and give KillerG's method a try. Cutting acrylic overlays seemed easier and more exciting, I was expecting much prettier and more precise results, plus anyway I have always been wanting to try cutting something at ponoko.com. KillerG's idea was to ditch aluminum part of the stock sills completely, reuse the base, come up with custom acrylic replacement for the aluminum and put an EL Tape right underneath it.
I photographed the sills and spent a week creating vector files for ponoko. Had to learn inkscape in the process. Rear sills gave me the most grief because not only are they curved, but their sides aren't straight either, so I had to do a lot of test paper prints before I had a set of files that fit the existing sills' base perfectly. Not all laser printers are doing 100% prints perfectly, btw. I found that mine was reducing the images a little, so I had to use the one at work that was printing closer to the true dimensions.
My idea was to have each overlay made of two 1.5mm acrylic layers glued together: one would be on top with the letters cut out, and the other would be a solid layer on the bottom. I was going to cover the top layer with 3M DI-NOC, like KillerG did, and sand the bottom layer to create matte surface. I decided to go with two layers rather than one so that I could protect the tape properly from water. KillerG just stuck the tape under one cut acrylic, so if any water got on top of the sills, it would go through the letters right on the tape.
Ideally I should've used black acrylic for the top layer and transparent for the bottom one, but that would make my project $30 more expensive, since I would have to use two large P3 sheets, and besides for some reason the black acrylic is 3x more expensive than the clear one. So, I ended up putting all 8 parts on a single 1.5mm thick P3 clear acrylic sheet. The overall cost for the material and cutting time was $45. Here is a screenshot of the inkscape's project to illustrate the idea. The 9th piece on the side was for experimentation with DI-NOC and bending.
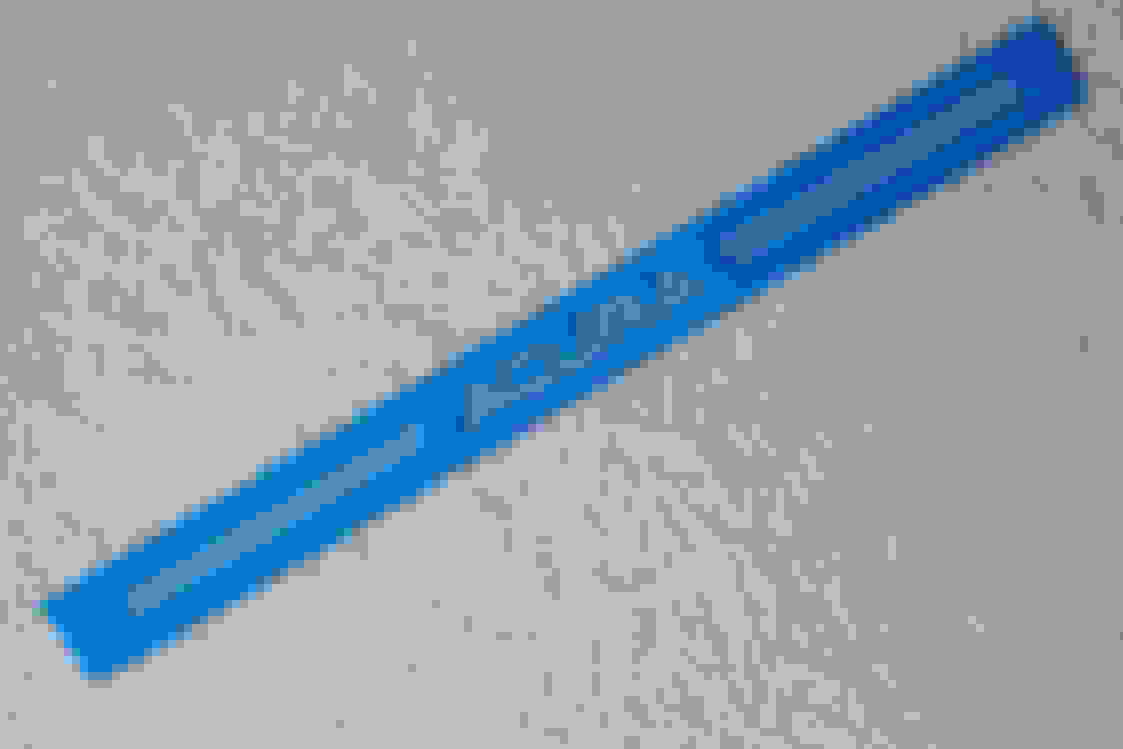
It took about 1.5 weeks to get the results back. I was wondering how they would ship me the pieces, since I had never got a chance to specify which parts of the design were to be kept and which had to be thrown away. It turned out that they just laser-cut the large acrylic sheet, sandwiched it between two sticky films, added some cardboard for protection, and sent me everything in one package, like a large painting. So not only did I have the overlays, but I also had every character as a separate acrylic piece. Here is one of the 4 pieces still having a protective blue film on both sides after I had separated it from the big sheet. Beautiful, and no need for a Dremel at all:
The acrylic that I chose for the sills was clear. Like KillerG I was going to cover the top of it with a 3M DI-NOC film. The DI-NOC is a 3M vinyl flexible wrap with an adhesive that people use left and right to trim and decorate their cars. Sometimes they add some detail inside, sometimes they cover the entire mirrors, bumpers and even roofs. It's not just a smooth painted film, it has some 3D structure, and overall it looks nice to my eye. There are other vinyl wraps too, so if DI-NOC doesn't inspire you, just pick something else.
I've got a 4ft x 1ft DI-NOC piece from metrorestyling at ebay for $23 shipped. The film had an adhesive on one side, so the idea was to first cut a somewhat oversized strip to cover one overlay, then remove protective films from both the overlay and the DI-NOC, lay DI-NOC on the acrylic, and press/smooth it with the hands or a plastic applicator from the center toward the edges. I used my hands and a heat gun @100C:
After that turn the acrylic upside down, find a brightly lit spot and carefully cut out the perimeter of the overlay and every letter with a craft knife. After you have cut the letters resist the temptation of using the heat gun again because the heated DI-NOC will bend the letters. Wait until you have finished the gluing and then use the gun to smooth out the tape along the perimeter of the letters if needed:
The result:
Gluing
The above is only the top layer of one sill overlay. Remember, each sill overlay is composed of two parts. One is with cut out letters and the DI-NOC on top, and the other one is solid and is supposed to go on the bottom. I was going to glue the two parts together with IPS Weld-On #4. It's a watery substance that when applied to two acrylic pieces pressed against each other gets sucked between them through capillary action, softens the acrylic surfaces and bonds the pieces together. I had a chance to use it to make a small aquarium once, and it was real easy. Just press the two pieces together, use the applicator to wet the edge, the solvent gets sucked between the pieces, wait a minute, and release. The initial bound is formed within the first 1-2 minutes, maximum strength is achieved within 24 hours. $10 on ebay. Besides the Weld-On itself you'll need an applicator too (the small plastic bottle with a hollow metal needle, costs a few bucks, I'm holding it in my hand below). Don't use a brush to apply Weld-On, it won't work as well as the applicator.
The letters look blue because there is still protective film on the very bottom. All film has to be removed from the glued surfaces of course.
While gluing be careful with the applicator. The Weld-On is very volatile, it evaporates easily, the heat of your hands makes the vapors in the applicator expand and push the liquid out. So, it's easy to make puddles, especially inside letters. Luckily these puddles mostly get sucked between the acrylic pieces, and are transparent when dried.
The reason why I chose to make each sill out of two pieces is to get adequate protection from water. The EL Tapes operate at ~200V, and frankly they're not that well made, so soaking them in water could potentially short circult the inverter (actually it would probably just temporarily trigger some protection circuit in it, but I'd rather not test this theory).
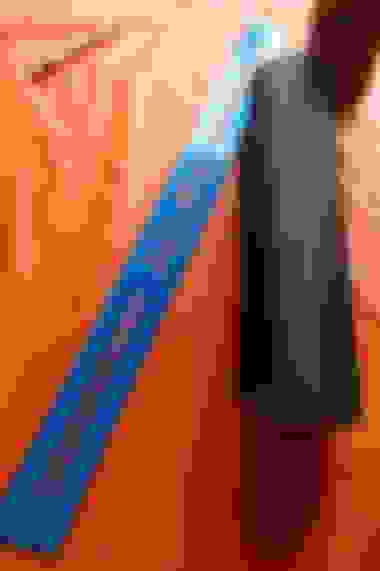
Note that the original rear sills in the car aren't straight, they're curved, and after the glue has dried it's the perfect time to bend the glued acrylic to match the OEM sill base. I used heat gun @300C to heat the rear side of the sills until it started bending, and then forced each rear sill into its OEM base yielding this:
I didn't like the idea of bending the sills after applying DI-NOC, which is also heat-sensitive, but unfortunately there is no other way. You have to apply and cut DI-NOC before gluing, and bending individual pieces separately wouldn't allow you to tightly press them against each other while gluing, so the sequence has to be DI-NOC => Trim => Glue => Bend.
The overlays are almost ready now. The only two remaining steps are to sand the bottom (I used a 400 sandpaper), and paint the edges with some black paint so that the light wouldn't escape through the edges of the overlays. I had some flat black Rust-Oleum paint from Home Depot lying around. Here is how the back looks after sanding but before painting. Note how the Weld-On got sucked between the acrylic parts even though I was applying it from the edges. No water will ever get in through the letters, and the two parts are now like one.
These sills wouldn't be illuminated if it was not for EL Tapes, or Electroluminescent Tapes, which are basically flat layer of luminophor and contacts laminated together. They can be found in abundance on the net, but the prices are varying a lot. One place can sell a 1" tape for $22/ft, while another can offer a similar 1" tape for $24/m. Generally the tapes are indoor use only, but there are more expensive outdoor offerings as well. Most often these tapes have a black band in the middle (and therefore they're called Split EL Tapes), but I was able to find a seller with tapes that light up solid, w/o the band, and so they are ideal for this project.
Contrary to LEDs, these tapes require high voltage and inverters. I measured the output of the inverters that I've got, and it was almost a sine wave with 200V amplitude, hence water protection and insulation are critical. The inverters are often battery operated, some require a 12V adapter, some can be hooked directly to a car battery, and they also greatly vary in price, sometimes being unreasonably expensive.
I recommend getting both the tapes and the inverters from Lightkraft at etsy.com (https://www.etsy.com/listing/1538855...arious-glowing). Pick two 3cm x 1m white tapes. They have a slight pinkish tint when not lit, but when the tapes are behind a matte acrylic, the letters look almost white, so if you don't like pink, don't worry, it won't be that obvious. The reasons for the recommendation are reasonable prices for the tapes, no band in the middle, small form-factor and reasonably priced inverters (actually, the inverters are already included with the tape!), fast shipping, and easy way of contacting the seller for recommendations and prices on custom orders. In comparison, I also tried buying tapes from e-luminates.com HOME. Those tapes do have a black band that showed even through sanded acrylic, the inverters were more expensive, bigger, made some prominent whining noise, and were actually slightly dimmer than the inverters from Lightkraft. If you decide to go the Lightkraft route, get two 3cm x 1m tapes, they'll come with one inverter each. You'll also need some copper foil tape to attach new wires to the EL Tape after you cut it. I've got my copper foil from e-luminates.com as part of the order that I didn't like, I guess you could get it from e-luminates.com too, or just google it elsewhere. The copper foil has conductive adhesive on one side, so you just glue it to the liminophor, and then solder the wires on top.
Don't bother looking for outdoor grade EL Tapes or for special crimp connectors. The tapes will have to be cut anyway (one piece goes to the front, and the other to the rear door). Cutting will void the outdoor protection, existing water-proof connectors won't fit under the acrylic overlay, and will have to be removed as well, and besides the way how I assemble the sills gives them adequate water protection, so even if the tapes are indoor use only, it doesn't matter, they're going to be kept always dry.
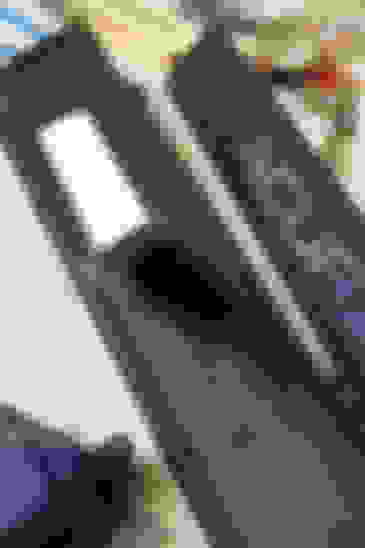
The tapes cannot be soldered to directly, for the solder would not stick to the luminophor. Like I said, the pre-attached connectors are bulky, and would never fit under the acrylic overlay. So, I opened one up, and found that underneath a heat-shrink tube there were just two wires soldered to two thin strips of copper tape glued on top of the luminophor and laminated together with it. Apparently the adhesive that holds the copper strips is conductive. I used the same method to attach my connectors to the pieces of the EL Tapes that I cut for the rear sills. Basically, I removed a portion of the laminate, glued copper strips right on top of the luminophor, bent the tape, passed it through the cut in the sill base, and once everything was in place, soldered wires to the copper tape. Here is the rear sill base:
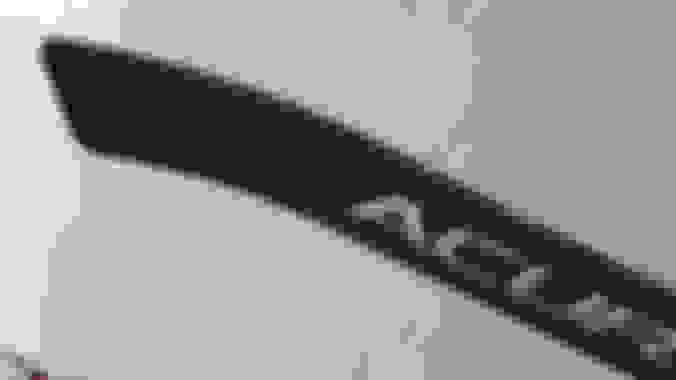
Btw, you'll want the copper foil to be as long as possible to make the contact better. Mine still continues for a few cm on the front side, almost to the point where "ACURA" starts.
To prevent water from getting in, I drowned everything in black silicon caulk (Home Depot).
Note in the pictures above how the wire is positioned between the two plastic clips. These two clips together will go in one rectangular hole in the car's frame, and the wire will go along with them.
You may also have noticed that the piece of the EL Tape and the caulk add quite a bit of thickness to the sill's base, and may be wondering whether the base will mount flush with the car's frame. It will be fine because the metal door sill in the car is not flat, it has 1cm deep depressions every 10cm, and one of those depressions happens exactly in the area where that clip is. All four sills have a depression around the clip hole that's closest to the central pillar. That's some lucky coincidence because I ended up putting the inverters exactly inside the central pillar.
Once the tapes have been attached onto the bases, and wires have been soldered to them, we can glue the acrylic overlays on top thereby sealing the tapes completely. Run a bead of the black silicon caulk along the perimeter, be careful not to get too close to the tape, remember that the overlay will spread the caulk by squashing it.
The first of the three pictures above also shows black paint covering the edge of the overlay plus ~1cm of the bottom. The paint, again, is to prevent the light from escaping on the sides, we want only the letters to glow.
After all the gluing and sealing the water cannot get to the EL Tapes neither from above, nor from below, so no matter whether the tapes are outdoor grade or just indoor, whether they have some laminate defects or not, whether it rains or shines, the tapes are safely tucked between the sills base on the bottom and the acrylic overlay on top.
This concludes the manufacturing process for the sills leaving only the installation and the hookup unexplained.
I was wondering how to get the wires inside the cabin... Others have passed wire bundles right under the rubber weather stripping, but I didn't like that idea because it could potentially break wires, cut insulation, or damage the stripping. Since we're dealing with 200V here I was especially concerned with the insulation.
After removing the inside plastic trim I noticed that if I shined my flashlight through one of the holes where the inside trim's clips used to be, I could see the light in the holes used to fasten my DIY sills, so there was some common space below the metal frame where I could fish the wires from outside to inside. The outside holes are rectangular, and there is enough space to pass wire through them together with the clips. The inside holes are fully used by the trim's clips, thus I had to drill one additional hole for each door, paint it with the Rust Oleum to prevent corrosion, and pass the wire through it.
Note in the pictures above that I've put a heat-shrink tube on the wires for better protection against weather and rough metal edges. The wire, btw, is an unbundled CAT6 cable that I had lying around. The insulation is rated up to 300V, so I used it both to hook up the inverters and on the high-voltage side. The currents are negligible (people are using these tapes with AA batteries to light up some Tron costumes), the wires are already color coded and twisted, not much else to wish for.
Installing the inverter
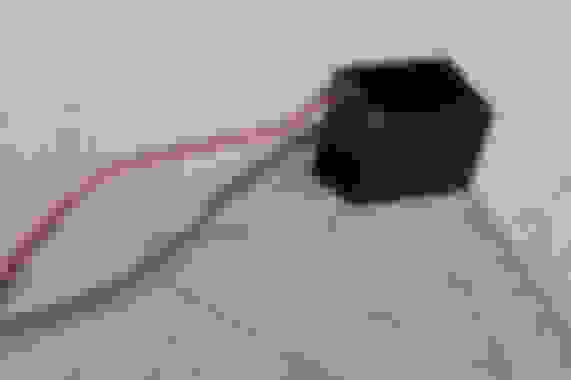
Since I've bought two tapes from Lightkraft, and each tape was bundled with an inverter, I had two inverters: one per each car's side. The best mounting (or rather stashing) place for them was behind the seat belts assembly in the center pillar. I had to unbolt the belt mechanism, push the inverter behind it, and bolt the mechanism back on top. Though the inverter had mounting holes, I didn't bother with screwing it to anything, instead I just wrapped the inverter with one layer of electric tape so that it wouldn't rattle, and pushed it against the padding in the pillar. Here it is, in the top-left corner:
Connecting the power
There are many ways to bring power to the inverters. We want them to be on only when the doors are open. TSX folks ran wires to the MICU (Multiplex Integrated Control Unit) in the cabin fuse area, KillerG decided to connect to the rear dome light, Supercomputers instructions called for tapping individual door switches. I didn't like the idea of connecting directly to the MICU, because the connector is on the back of the fuse panel, so I would have to remove it, and with the abundance of wires in that location I was hesitant. Tapping into door switches required cutting into the fat wire bundles running along the floor, and going to the rear dome lights was an uncharted territory for me.
After going through the schematics I've realized that the place where TSX folks tapped the MICU was the GRN/RED wire #4 in the W connector, and the wire itself was going to the front overhead light, which I've already had to access once to hard-wire my radar detector. Running wires there through the front pillars was easy, and I could again do it both for the left and the right inverters.
So, I pulled the overhead light (first pry the rear side of the sunroof switch, remove and disconnect the switch, then stick your fingers in the opening, and pull the rear side of the dome light down until it's released). The GRN/RED wire goes to pin 5 of the connector, and pin 1 is +12V. Together they form the power source for dome lights and the inverters.
Whenever the cabin lights should be on, MICU pulls that GRN/RED wire to the ground. When the lights need to be dimmed, MICU sends 250Hz PWM. Initially I thought that this PWM signal would create problems for the inverters, and was ready to install diodes and capacitors, but surprisingly, EL Tapes just dim a little, hence the inverters can be plugged indirectly w/o any hassle.
Note that I didn't bother with the proper wire splicing and tapping above (and frankly there is not much space for that), I just cut insulation, soldered my wires to #1 and #5, and then covered the solder with "liquid electric tape" from Home Depot. The insulation part wasn't even that necessary, since there is just plastic around anyway, and the only thing I'm risking there is a 7.5A fuse.
Here is what it looks like after fishing wires and soldering them. The two orange wires are soldered to #1 and #5 (solid orange is +12V, and white-orange will be pulled to the ground by MICO). Then they're soldered to the two pairs that are running to the inverters on the left and the rights side (green and brown). Wherever I can I use heat shrink tubing to protect the solder joints:
To get the wires from the dome to the pillars I didn't have to remove or even pull the headliner, I just pushed the wires between the windshield and the headliner along the entire path to the sides, similar to how I hid the power cable to the radar detector.
Here is a picture showing the wires running down along the front pillars. To remove the pillar trim you'll need to pry the rectangular "Side Curtain Airbag" tab, and then just pull the trim away from the pillar and back. There is one more hidden clip in the middle. Be careful, there are airbags inside, so the battery had better been disconnected at this point. Use your common sense.
From the front pillar the wire goes straight down until it hits the floor and continues under the inside sill trim to the central pillar where the inverters are.
After all has been connected, hook the battery back up, and test how it works. In bright daylight you won't see much, but when it's dark outside, or just plain in the garage, it lights up nicely with a white-bluish color. I actually find the EL Tapes brightness to be spot on. It's not blinding at night, and ends up being perfectly balanced with other cabin lights. Interestingly, when I bought the tapes they were sold as whites, and yet they're definitely white-blue, which nevertheless works well for me, since my car is Base TL. I wonder what a real blue tape would look like though.
Alright, for brevity fans, here are the step-by-step high-level instructions:
Prerequisites
Order laser-cut 1.5mm clear acrylic parts from ponoko.com; DI-NOC, 5mm adhesive copper tape, Weld-On and applicator from ebay; EL Tapes and inverters from Lightkraft
Buy black silicon caulk, black flat paint from HomeDepot
Get soldering supplies, CAT6 wire, heat shrink tubing, heat gun
Remove door sills, remove aluminum part from the sills' base.
Manufacturing: Glue and Finish
Apply DI-NOC to the face of the top overlay part. Use heat gun @100C and hands.
Cut DI-NOC along perimeter and letters
Glue the bottom and top parts of the overlay by pressing them together and applying the Weld-On with the applicator along the perimeter and letters. Weld-On will be sucked between the parts via capillary action, and the initial bond will be achieved within the first 1-2 minutes.
Shape the rear overlays by applying the heat gun @300C to the bottom, bending and pressing the overlays into their bases.
Sand the bottom of the overlays, paint edges with black paint.
Manufacturing: EL-Tape
Cut 1m EL Tapes so that the piece with the preassembled connector is long enough to cover the entire front sill. The remaining piece w/o connector will be used for the matching rear sill.
Remove heat-shrink tubing protecting preassembled connectors. That will expose solder points and copper foil. Desolder the existing wires.
Make a slit for the EL Tape near the clip on the side of the sill base that will be mounted closer to the center pillar. Confirm that there is a depression in the car's metal sill around the rectangular hole that the clip will go into. I have it in my '08, IDK how it is in '04-06.
Bend the end of the EL Tape so that after passing it through the slit you'll still have at least 1cm of laminated copper foil on the base's top side, but verify that the foil is not visible through cut areas of the overlay.
Use caulk to attach the EL Tape to the base. The tape will attempt to coil, to prevent that clamp the overlays on top.
For the rear sills strip some laminate from one end of the tape, attach adhesive copper foil. EL Tape from Lightkraft has one fat central conductor and two narrow conductors on the sides. Attaching foil to the fat conductor is a no-brainer, for the side one wrap the foil around the edge of the tape so that 50% of it is on the front side and the other 50% is on the back.
Once the caulk has dried, trim the end of the tape that is sticking from the slit, solder wires, and seal the slit with caulk. The wires should stick out between the two plastic parts of the clip because they will go along with the clips into the metal door sill.
Run a bead of caulk along the base's perimeter, and glue the overlay on top
Installation
Disconnect battery
Remove cabin sill, front and center pillars trim
Remove front overhead light sunroof switch by prying its rear side
Remove front overhead light by pulling its rear side down
Run wires from the overhead light along the headliner to the front pillar, then down to the floor, then to the center pillar.
Strip insulation from wires going to pins 1 and 5 of the 20-pin connector (#1 is BLU/WHT = +12V, #5 is GRN/RED). Solder your fished wires to the exposed conductors.
Remove seat belt assemblies, tuck inverters behind, put the assemblies back
For each door drill one extra hole near the existing hole where the cabin sill trim's clip used to be
Install the sills by fishing the wires through the drilled holes inside the cabin
Solder inverters to the wires ran from the overhead lights, and to the wires coming from the sills
Wow, amazing effort!! They look great, if I didn't have the supercomputer sills I'd get these. Actually I always did want mine it white. I like how the stripes are lit up too.
I have everything in except of the black paint which I can pick up any time. I even have some of the 3M primer to help ensure the edges of the carbon fiber stay down. I ordered blue EL tape instead of white. If this works out I'll have two sets of the super computers door sills to sell instead of just one set.
I have everything in except of the black paint which I can pick up any time. I even have some of the 3M primer to help ensure the edges of the carbon fiber stay down. I ordered blue EL tape instead of white. If this works out I'll have two sets of the super computers door sills to sell instead of just one set.
I went on the site to buy the acrylic pieces but it's only for the design for $10 and not the actual product. How do I order the actual acrylic sills?
You put manufacturing order right there, on ponoko.com, pick 1.5mm clearly acrylic P3 sheet, they'll cut it following the design and send the result to you.

 11-17-2014, 10:35 AM