When you click on links to various merchants on this site and make a purchase, this can result in this site earning a commission. Affiliate programs and affiliations include, but are not limited to, the eBay Partner Network.
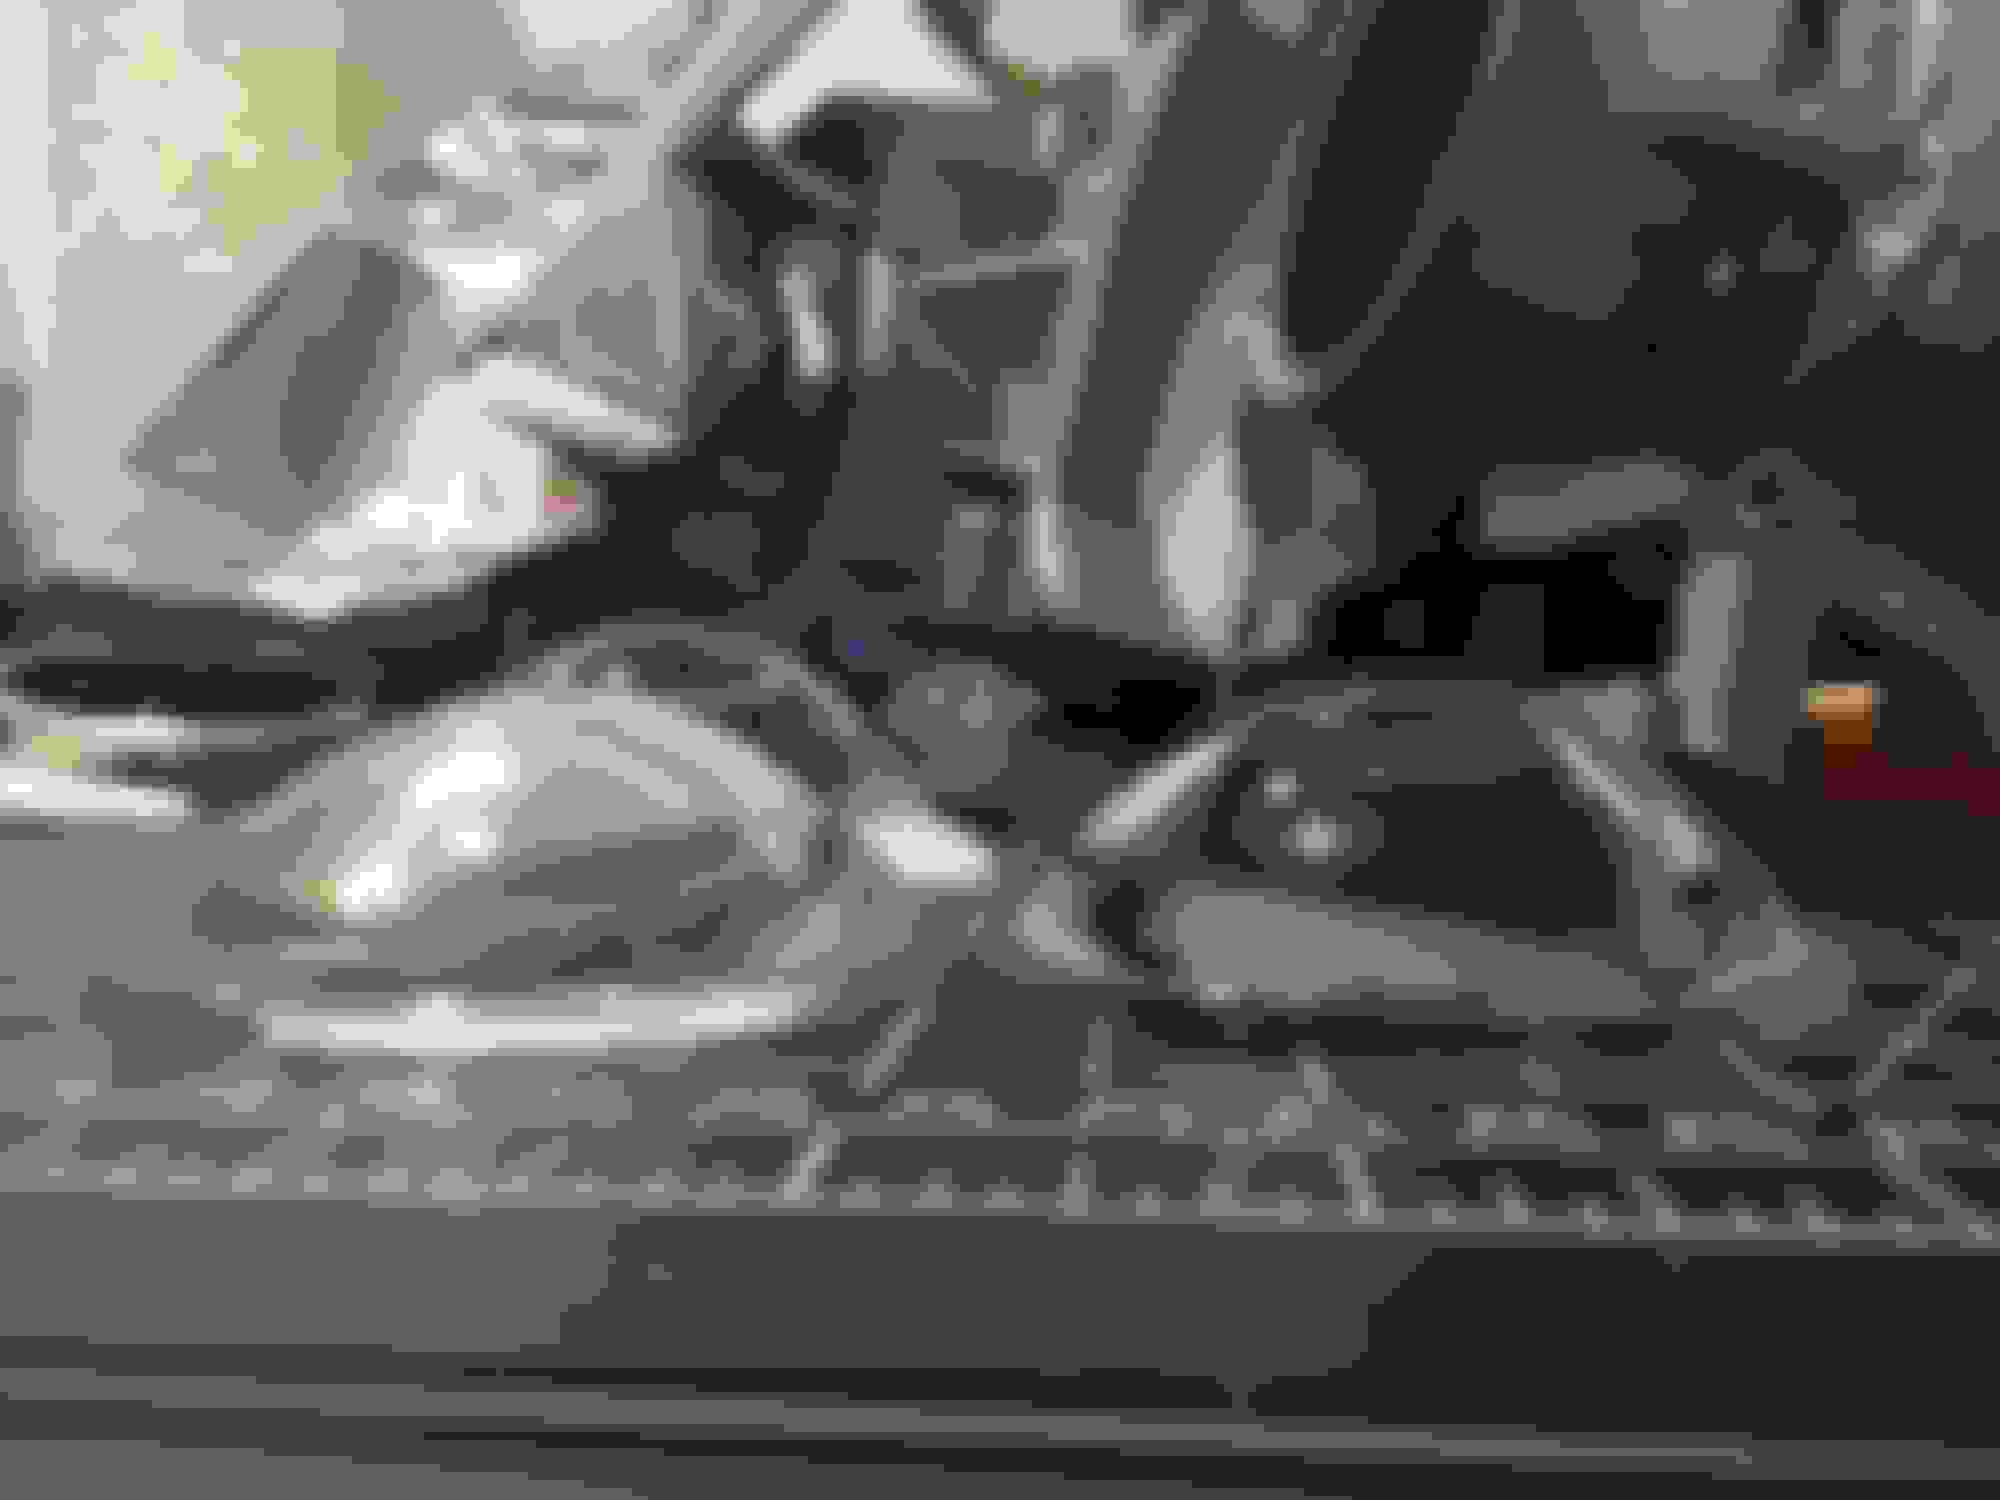
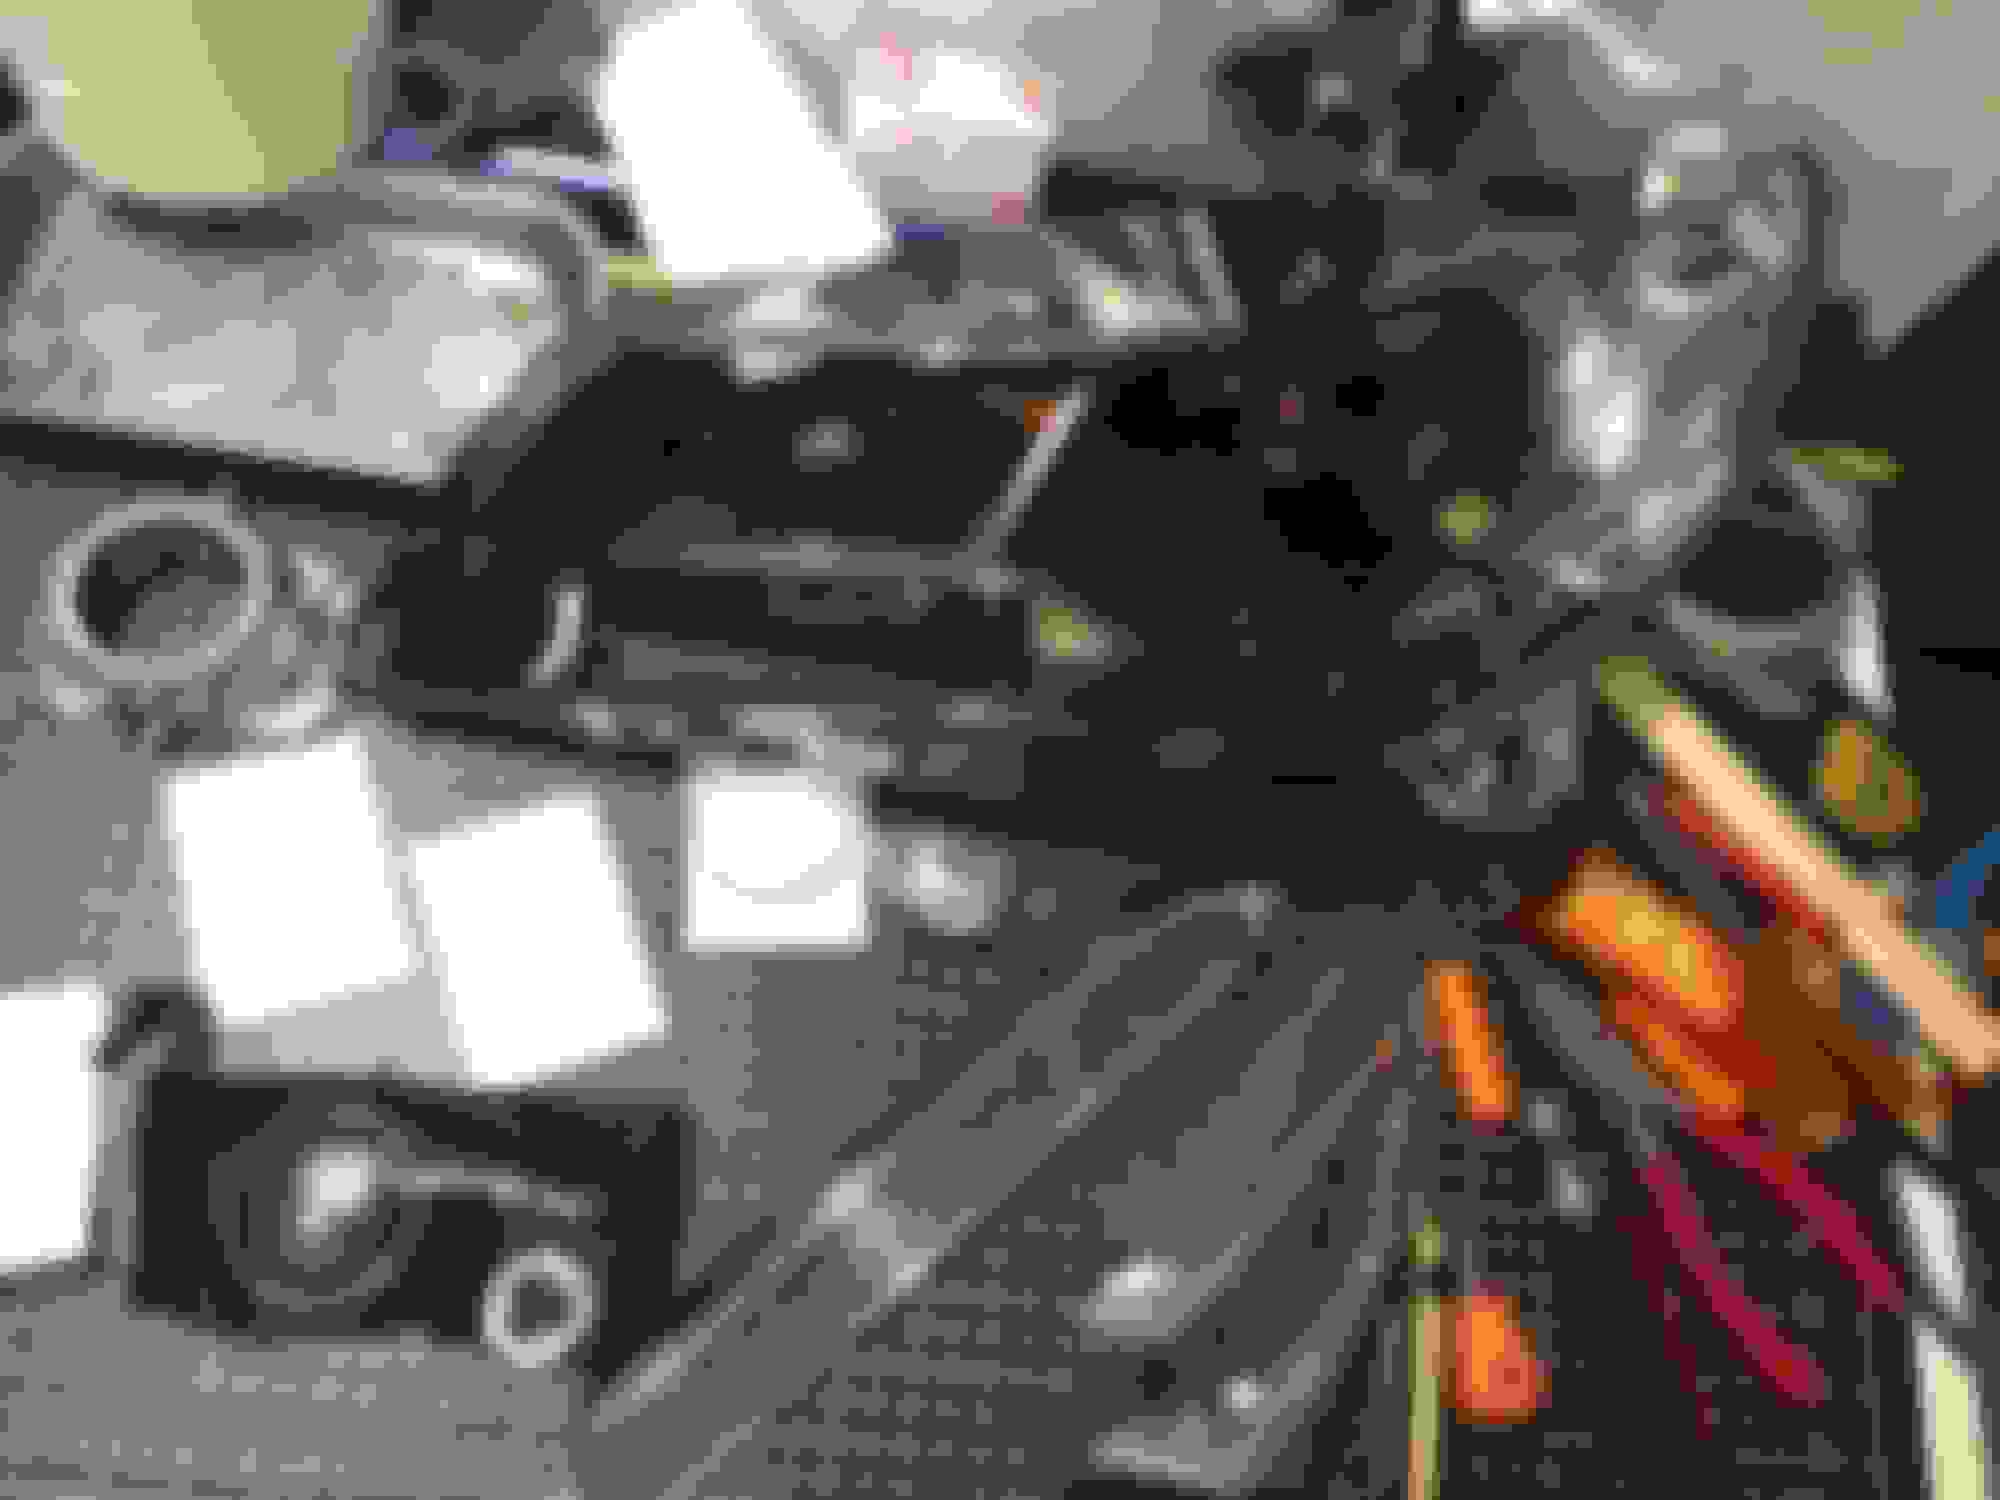
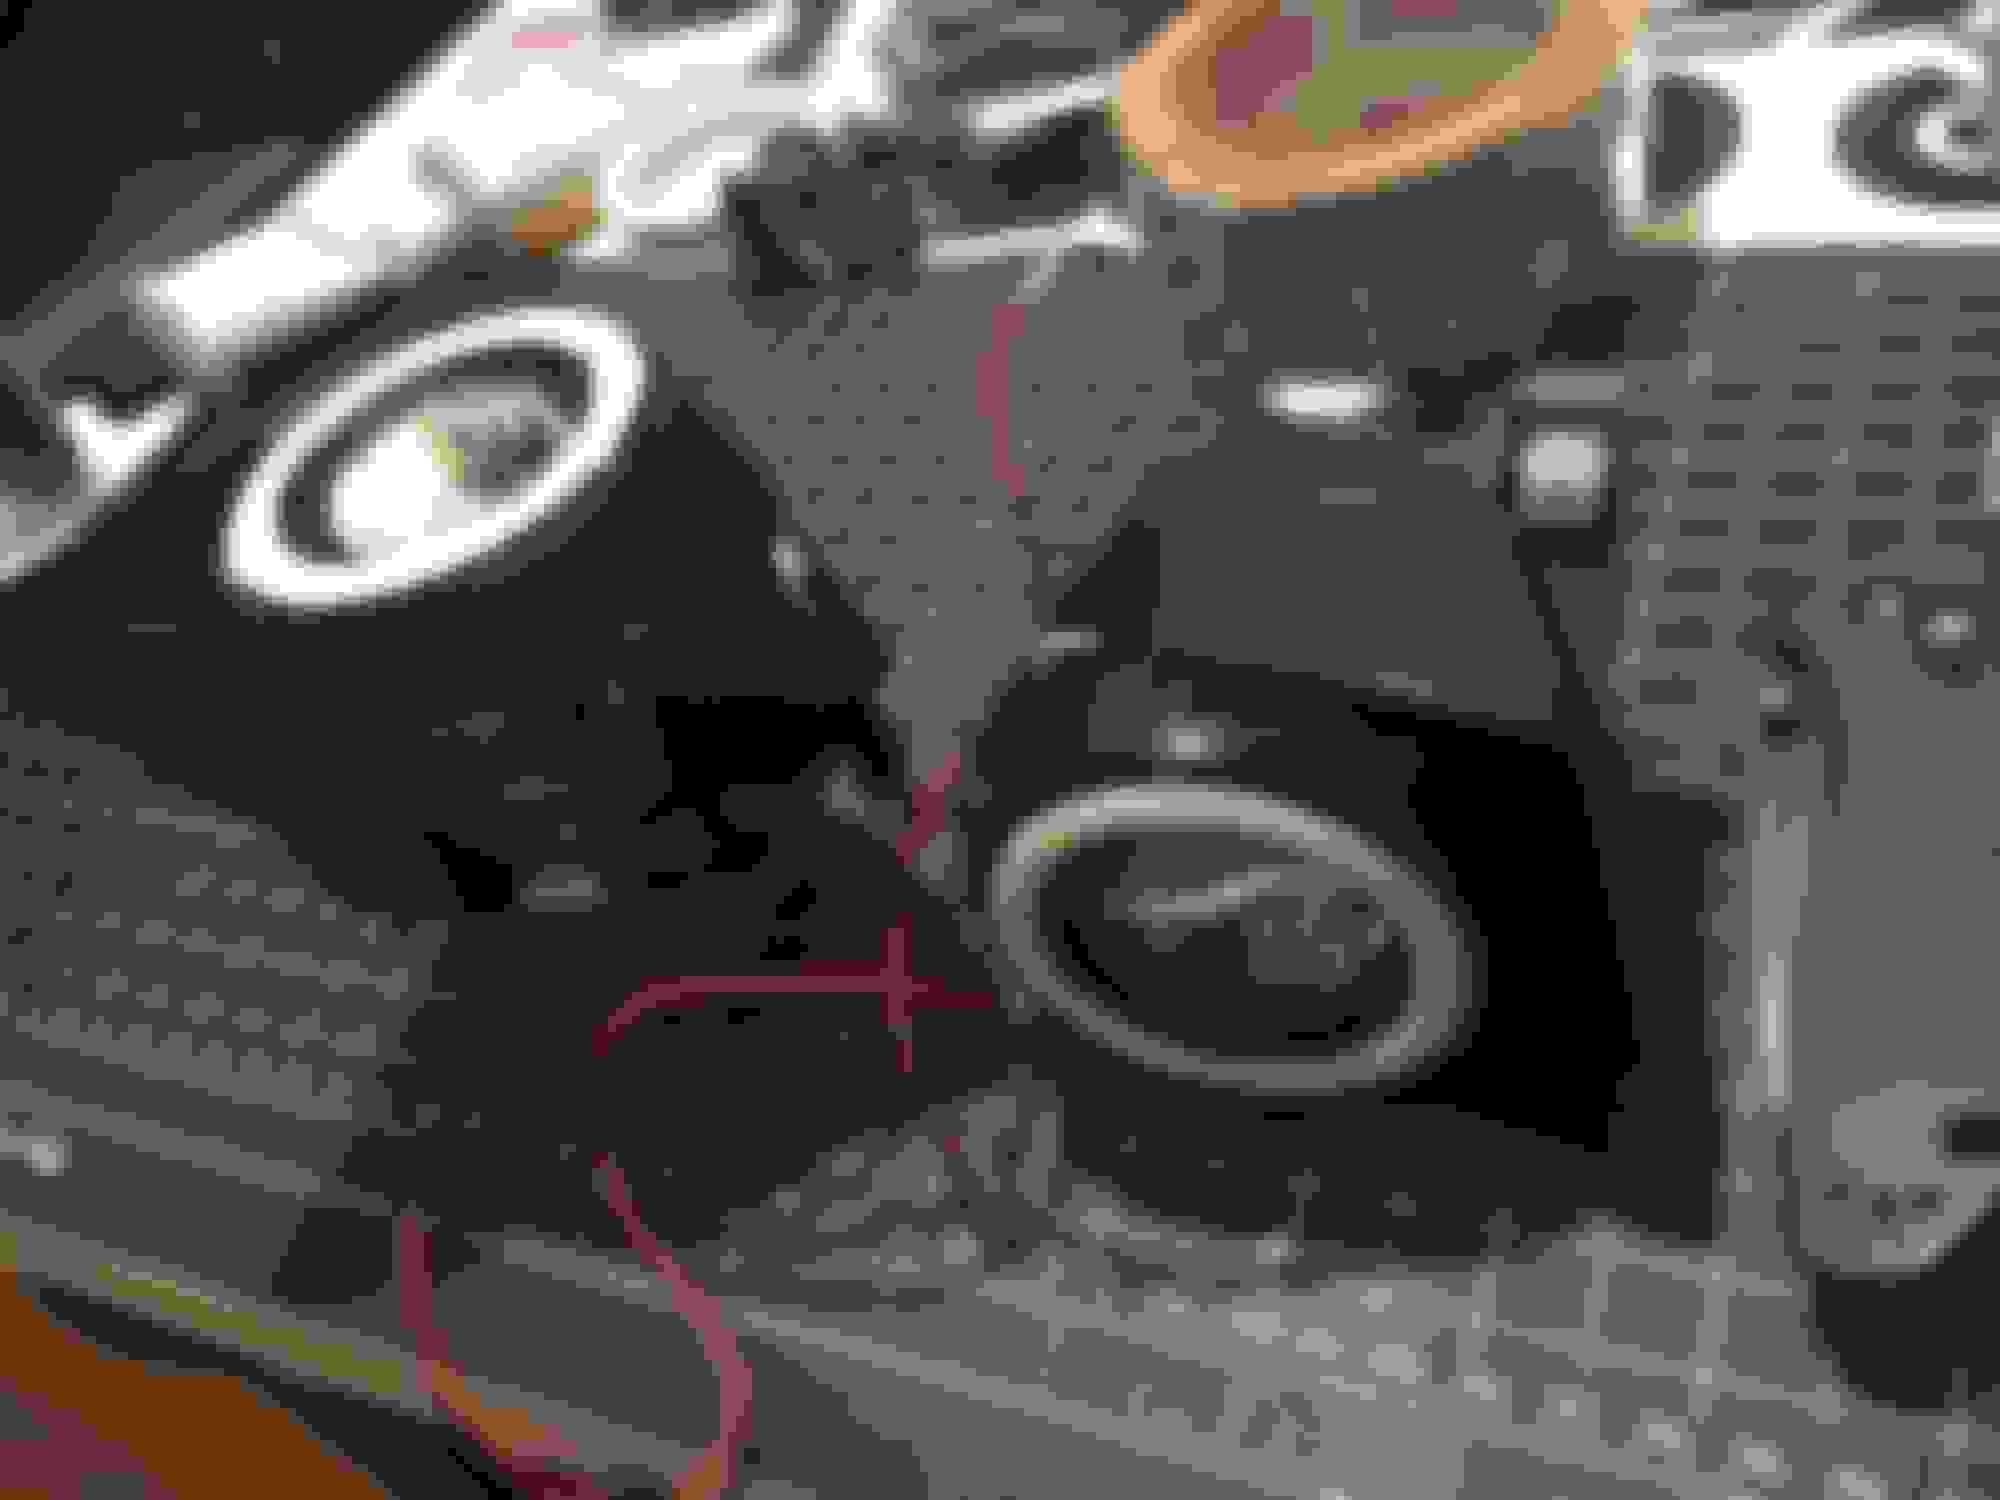
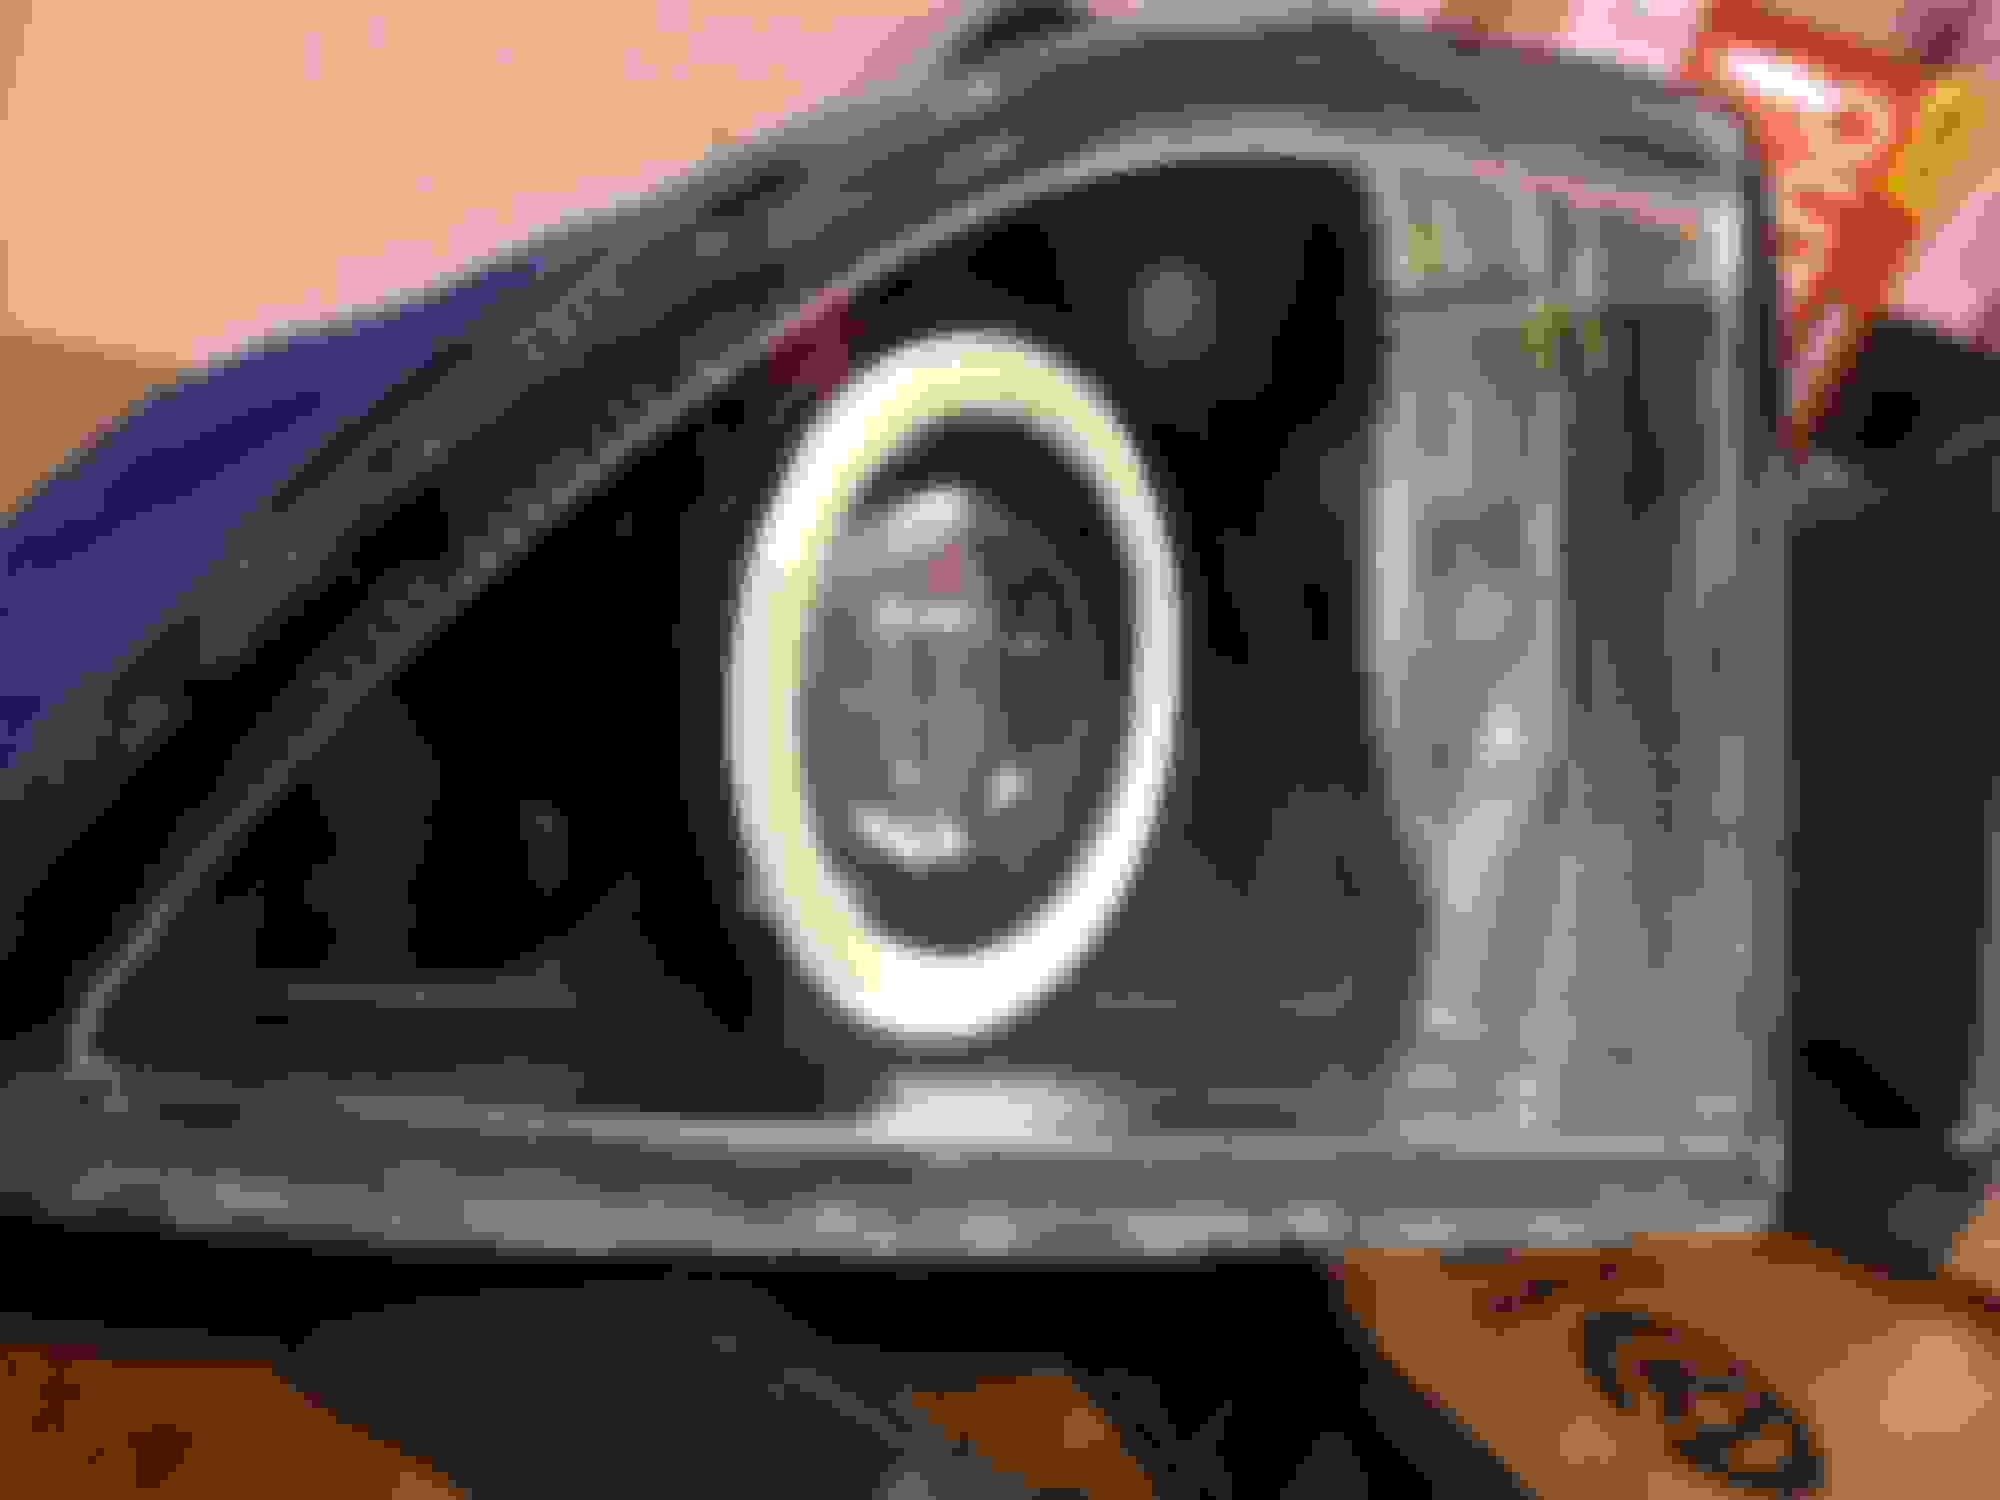
So so the main focus of taking them apart was to see how to do the high beam projector. the reflector bowl is super small and the space inside is also small there�s a cover trim in front of the high beam and the bowl has a cutout.
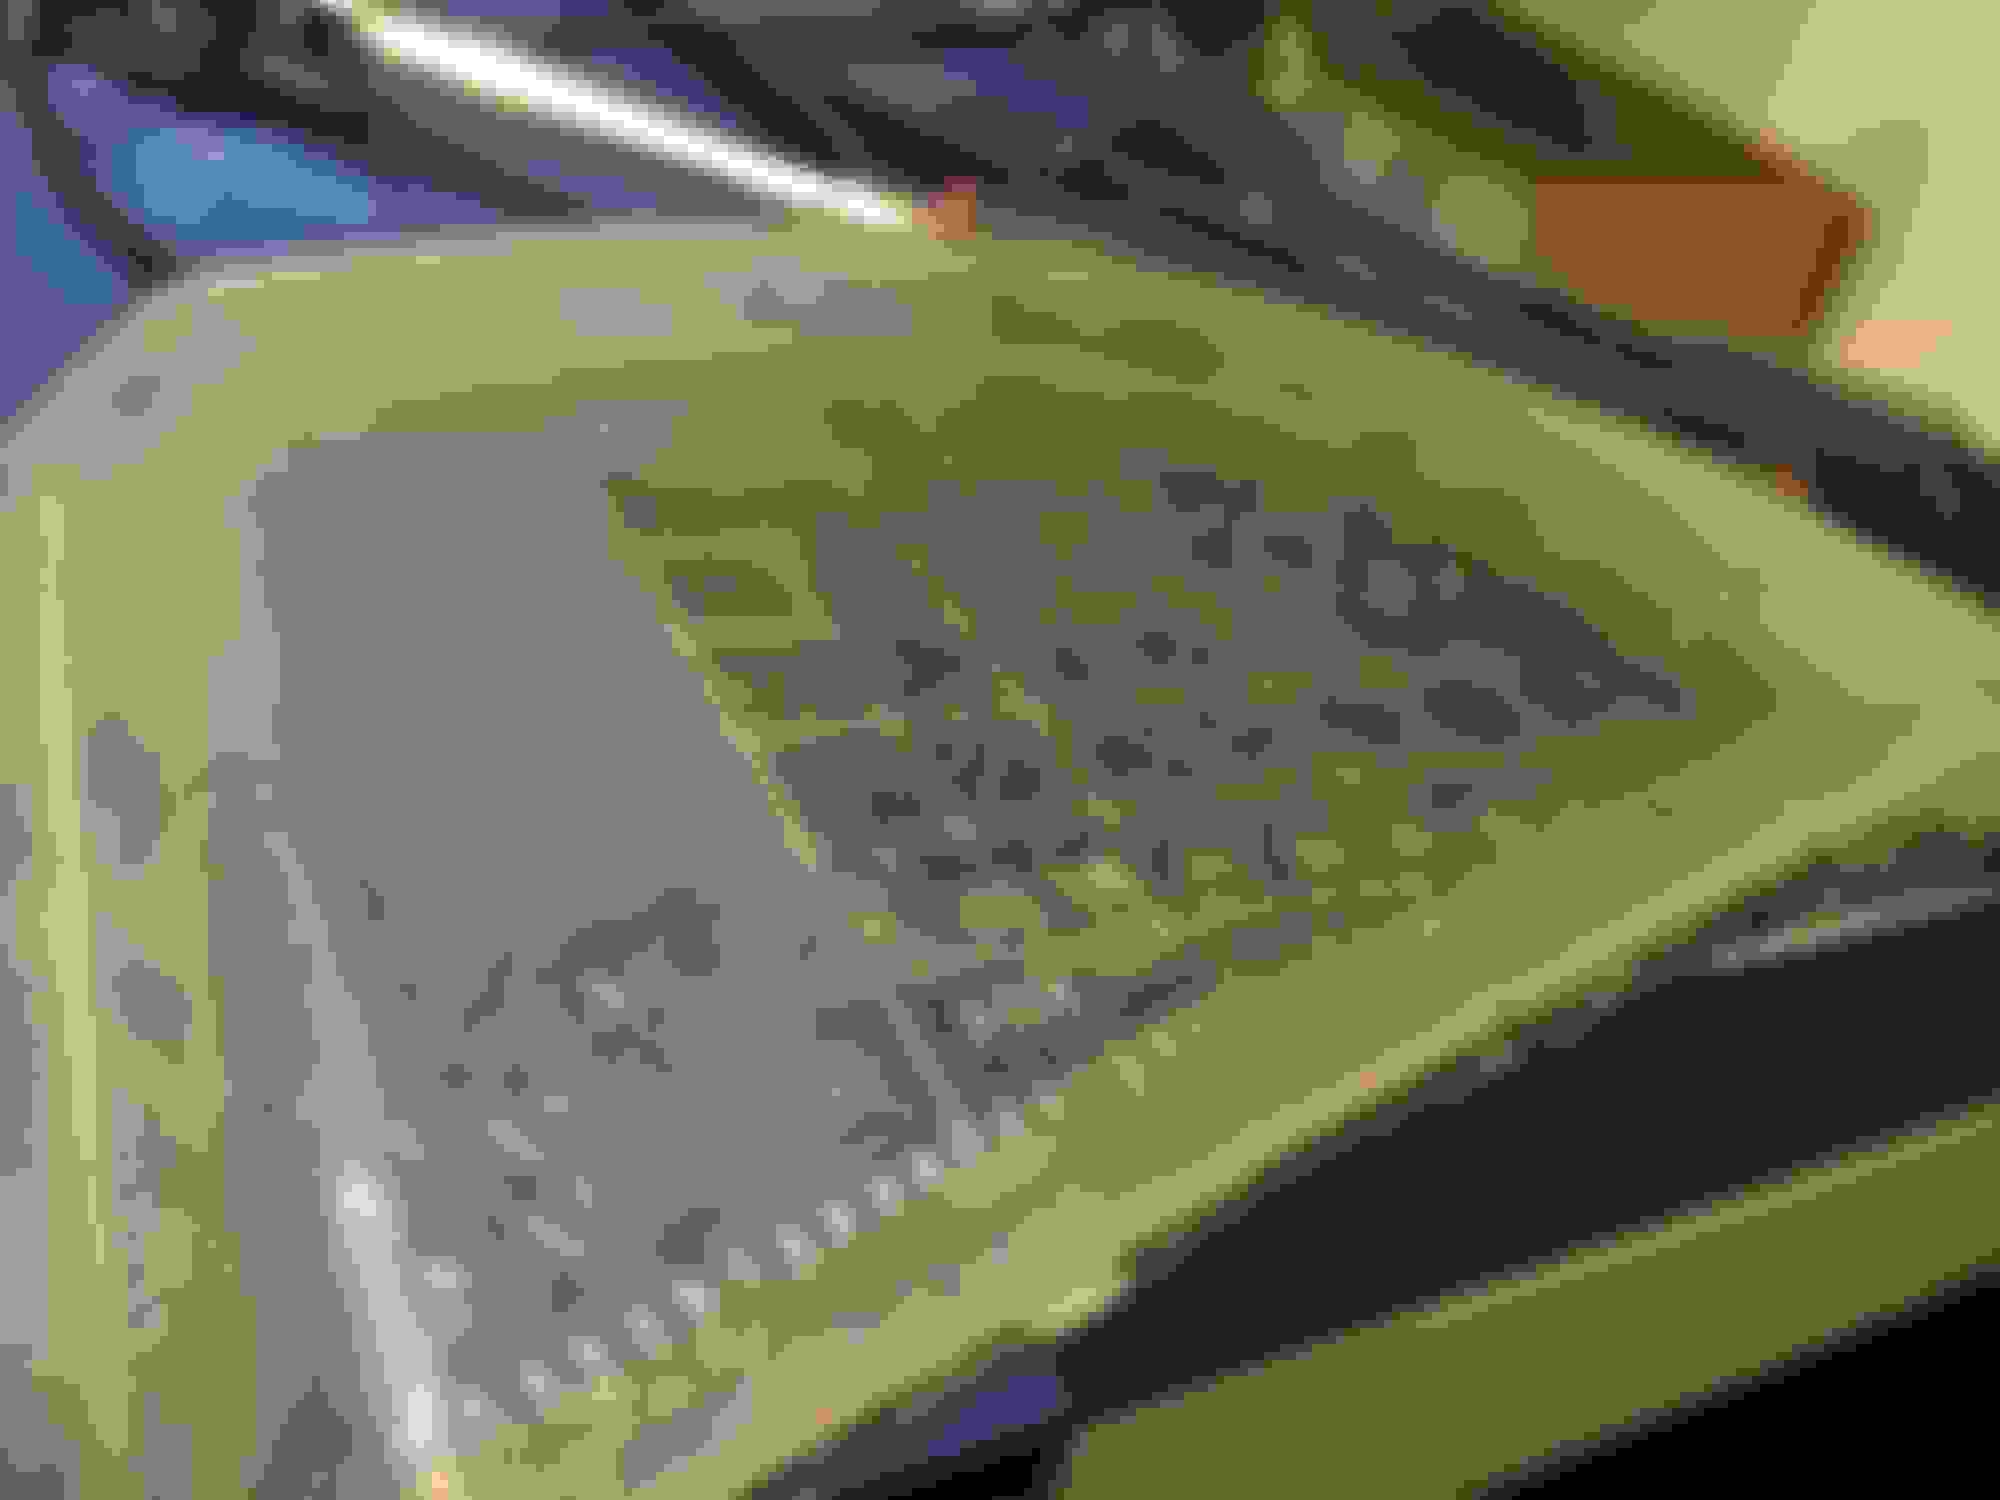
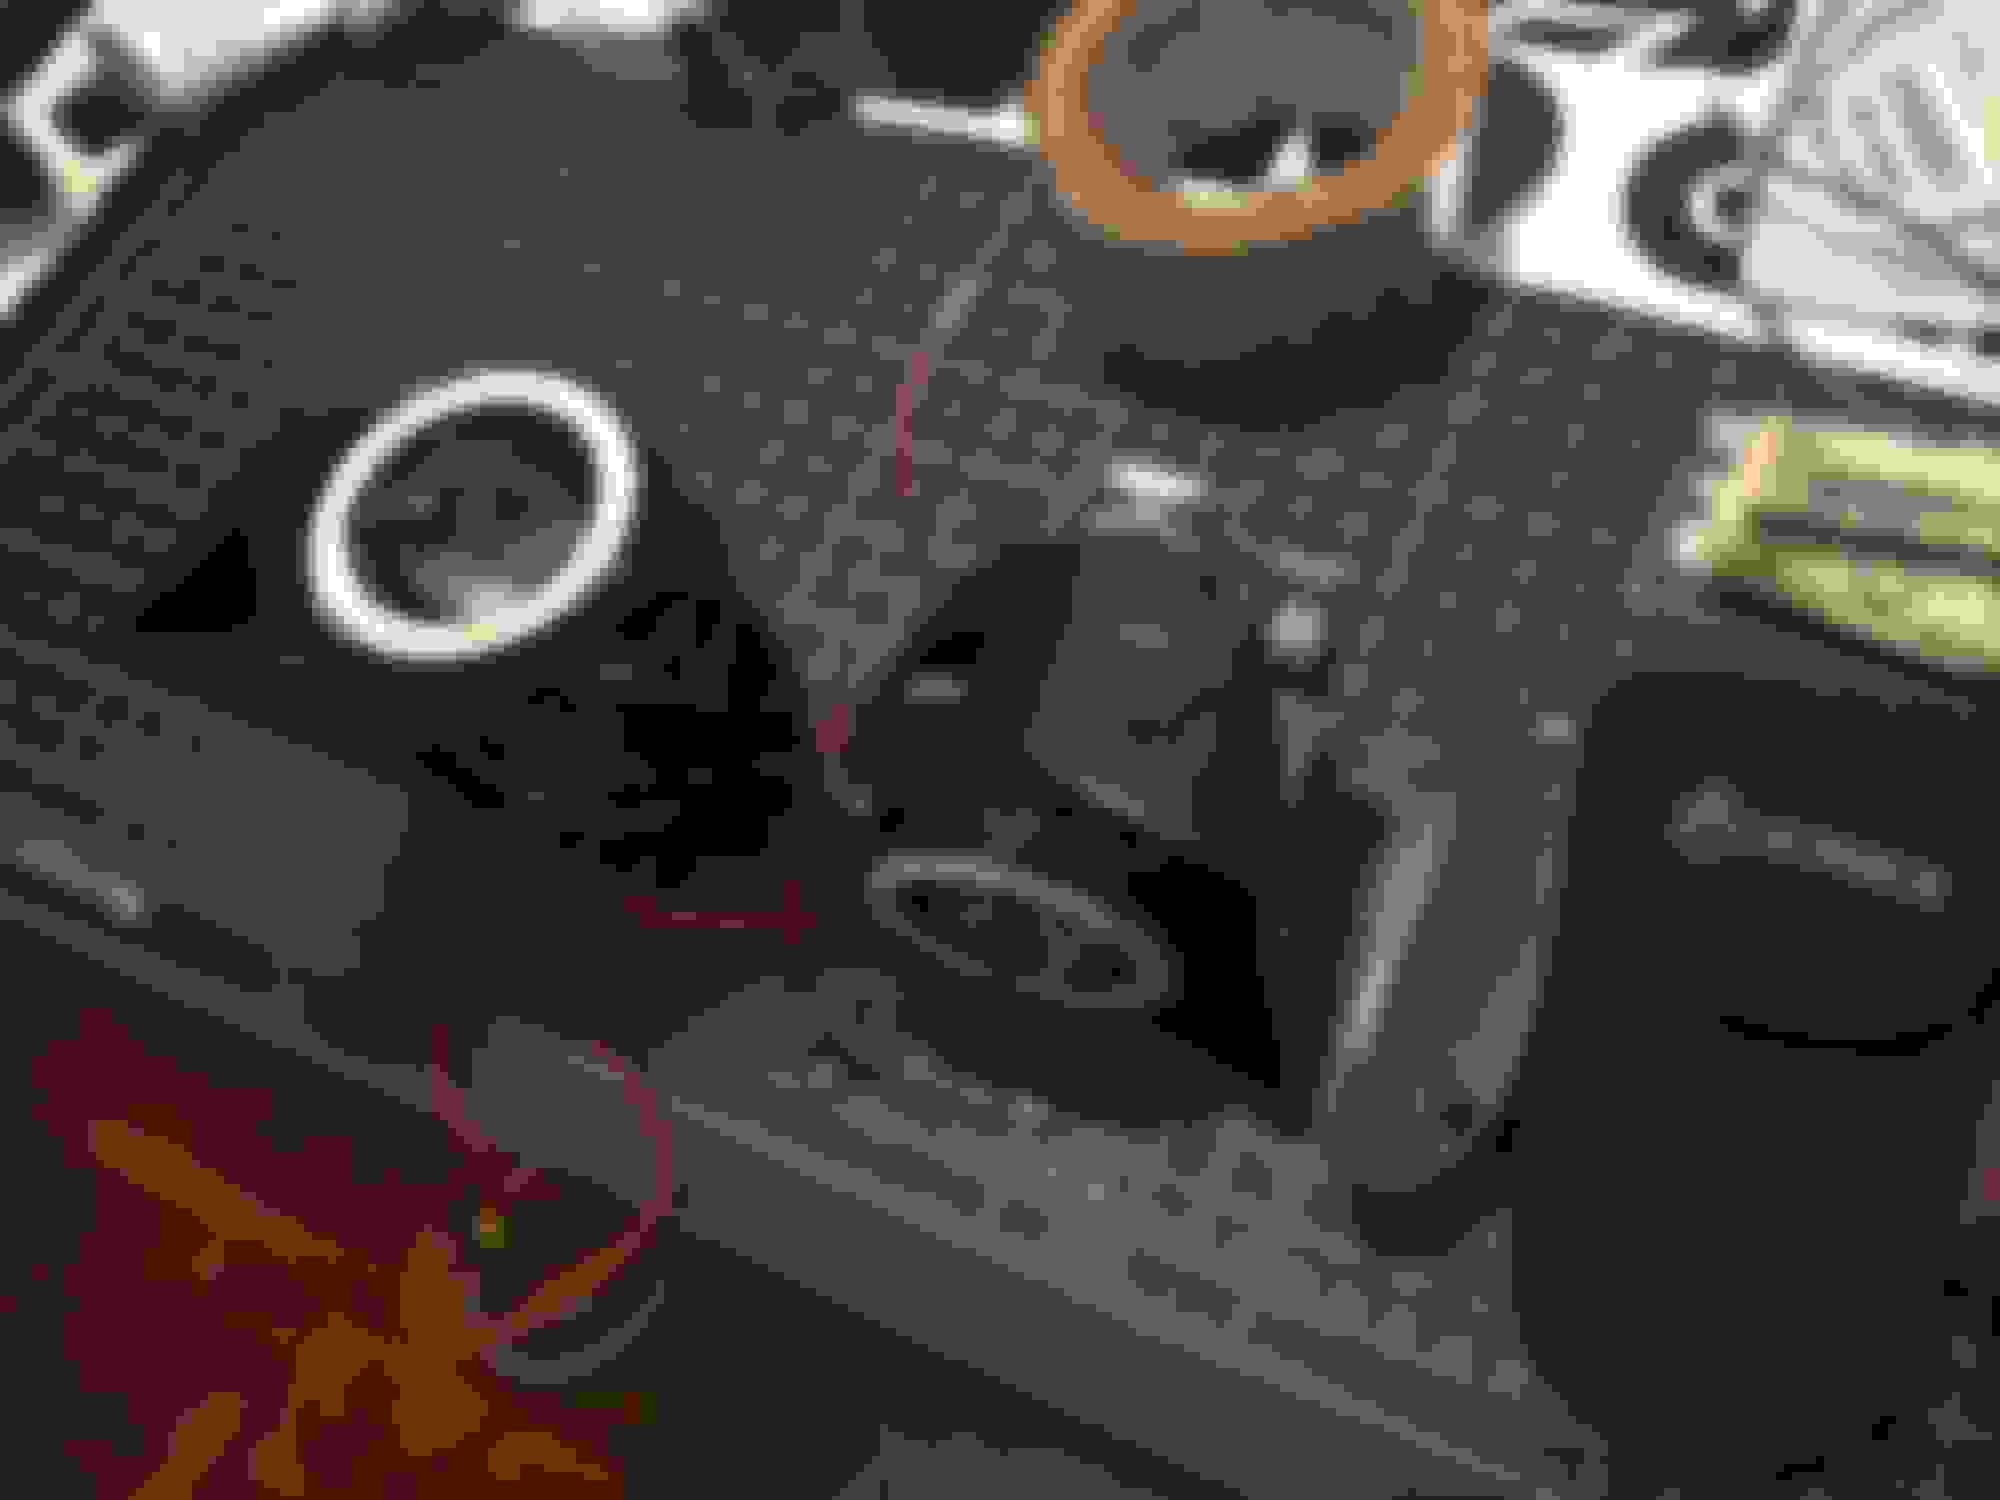
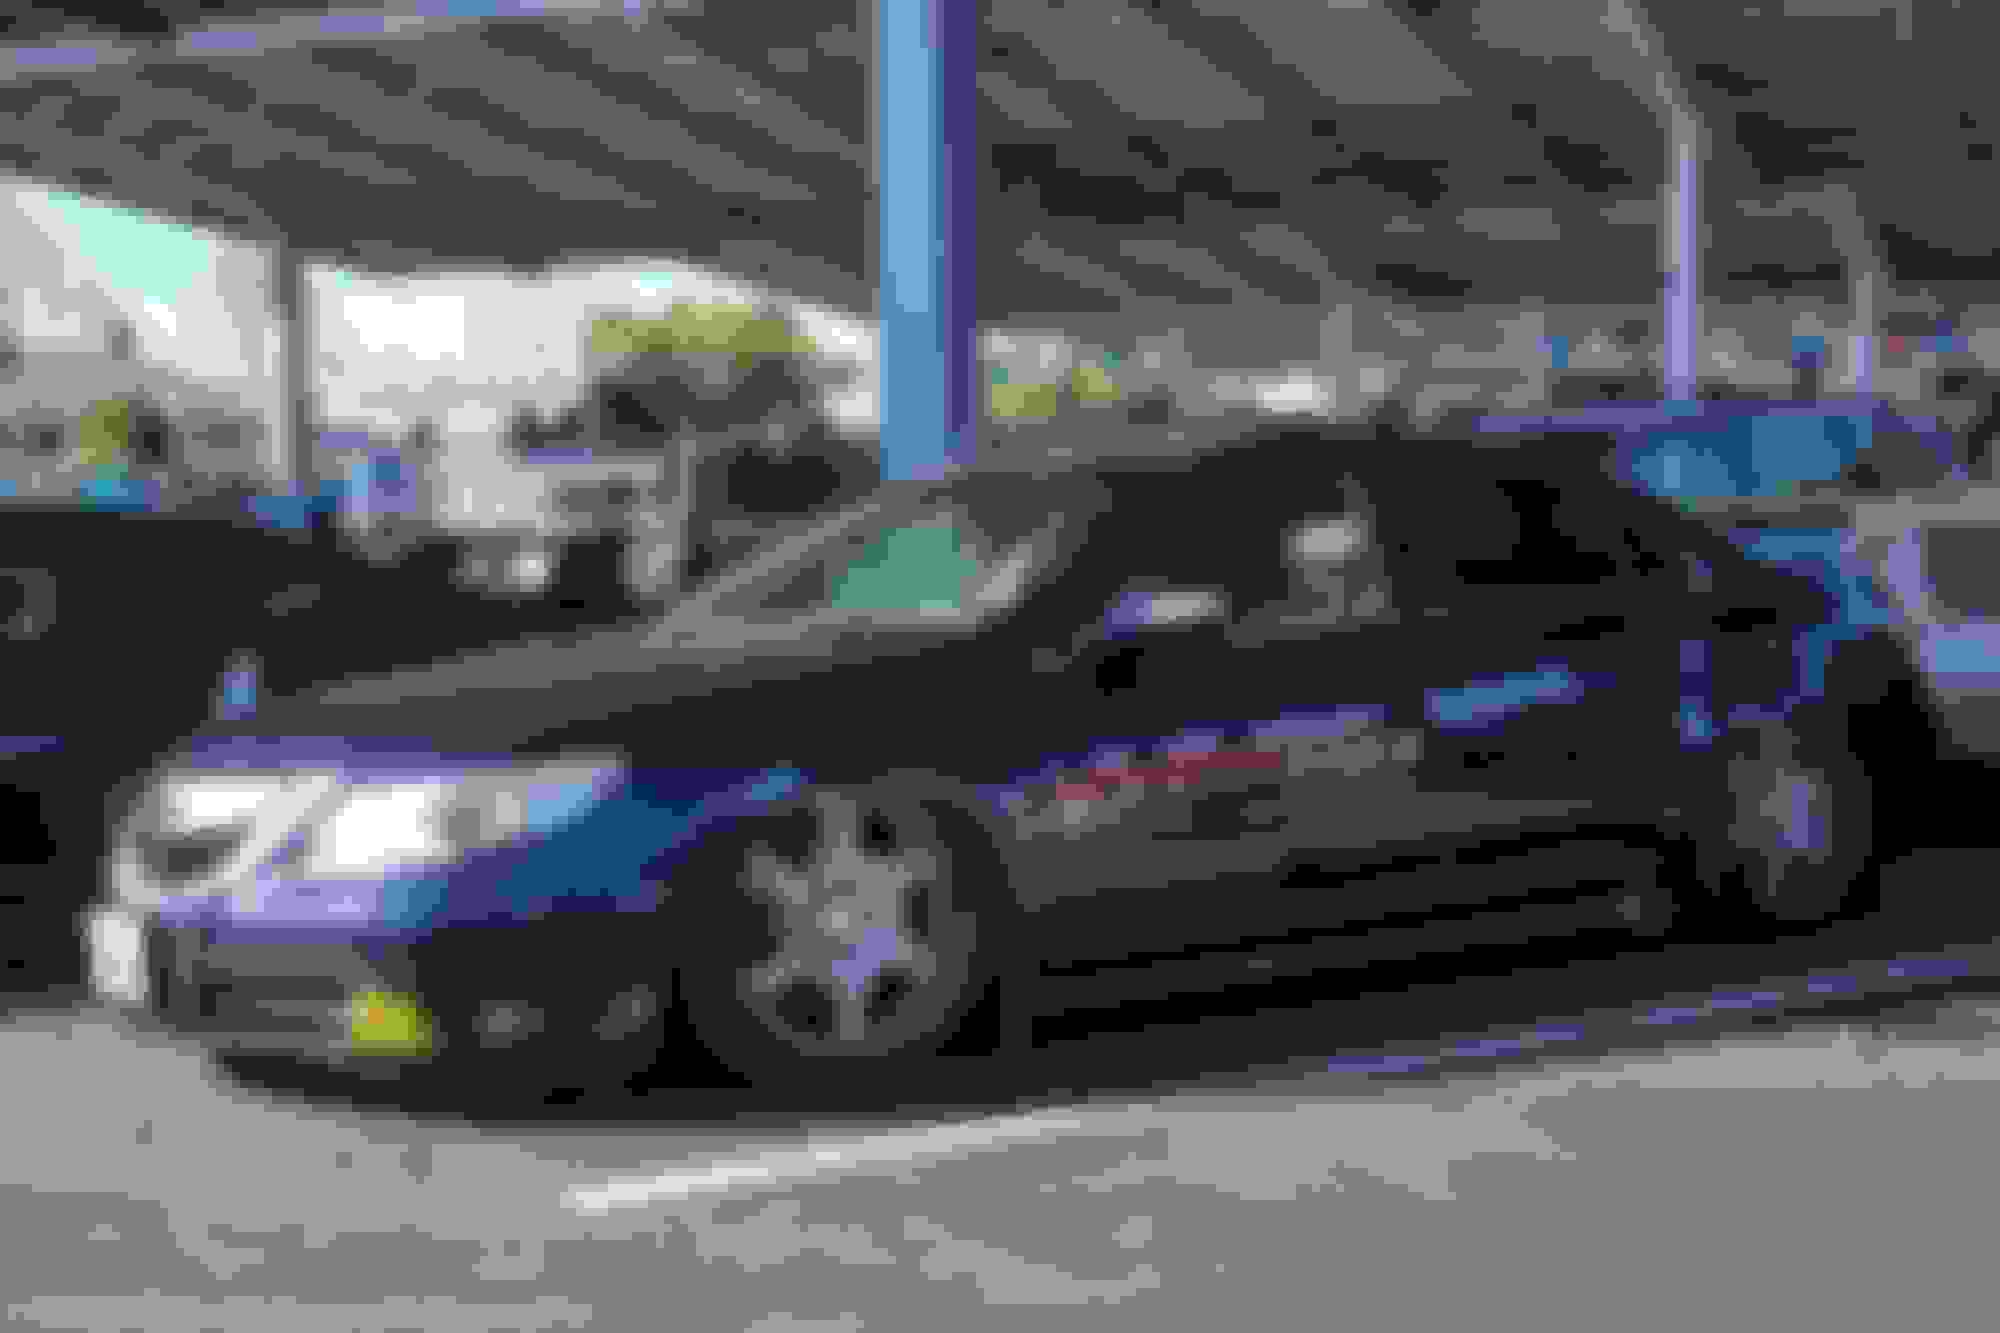
Heres the trim still on. The grey and black is the trim cover
Back side of that trim
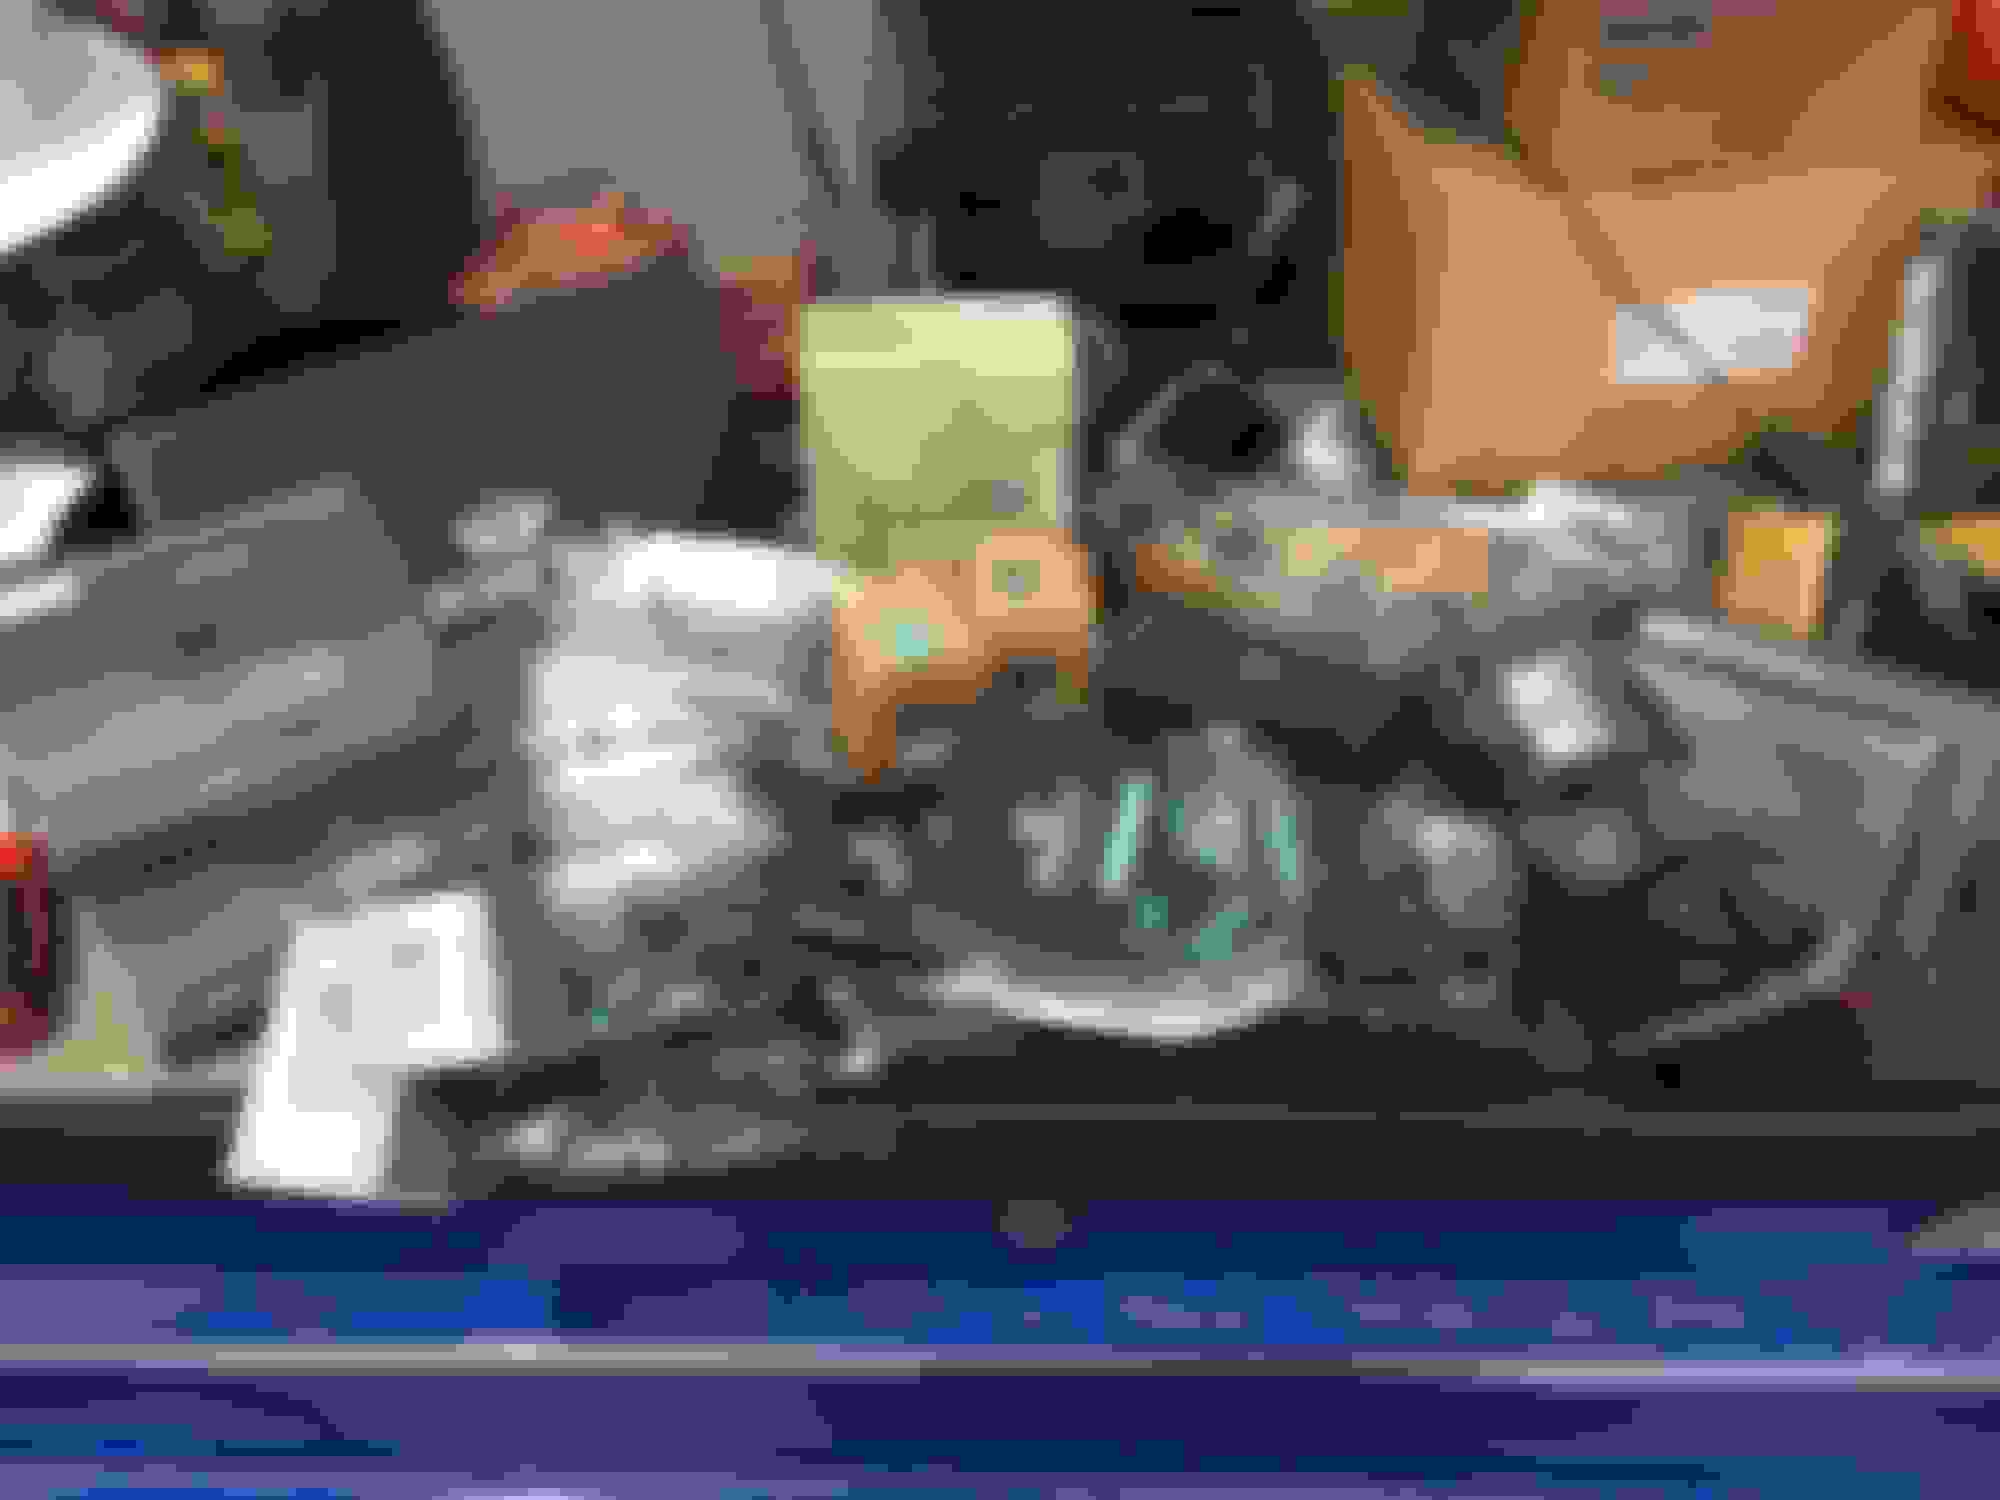
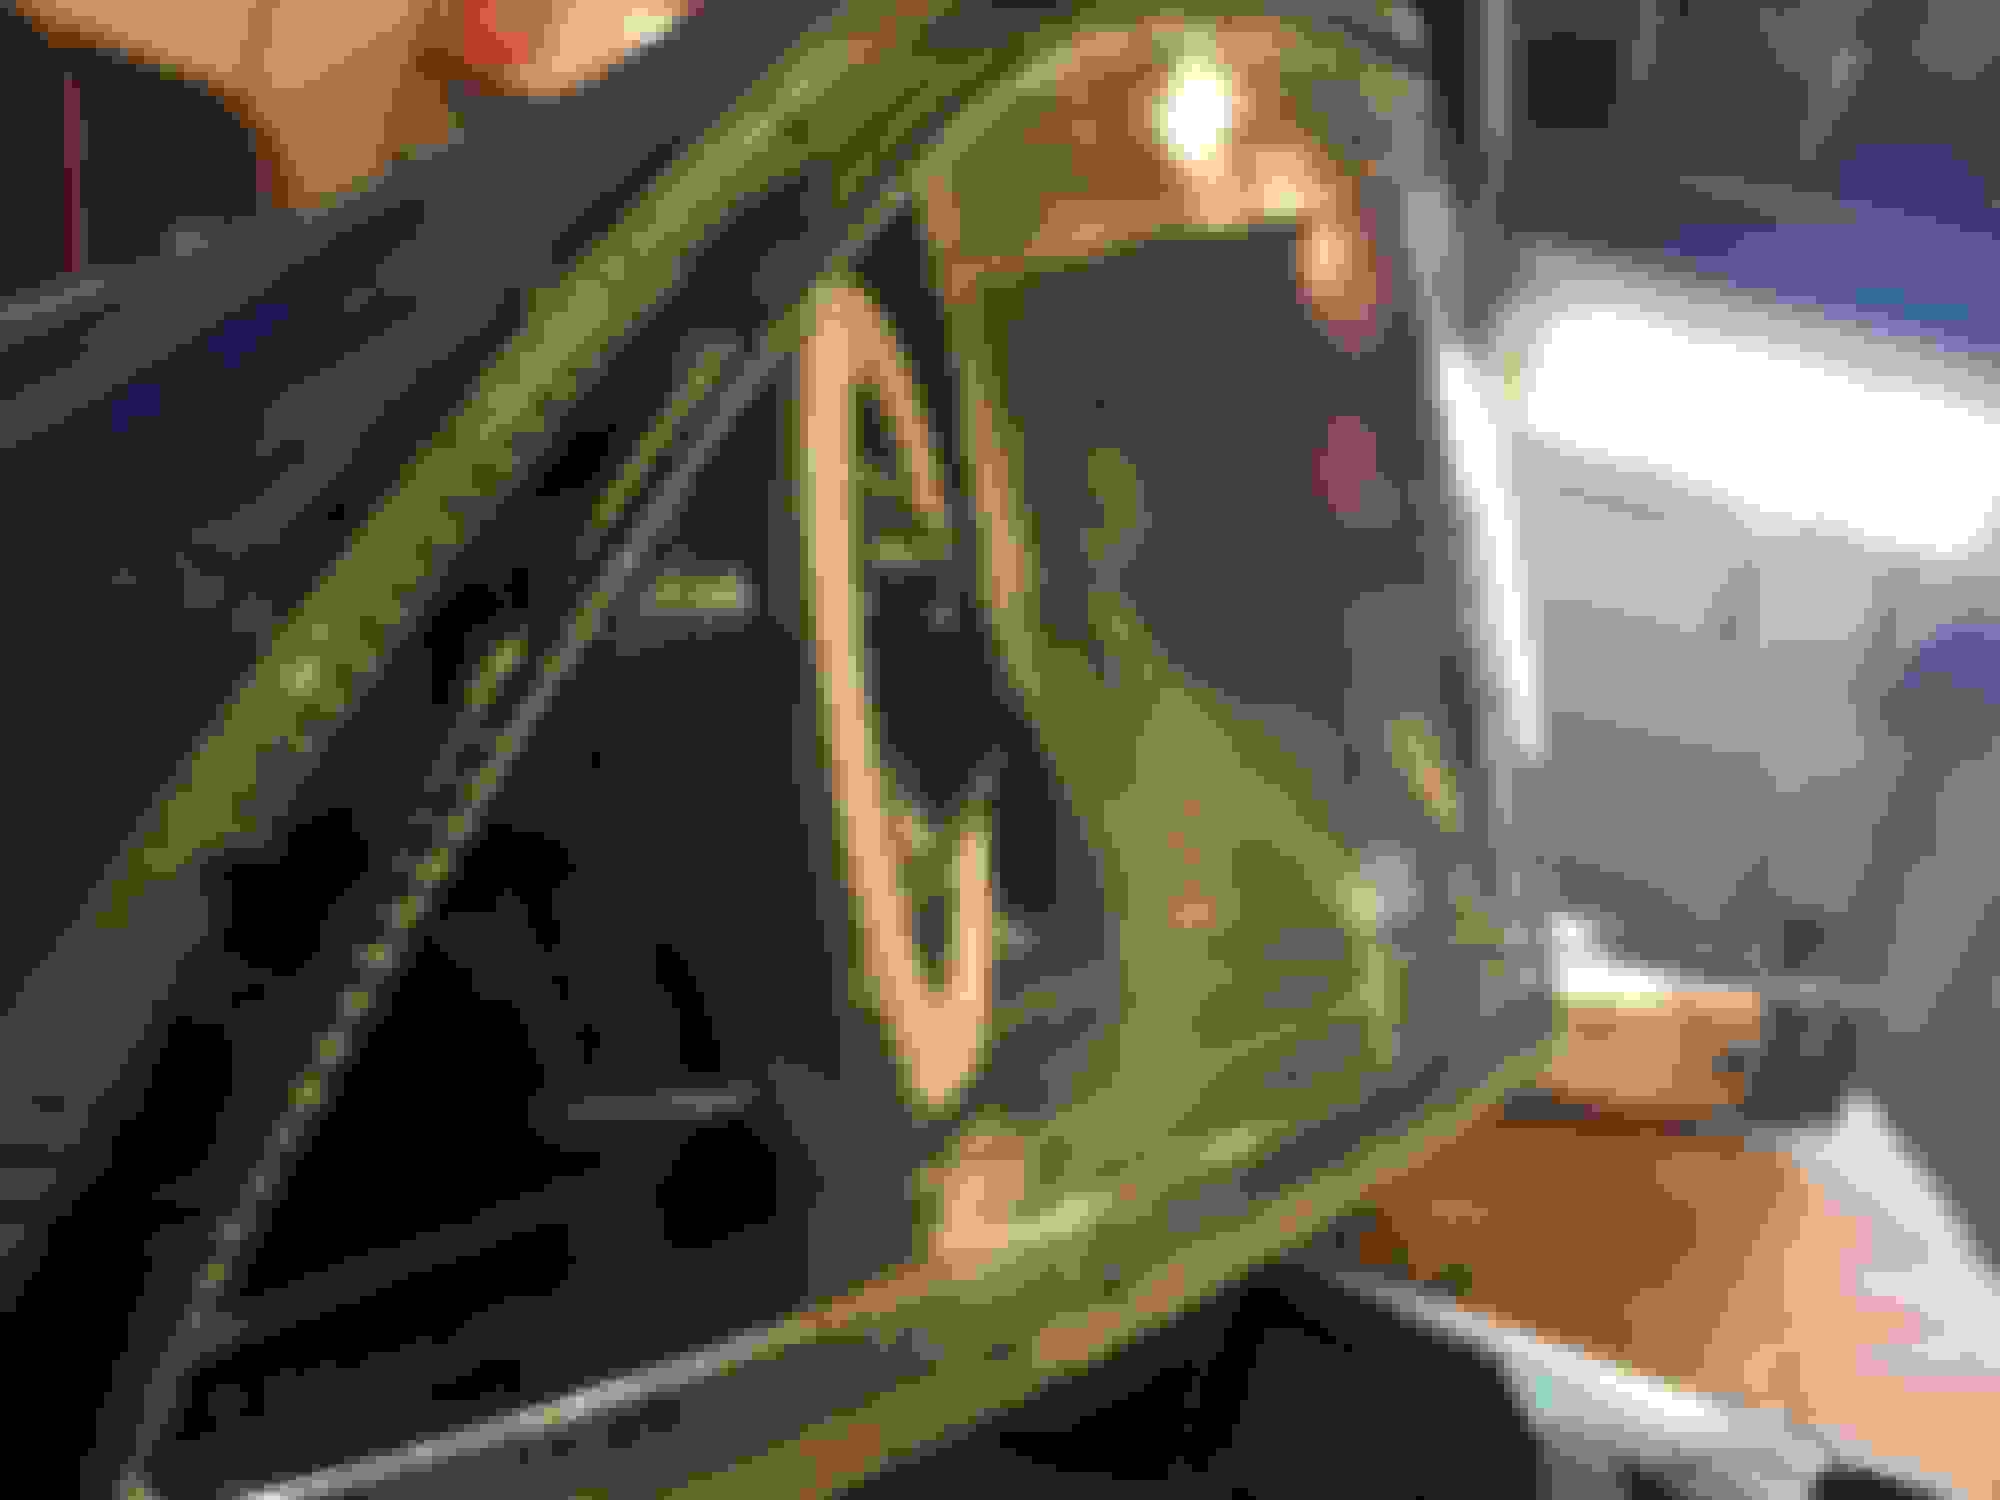
I took the trim off to see how it would work and if it bought me enough space for a mini h1. It did and it looks aight.
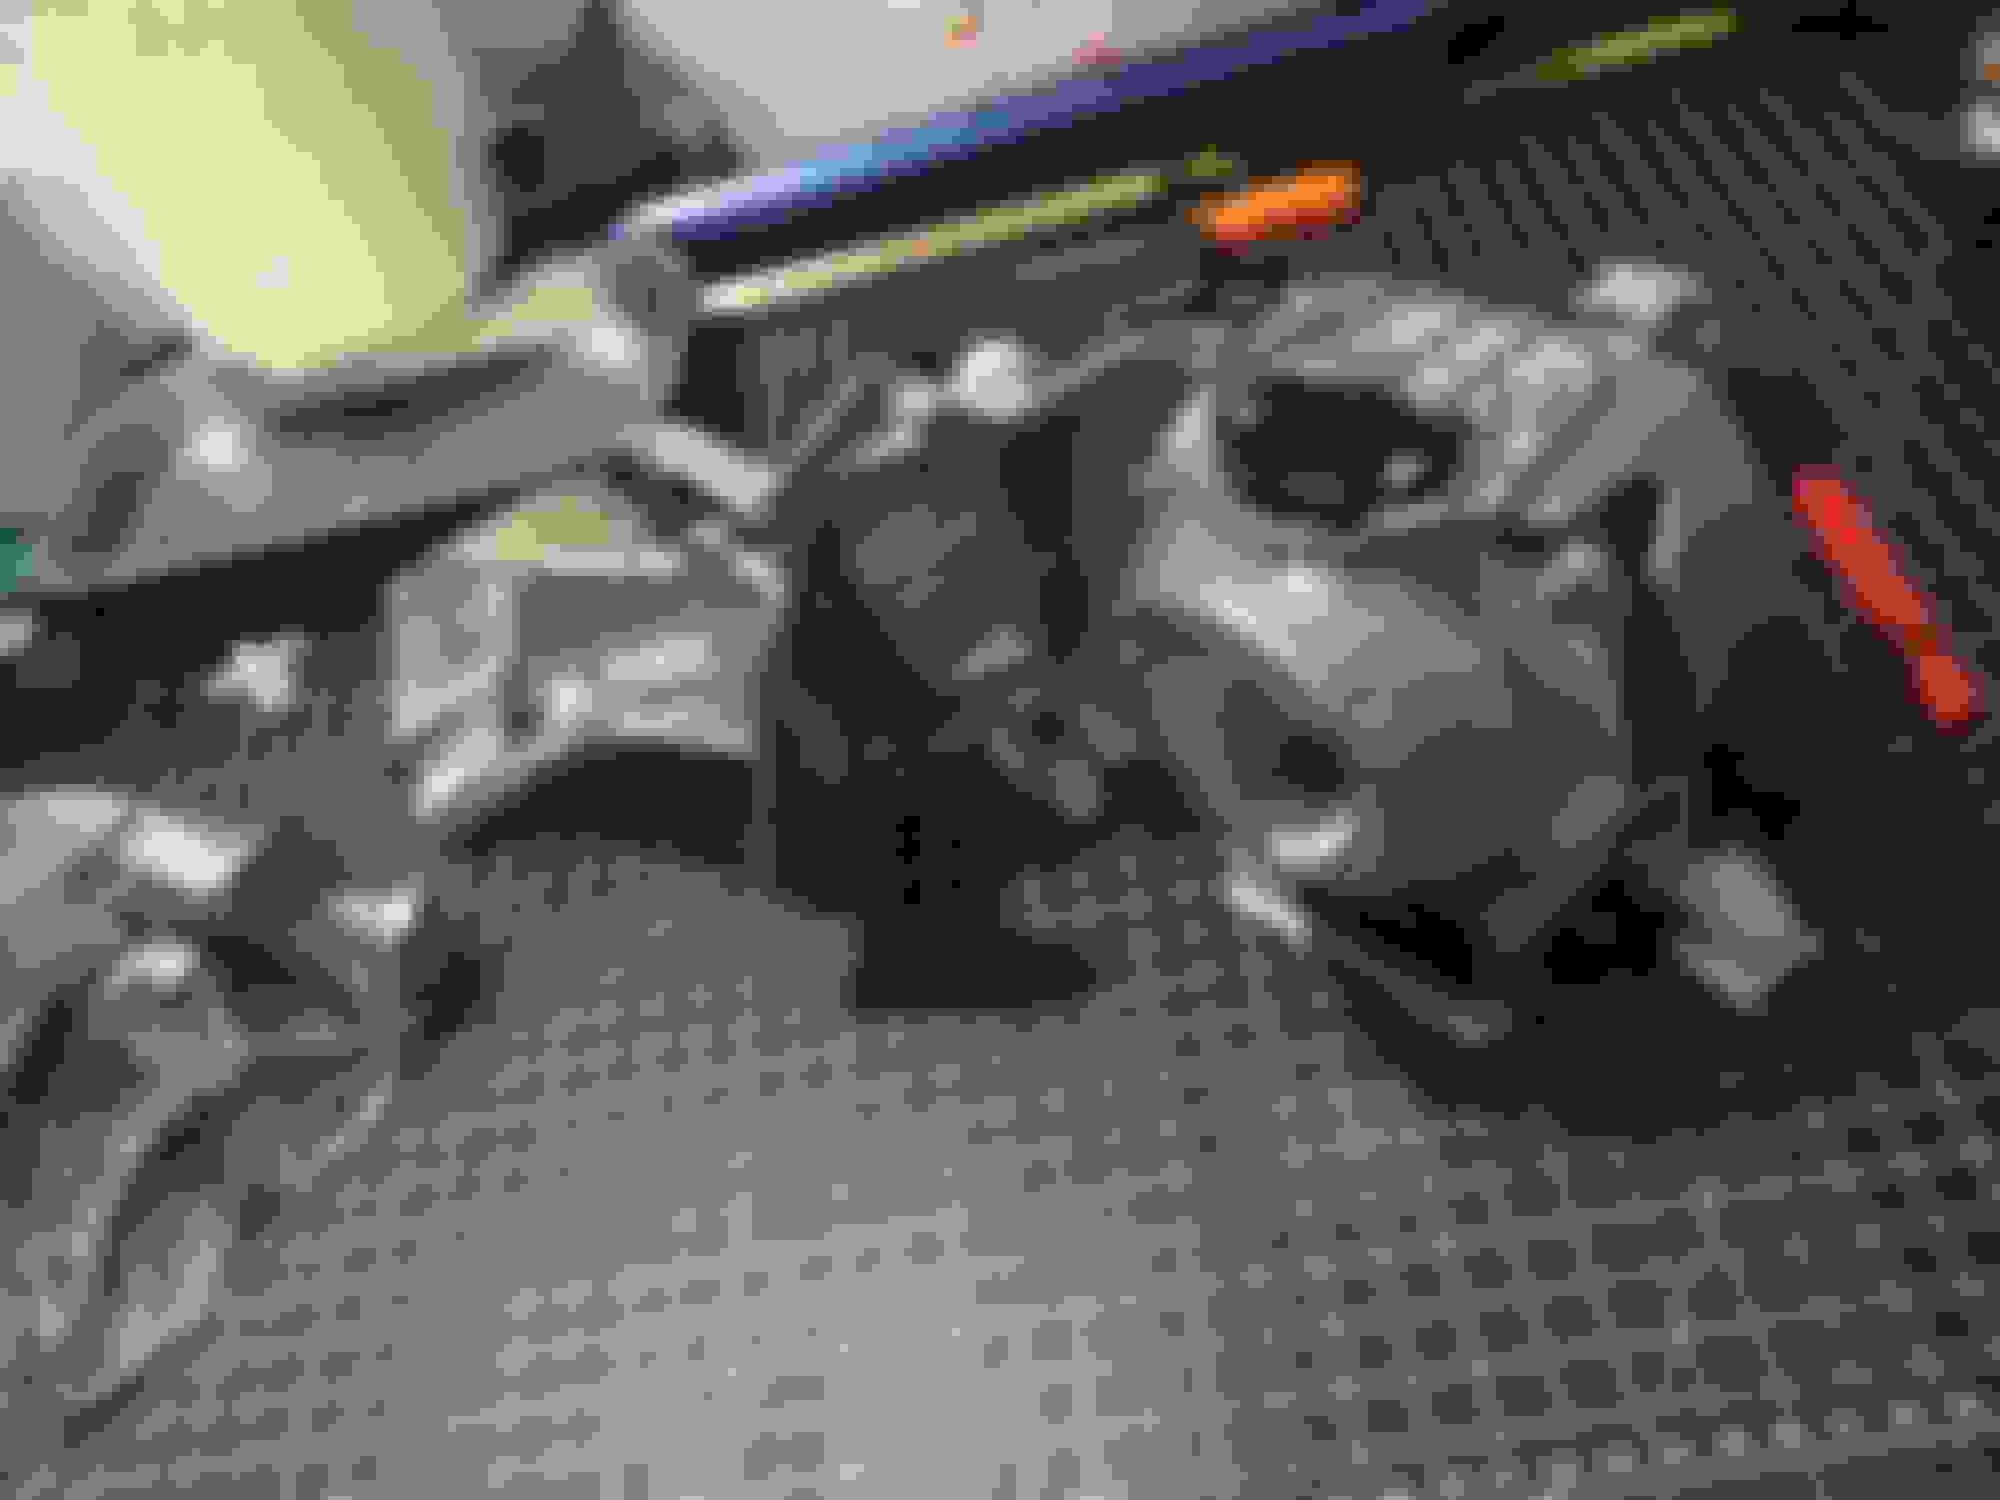
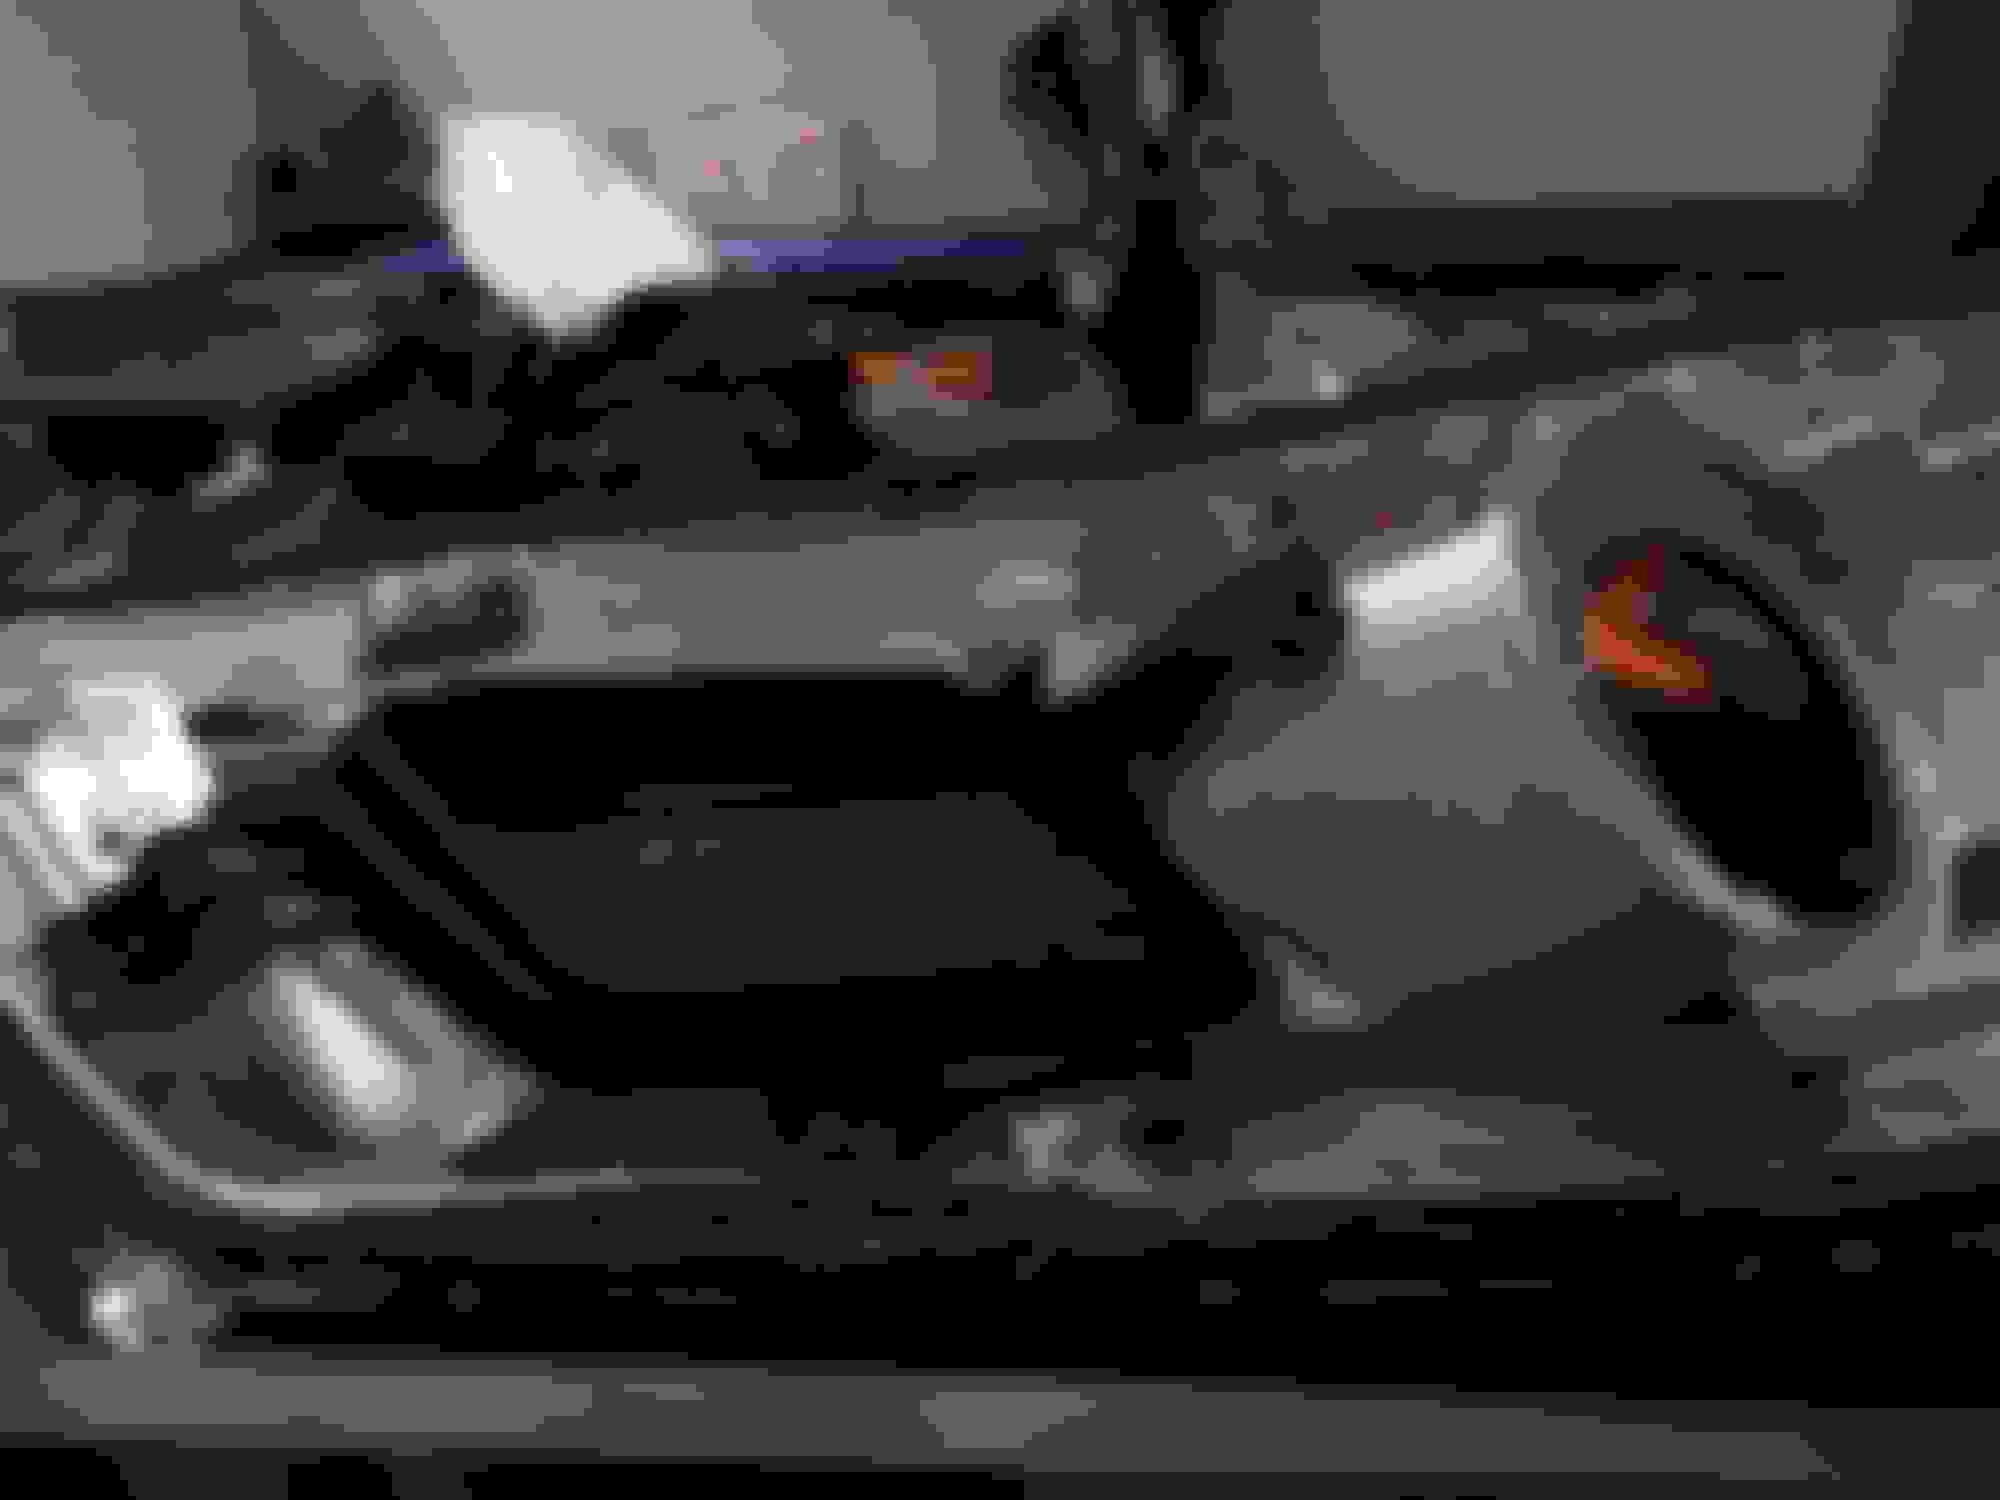
the problem now is the afs. It moves the entire sub bracket up and down. The high beam has a cutout to allow the movement.
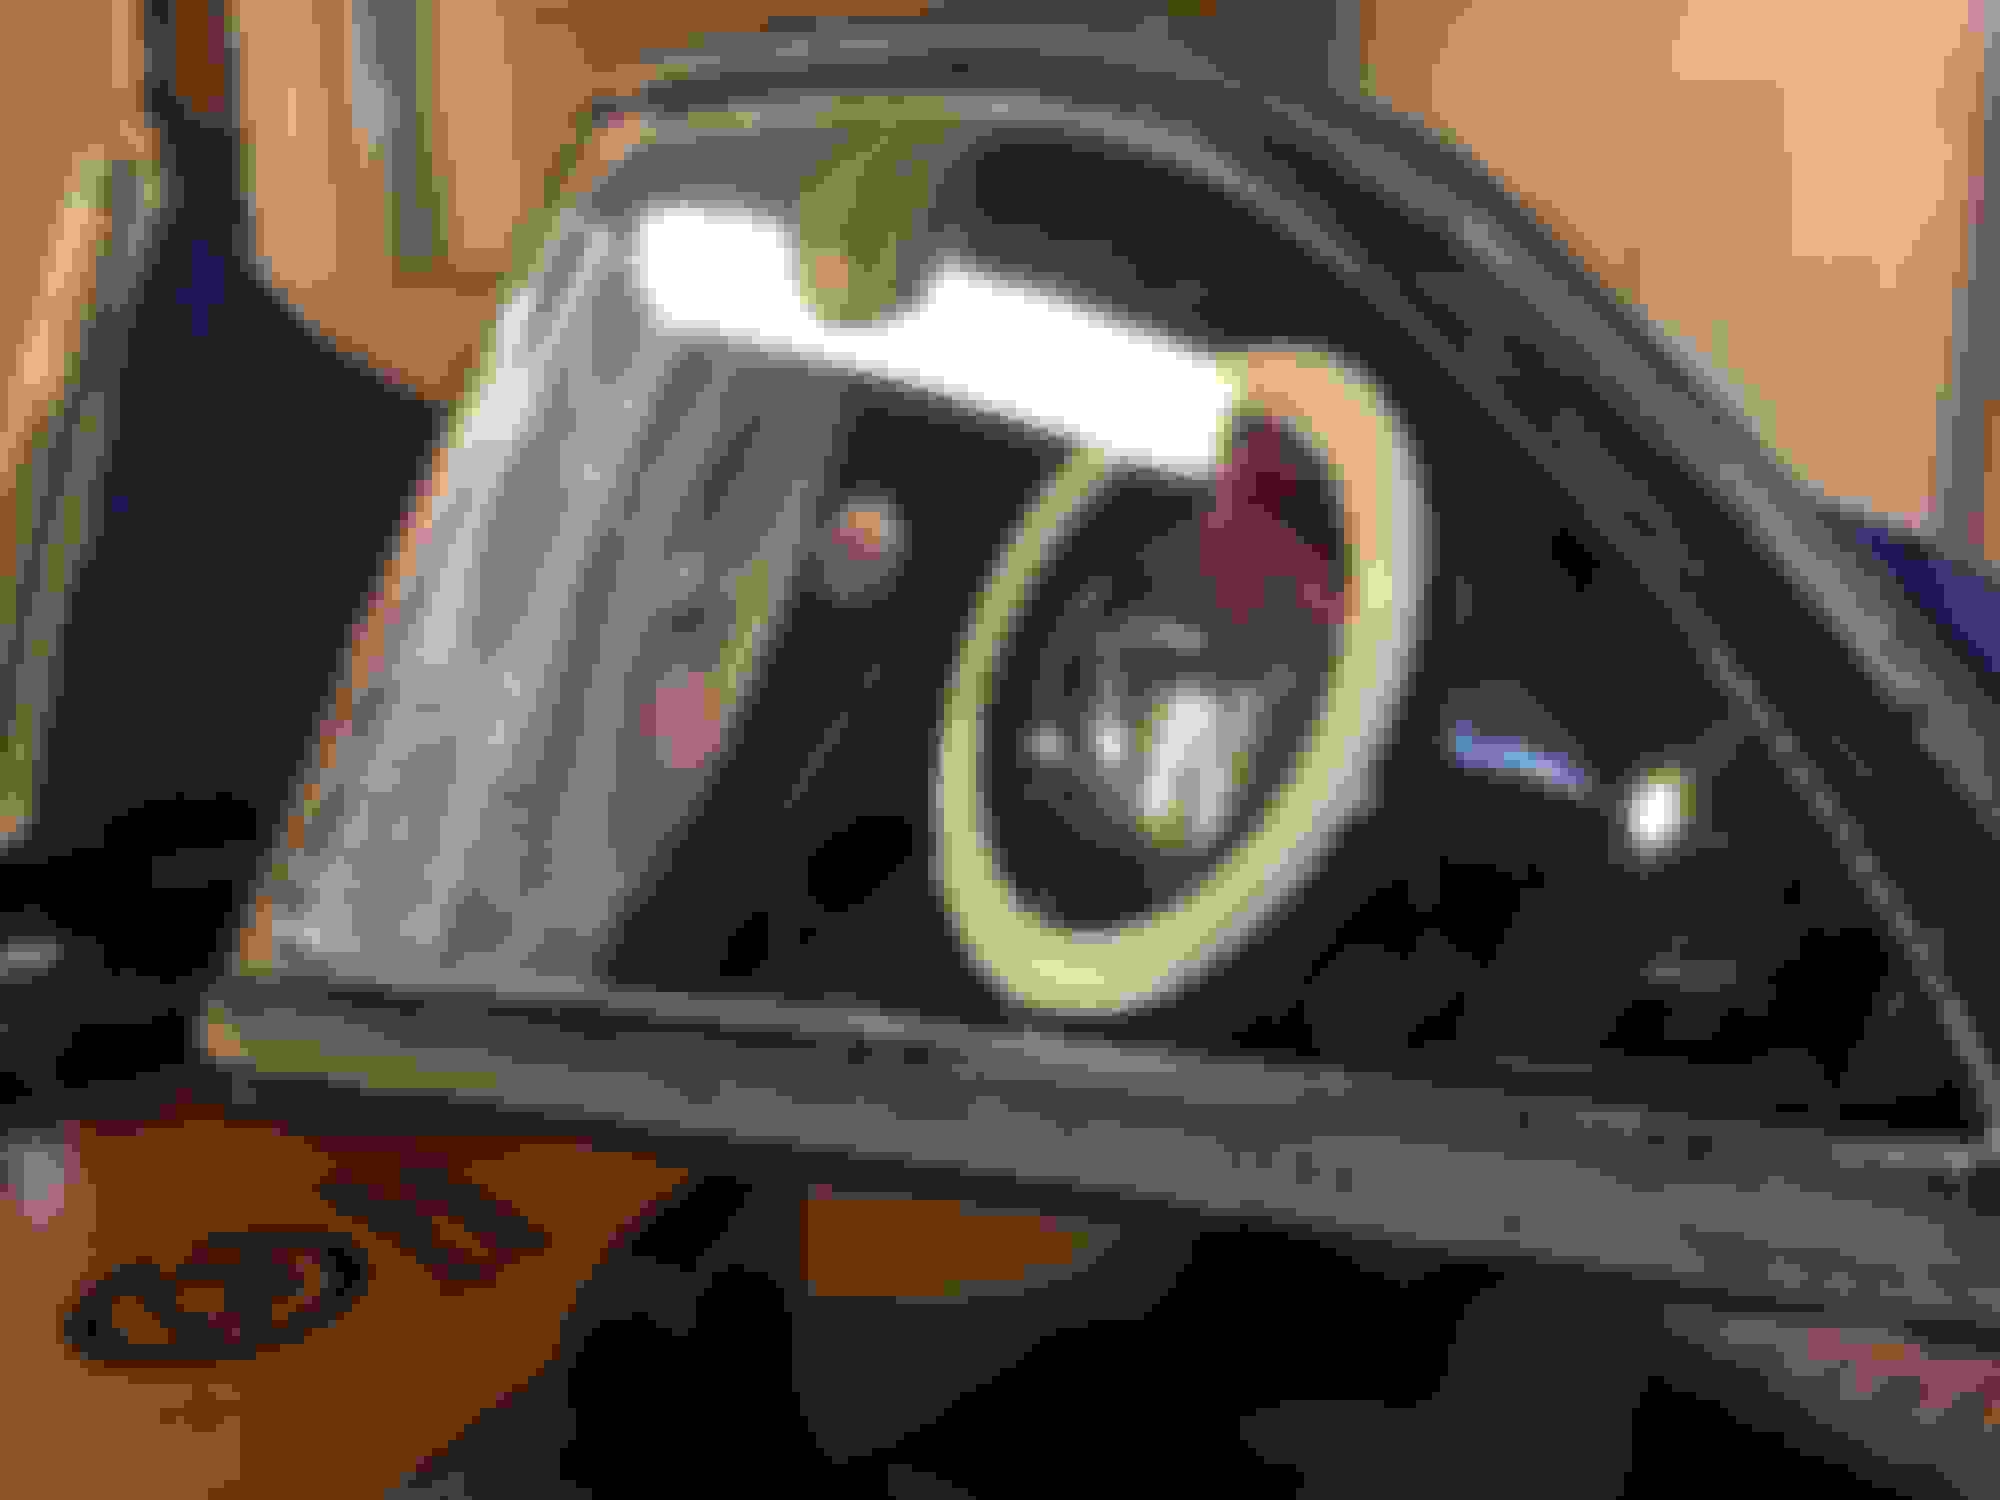
Good surprise tho. Tol the amber off and found that there�s still clear plastic behind it. Gotta figure out how to do that side.
The matchbox projectors are crazy small. Great for the fog lights for sure. They would also fit in the big beam bowl but I�m still leaning towards the bigger h1 7.0.
With that said. Co-worker has a h1 7.0 bowl laying around. It has a stripped out thread shaft so I went and asked if I could have it. I tried it on the high beam bowl. It looks like it would fit without too much trouble but with the lens and a shroud up front it could still be tight.
So the plan was to have active demon eyes on every projector on the car including the fog lights but there�s no was I can fit the profile demon eyes in there and still be able to have room inside the fog light housing.
The plan then is to have passive demon demon eyes on the fogs unless someone knows how to install one without the leds de-soldering with the heat.
Anyway. As far as the oem Rl projector with the demon eyes, the bracket that came with them actually fits with a little modification. This is the only place it can be in, I think. The board is outside, the bracket needs to be bent in and the housing needs to be cut to get the reflector pointing at the lens. It�s also in from of the shield, or at least from my eye calculations.
. Cut the cover and modded the reflector a bit to get it all in there. The light bleed is annoying. I think I�ll paint match the front half of the plastic cover.
The major planning for the low beams now done. Still haven�t decided if I�m going h1 7.0 on the high beam. I could fit it but then I have to modify the reflector under it also to fit.
Today i I took my fog light assemblies off to get started on them. Was happy that the housing is big enough for the matchbox. Even a Morimoto h1 would fit inside.
aligned the cutoff
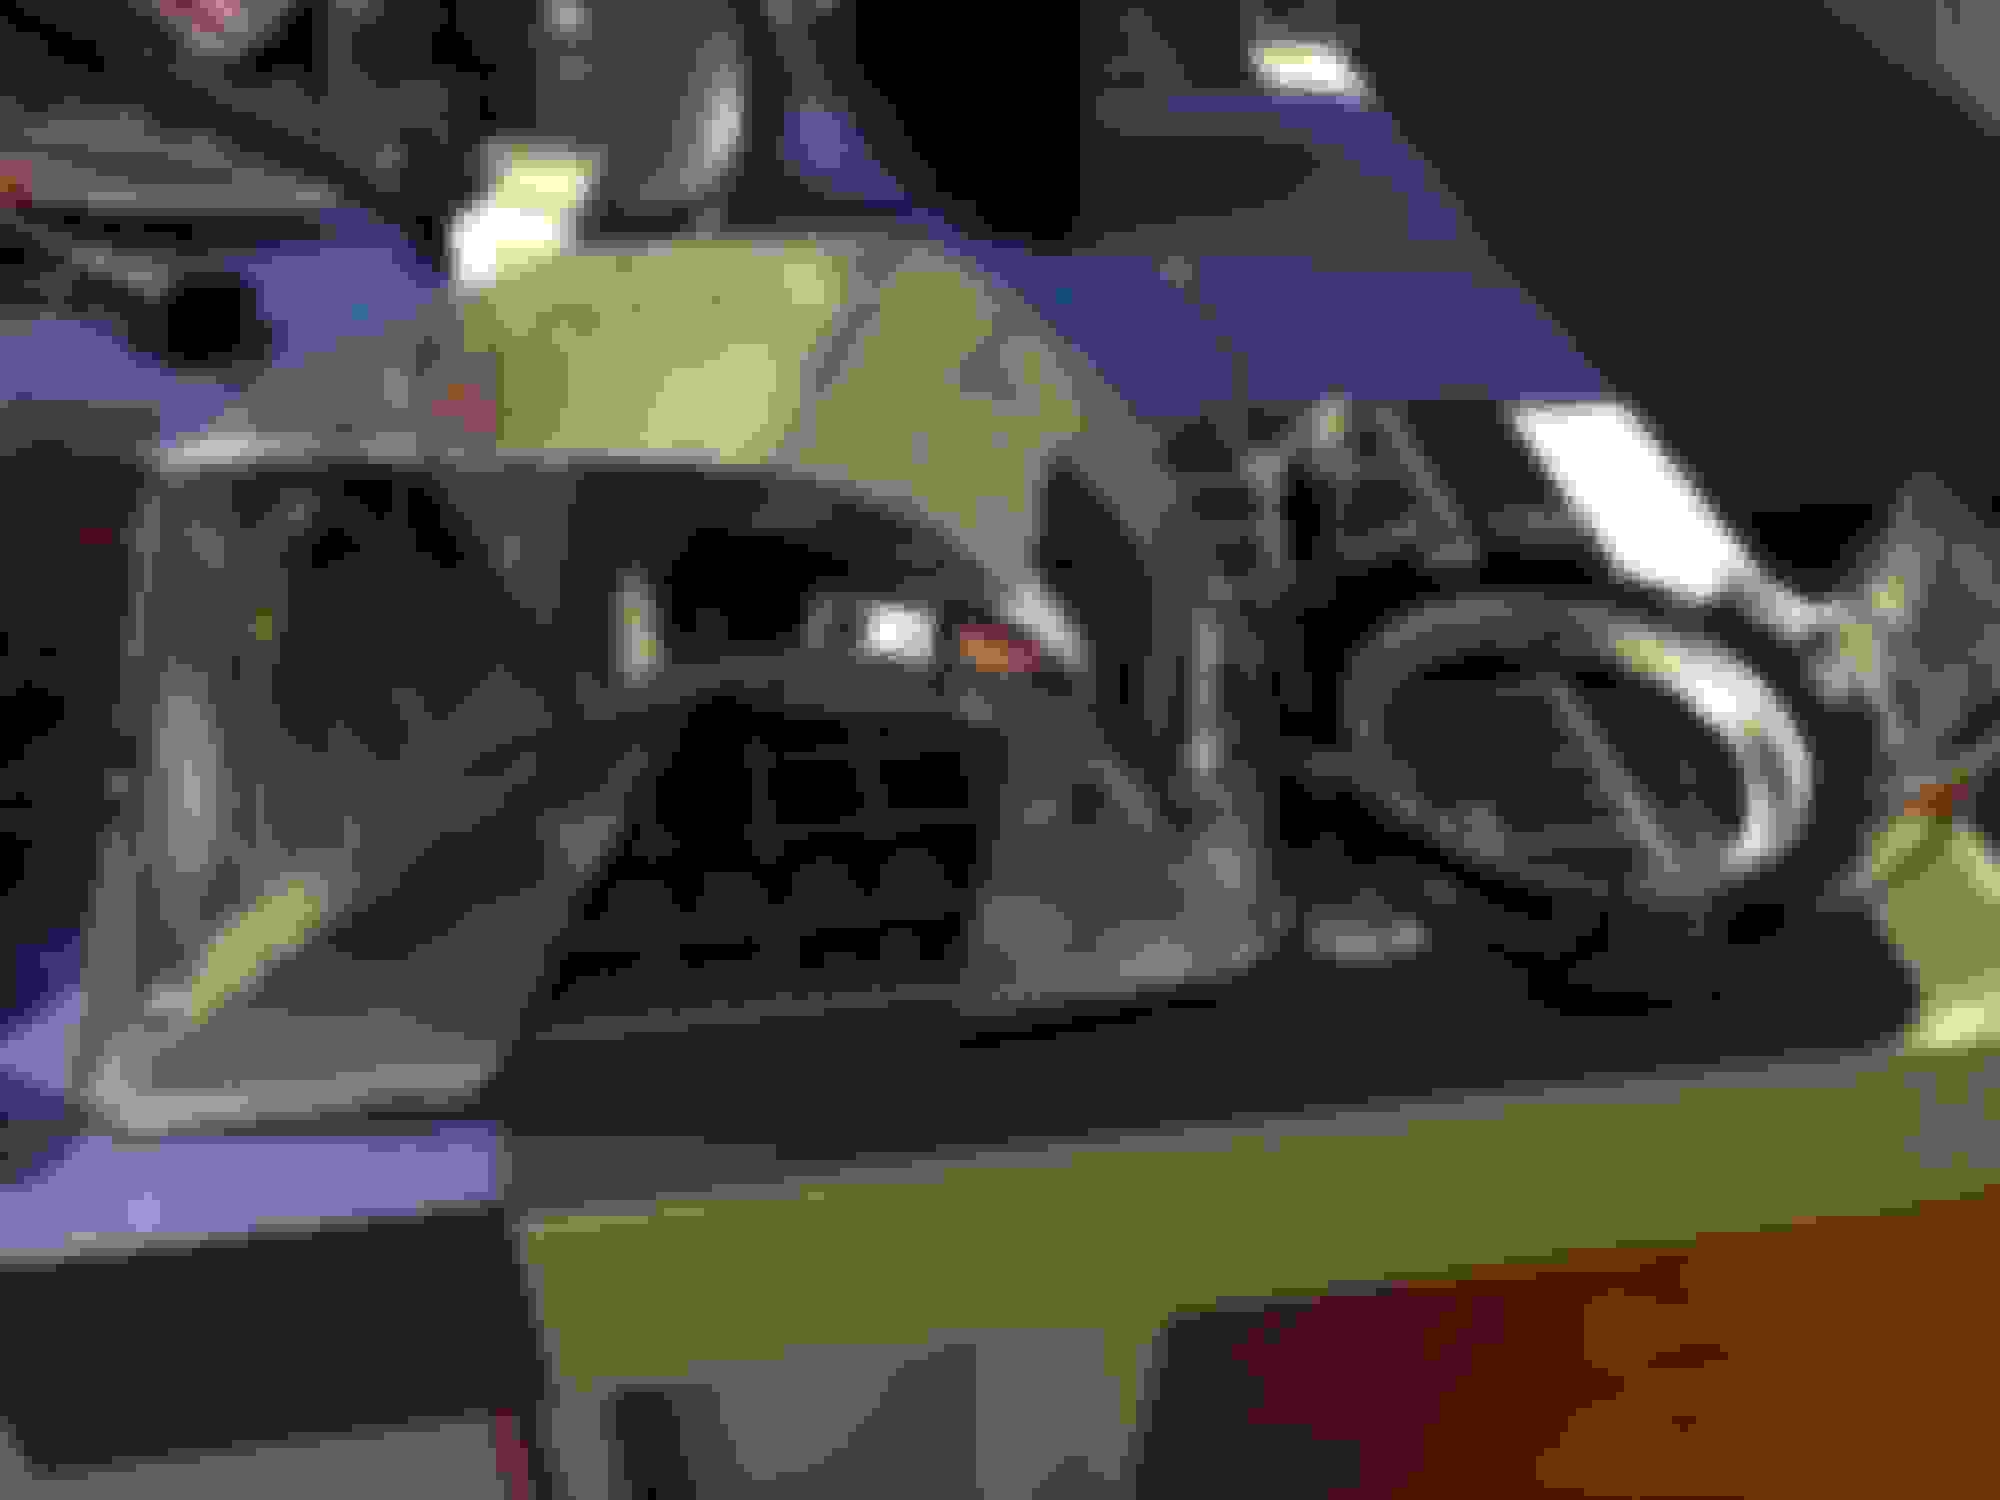
Incase anyone�s wondering. The inner bowl is held on by the adjuster screw and 2 ball and socket that just pops off.
now the problems. The matchbox is too big for the inner bowl let alone the micro gattling shroud. I�d have to cut a god chunk off to get it all to play nice nice. The crappy thing is I don�t have my service truck with me since it went in for warranty work. Can�t really do much at home.
since I�m cutting into the bowl, the plan now is to paint the bowl. Maybe paint match or just some matte black. I don�t know what to do with the lens yet either. They�re pretty bad.
Someone took my marks out of the wall so I had to make it so I have rotational adjustment. Made brackets. Looks like shit I know. The final ones are much better.
Cut up the shrouds to fit also. Finally got it all in. Even did the other side, took only half a day instead of one week. Just waiting to paint everything and put it all back together
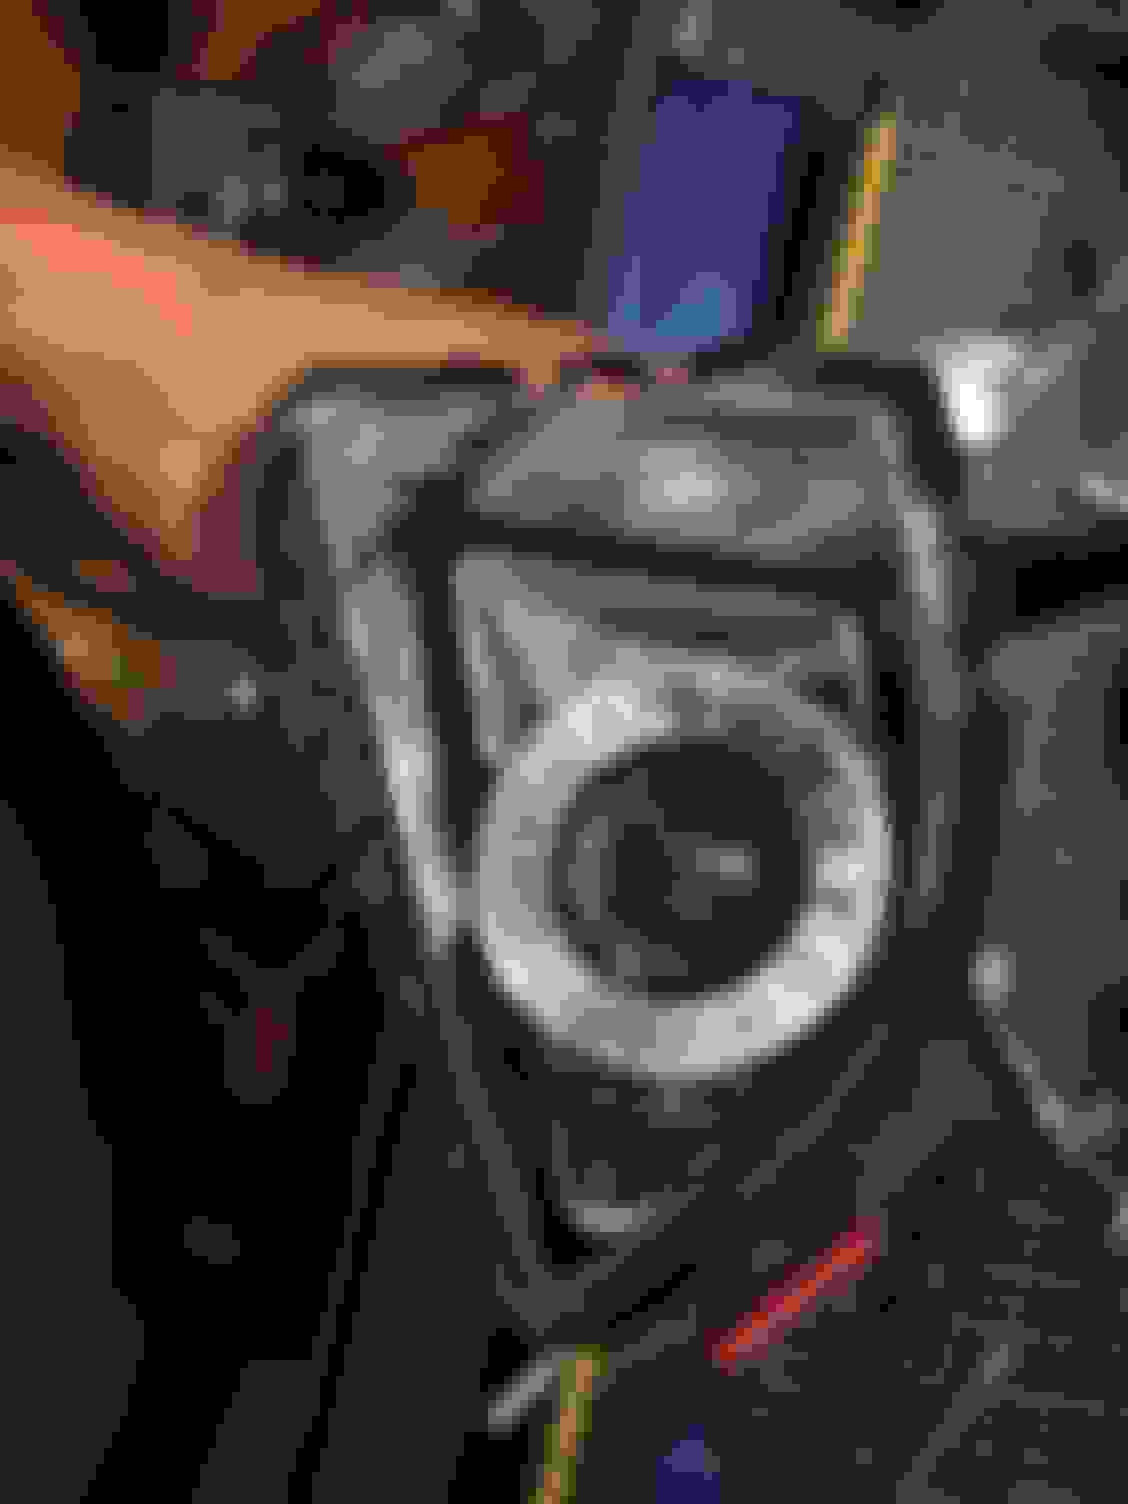
I bought one one half circle to see if it fits and how it would look on the headlights. I�m happy how it came out. Don�t mind the lens. I still need to restore that.
Finally took the time and painted the bowls and shroud. Scuff, cleaned, primer / promoter, base and clear. Hope it doesn�t gas out.
Also got the halos situated. Had everything on the car and aligned. Everything is locked down. Just need to add more butyl and clean the lens and the foglights will be done. I get to really start the headlights next.
lens was pretty bad being unattended for so long and being low on the ground dint help either.
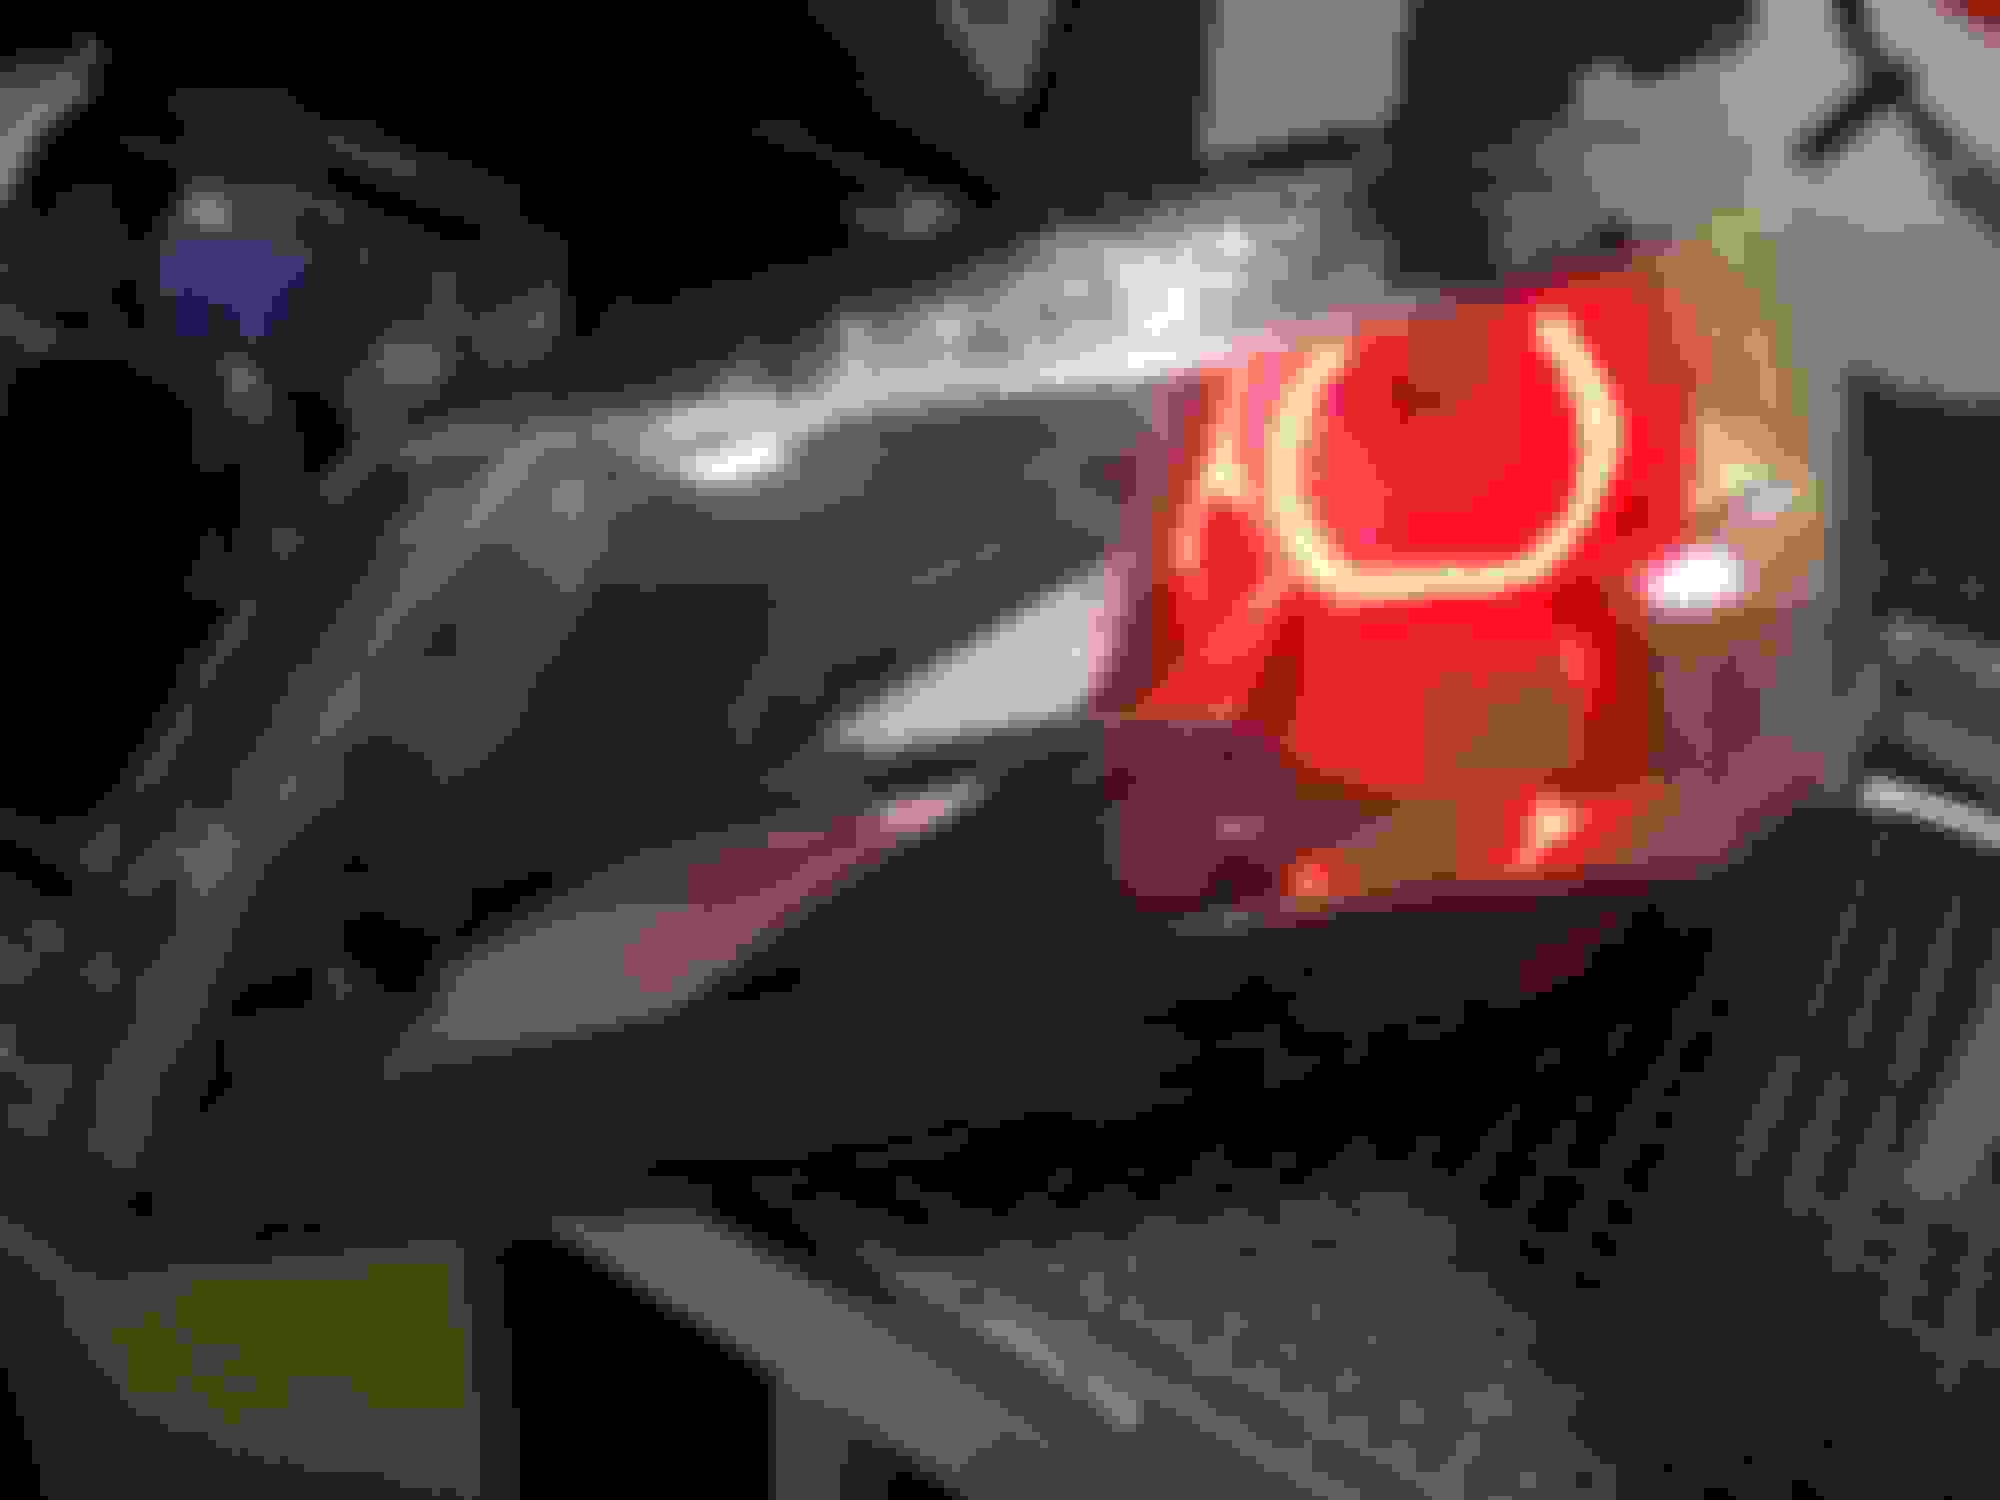
after considering all the suggestions from HJ and hidp i went with 400-800-1000 then clear with 2k uscspraymax. luckily didnt get any orange peel. slapped on the yellow lamin-x for protection and wired them up.
they were acting crazy. halo would shut off when the switchhback on the other side was on. took care of it today tho.
now on to the headlights foreal.
i ordered a mini h1 7.0 stage 3 kit then i realized that i could maybe use a mini d2s 4.0 if i dont use the reflector so i went ahead and ordered that too. i have a template for both and it looks like the d2s is super big and id need to remove a part of the sub bracket for the headlight. i guess well see what the best option is when those come in.
i also sent out the semi circle halos to have diffusers made. still waiting on that to get done.
im thinking to cancel the drl and force it another way. im looking into exleds switchback strips for where the turn signal is and use that and where the park light is for drl. switchback sequential for turn with drl (%100 power) and park light (%50 power) using a ghozt controller. i really need to pick someones brain for all of this tho. maybe any of you guys?
I also went with a head kit for the old compressor to rebuild it as a backup. Had to give mine out to a team member when his cracked
Slowed the progress on the lights. Just need to align and lock down the md2s and should be moving on to the drl/turn signals.
In other news. I finally got the dual compressors. Went with 444c in stealth black. Might end up putting on the seamless tank with it too. Just need to make a harness for the second compressor and score some isolators for both pumps.

 11-06-2017, 08:11 AM