When you click on links to various merchants on this site and make a purchase, this can result in this site earning a commission. Affiliate programs and affiliations include, but are not limited to, the eBay Partner Network.
DISCLAIMER: This DIY does not exactly show you how to do the swap, but rather that it can be achieved with minimal modification. I'm also posting this DIY because I searched really hard to find someone else who had done it and had no luck. It can be done.
Hey all!
So a while back I picked up a set of Brembo Calipers off of the 3rd Generation TL that were powdercoated red from a local guy in Tampa Bay, FL. When I bought them, the guy included the front Brembo calipers, rear OEM calipers, a full set of EBC slotted rotors (for front and rear), and a full set of EBC Red Stuff pads. The calipers were in pretty mint condition with no issues at the seals and everything else was brand new in box. I paid $350 for everything.
All of the stuff included did fit the CL except for the rotors. So I sold off the rotors for $200 and in the end, I only ended up paying roughly $150 for both sets of calipers and pads (let it be noted that the rear calipers are the same as ours so I didn't bother swapping them.)
Now enough with the back story and onto the DIY.
What's needed:
- 3rd Gen TL Brembo pads (I read that the same pads can be found on WRX's, GT500's, Evolution's, etc.) I used EBC Red Stuff. $50-$100
- 3rd Gen TL Brembo Calipers. Really depends on where you look. I got mine for basically nothing but I've seen them go for $500+
- 2000-2009 S2000 Front Rotors. Got a new set for like $16 on eBay as testers.
- 19" (end to end) Hydraulic Brake line with one end being a 10mm inverted female flare and the other being a 10mm inverted male end (IIRC) tubing for OEM is 1/8th internal size. Having these custom built at Goodyear Rubber was $50. I ran rubber lines because they're rated at 3000 PSI which is more than enough.
- 32 fl oz. bottle of Prestone DOT 3 Brake Fluid (any brand will do but this is what I used) $6
- Brake Caliper Hardware (order from any online auto parts store, I chose Advance Auto Parts) $31.99
- 14x1.5 2" (or so) high grade bolts. I went to local hardware store (no, not Ace) and got 10.9 Grade Hardened Steel bolts. $5.26
Step One: Remove old caliper and old brake lines as well as the rotor. The S2000 rotor will give the caliper just enough clearance to fit and perform effectively. If you are incredibly particular, you might find that the clearance between each side of the caliper is off 25 thousandths which is minimal but I found no issues and even tried buying washers to put behind the rotor. I just found it unnecessary.
Step Two: Cut brake dust shield just enough to fit the caliper. Any extra cutting will not affect anything, it's just not needed.
Step Three: Use a large drill bit the size of your new caliper bolts to drill out the caliper knuckle. Make sure to apply plenty of WD-40 or LPS-1 when drilling to prevent surging.
Step Four: Install the new rotors. I went with blank discs as I found them noticeably cheaper, but that was only because I wasn't 100% positive they would be the correct full diameter. I plan to go drilled and slotted within the coming weeks. Use the two rotor screws to hold up the rotor while you install the caliper.
Step Five: Install your new calipers and pads. Make sure to use brake quiet lubricant on the back of the pads. The hardware is pretty self explanatory but if you need help, there's plenty of DIYs that show how to change brake pads over in the 3rd Gen TL forums.
Step Six: Install brake lines. If you do not get a line with rotating fittings, be sure to install the line on the car and then install the line on the caliper whilst spinning the caliper to prevent the line from twisting.
Step Seven: Begin bleeding the calipers. There are a multitude of DIYs on this as well that is too much to explain here. Make sure that you bleed both fittings on each side of the caliper. Also, make sure the bleeders are facing up when you install the calipers. This will help air escape the calipers when bleeding. Make sure you bleed the brakes until the fluid is clean whilst also adding more fluid as you pump the pedal. This is a two person job.
Step Eight: Be sure that everything is tight and torqued properly. Make sure the fittings are tight, as well as the brake lines and pads. Put on wheels and torque to spec.
Step Nine: Stop on a dime.
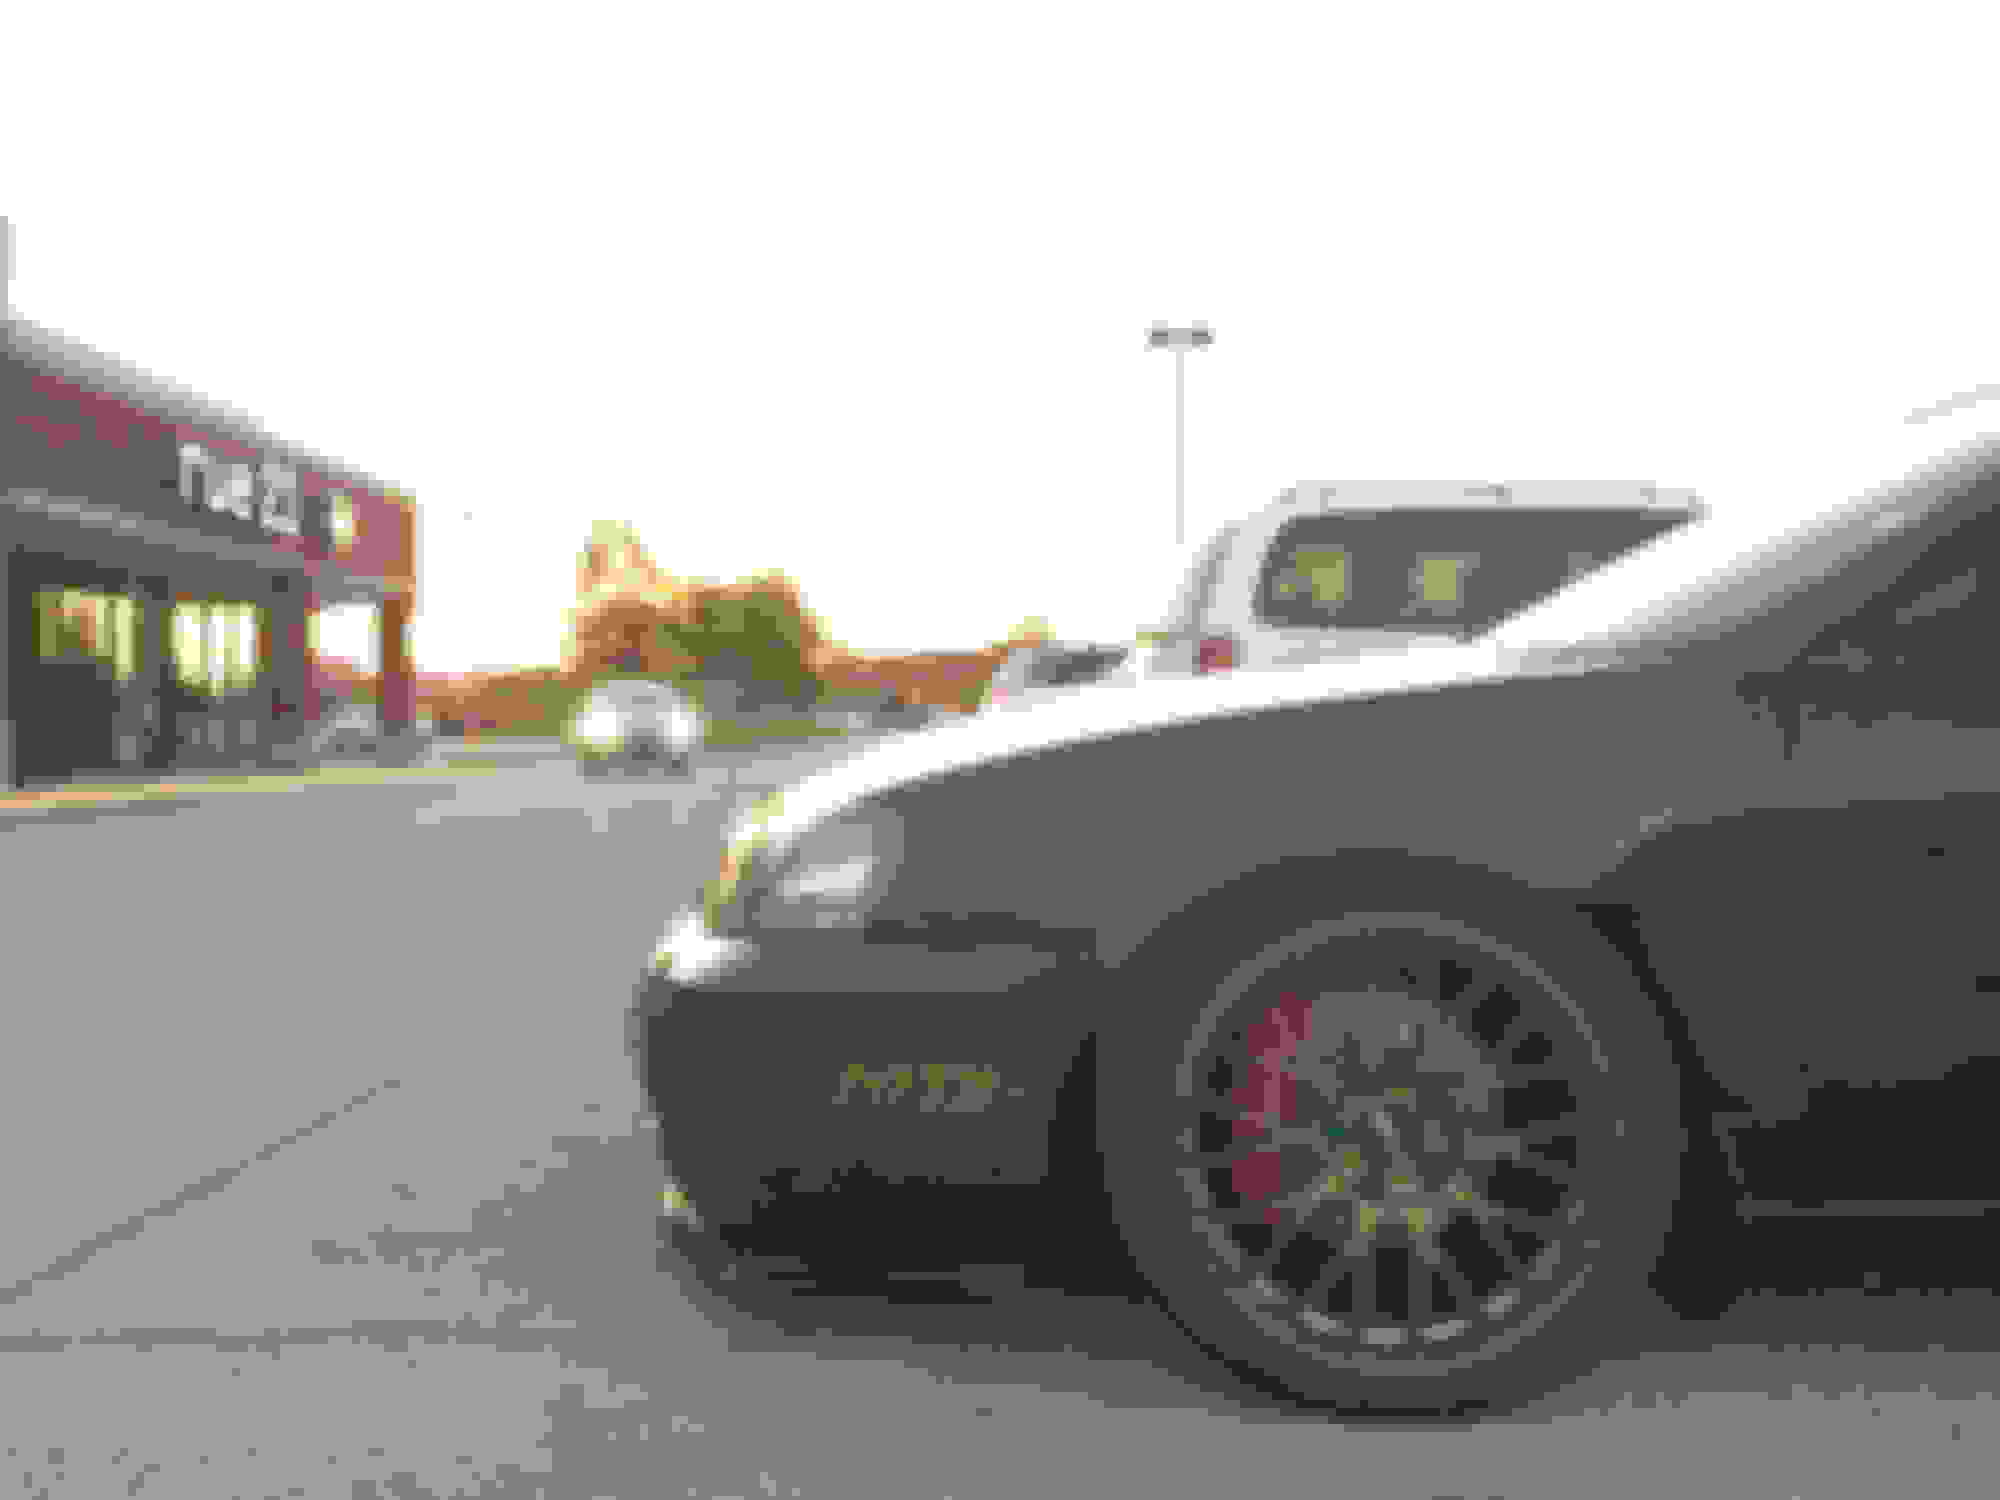
In short, the calipers are a day and night difference. I had worries that the brake master cylinder could not handle the humongous four piston calipers, but it handles them just fine with a stock feel of pressure on the brake pedal. The difference is absolutely extraordinary. I would recommend the conversion to anyone that can find a good deal on the calipers. I was also recommended to use the RL or Legend calipers but for the price I paid and the look and feel, I wouldn't have done it any other way. I'm simply too happy with the results.
In the end, I paid less than $500 for bigger brakes. Some might have their biases but I absolutely love them.
I'll upload some more pictures shortly, but here's this for now:
Mine is being done with TL knuckles. IT created a few obstacles with the lower ball joint and out tie rod ends, but once those issues are worked around, it;s simply a matter of buying TL parts.
'04-'06 TL Sport or '07-'08 TL-S knuckles
"" "" rotors (12.2" over the 11.68" S2000 rotor)
"" "" Brembo calipers
"" "" caliper hard lines
"" "" pads
"" "" front lower ball joints (because you shouldn't use old ball joints, geniouses)
'02-'06 MDX out tie rod ends
The downside is that this is more expensive as you have to source the knuckles, too.
Front lower control arm needs to be reamed for the lower ball joints and the knuckle needs to be reamed for the outer tie rod end. So, you'll also gain larger ball joints with this method.
The same thing will be going on my CB7 once I get my second set of knuckles this weekend.
This is the option Im planning on doing. Just wanted to know, would the car sit a little hight do to the taller tls knuckles?
Any updates on how the OPs method worked out long term?
Im about to do this and have the 3g tl knuckles.
For the second method was the ABS ditched or did the sensor still work with the different pickup location?
S2000 rotor seems to be the "easier" route just wondering if any others have tried this before i drill out my knuckles.
Waiting on my s2000 rotors.
Also waiting on P2R shipment and Innovative mounts from heeltoe. They havent given me any update on my motor mounts or if they even shipped.
So i paint.
Pad sticks out 3/16ths (ish) off the rotor. I am going to grind the pads on an angle to match the rotor so they dont start making noise. With the '05 TL wheels i need a 5mm spacer but if i put the spacer i dont think ill have enough hub left sticking out for the rim to grab. So i ordered 20mm hubcentric spacers (64.1mm)
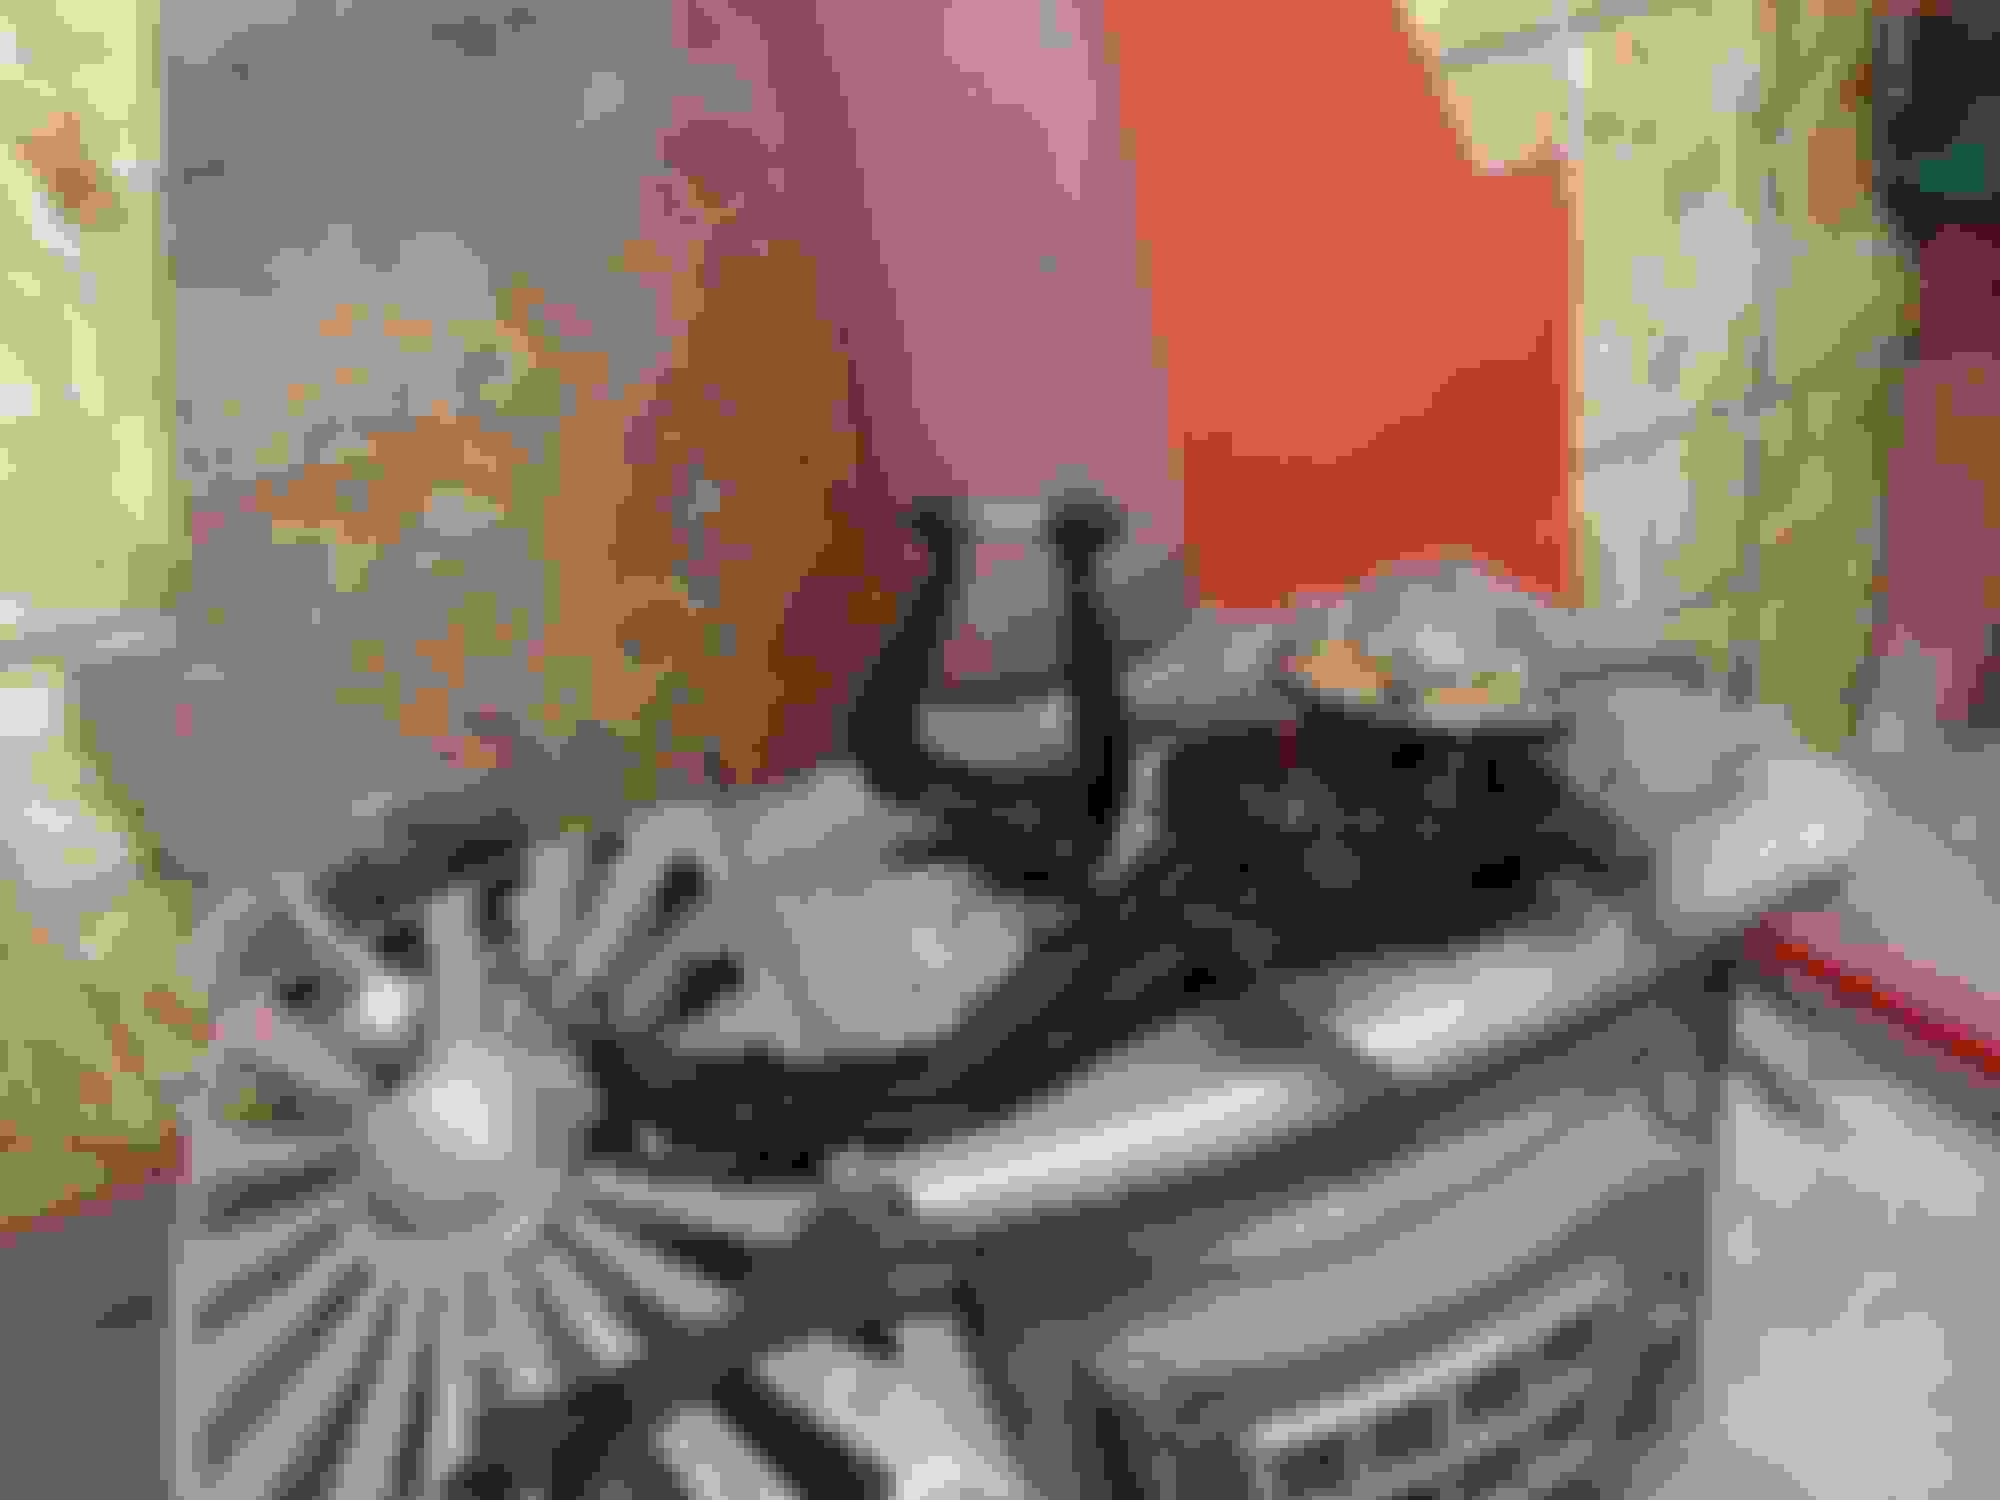
My caliper ears were corroded pretty bad so i cleaned them up with a dremel and then filed them with a flat file until they were all the same thickness and centered on my rotor.
This has got to be galvanic corrosion between the steel bolt and the aluminum caliper.
The 05 TL comes with small shims on the knuckle that i think are used to prevent the knuckle steel from touching the aluminum caliper ears. I re used them.
Oh yeah for the drilling i used a 9/16" bit but i think technically you should use a 14mm bit.
9/16 is 14.28mm.
Drill press would be nice but i did it in a vice.
I had to hold the drill under my arm and hold it to my body because the torque will take your wrist for a ride.
So the 05 TL actually uses bubble flare which means ill have to add an adapter to go metric bubble m10 x 1.0 to 3/8 - 24 inverted.
To install it ill just cut my flare off and remove the metric fitting and use a 3/8 - 24 then reflare it.
I couldnt find a metric double to metric bubble adapter but that would work best.
Ended up using these lines way easier.
I Figure the bubble flare gets forced into a double on the seat in this line.
Havent driven it but it all bled out fine.
 10-15-2015, 10:57 PM