Zubby 2009 TL WDP build thread
 06-29-2015, 11:03 AM
#1
Intermediate
Thread Starter

Zubby 2009 TL WDP build thread
Hi guys, new here. Recently purchased my 2009 TL SH-AWD w/ Tech Package from a member here, andrewcjduong. Been about a month, and loving every bit of it. Recently coming from a 2007 Dodge Charger, this is a completely different ball game for me lol.
The car's changed quite a bit from when I purchased it, so decided to start a build thread, loving the cars on the forum, thought I might add to it

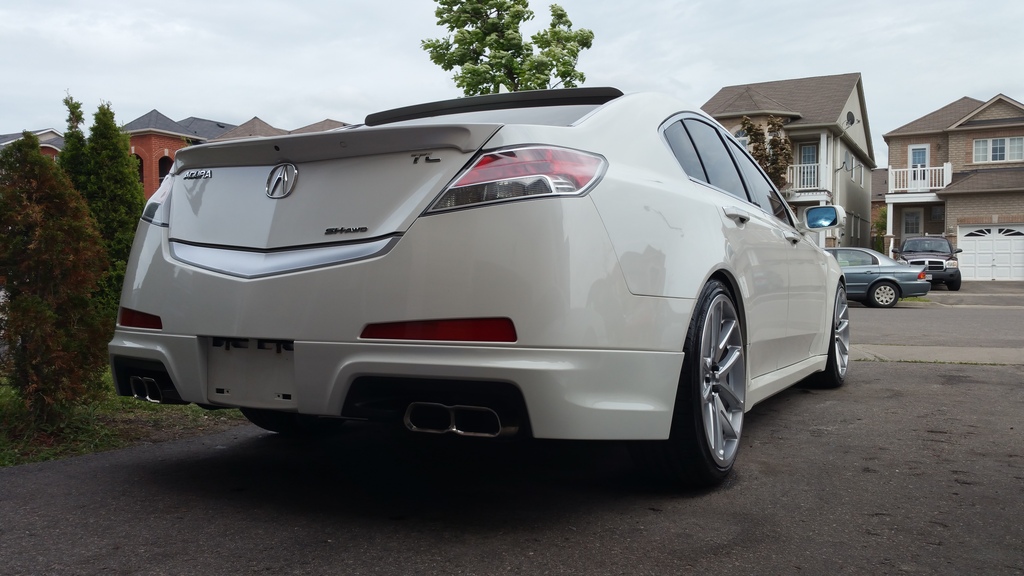
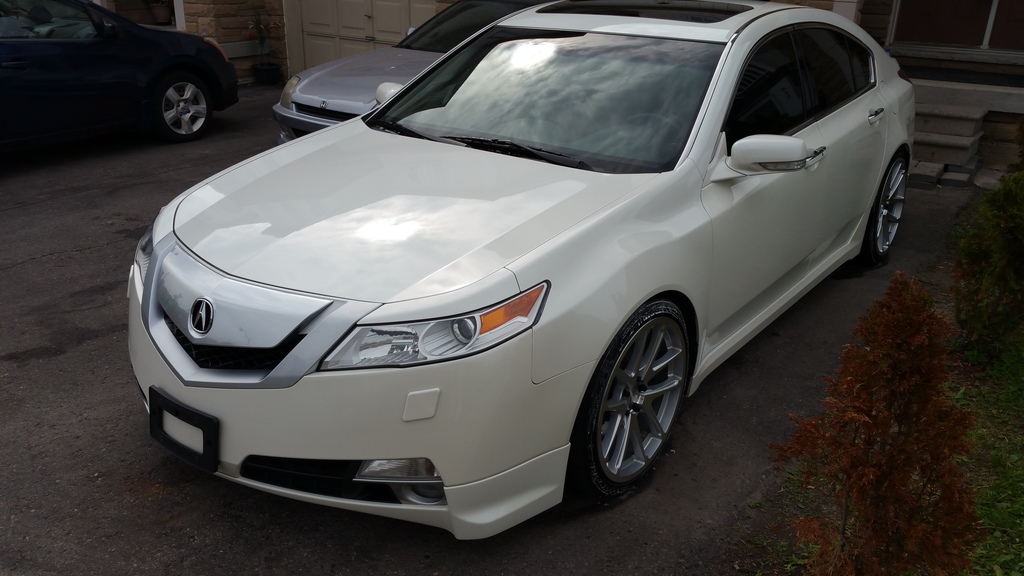
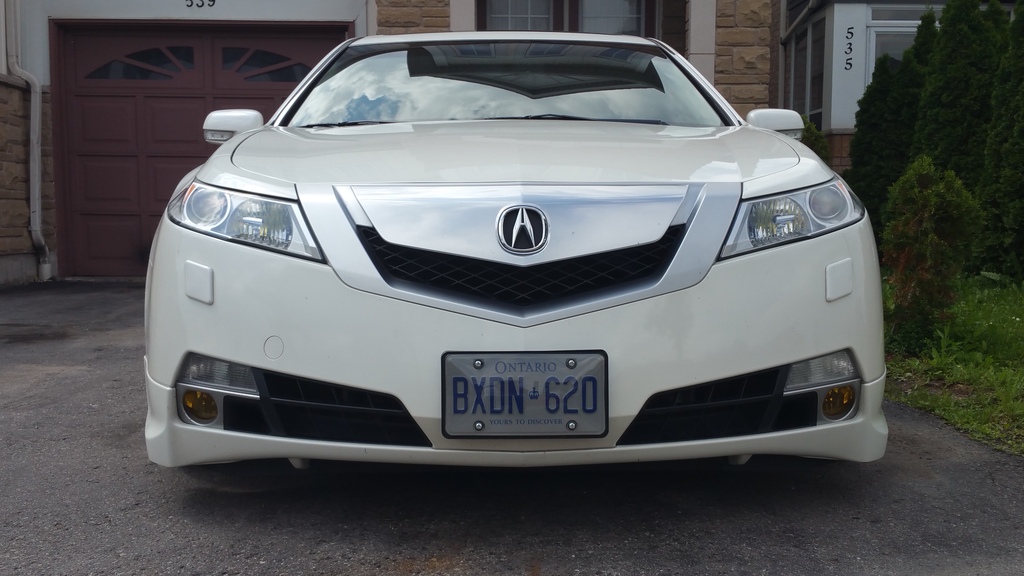
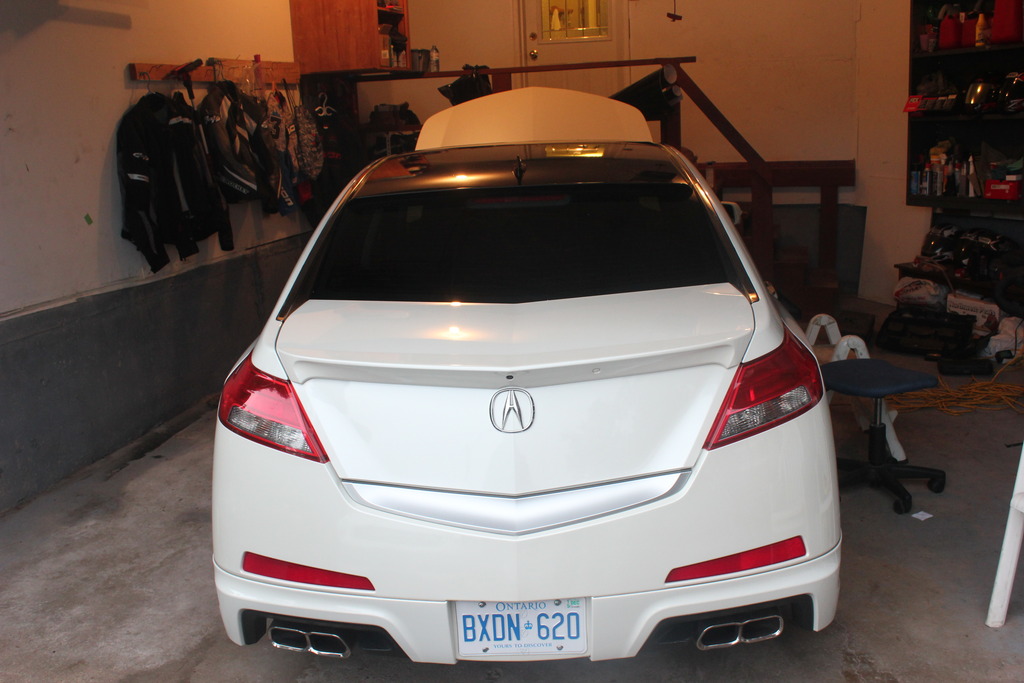
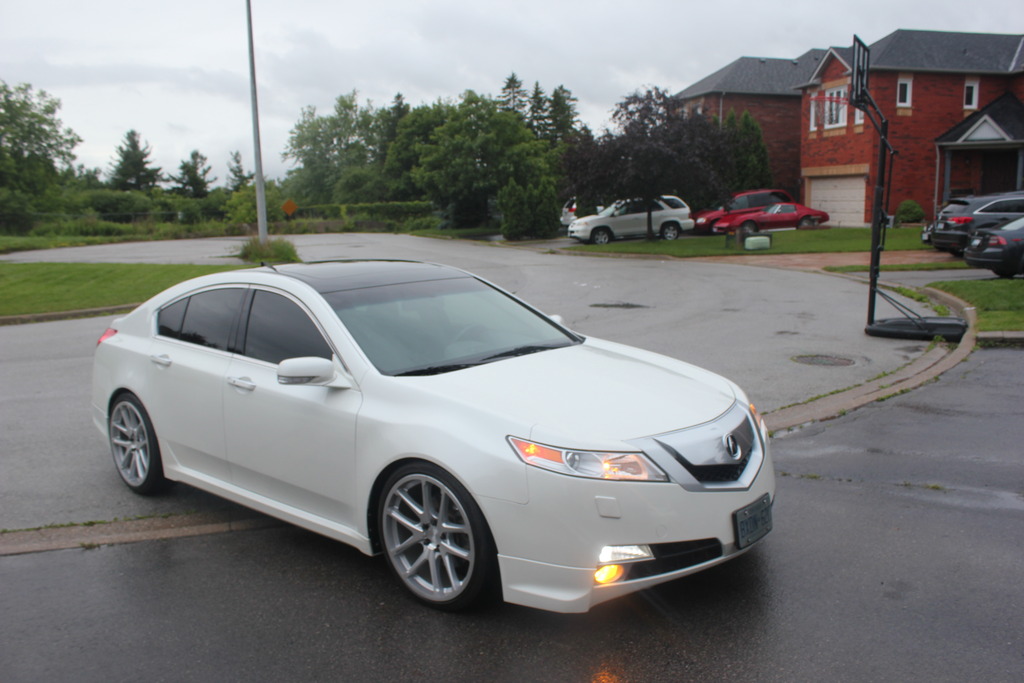
This was the first day I purchased it. Will update more pictures soon!
The car's changed quite a bit from when I purchased it, so decided to start a build thread, loving the cars on the forum, thought I might add to it


This was the first day I purchased it. Will update more pictures soon!
Last edited by zubby; 06-29-2015 at 11:06 AM.
 06-29-2015, 11:21 AM
#2
Intermediate
Thread Starter


First thing I did was get LED's for the license plate light and the trunk. Everything else was already good to go. Originally I wanted to make the interior lights brighter, but then decided to stick with the OEM bulbs
 06-29-2015, 11:31 AM
#4
Intermediate
Thread Starter
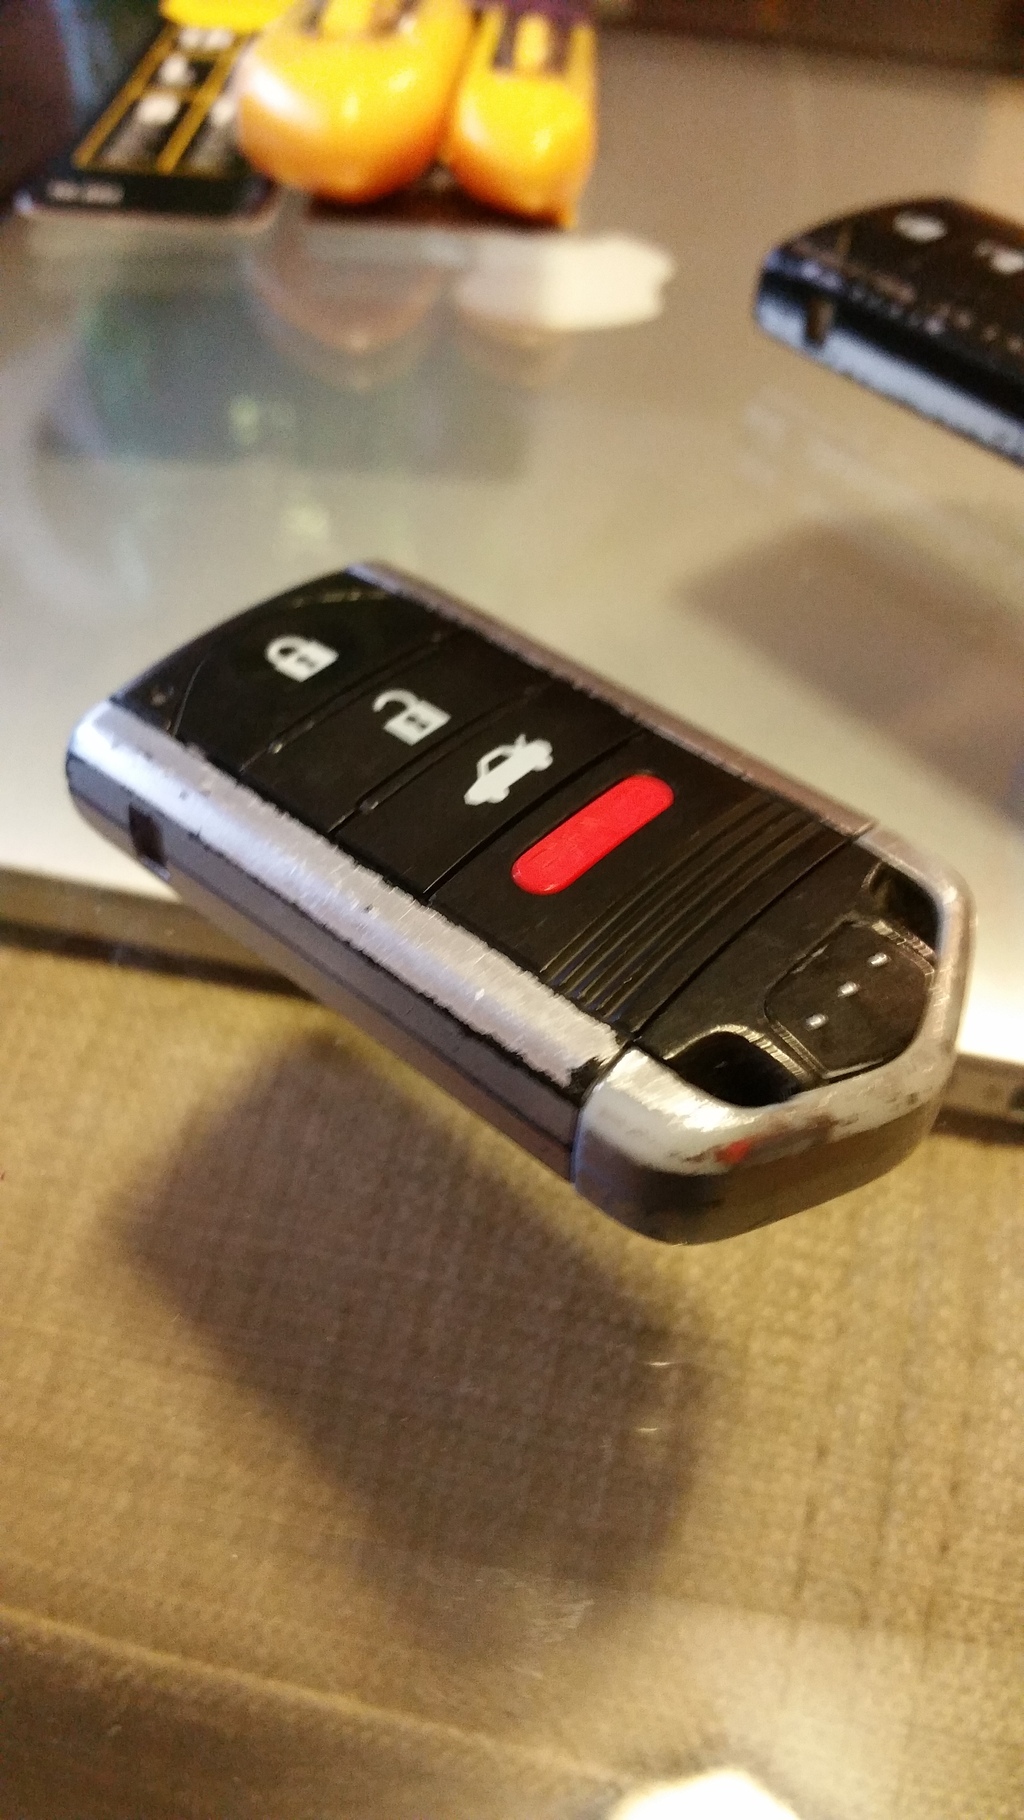
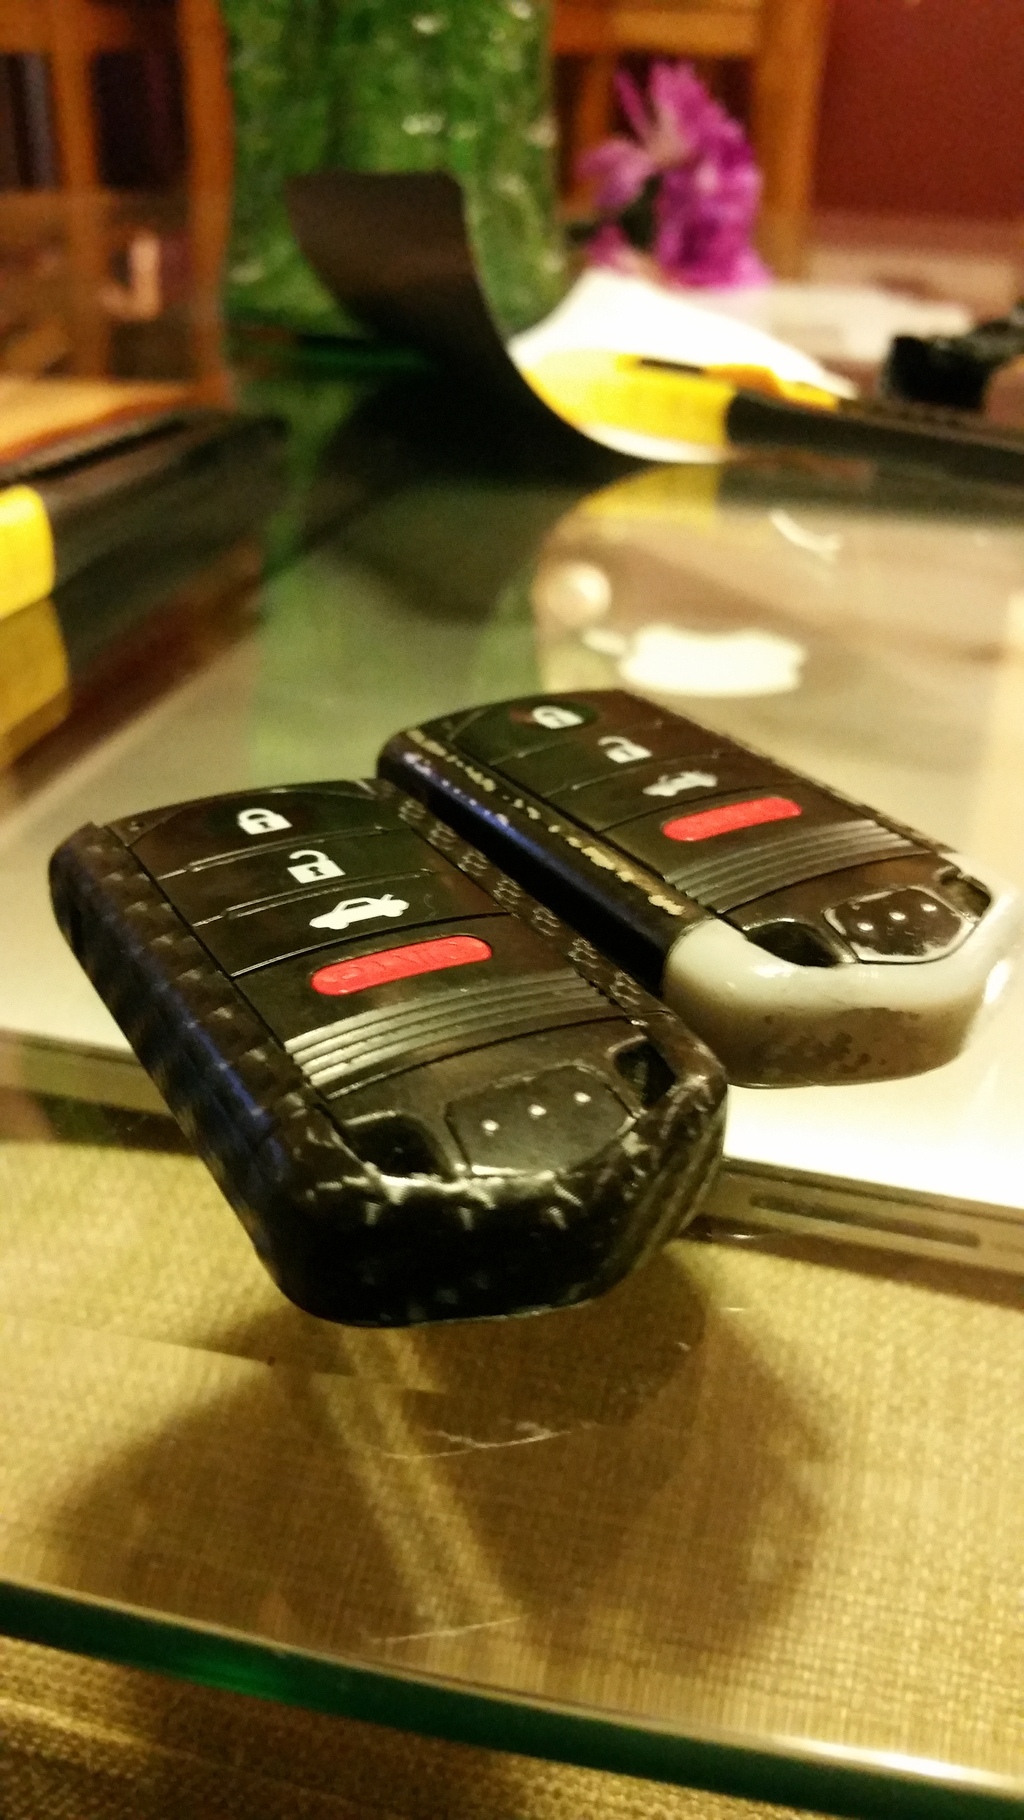
The Key Fob was stripping and didn't look good. Decided to CF vinyl it. This was just a trial, going to re-do it in a few days, and go with a White CF to match the WDP
Before:
After:
Before:

After:
 06-29-2015, 11:46 AM
#5
Intermediate
Thread Starter
I was going to do the mod to make the foot well lighting brighter by drilling out the hole. I decided to take a different route. I personally am not too fond of the blue lighting in the foot well.
So I took an LED circuit board I had from my previous car, and removed the original housing with the blue, wire tapped into the original wires, and taped one single White LED bulb to shine through the hole.
I didn't do a write up on it but if anyone wants it, I can go ahead and do it. Wasn't hard at all, and IMHO looks much better than the blue. Plus, the white goes with the car as well. The only downside to it was that I felt it was a tad bit too bright, but after driving at night it doesn't bother me at all.

These were taken with my phone, I will upload better pics with the DSLR later.


Trending Topics


 06-29-2015, 12:07 PM
#12
Intermediate
Thread Starter
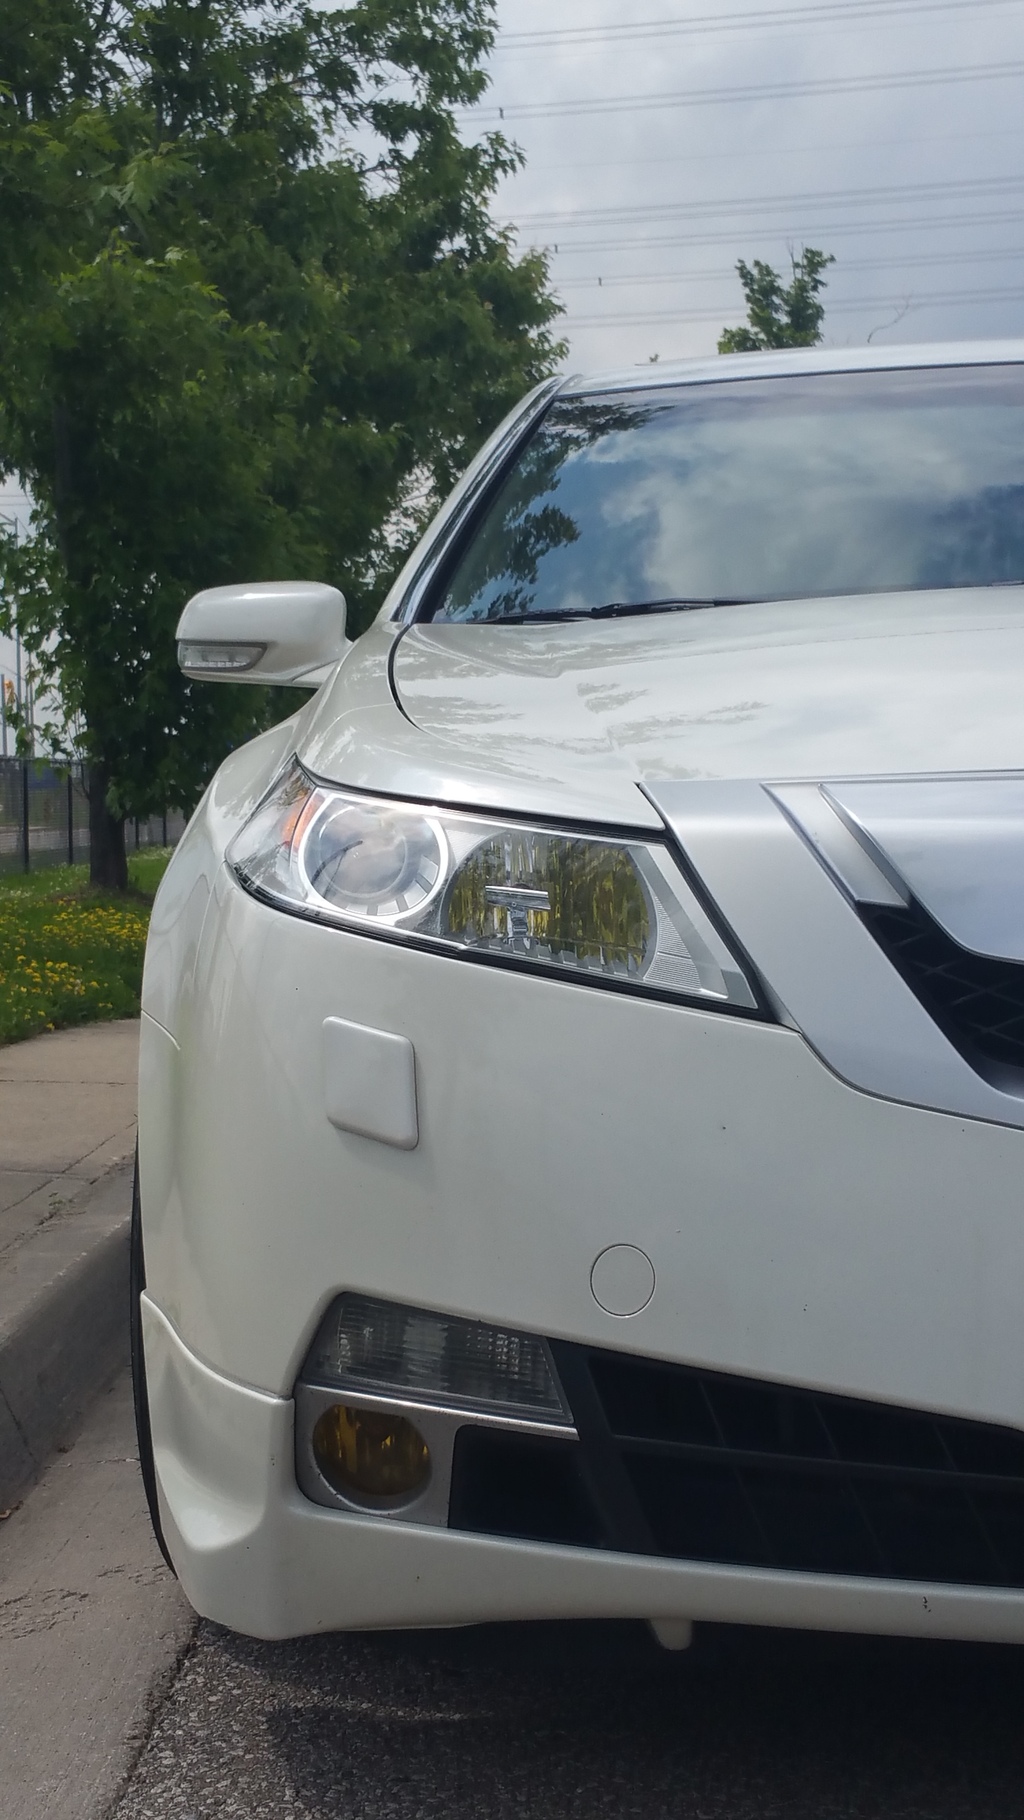
Decided to tint the fog light with a yellow film.
Before:
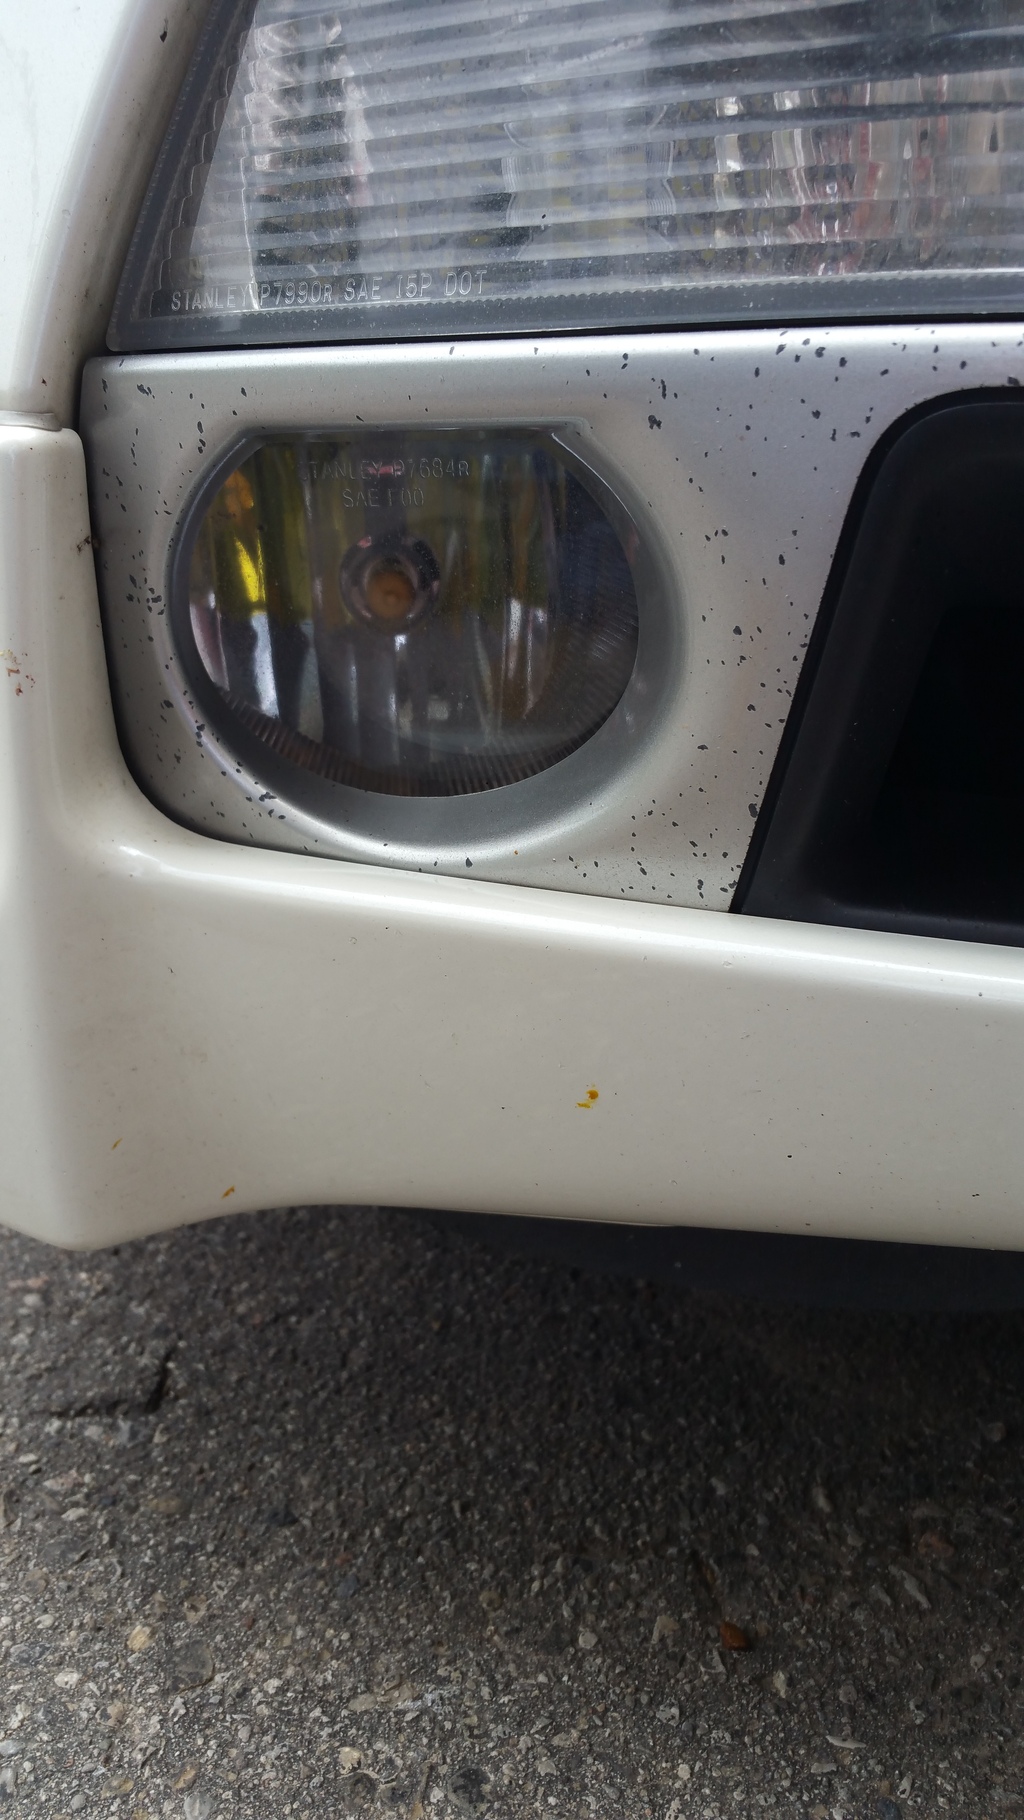
The fog light housing is going to get fixed ASAP, I have that on the list of to-do's. Still debating on whether to go Gloss Black or try and match the Pearl White. Going to wrap it most likely
After:
Before:

The fog light housing is going to get fixed ASAP, I have that on the list of to-do's. Still debating on whether to go Gloss Black or try and match the Pearl White. Going to wrap it most likely
After:


 06-29-2015, 12:20 PM
#16
Intermediate
Thread Starter
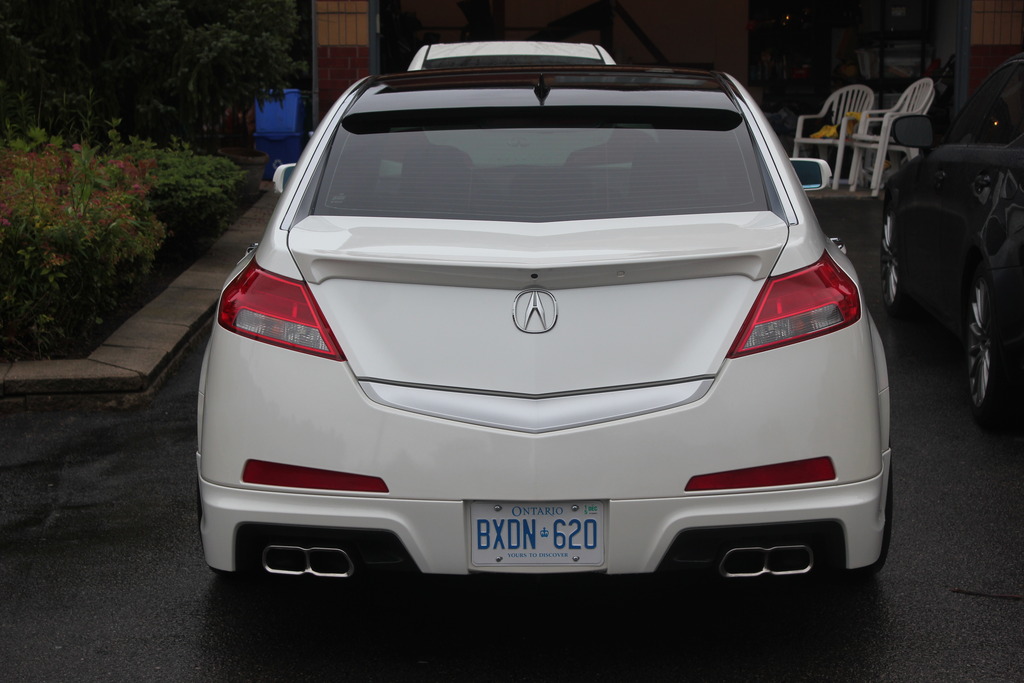
Decided to go with the All Red tail light. I didn't get the LAMIN-X yet, went with a generic red tint and did it myself. Overall pretty good, but eventually I will re-do with the LAMIN-X.
Before:
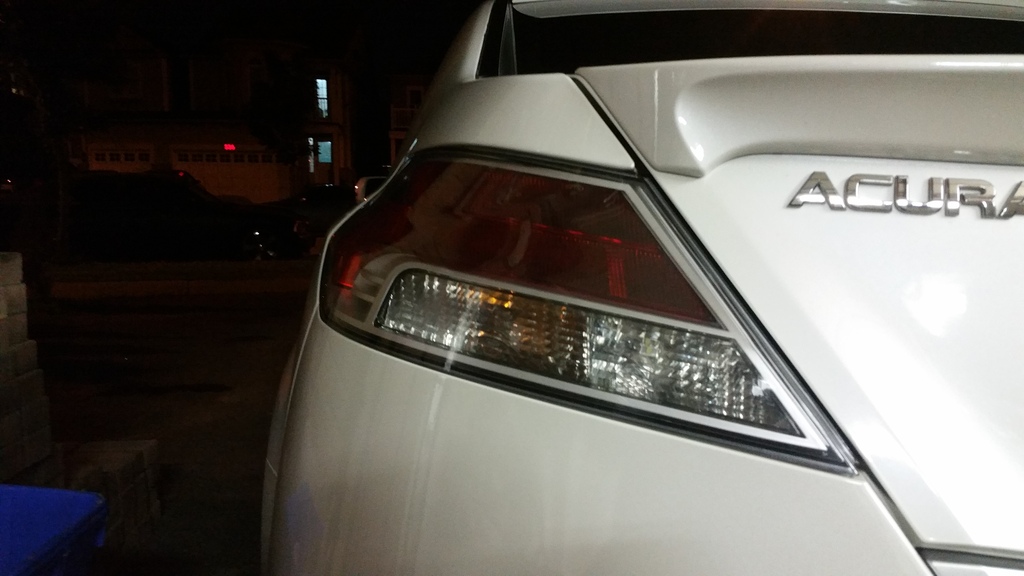
After:
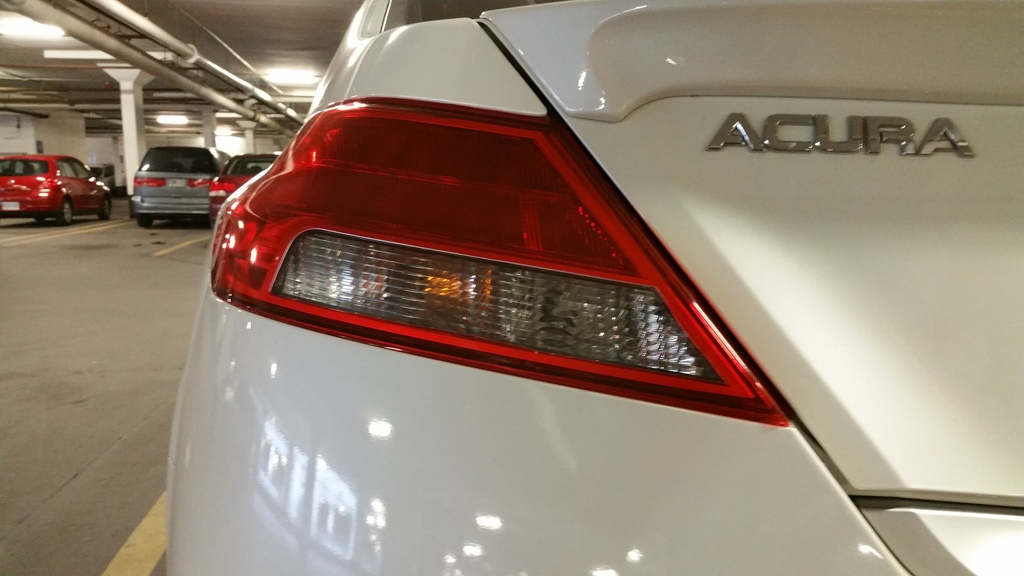
Before:

After:
 06-29-2015, 12:23 PM
#17
Congrats, very nice car. I met Andrew a few time, very friendly guy.
I haven't visited the forum in a bit but to answer your question on my thread I purchased the Polycarbonate from Acrylic Depot on Steeles Ave.
I haven't visited the forum in a bit but to answer your question on my thread I purchased the Polycarbonate from Acrylic Depot on Steeles Ave.
The following users liked this post:
zubby (06-29-2015)
06-29-2015, 12:24 PM
#18
Intermediate
Thread Starter
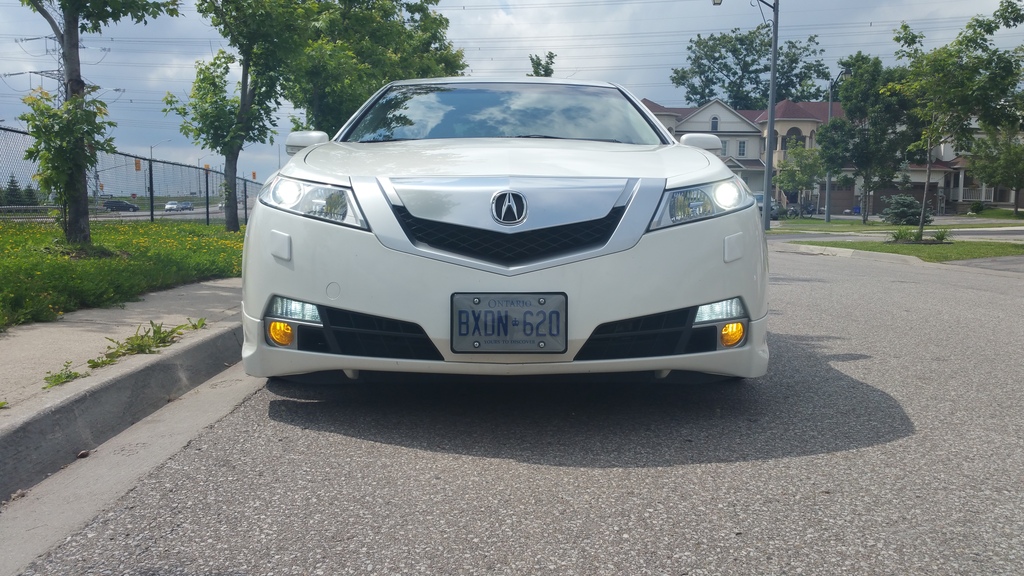
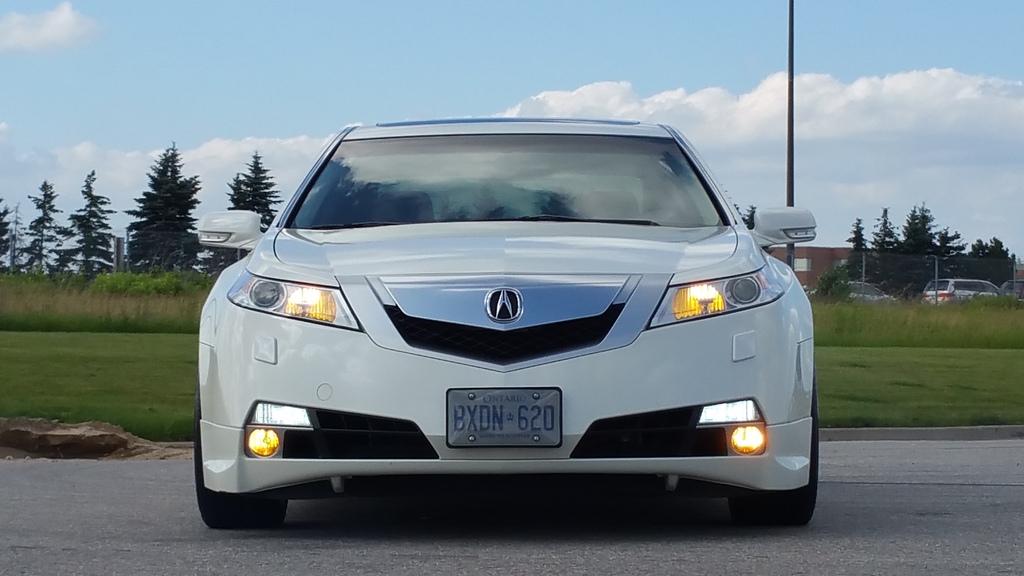
I decided to re-wire the fog lights. The way I had it on my Dodge Charger was when I turned the lights on only one click, the parking light, and the fog lights would turn on. So I would then have the DRL, Parking Light, and Fog Lights on.
I wanted to do the same wiring here, so in this I would have the DRL (Yellow 3500 NOKYA), the Indicator Light, and the Fog Light.
Also got switchbacks from a local manufacturer of LED's, and installed the resistors to resolve the hyper-flash. Very satisfied with the switchbacks, but will be investing in the VLED switchbacks to match better with the OEM HID's
 06-29-2015, 12:26 PM
#19
Intermediate
Thread Starter
BTW, I believe the Takeda Intake and the H&R springs in my car were originally from you lol.
06-29-2015, 12:30 PM
#20
Intermediate
Thread Starter
Just an update. I forgot to add a list of the mods at the beginning:
- 20" Rotiform SNA Rims - 20x9 - Square Setup
- Lowered on H&R Springs with Stock Struts
- Takeda SRI Intake
- Roof Spoilet
- LED License Plate Bulb
- LED Door Vanity Bulb
- LED Trunk Light
- NOKYA 3500 Yellow DRL
- NOKYA 3500 Yellow Fog Lights
- 6000K Switchbacks from SK Performance
- 20" Rotiform SNA Rims - 20x9 - Square Setup
- Lowered on H&R Springs with Stock Struts
- Takeda SRI Intake
- Roof Spoilet
- LED License Plate Bulb
- LED Door Vanity Bulb
- LED Trunk Light
- NOKYA 3500 Yellow DRL
- NOKYA 3500 Yellow Fog Lights
- 6000K Switchbacks from SK Performance
06-29-2015, 12:47 PM
#21
Hey, thanks KK. That's awesome, I will be taking the same route with the splitters, especially for the front. BTW, absolutely love your car. Constantly looking at it for more ideas.
BTW, I believe the Takeda Intake and the H&R springs in my car were originally from you lol.
BTW, I believe the Takeda Intake and the H&R springs in my car were originally from you lol.
06-29-2015, 01:20 PM
#22
I decided to re-wire the fog lights. The way I had it on my Dodge Charger was when I turned the lights on only one click, the parking light, and the fog lights would turn on. So I would then have the DRL, Parking Light, and Fog Lights on.
I wanted to do the same wiring here, so in this I would have the DRL (Yellow 3500 NOKYA), the Indicator Light, and the Fog Light.
Also got switchbacks from a local manufacturer of LED's, and installed the resistors to resolve the hyper-flash. Very satisfied with the switchbacks, but will be investing in the VLED switchbacks to match better with the OEM HID's
I hate how i can't turn on my fogs independently... at the very least, when the parking lights are on.
06-29-2015, 01:40 PM
#23
Intermediate
Thread Starter
The reason for that is because I wired it to the parking lights, which come on when you turn the light on one click. Which means, that as soon as I do one click, the fog lights are on, and when I go full (headlights on) they stay on.
The fog lights do stay on with the high beam.
The re-wire is not difficult at all. I used wire taps so it made life a lot easier because there isn't much space to work with. You have to access the parking light from the inner fender.
Let me know if you want and I can put together a quick how-to
06-29-2015, 02:45 PM
#24
Ahh ok. I was hoping for somebody that's been able to wire so that the column control for the fogs can be fully independent. I remember somebody doing that before on here, but it seemed quite complicated.
06-29-2015, 03:18 PM
#25
Intermediate
Thread Starter
Yeah it's complicated but not impossible. You'd need to track down which wires are going from the original fog light switch (on the indicator/light in the car), disconnect them from the module they're going into and then use the existing wires and run that to a constant power, and ground and then to the fog light. It's essentially using the existing switch as a new switch. Same procedure if you want to add in a switch for anything, like amplifier, or lights. The way I did it really simplified it for me. I didn't have to cut any existing wires or anything.

The following users liked this post:
zubby (06-30-2015)
06-29-2015, 11:47 PM
#27
The Original Shawdy
Congrats on the purchase and welcome to the forum. Looks like you've been enjoying it and nice first mods.
The following users liked this post:
zubby (06-30-2015)
06-30-2015, 08:14 AM
#28
Intermediate
Thread Starter
06-30-2015, 08:16 AM
#29
Intermediate
Thread Starter
Thank you! I'm loving the car. Its a huge change from the Charger I was previously driving/modding lol. I've been through your build thread a few times now, and wow. Car looks absolutely amazing. Love it!
The following users liked this post:
carbonTSEX (06-30-2015)
06-30-2015, 02:33 PM
#31
Burning Brakes
Congrats on the purchase! Nice to buy a car that's already modded; great way to start your own modding. Also good to see new build threads. 
 07-06-2015, 12:13 PM
#33
Intermediate
Thread Starter


 07-06-2015, 12:26 PM
#36
Intermediate
Thread Starter
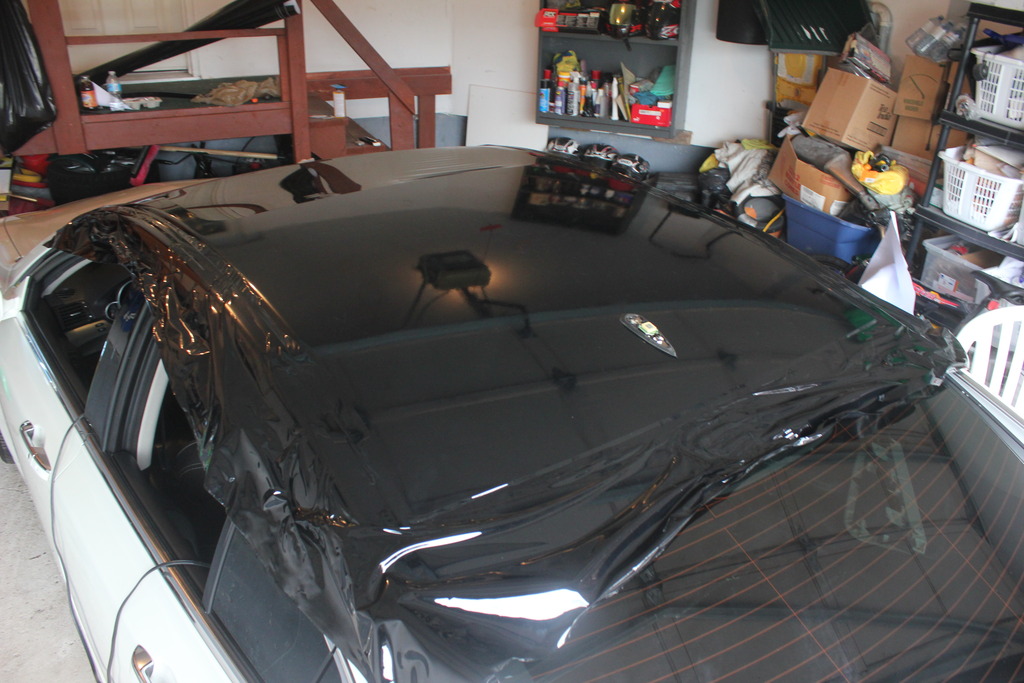
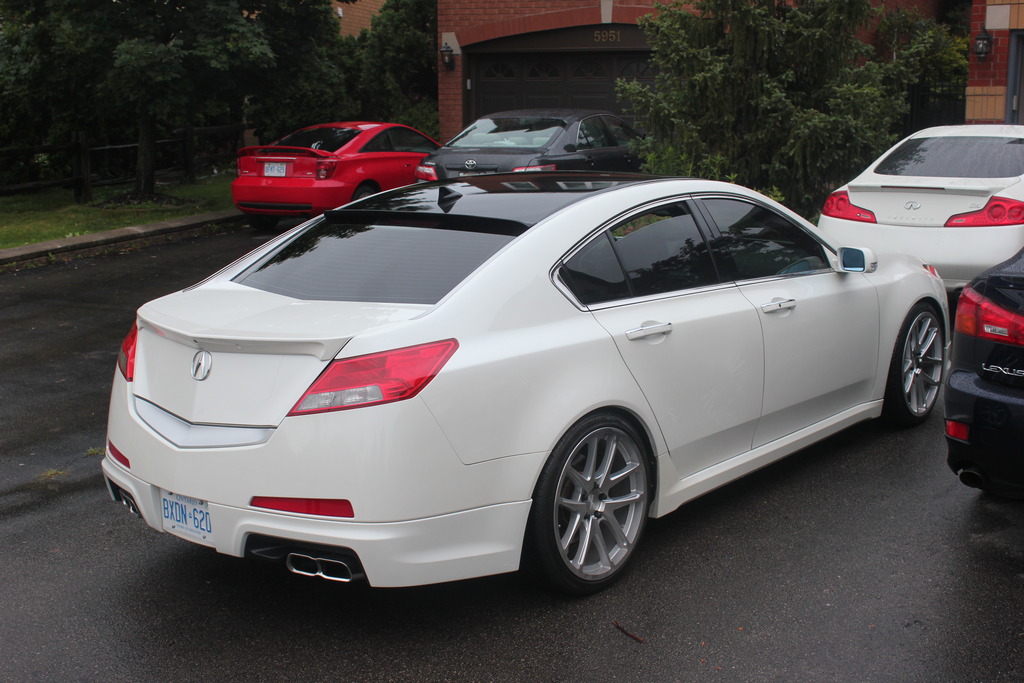
I've always been a fan of a gloss black roof, especially on white cars. So decided to vinyl wrap the roof in gloss black with the help of a few friends.
Firstly I had to remove the antenna.
I'll list the steps in case someone is wondering:
1) Pop down the third brake light - It's held in by clips and literally just pops down
2) If you can** peek in the headliner and you will see a bolt (I believe its a 17mm) that has to be removed to release the antenna
3) Once the bolt is off, and the antenna is loose. There are 3 screws under the antenna to remove the white cover. They're fairly small screws (be careful not to lose them)
4) Remove the 3 screws and pop the cover off. The base of it doesn't come off. It's connected with a wire going into the roof and there wasn't enough space for me to track down where its going. So I just left it in and covered it with a microfiber cloth until I got to that point with the vinyl.
5) When I did get there with the vinyl, I cut a vertical line going from the front of the car to the back slightly smaller than the antenna base itself, and fed that through. This way, you can't see any seams once the antenna is on, and it looks clean!
I also vinyl wrapped the roof spoiler in the same gloss black to match, along with the shark-fin (antenna)


 07-06-2015, 03:01 PM
#38
Intermediate
Thread Starter
07-06-2015, 06:04 PM
#39
07-08-2015, 12:57 AM
#40
The Original Shawdy
very nice. Love the black roof and debadge.

Thread
Thread Starter
Forum
Replies
Last Post
Jamus22
2G TL Problems & Fixes
24
06-11-2023 10:08 AM
AcuraKidd
Non-Automotive & Motorcycle Sales
0
09-25-2015 11:18 PM
Yumcha
Automotive News
1
09-25-2015 06:14 PM
STL TL-S
3G TL Problems & Fixes
9
09-23-2015 08:52 PM