When you click on links to various merchants on this site and make a purchase, this can result in this site earning a commission. Affiliate programs and affiliations include, but are not limited to, the eBay Partner Network.
DISCLAIMER: Do this at your own risk. If you are not sure what you are doing, please don't start. This is a big job. (I knew that after I opened up everything, no repentance. Its a learning experience for me)
Car: 96 Acura RL 3.5
Mileage: 136K
Task Level: Advanced
I am at intermediate level, but mechanically inclined.
Time to take off everything: 10 hours (Yes, did I say I am intermediary! )
I sprayed magic fluid (penetrating fluid all over the bolts and nuts to make my life easy)
Here we go guys....
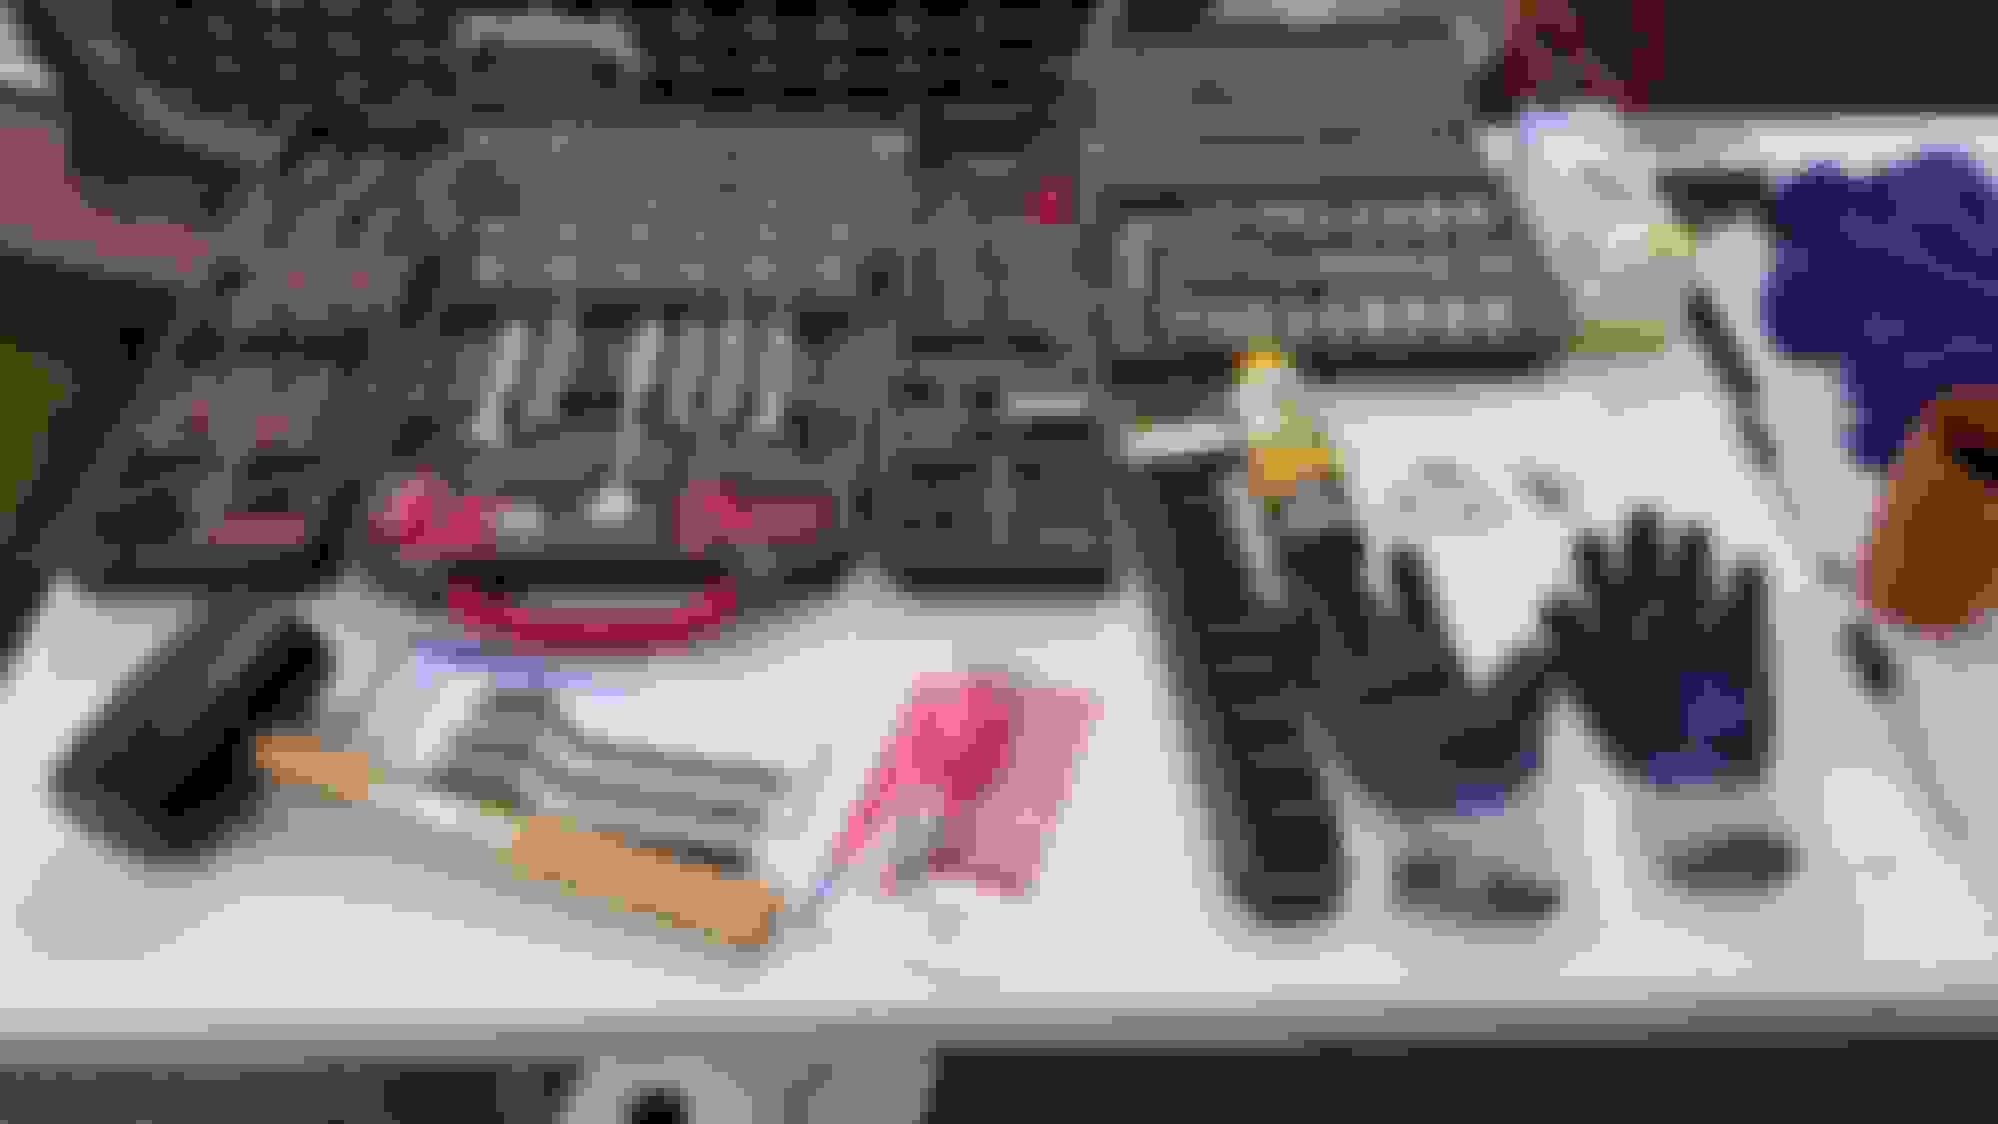
Step 1: Arrange a working table, tools (mostly you need 10 mm & 12 mm, but its always good to have a kit, just in case), and lots of coffee
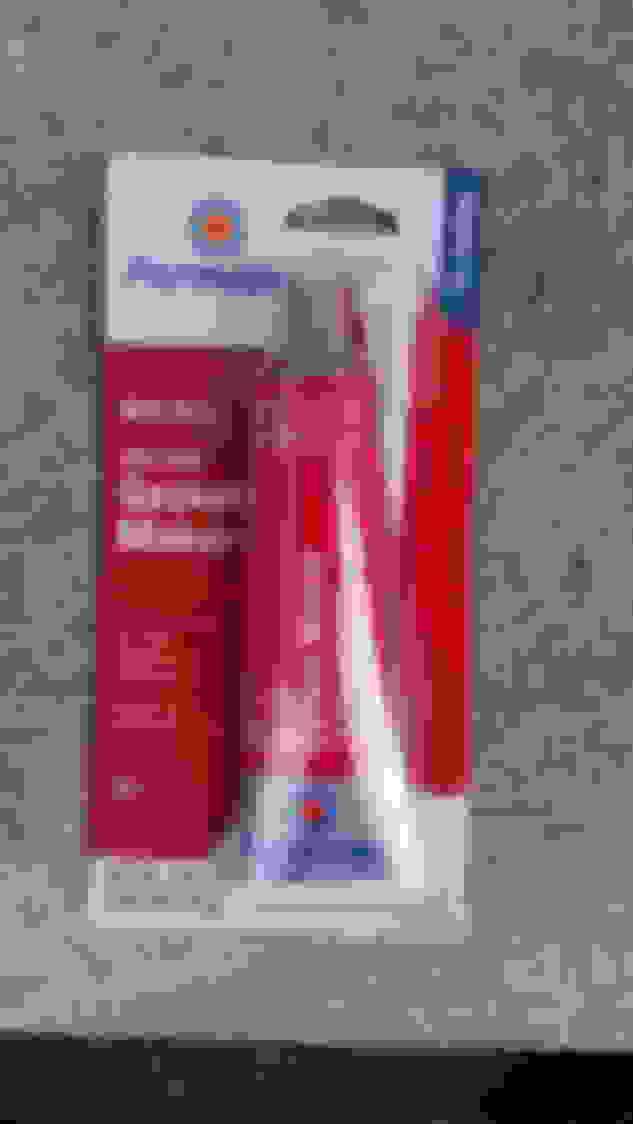
Step 2: Make sure you have penetrating fluid something like this. (I am not endorsing this product, but it worked simply fantastic for me)
Yes you saw it right, sandwich bags for all the bolts. These also helped me to know where I took the bolt/nut/screw off of.
Step 3: Drain the coolant. (I forgot to do it, hopefully I won't be ending up junking my ride. You will know why this step at the end)
Step 4:
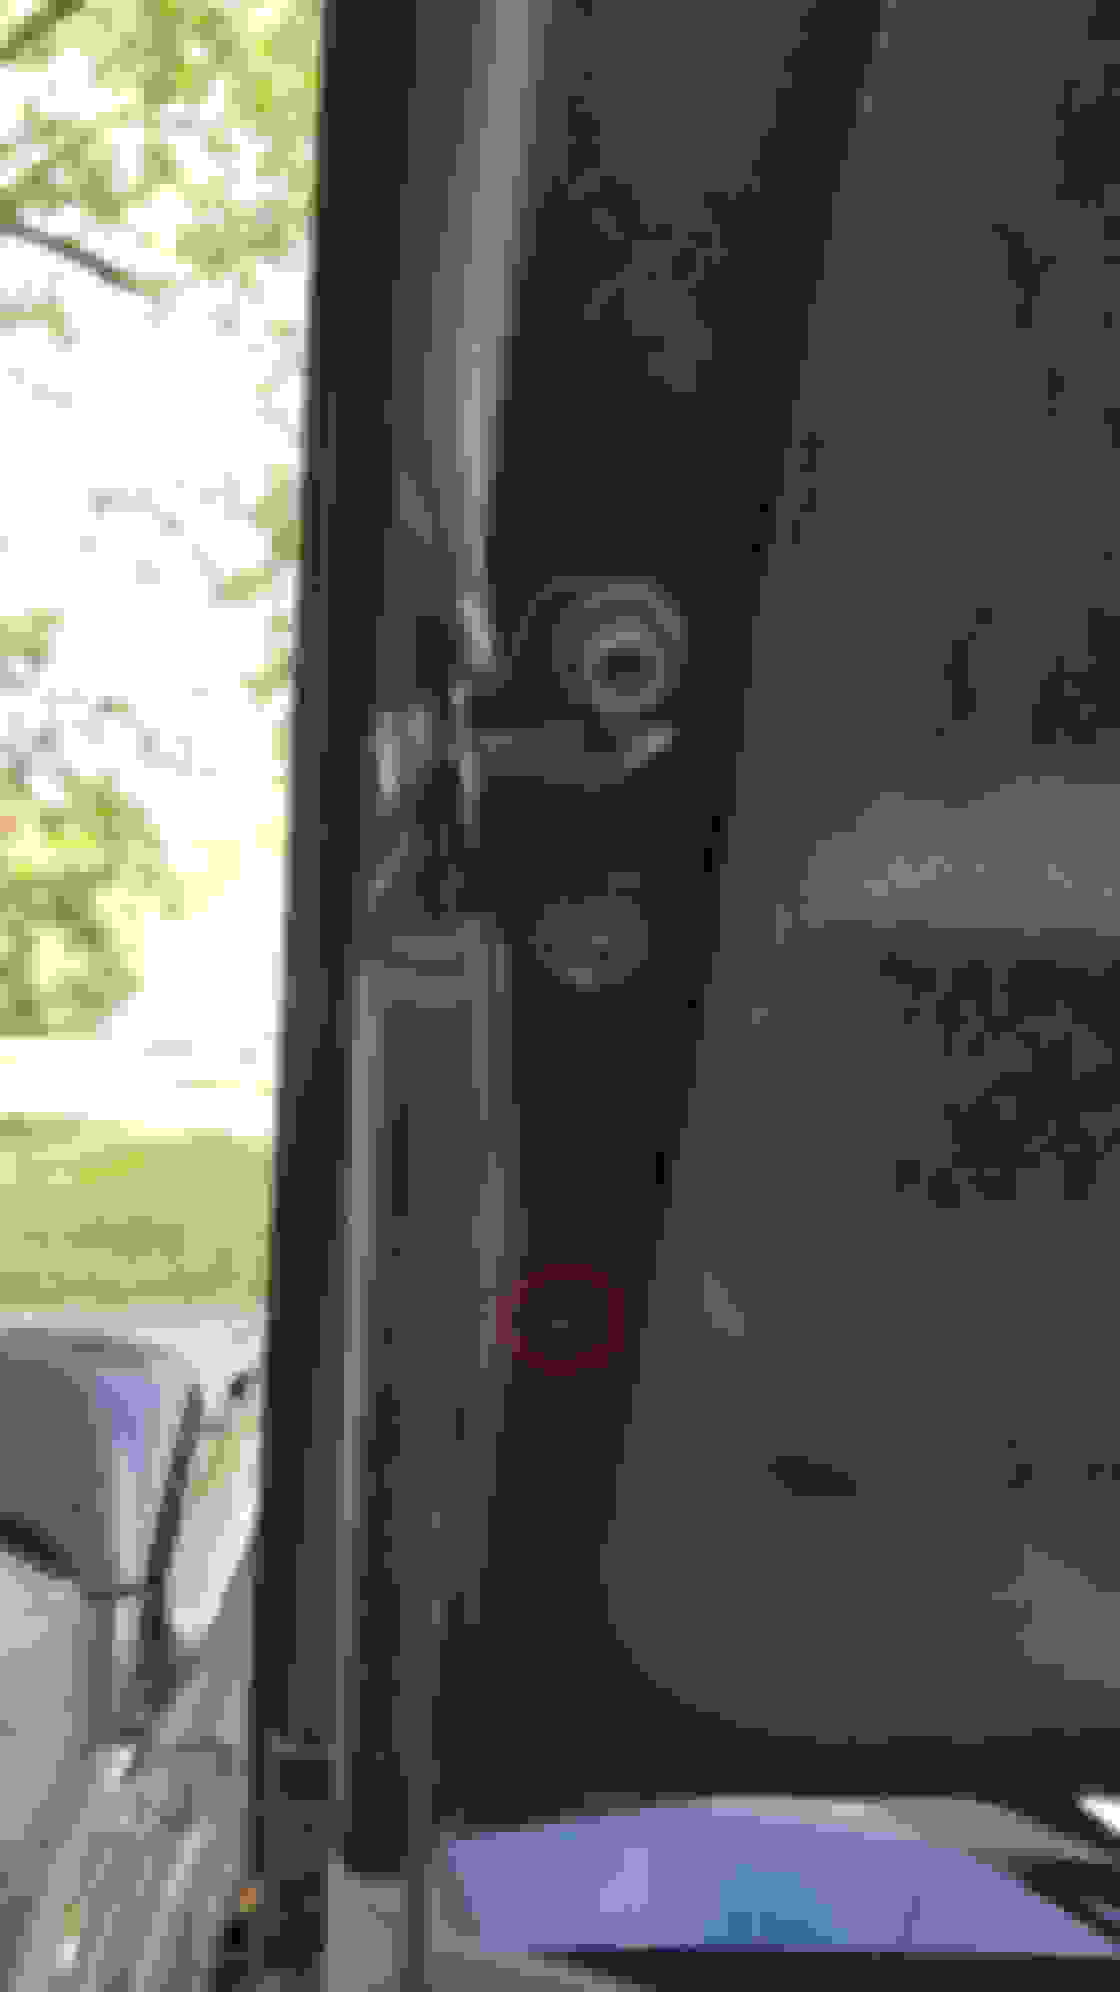
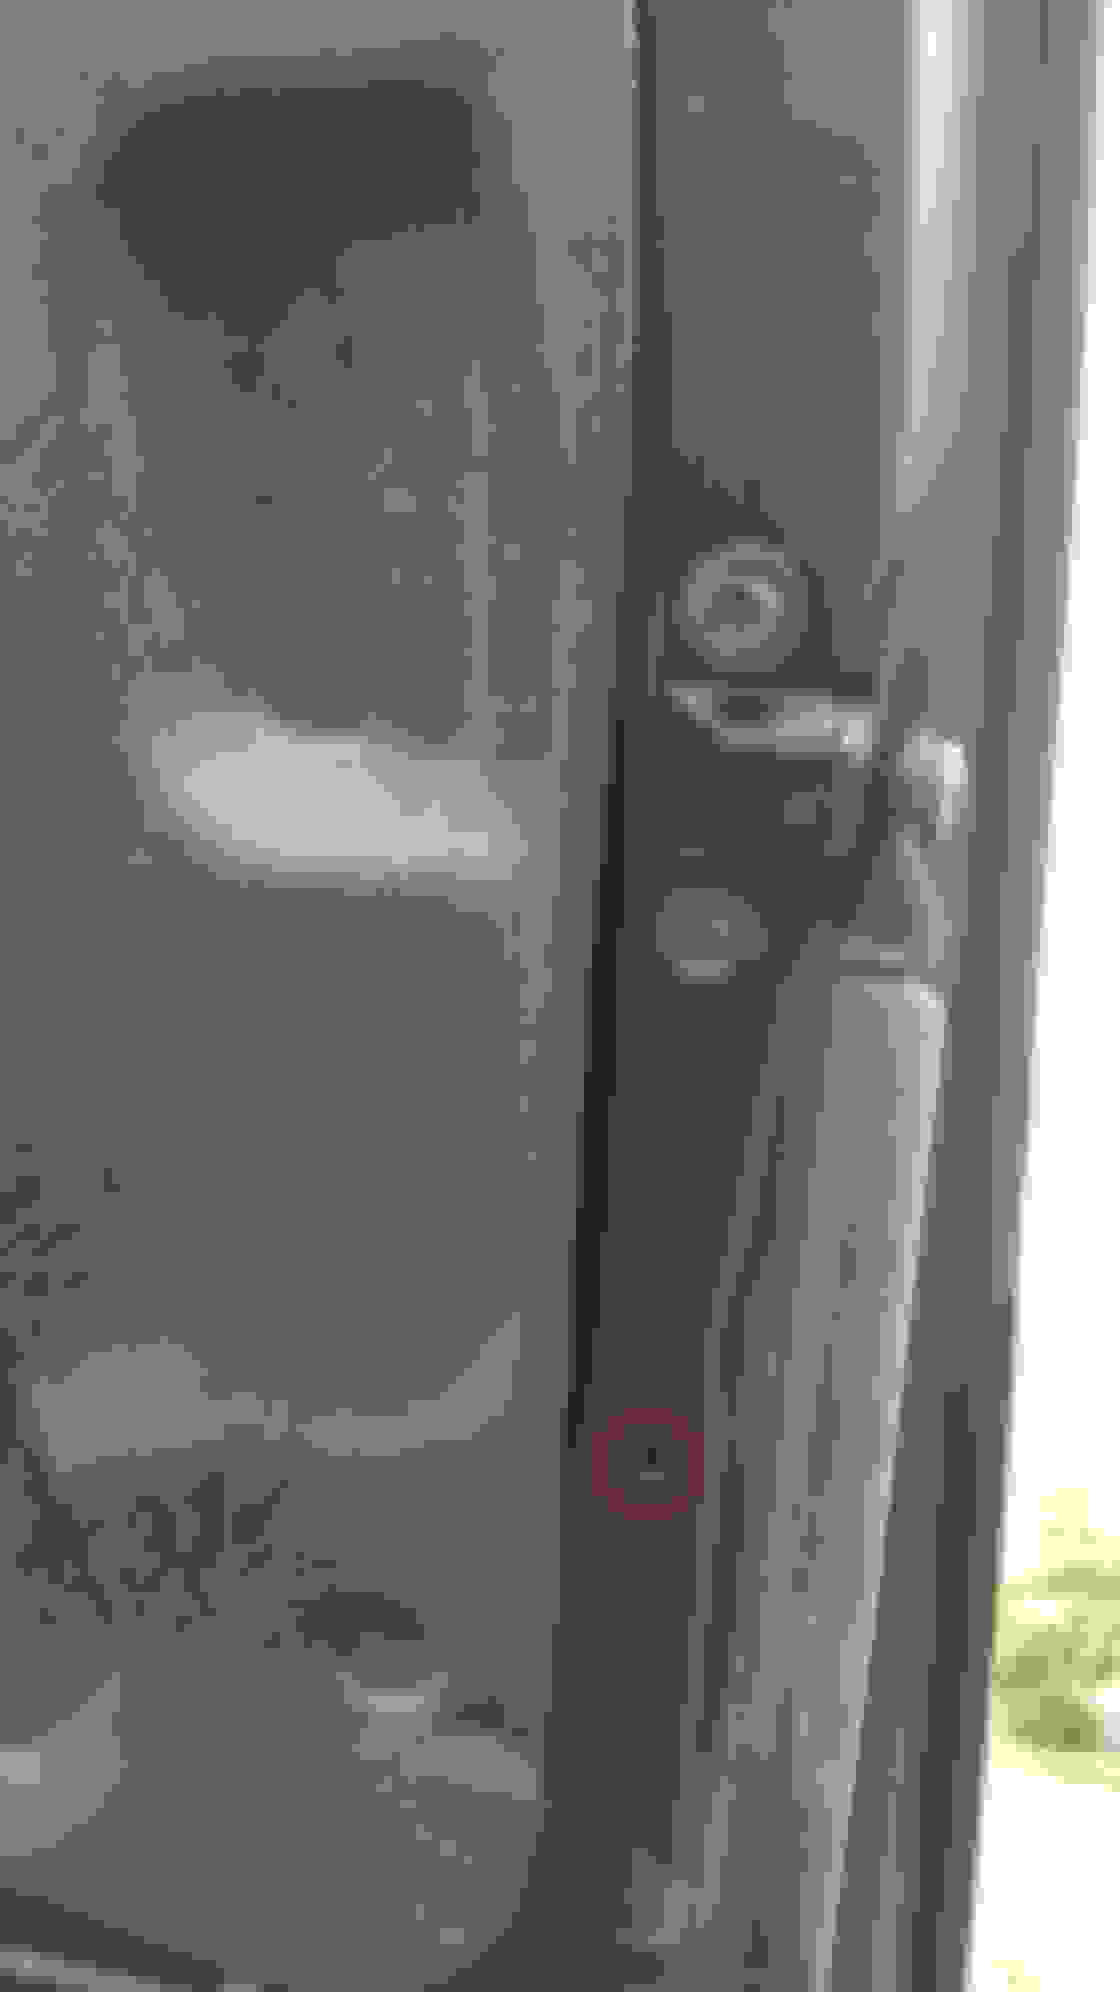
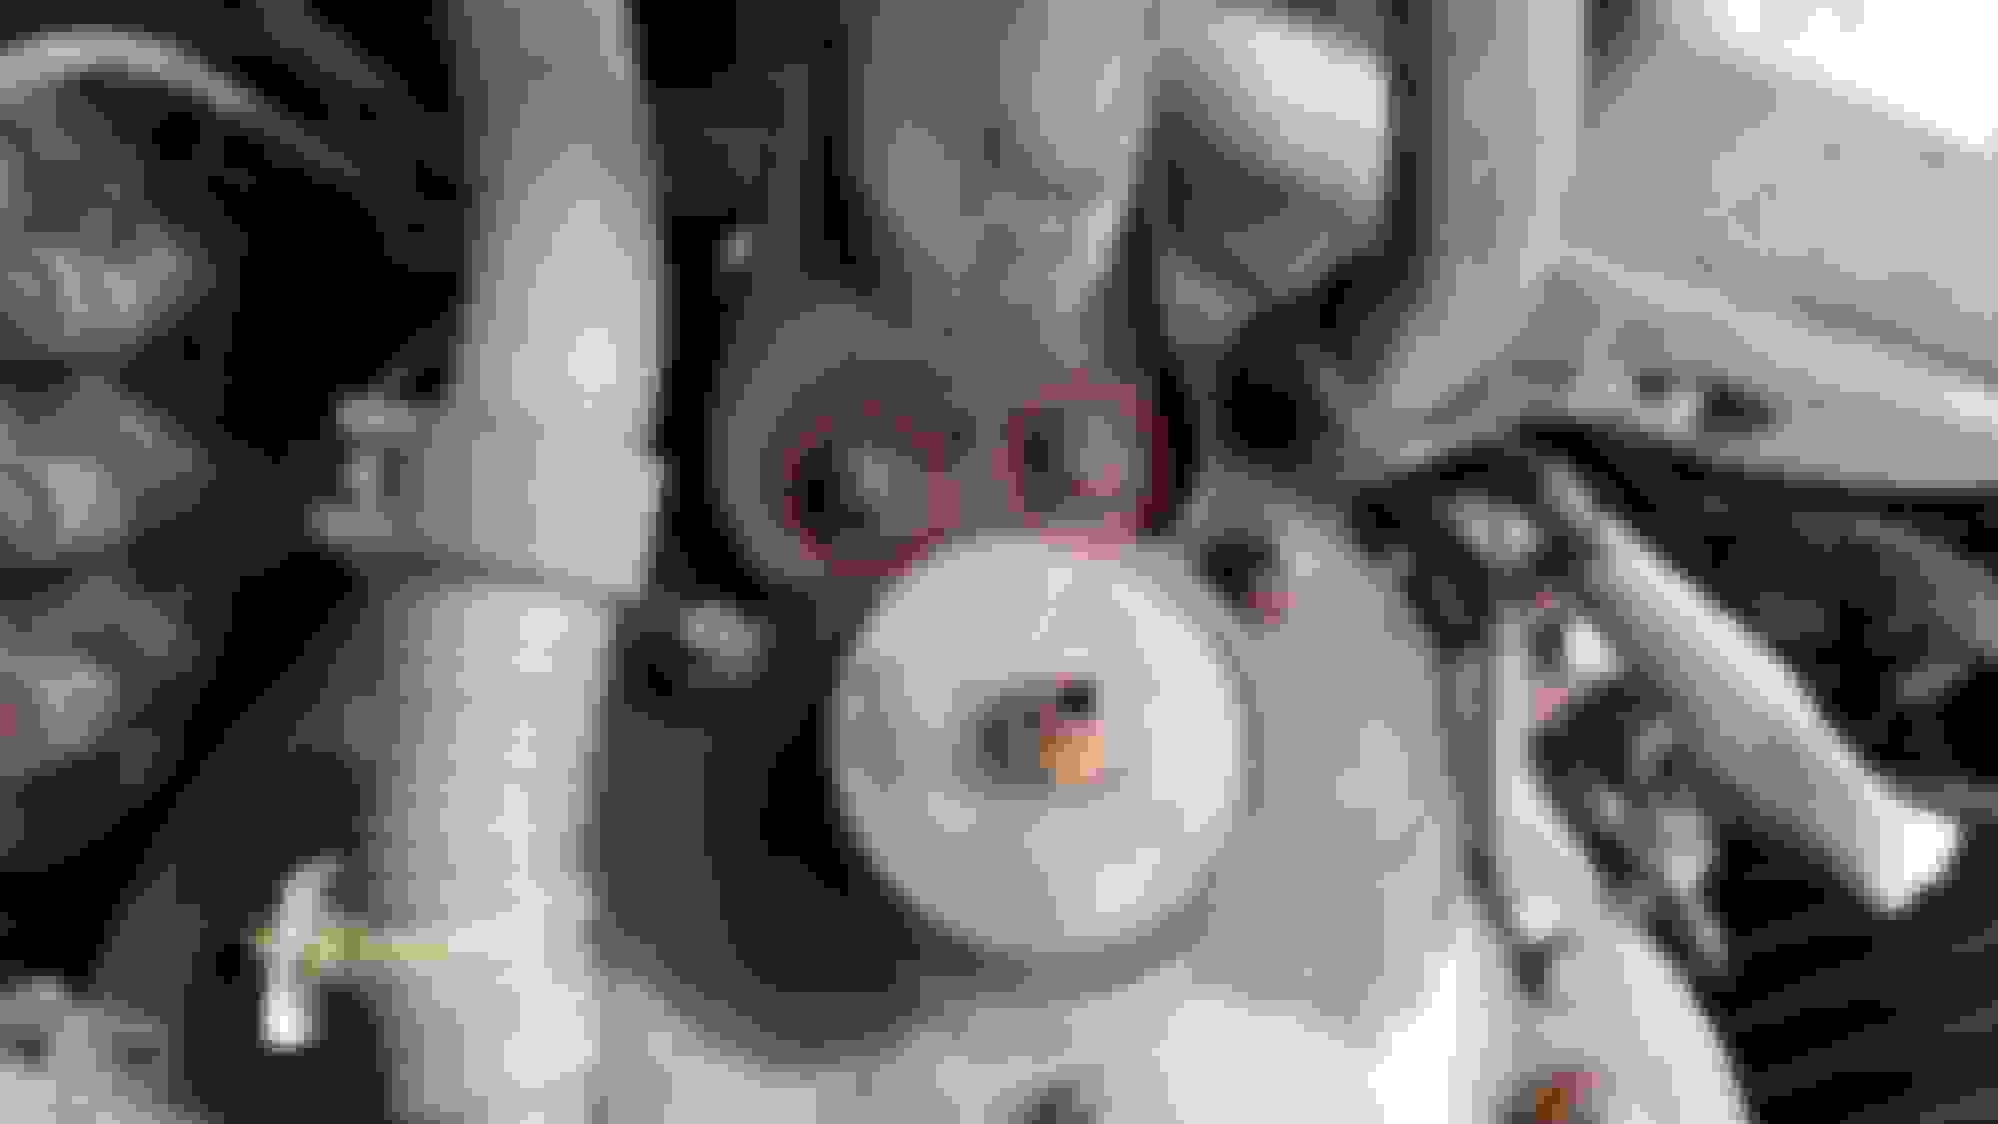
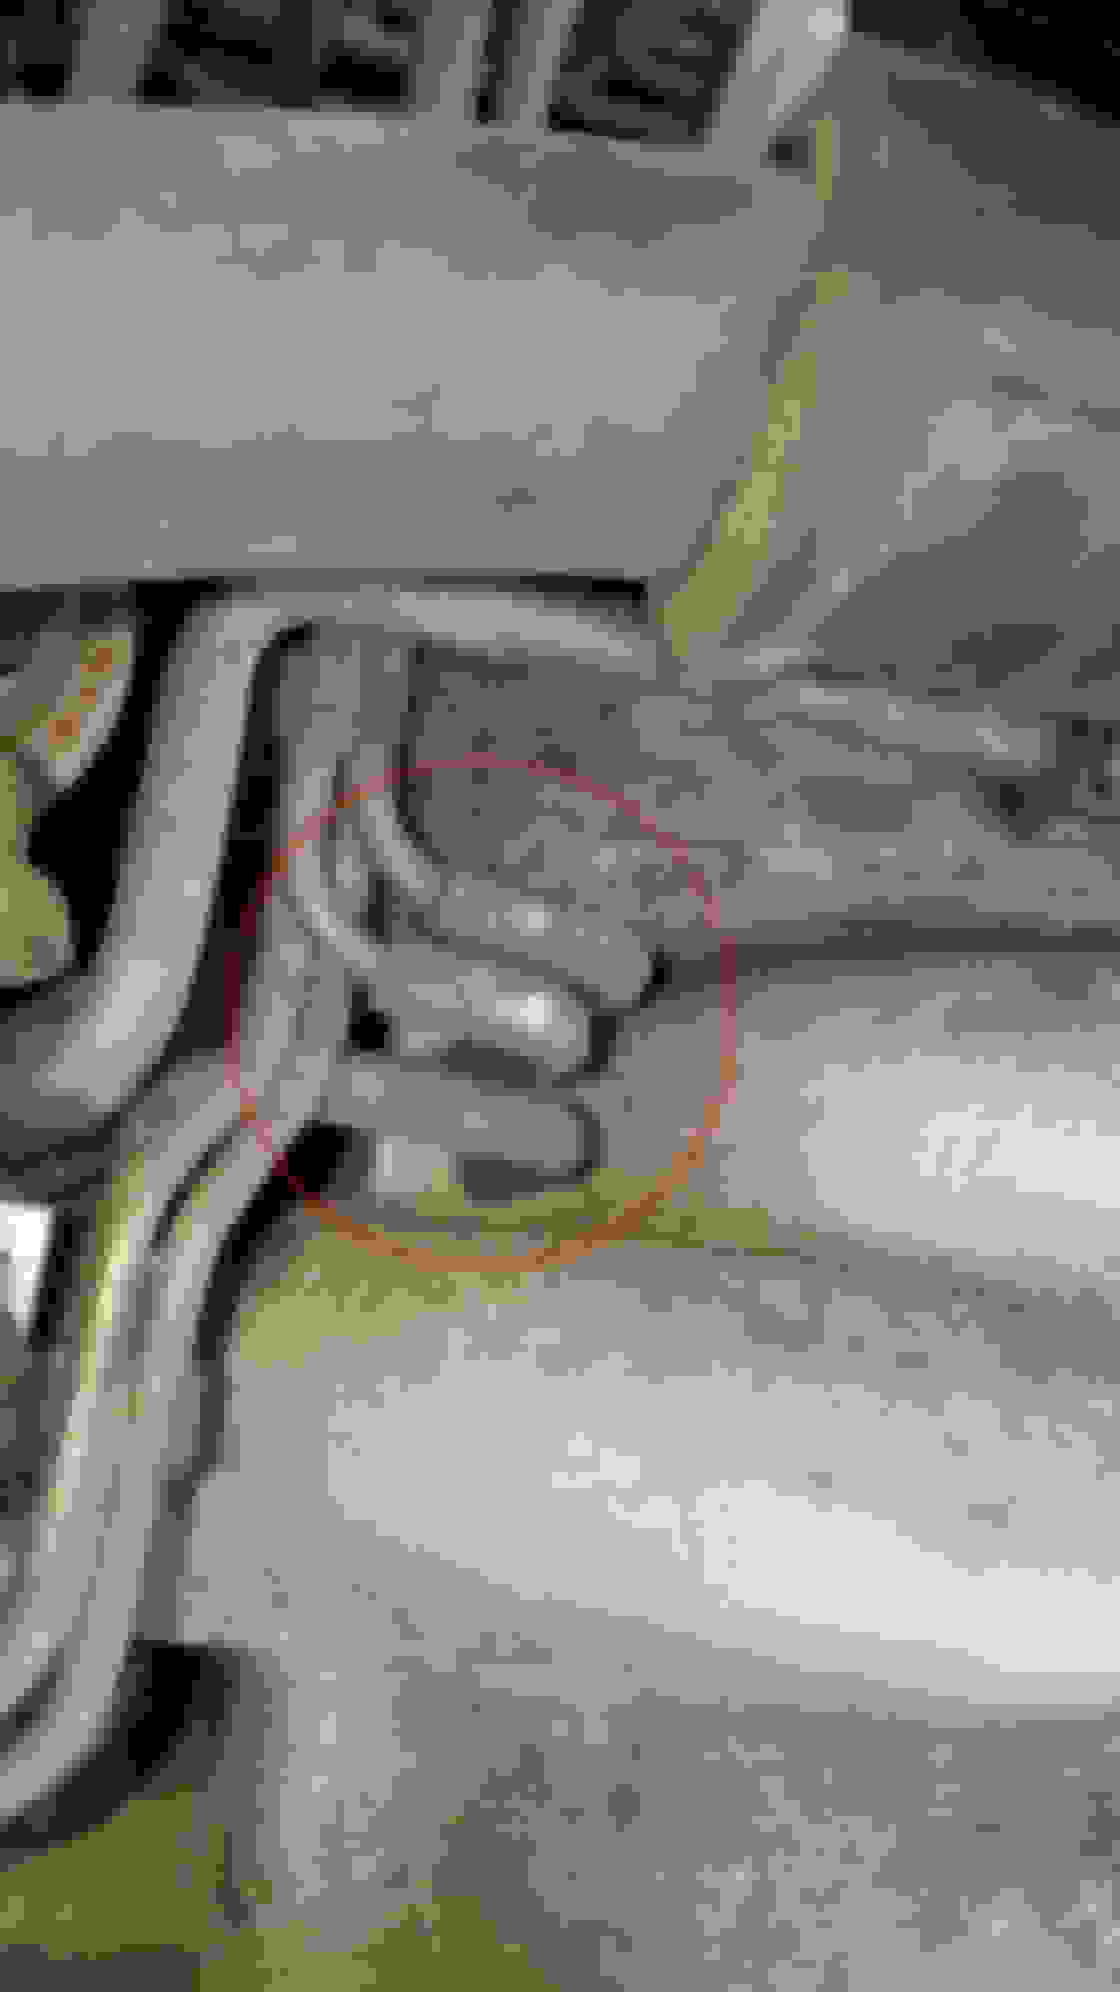
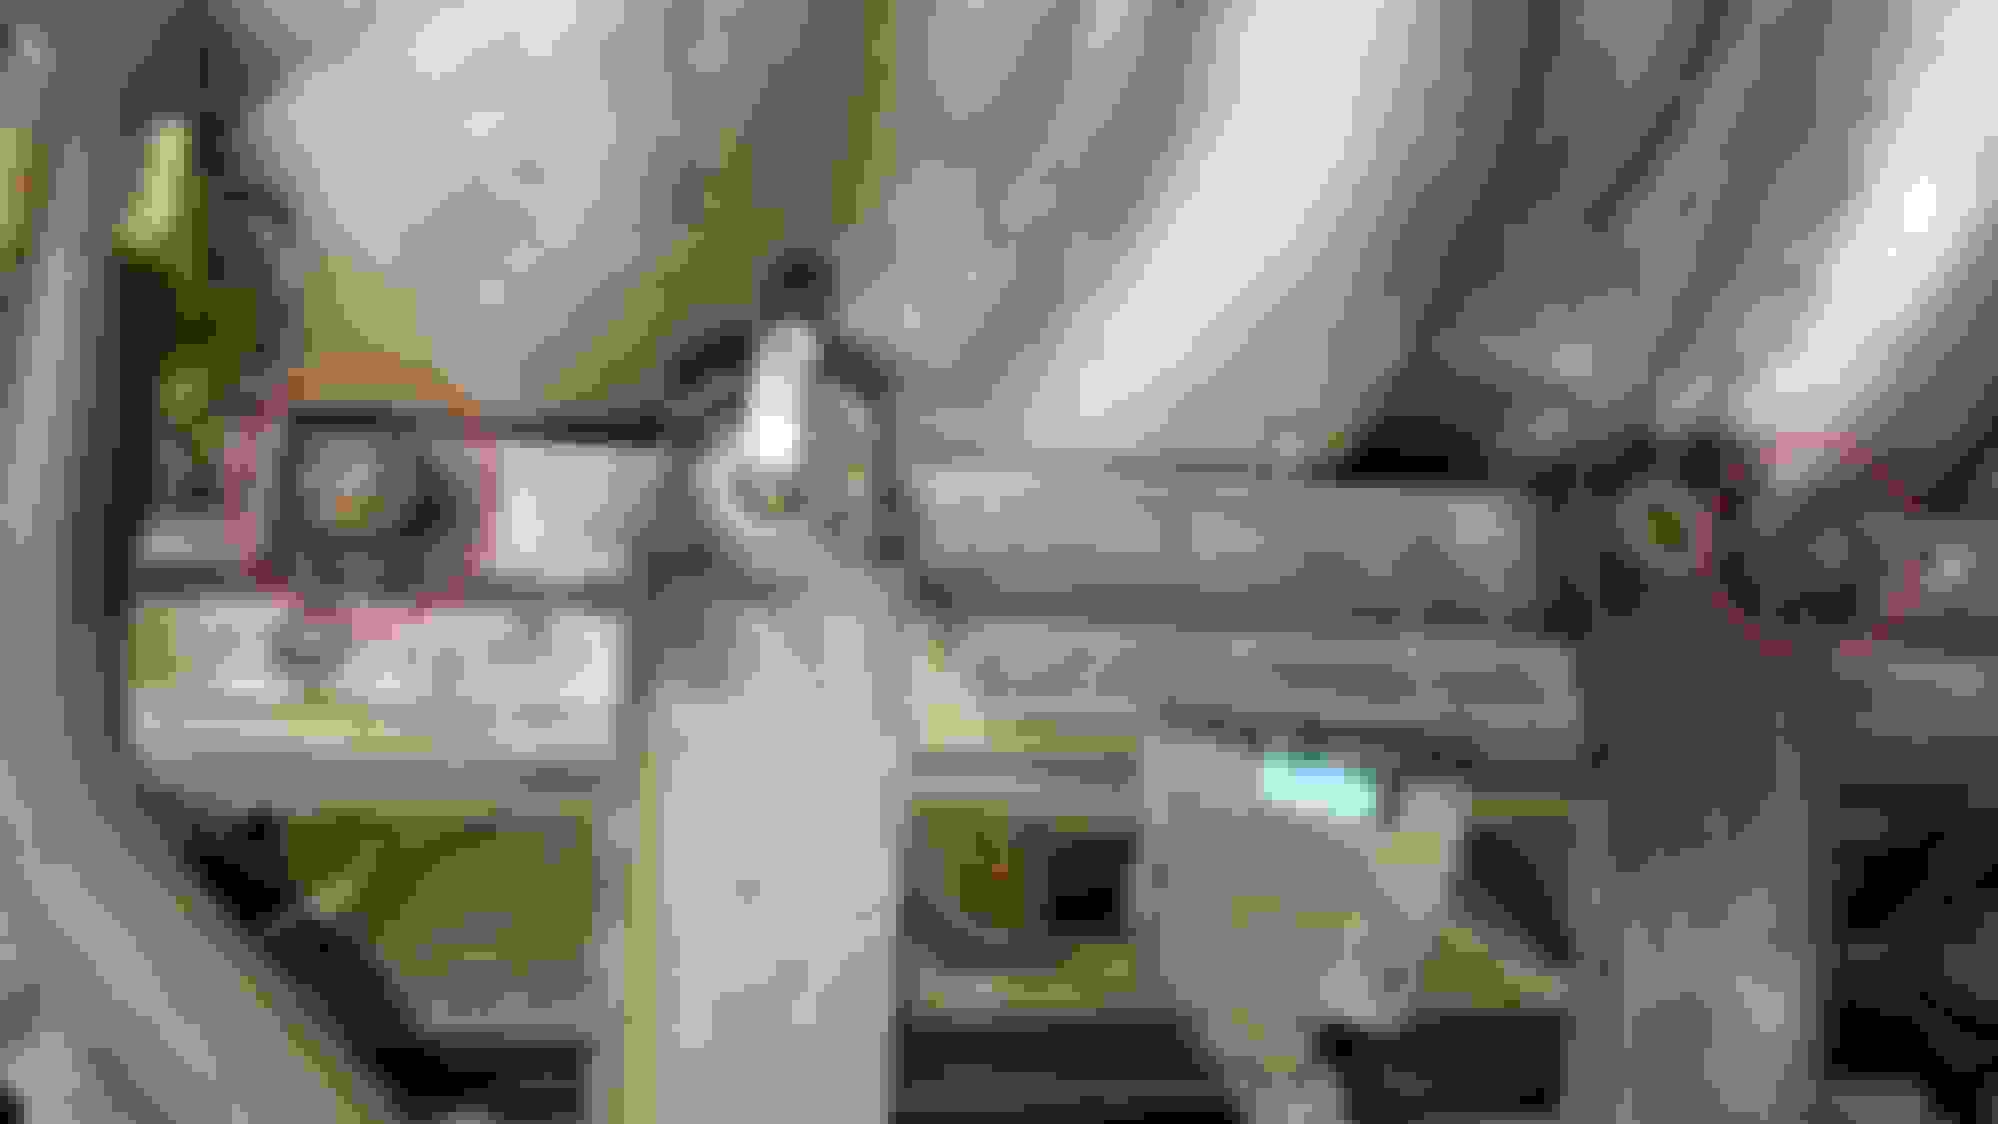
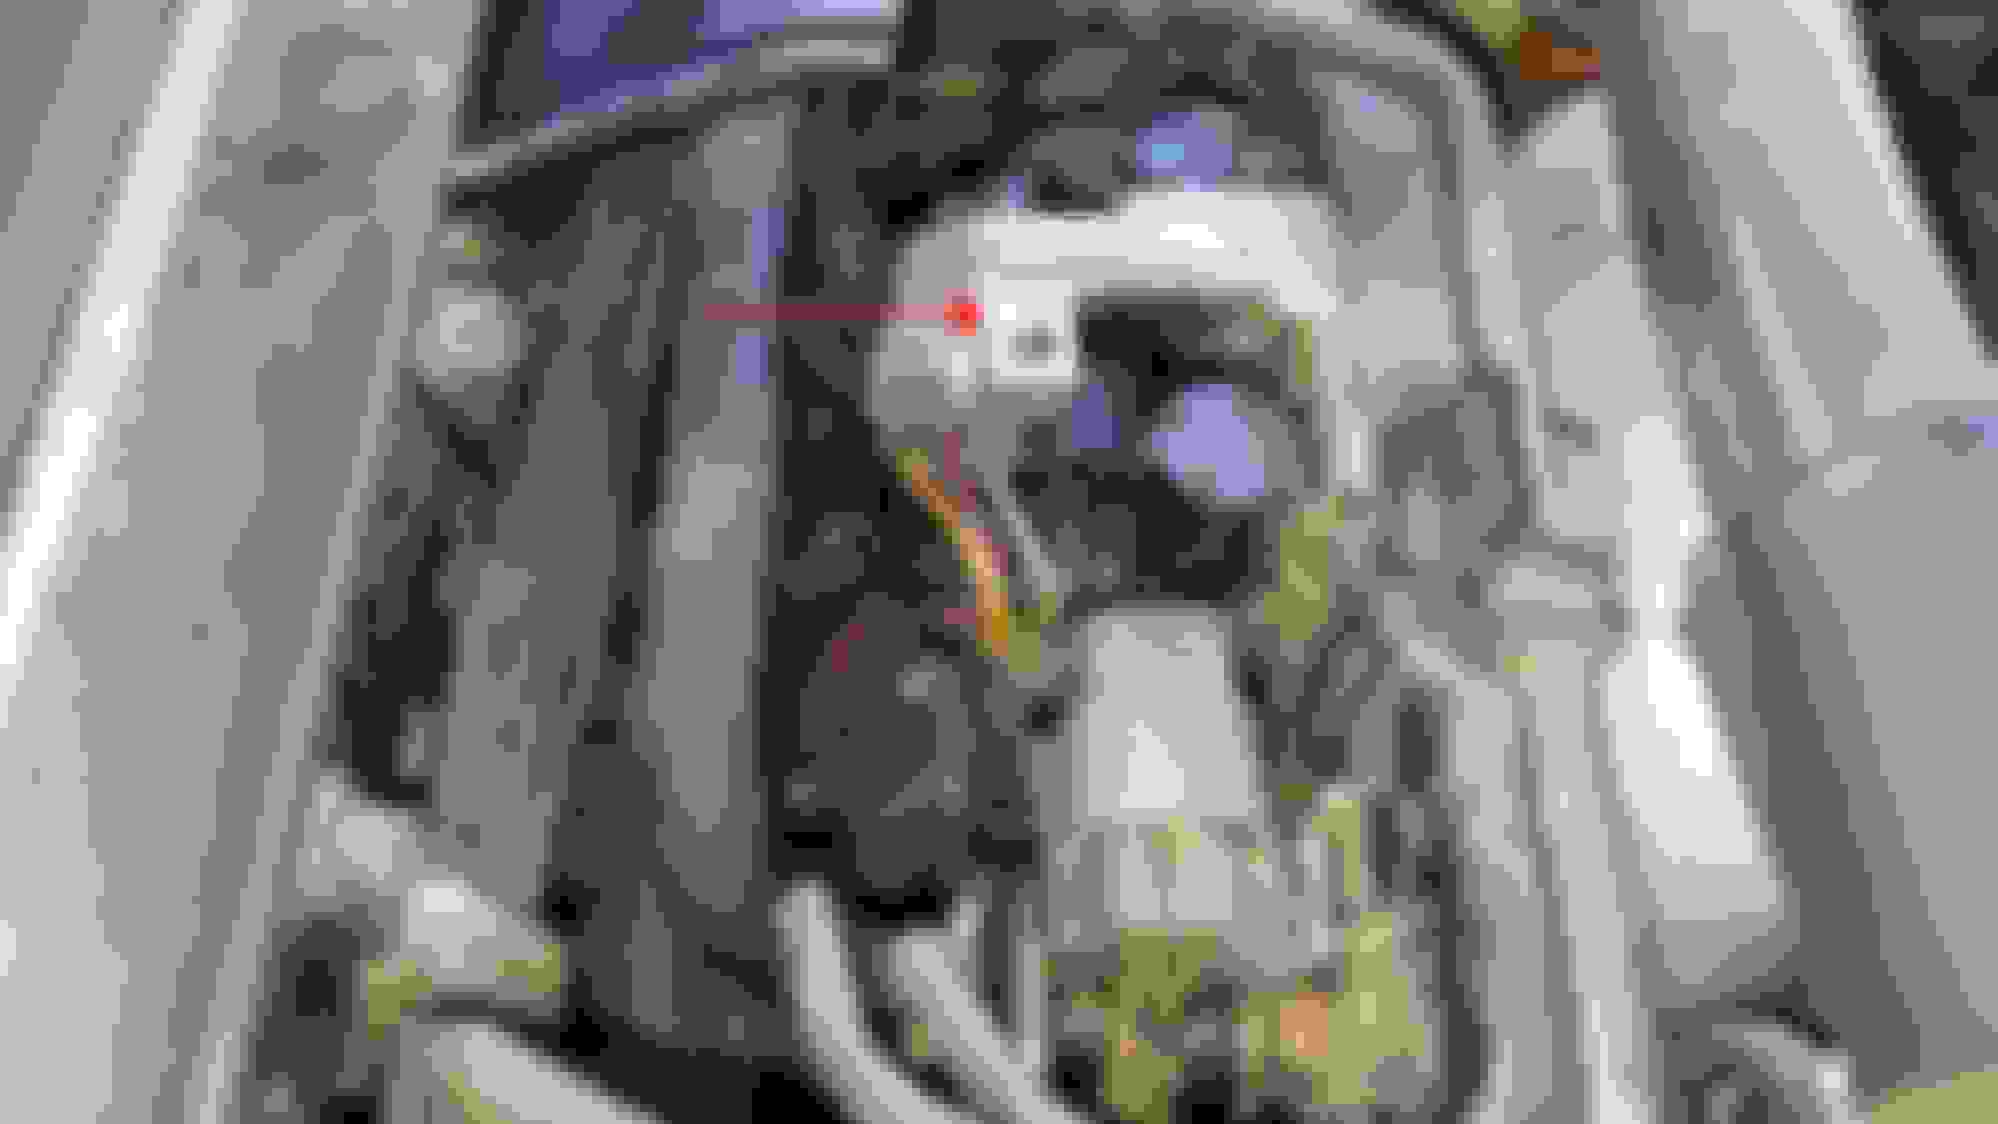
Unscrew the hood bolts (10 mm). Screw one bolt into the red circle.
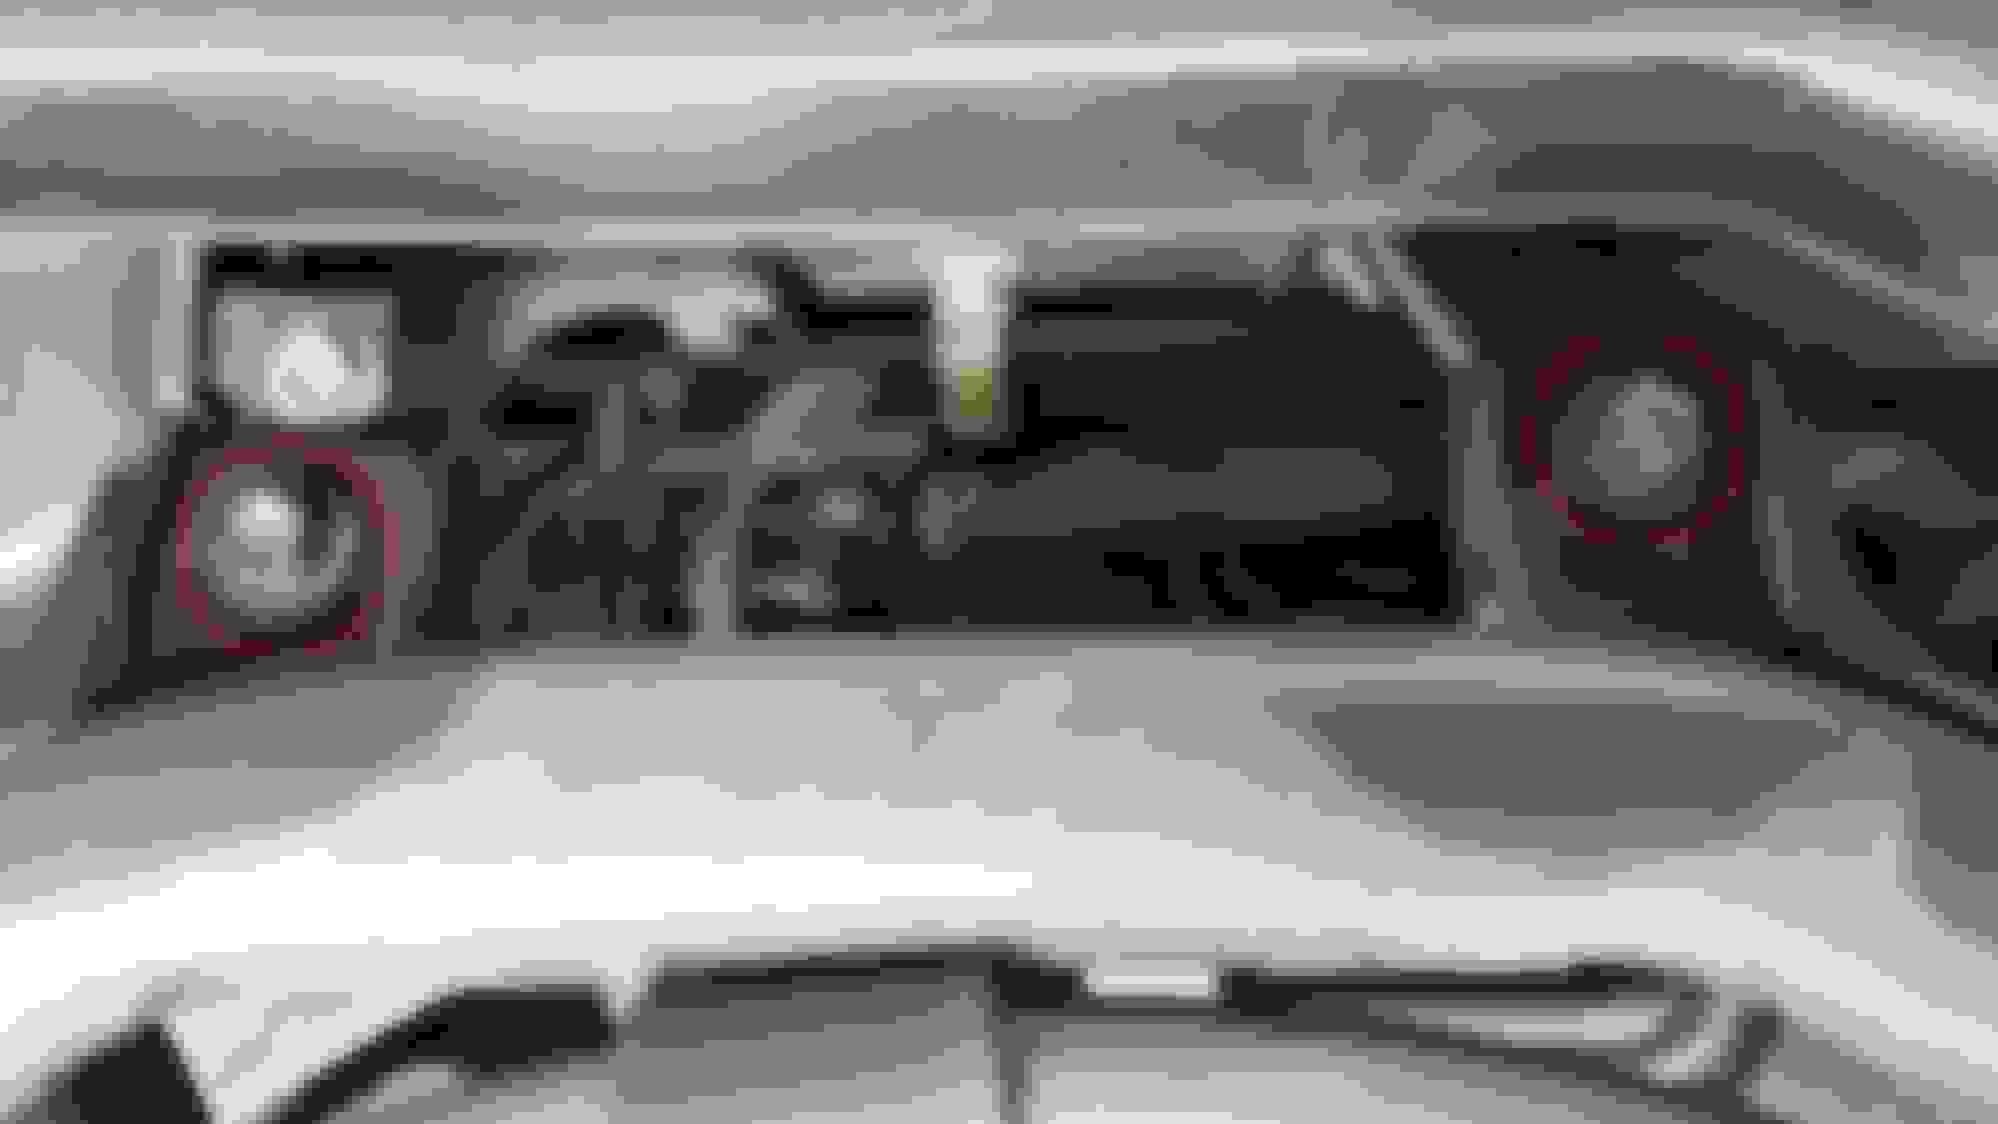
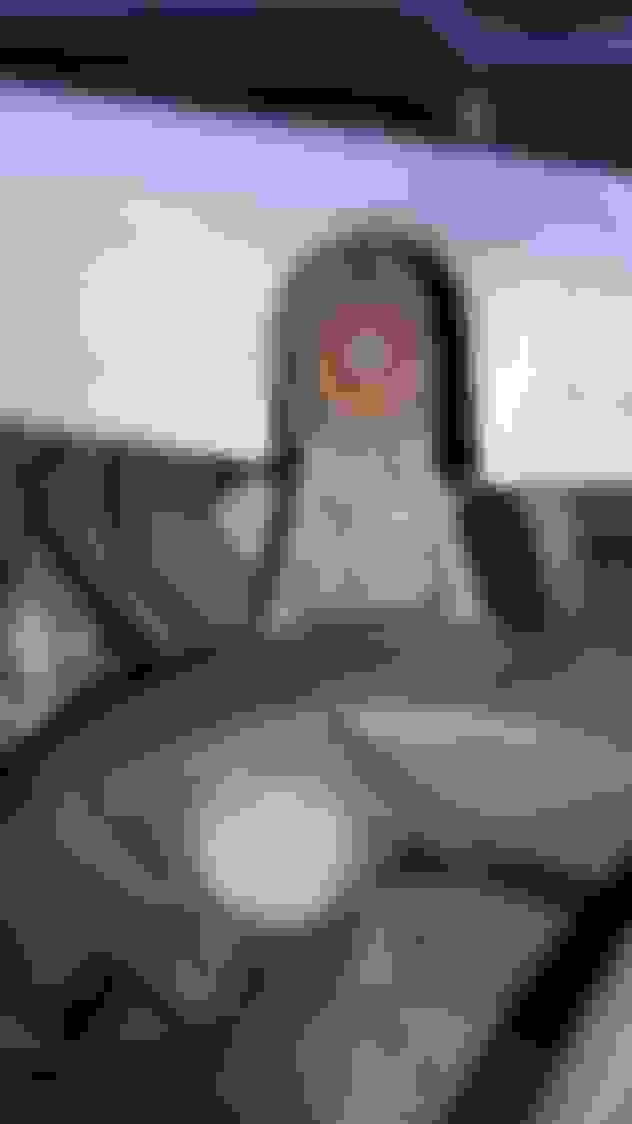
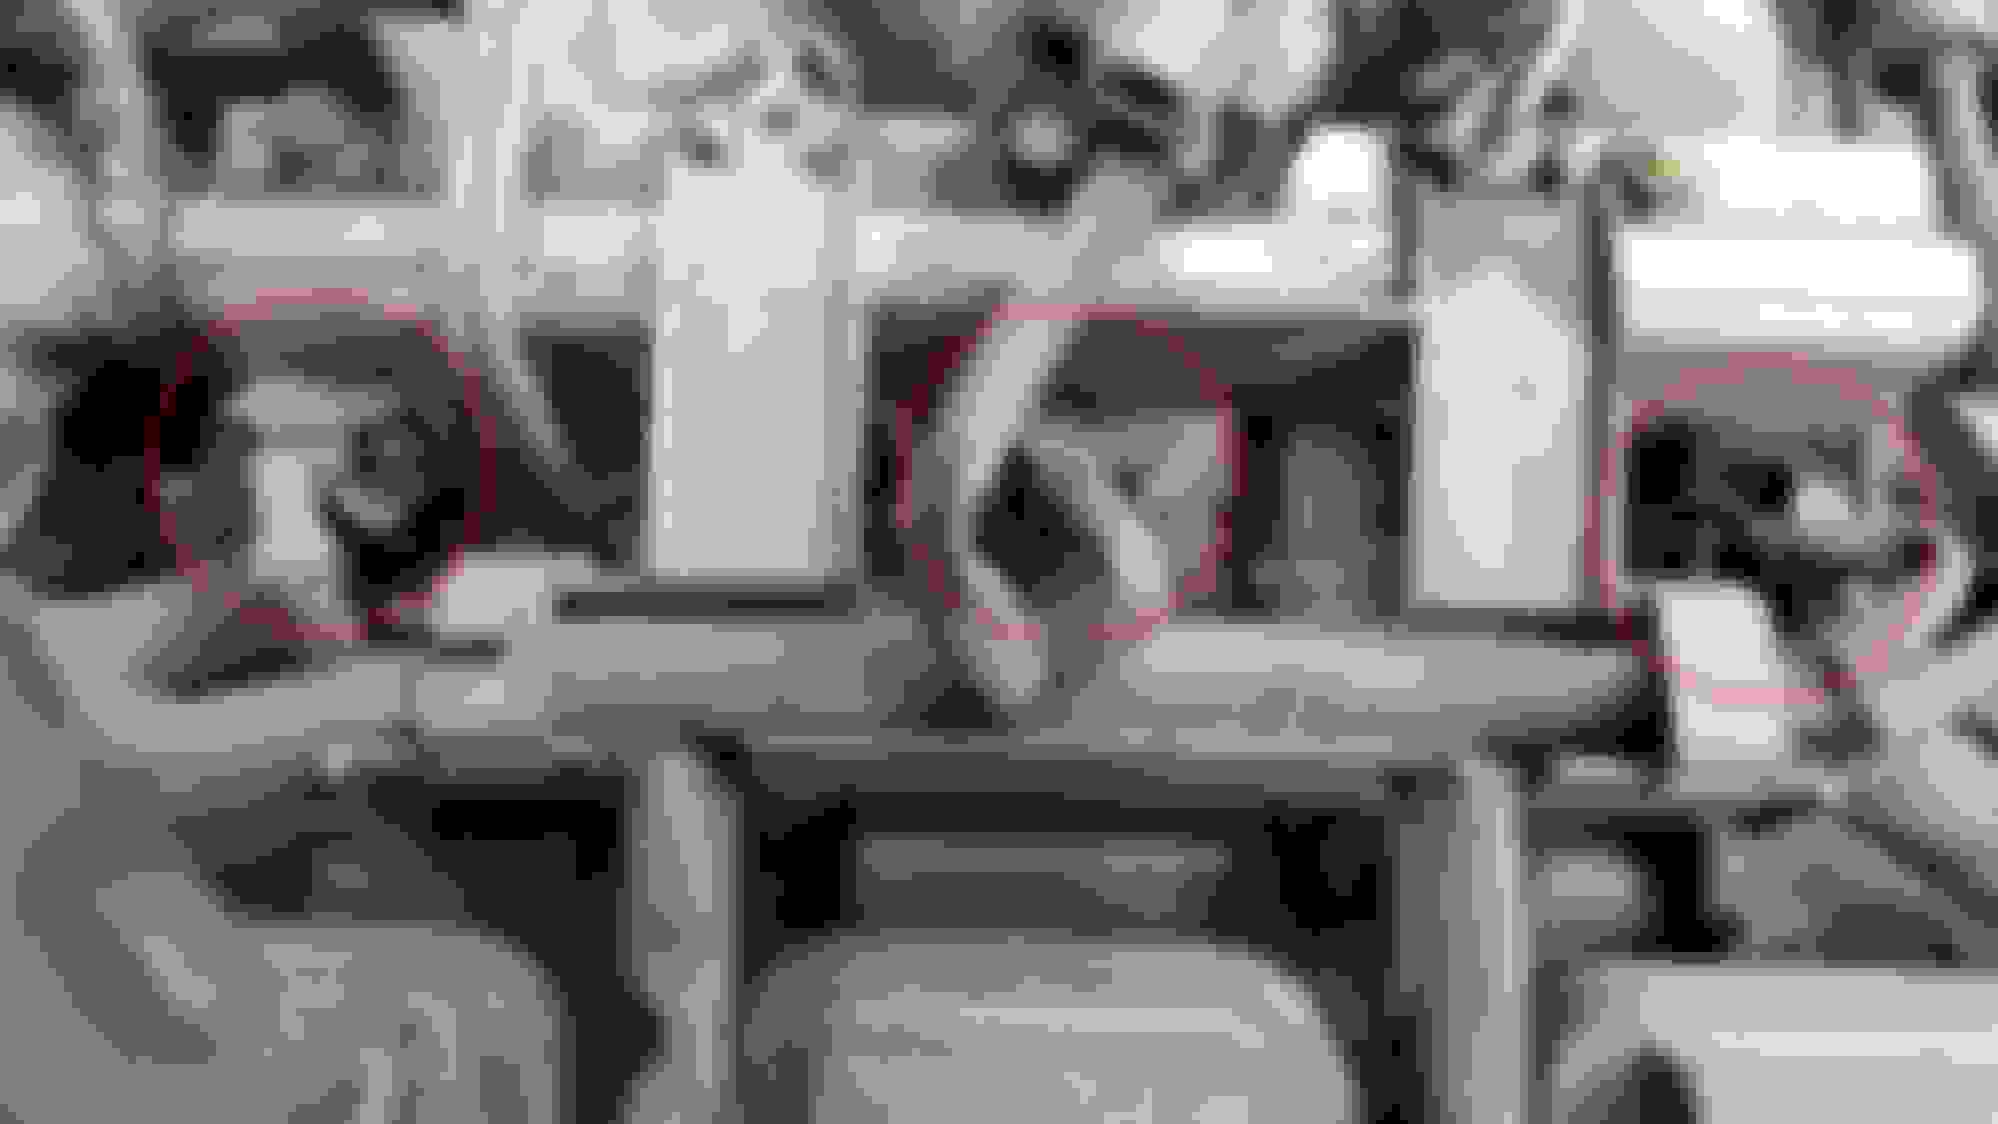
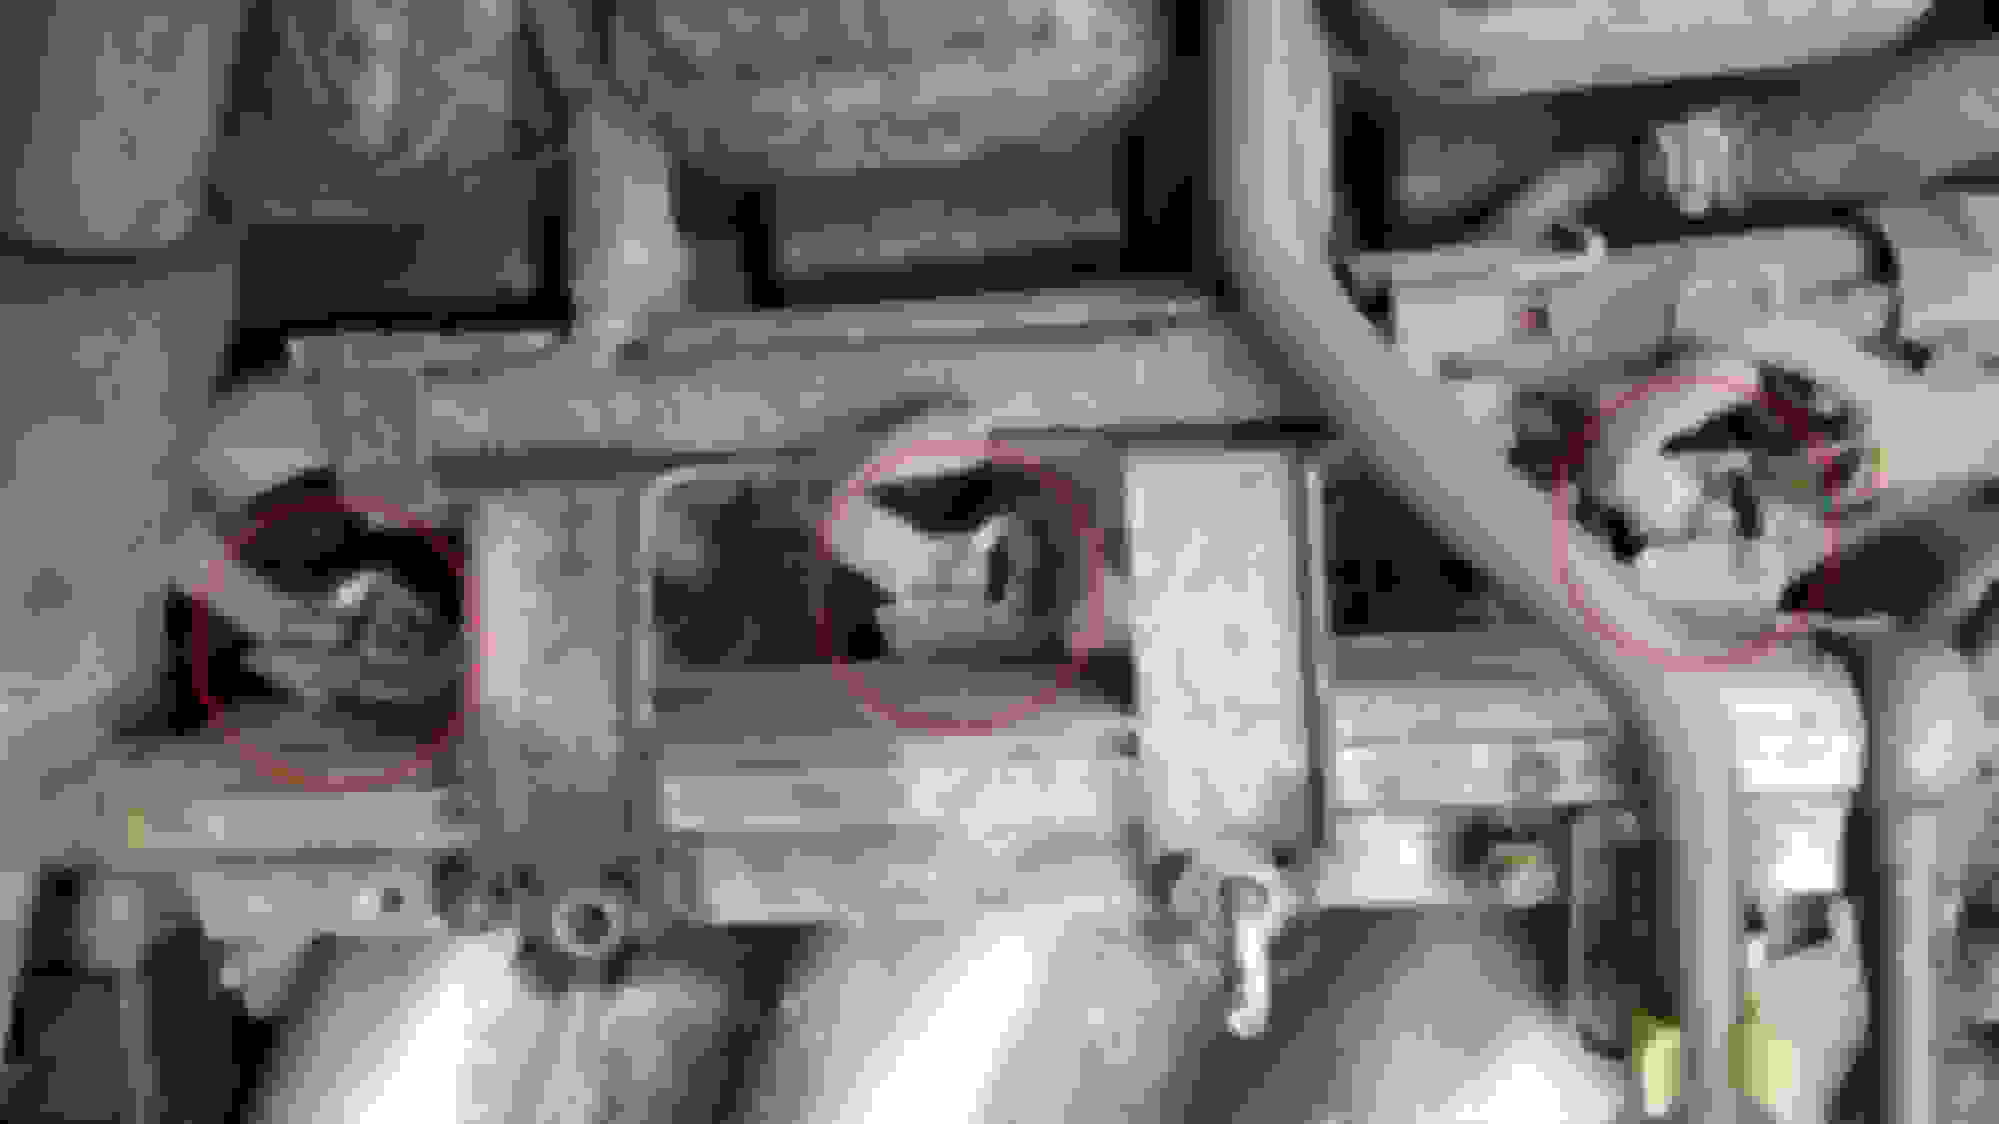
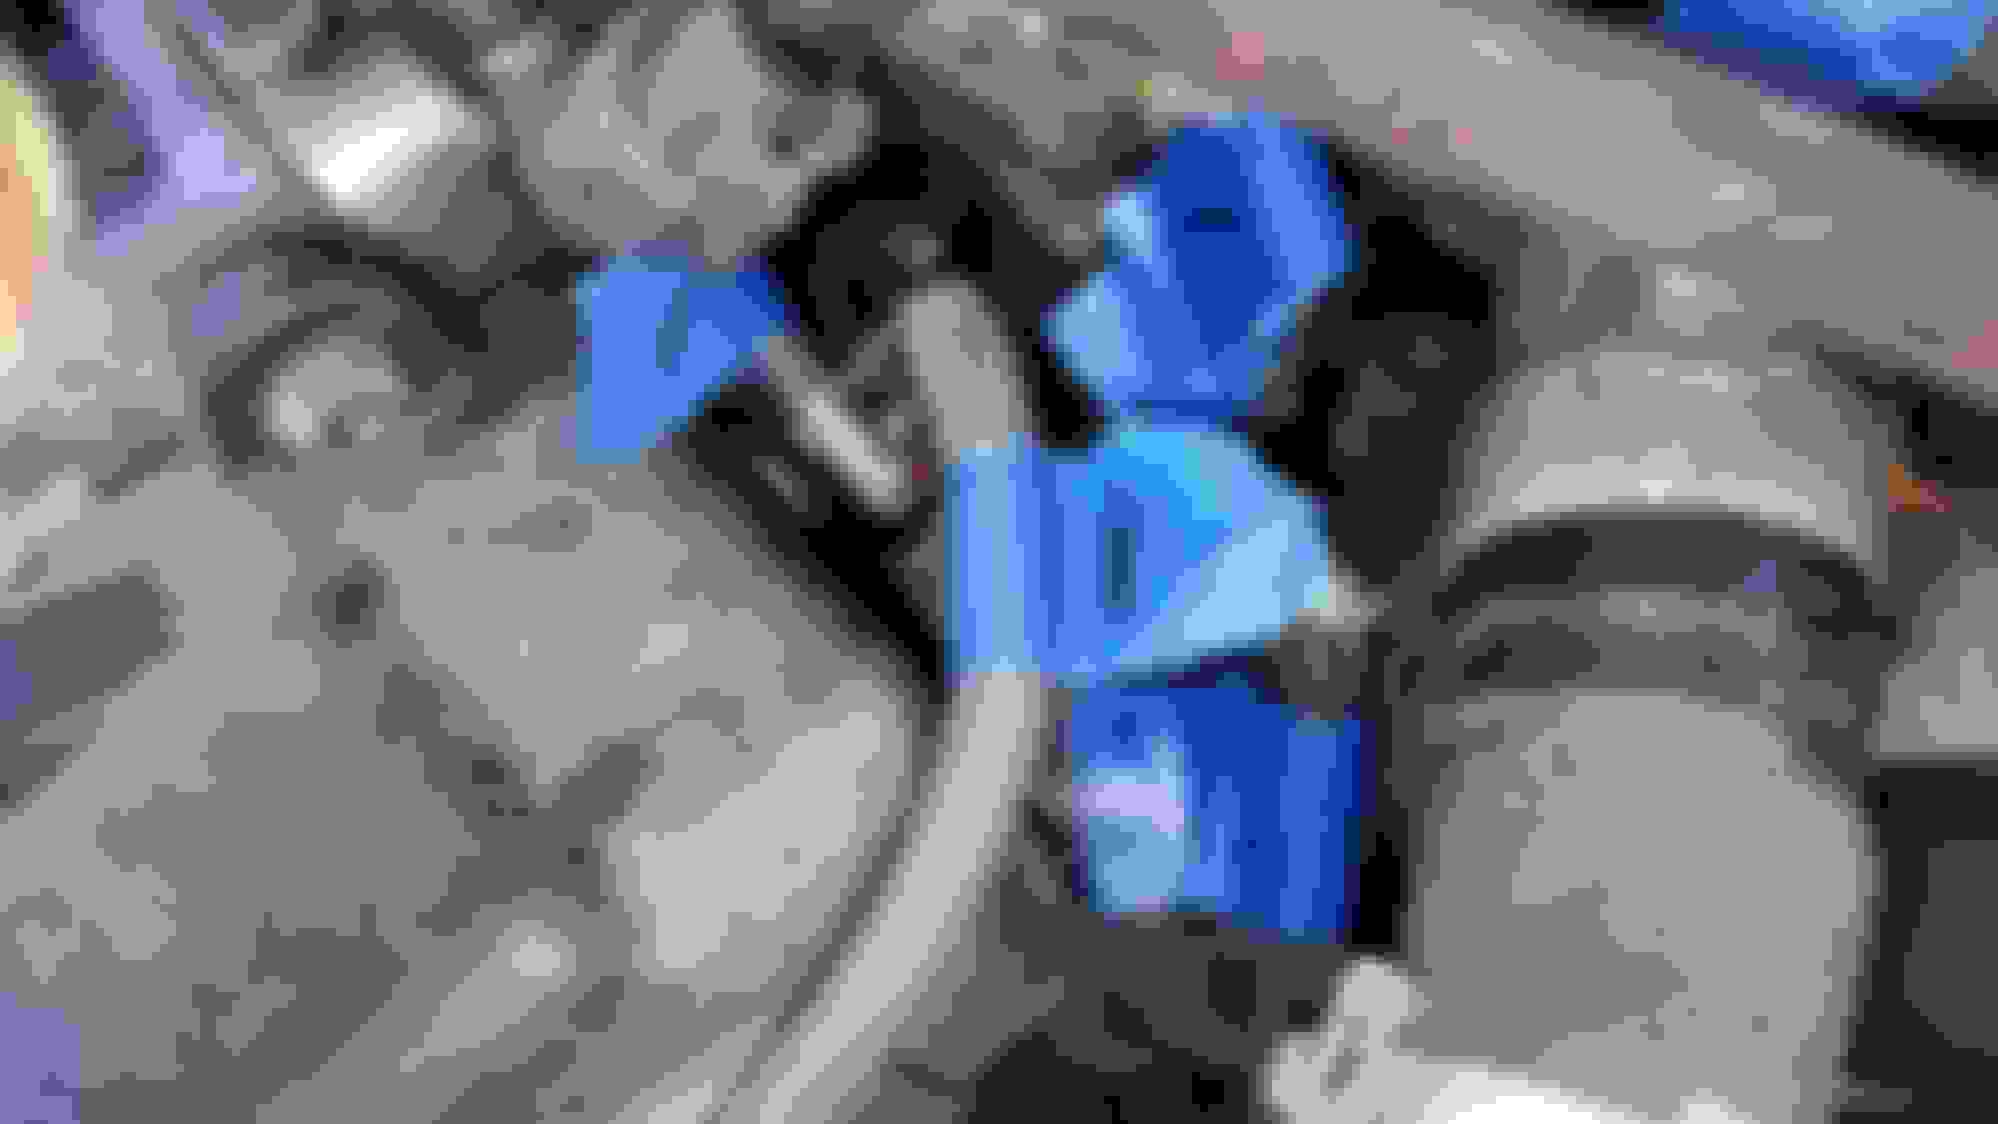
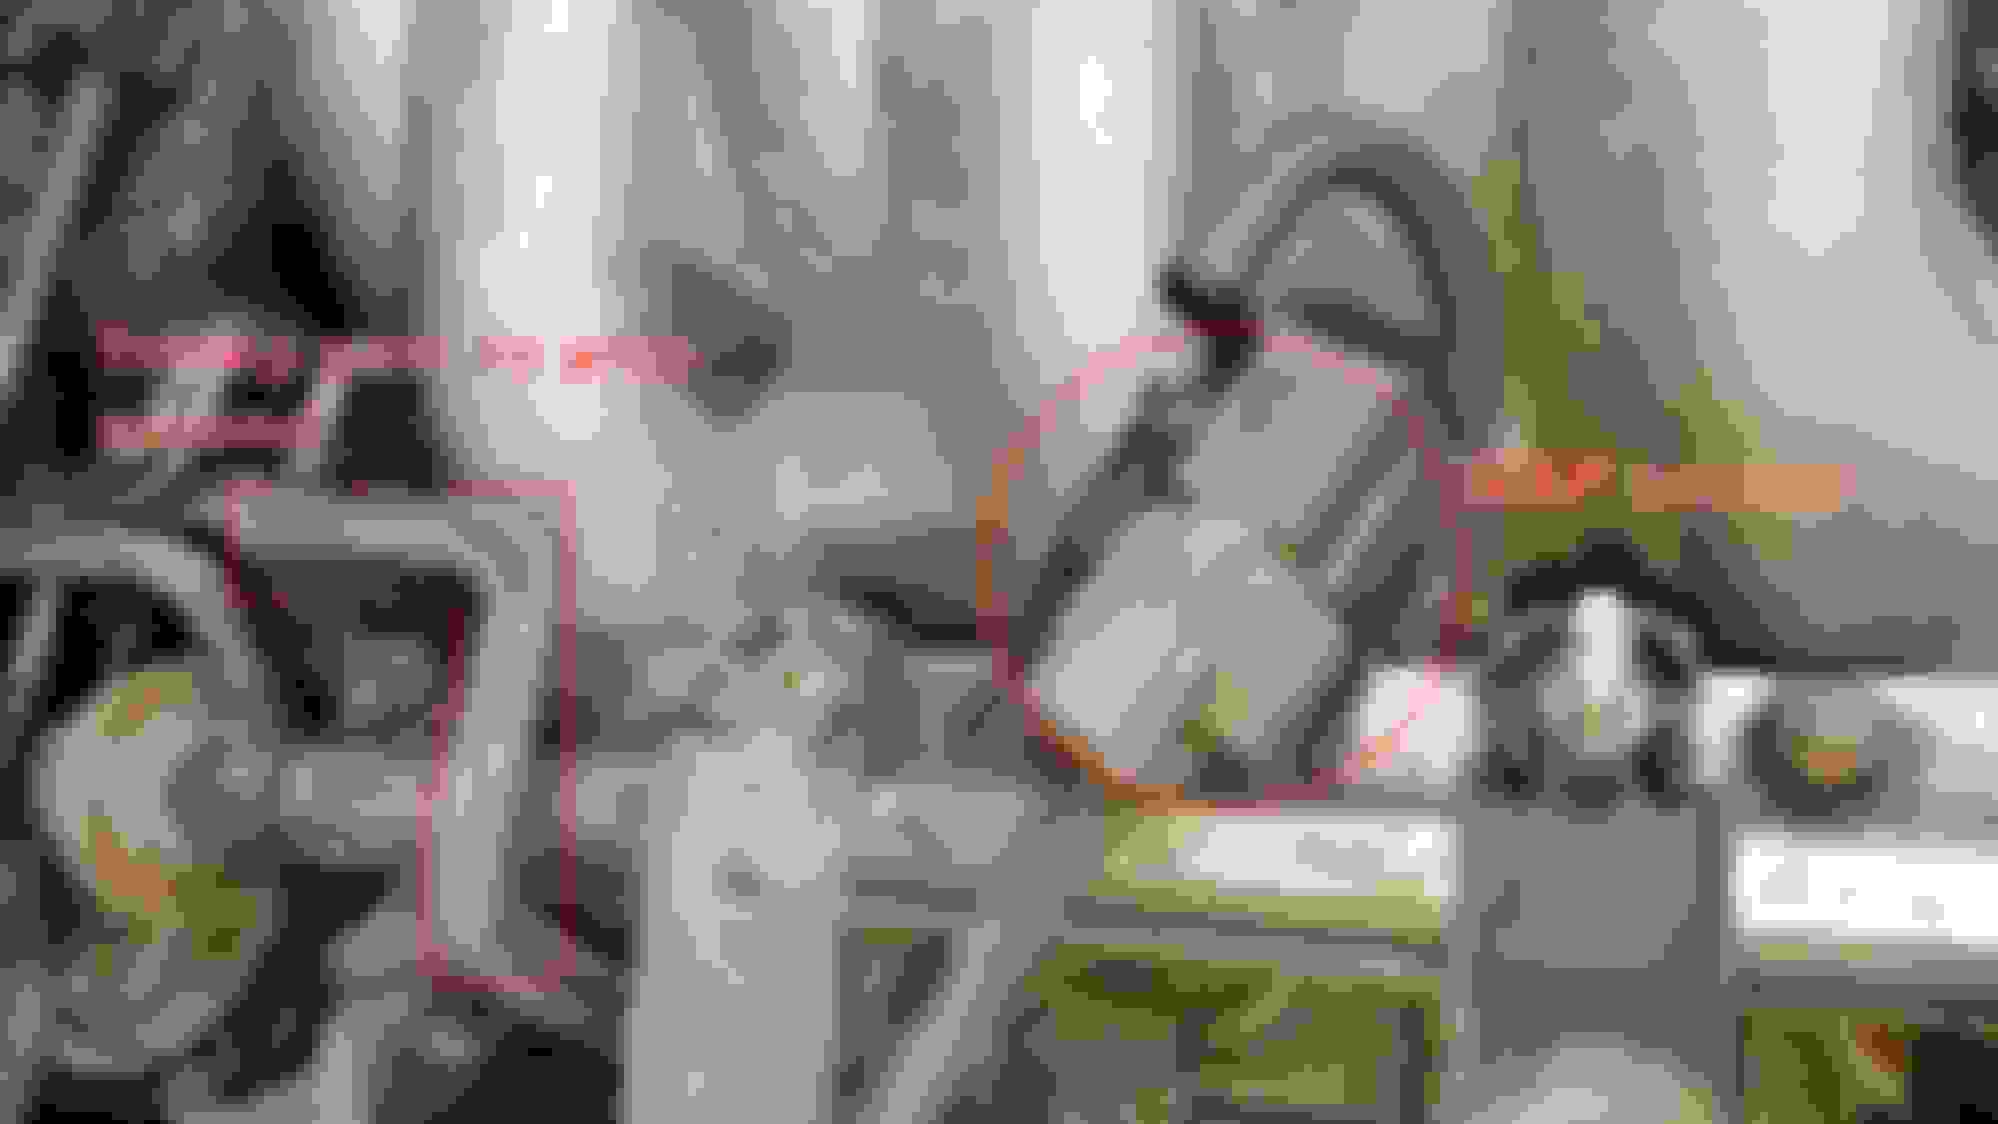
Step 5: Unscrew the strut brace nuts.
Strut Brace bolts Center!
Strut Brace Nuts Left!
Strut Brace Nuts Right!
Alright friends. I am wiped fixing this all day today! Will upload every step (mostly I took photographs) in the following days!
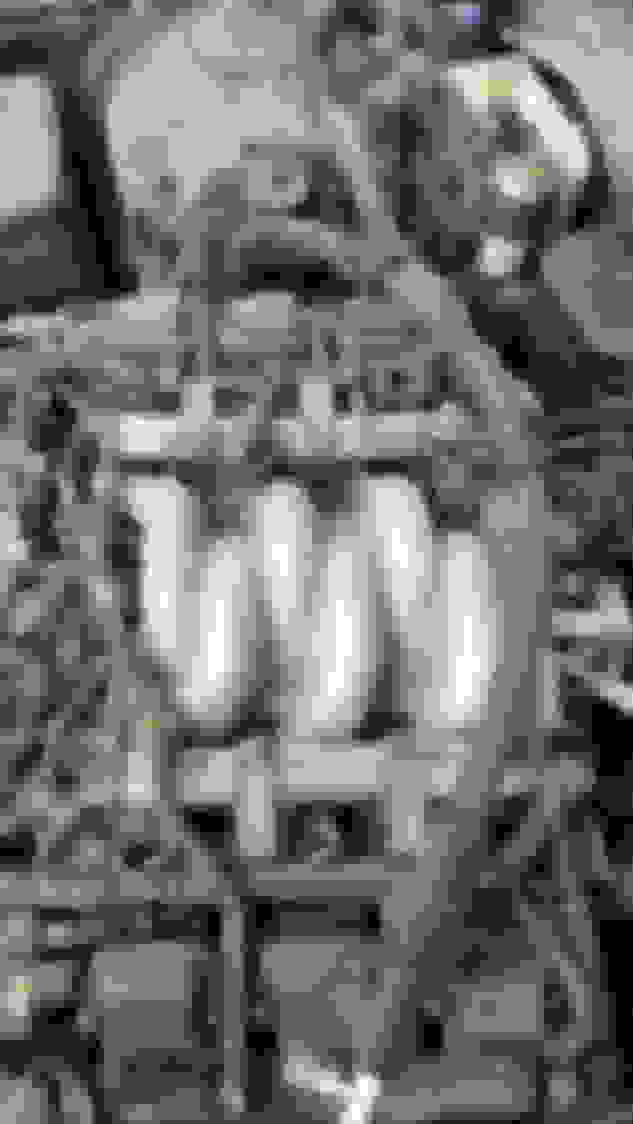
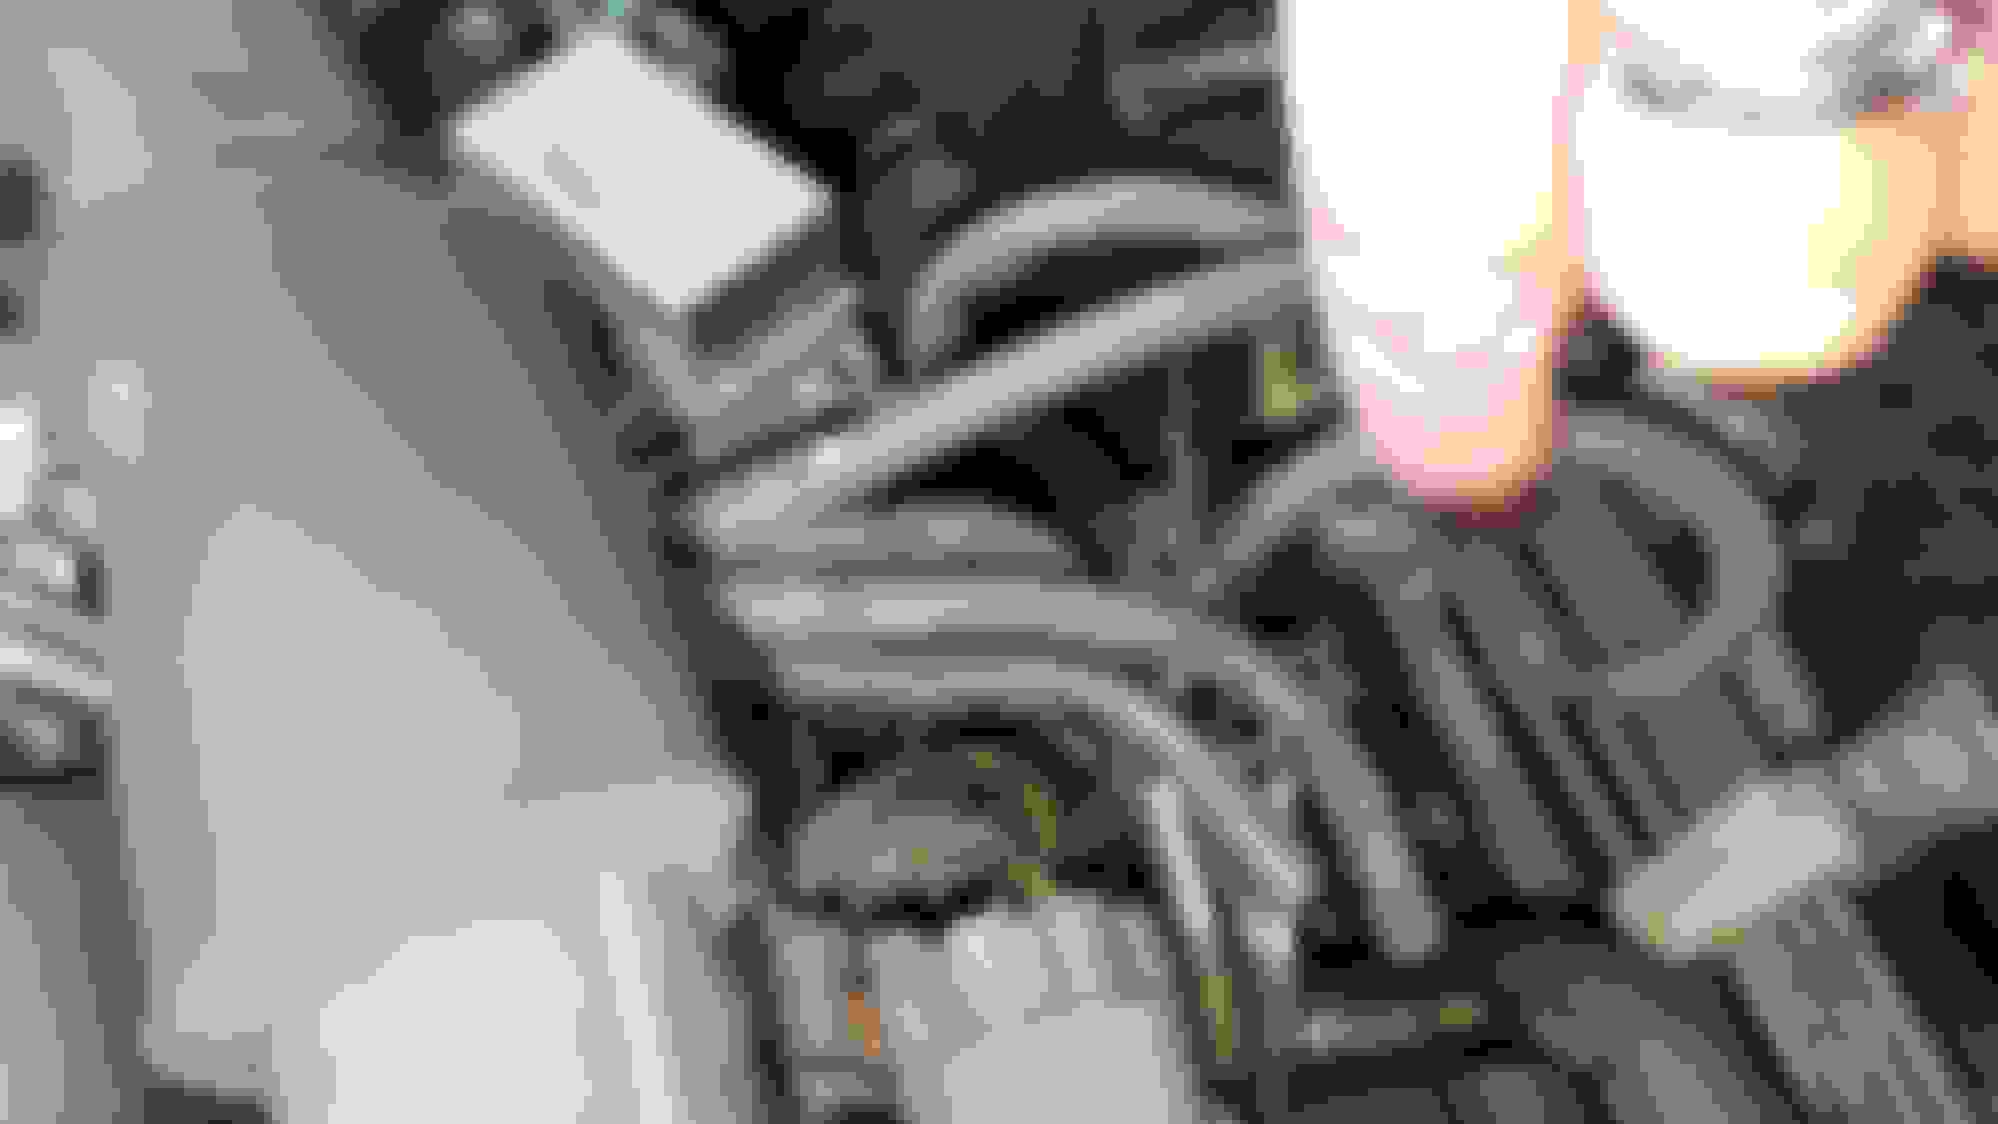
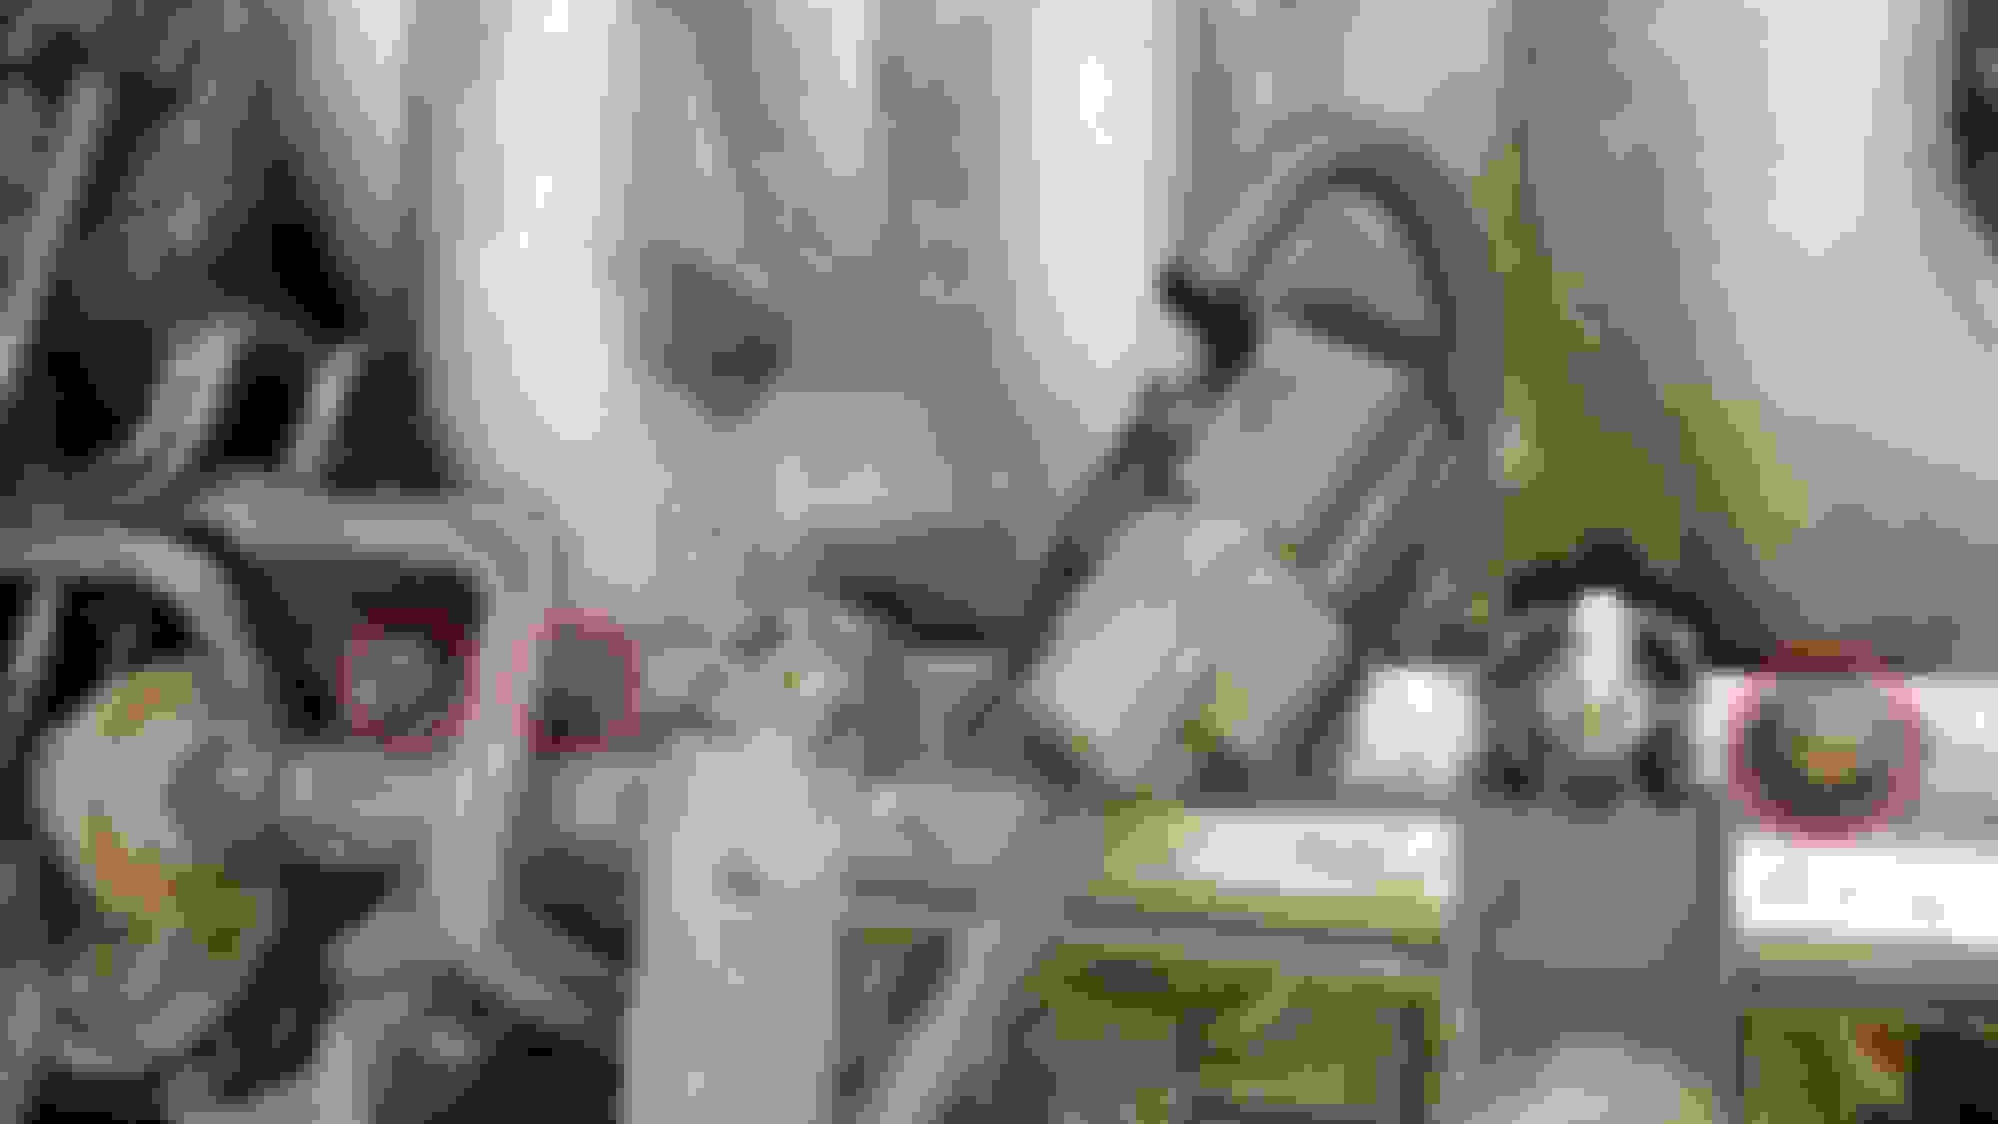
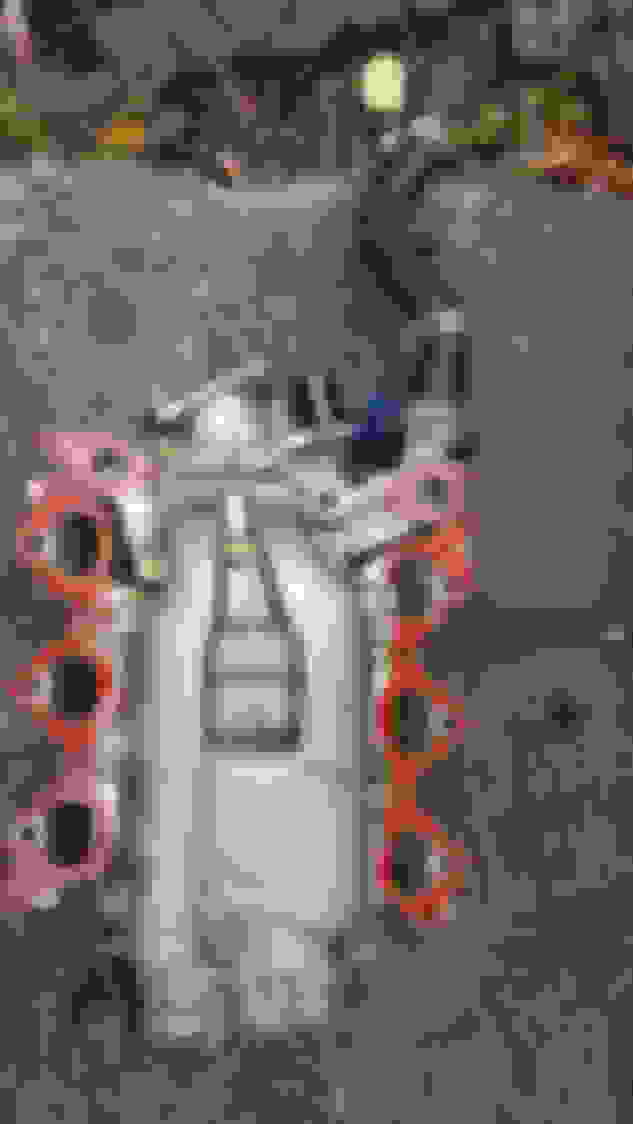
Step 6: Now remove 4 bolts and 2 screws off of engine cover. 2 bolts will be front and 2 towards windshield. 2 screws are towards bumper.
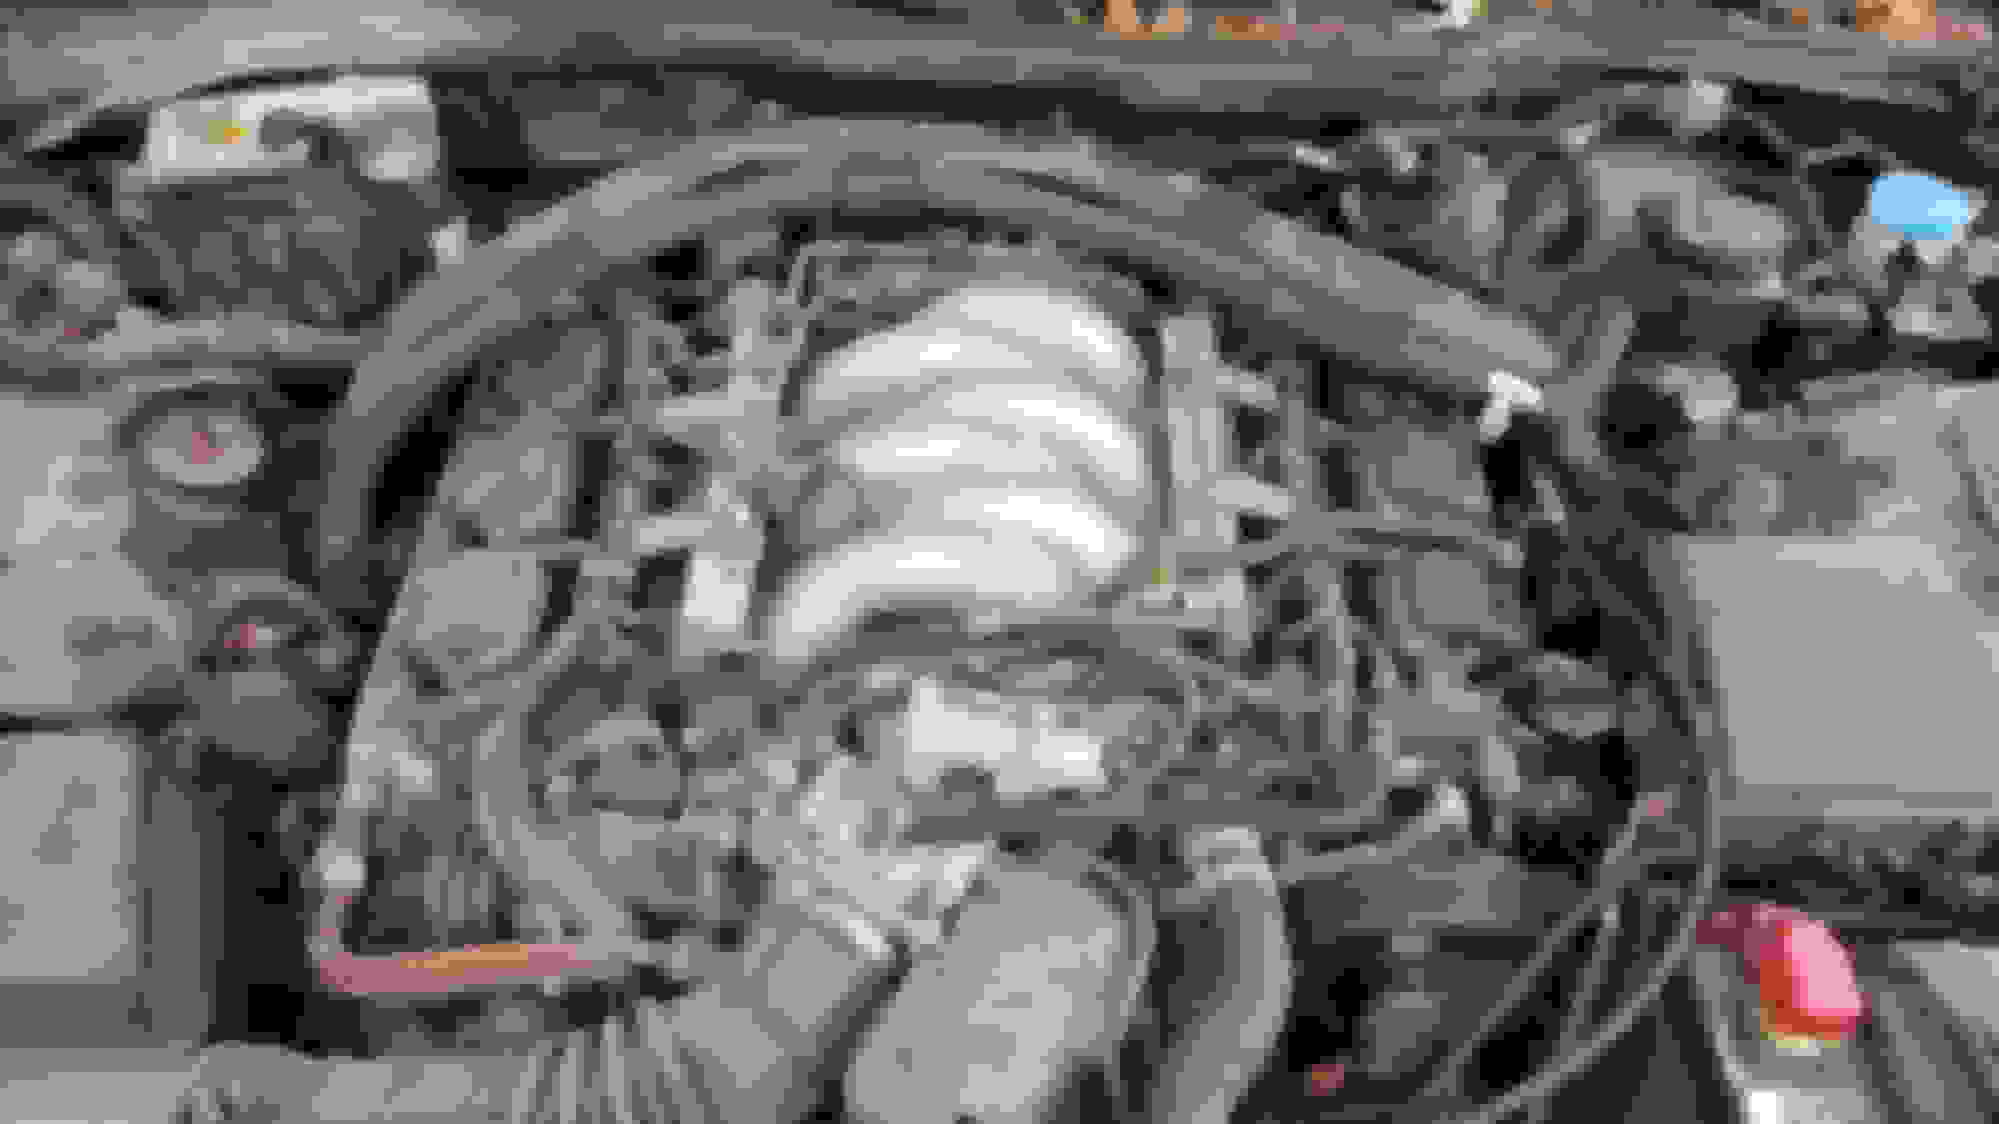
Step 7: This is how it should look after you remove engine cover.
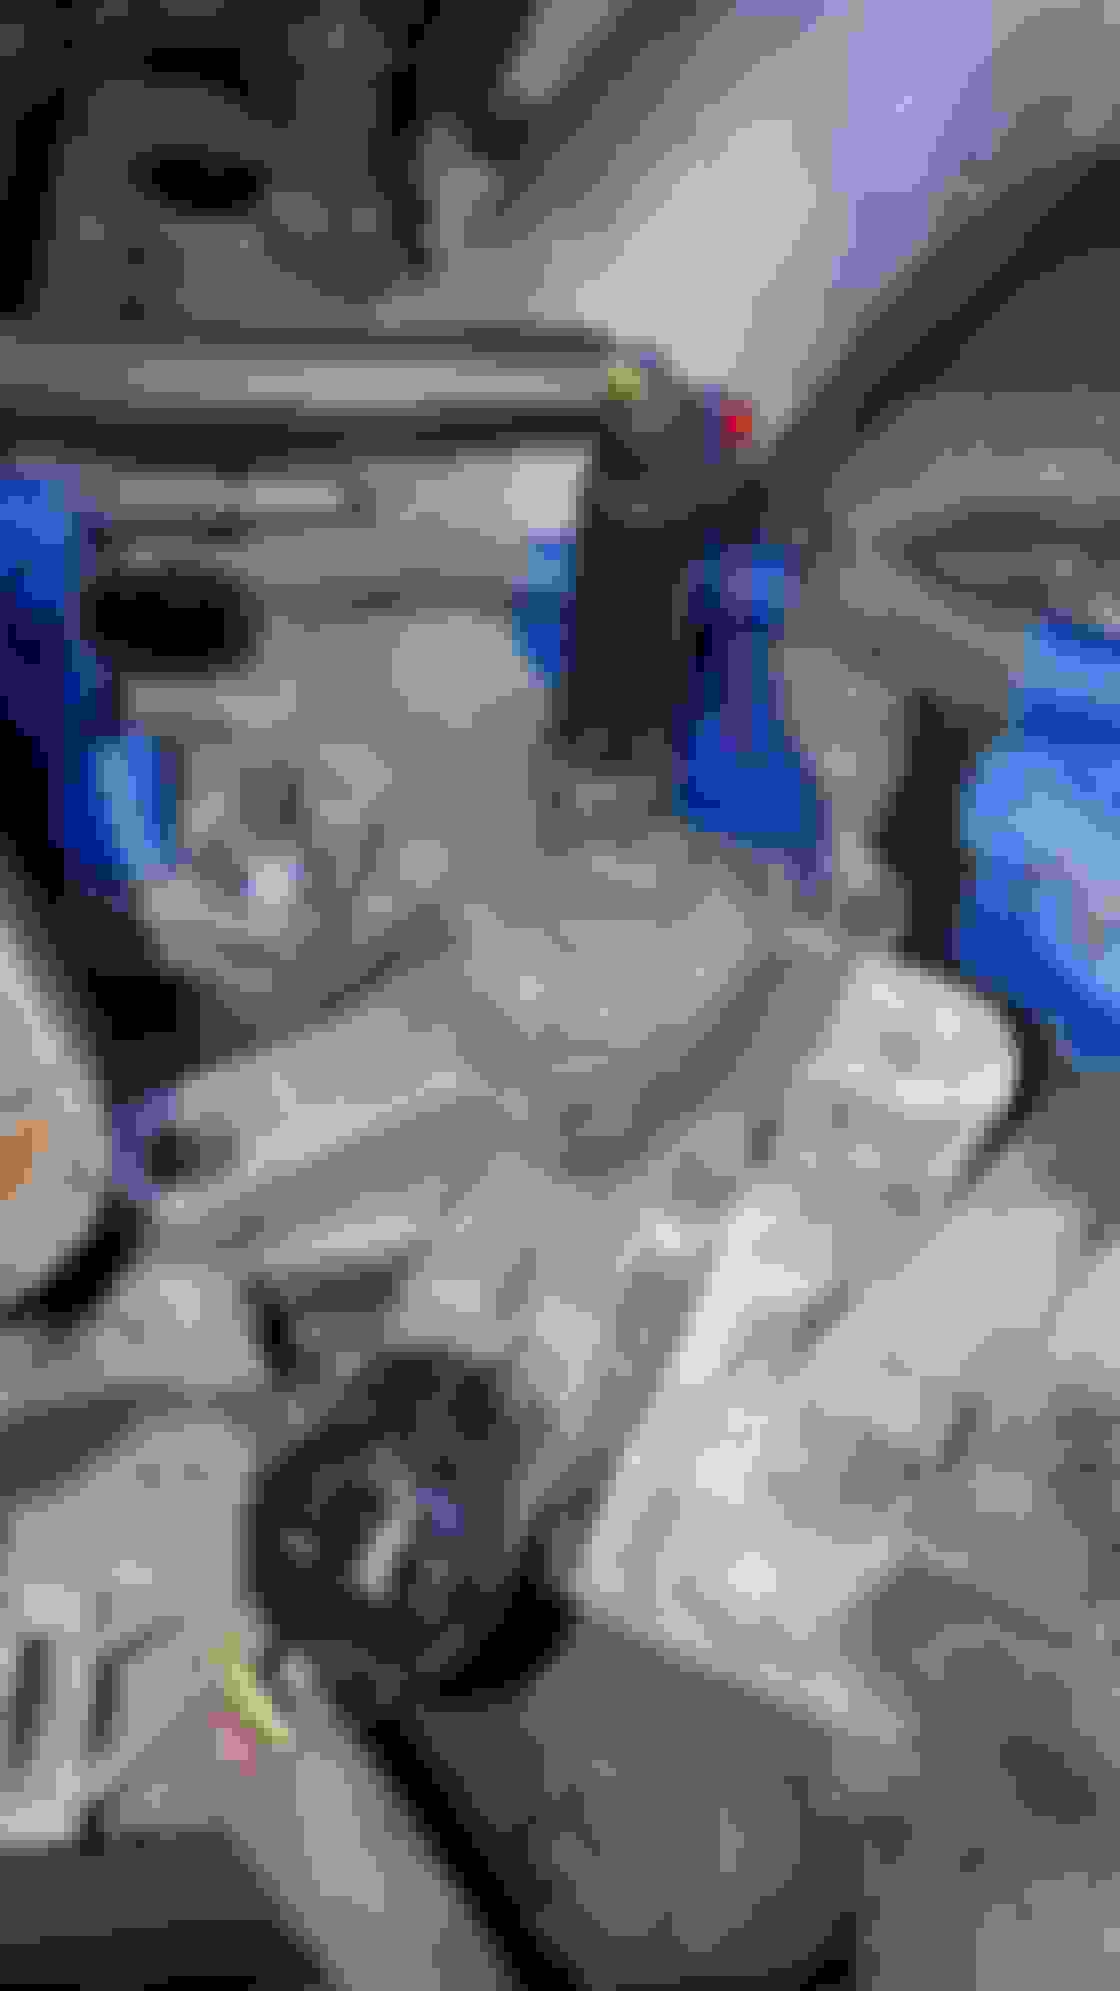
Step 8: Next separate the strut brace and black hosing from U hooks. Be careful!
After separation this is how it should look.
Step 9: Here starts real fun. If you think its this easy to do the rest, you are mistaken
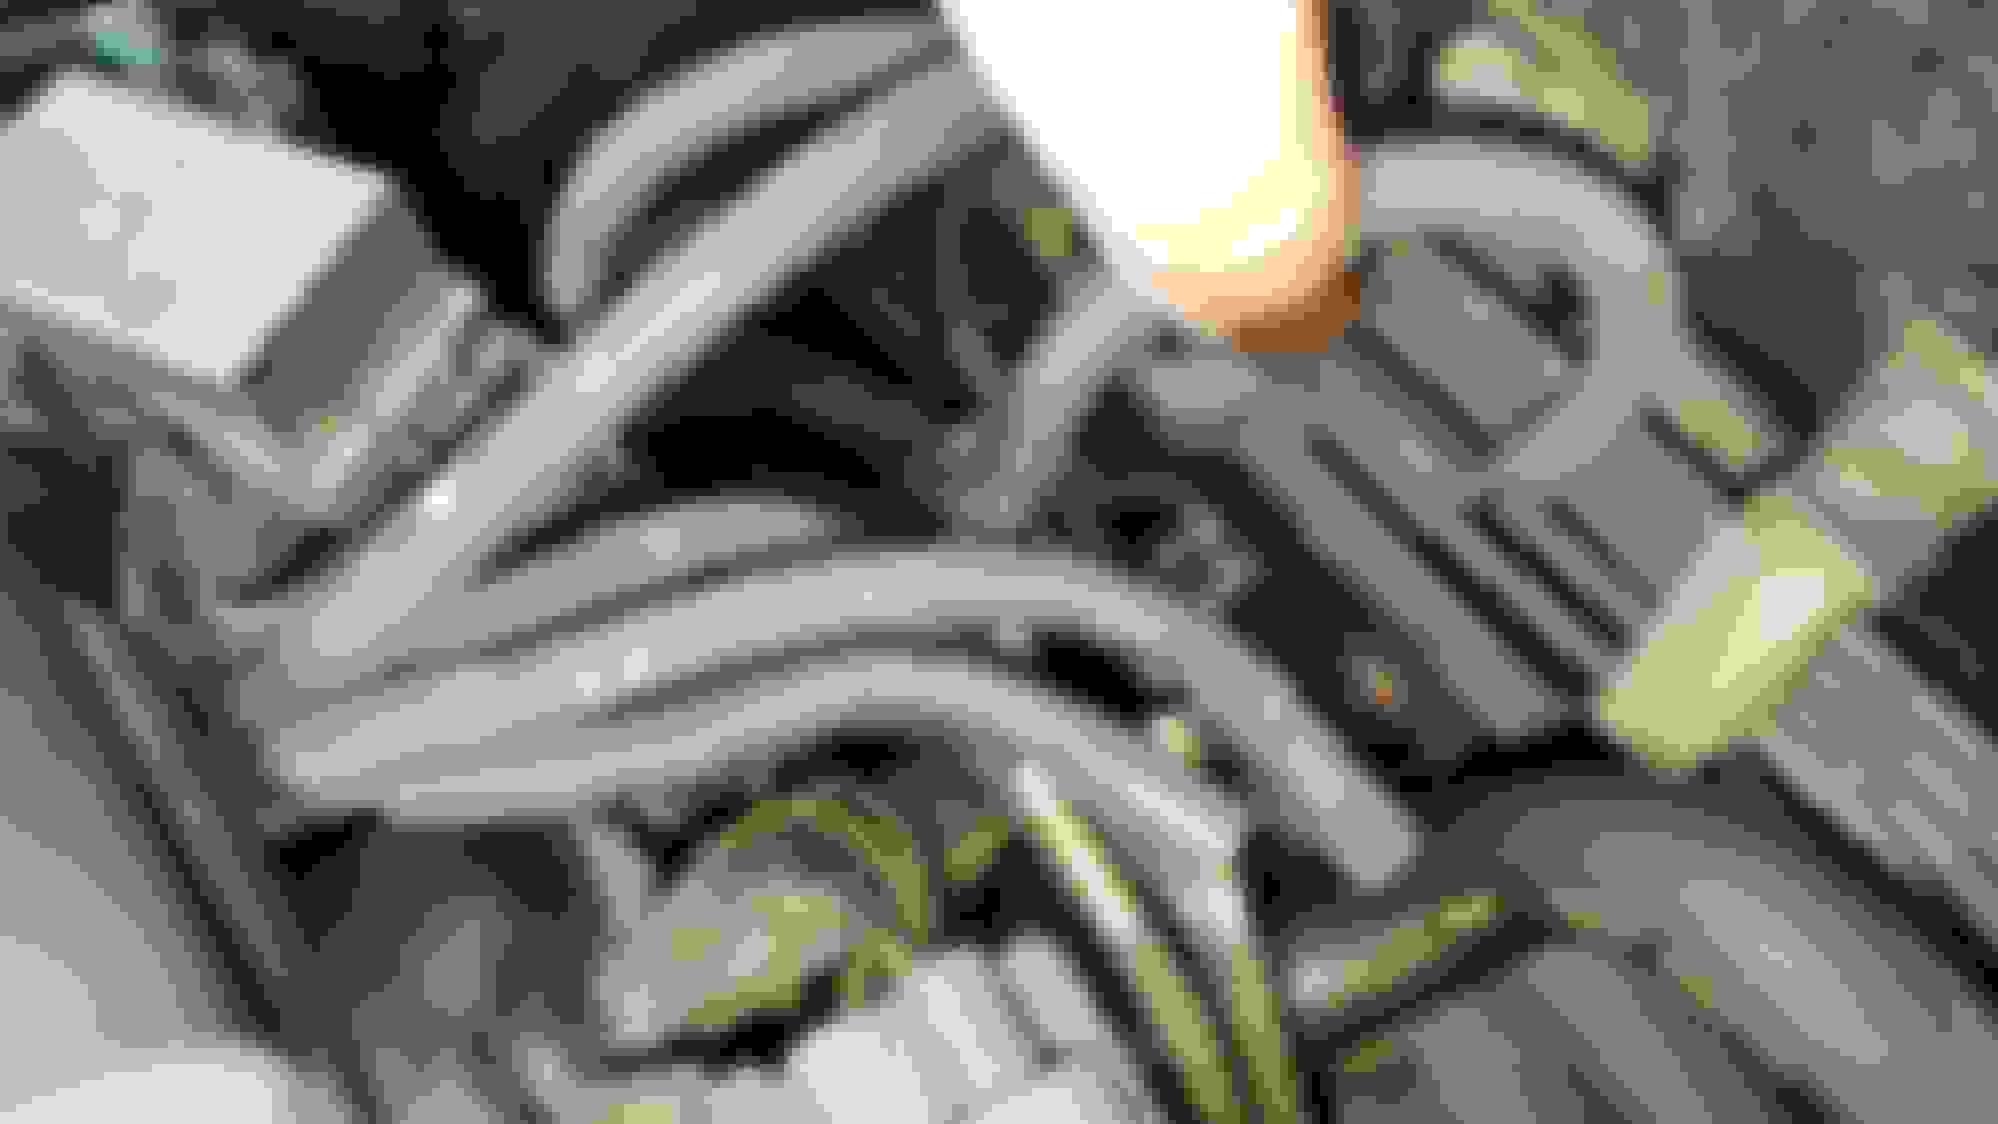
Next we move to fuel rails and injectors area. Remove the plugs right in front of injectors. There are 6 total, 3 on each side.
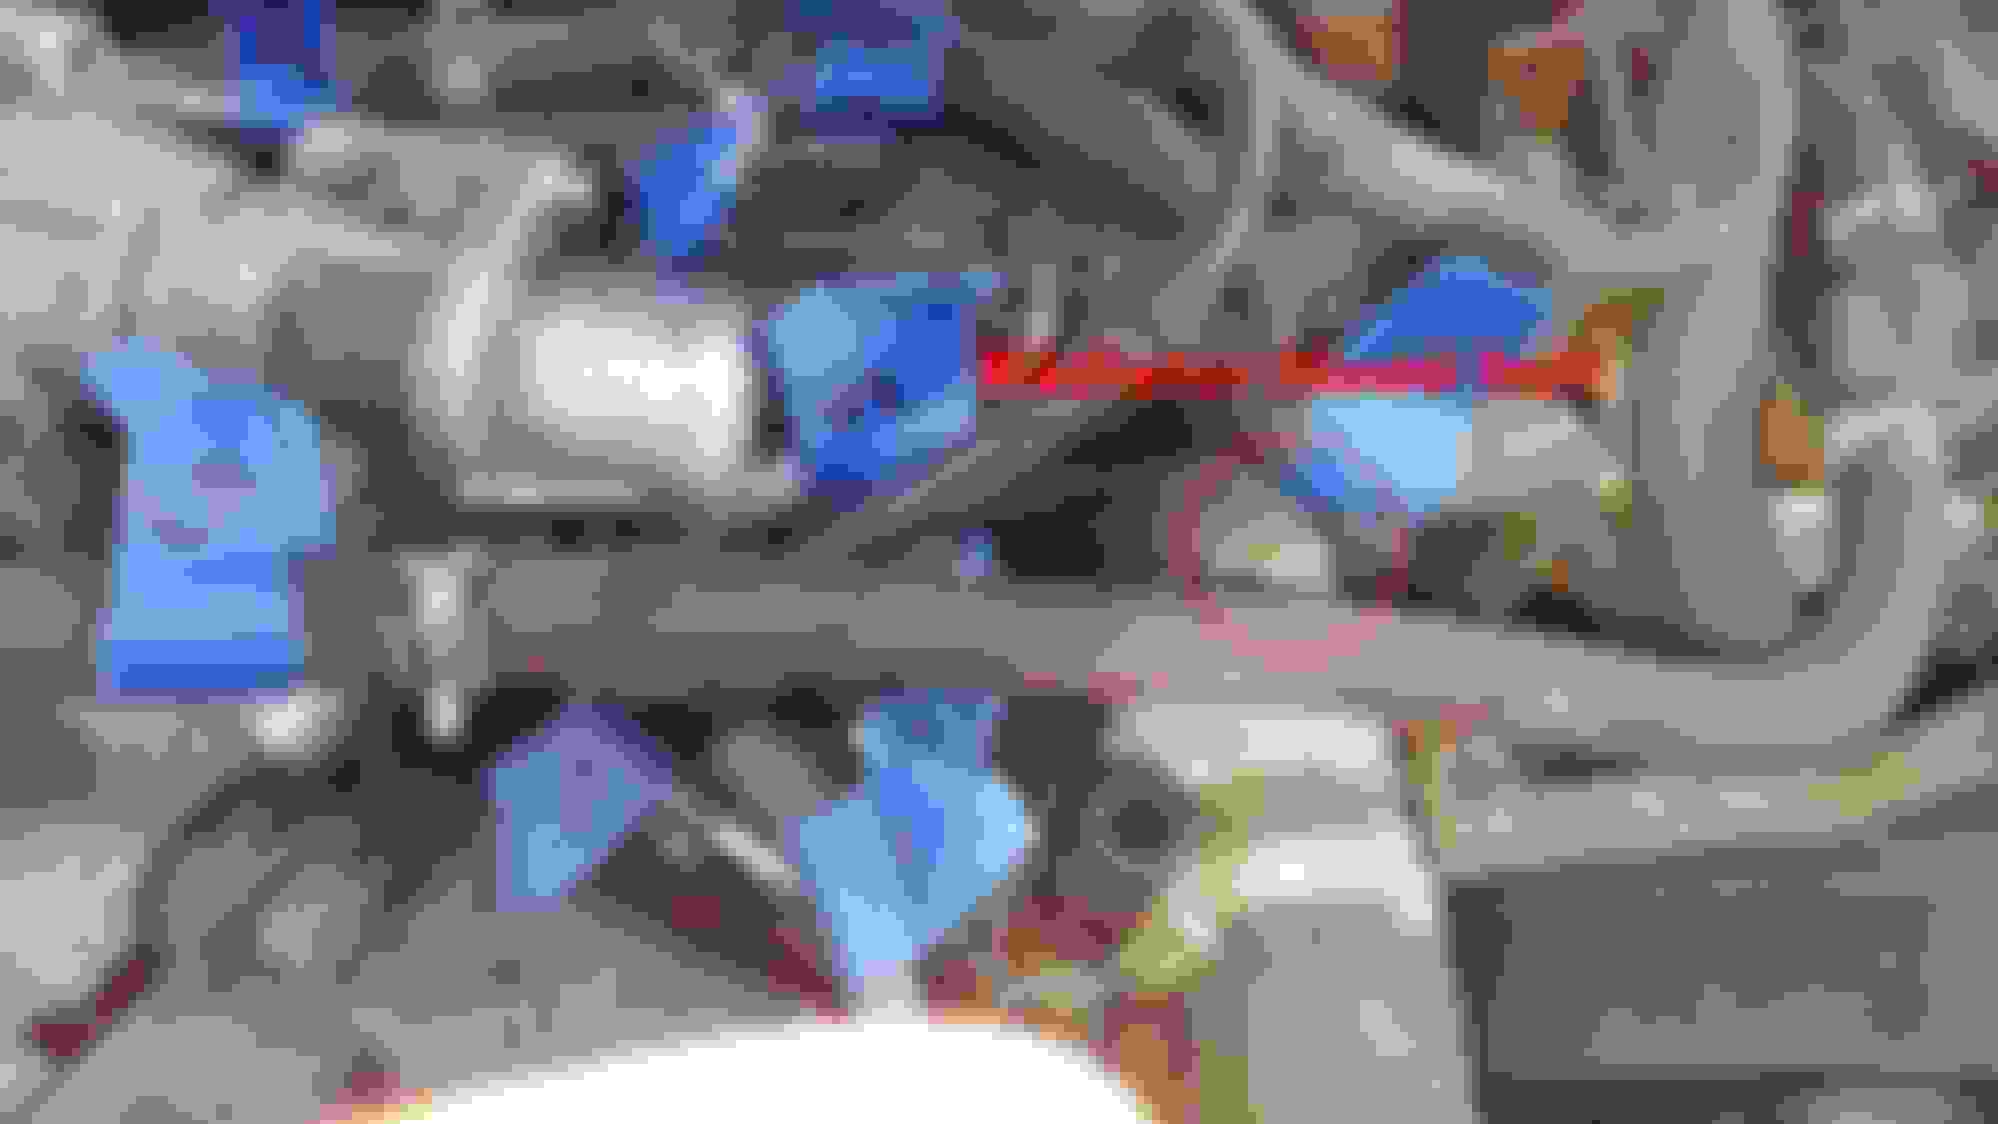
Step 10: Next remove the fuel pressure regulator bolt aka banjo bolt. PLEASE BE VERY VERY CAREFUL WHILE YOU REMOVE THIS. THERE IS VERY GOOD CHANCE YOU WILL BREAK ITS HEAD. Otherwise this is what is going to happen! Fortunately I found a junk yard carrying this!
There should be 2 metal washers. One goes on top and one below the fuel pipe.
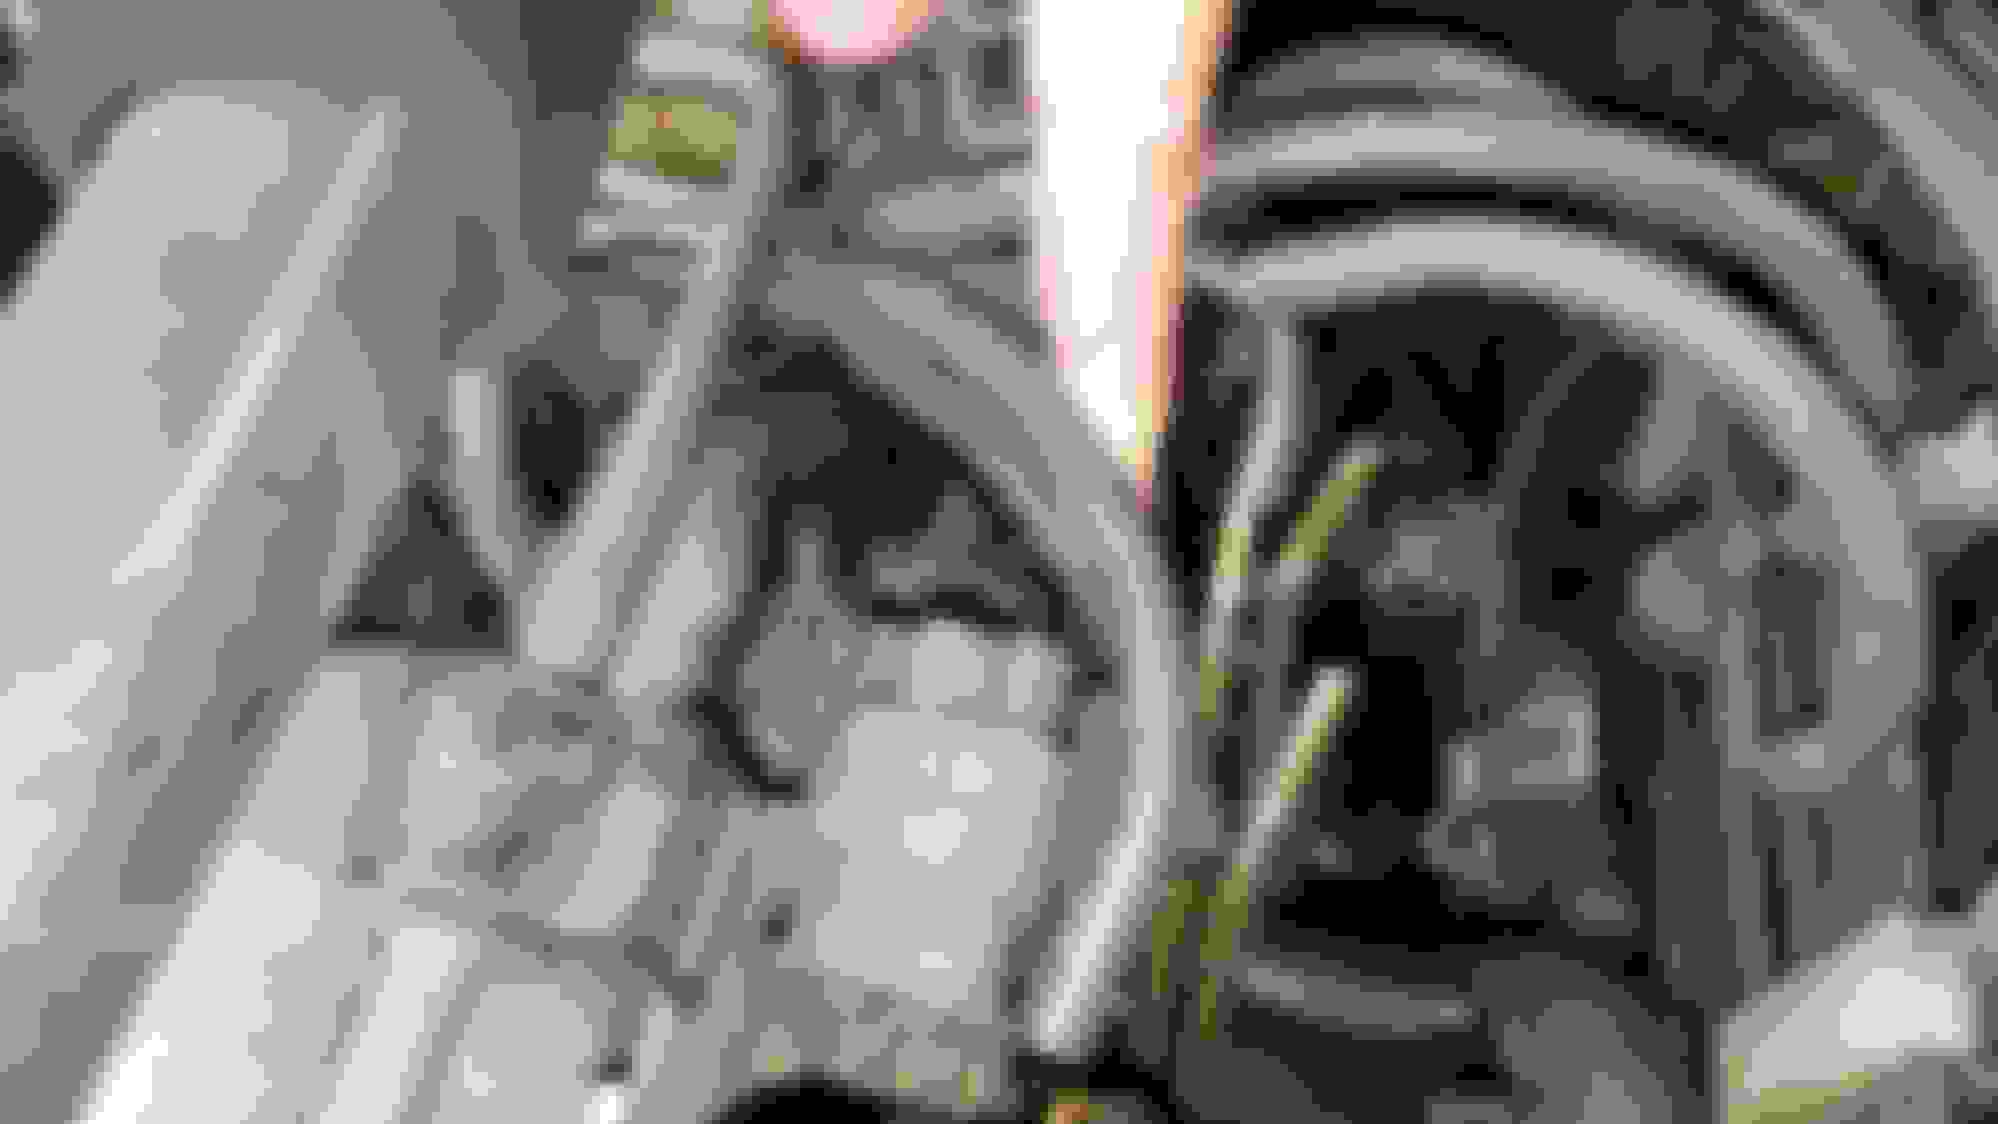
Step 11: Remove PCV valve.
Step 12: Now disconnect fuel return pipe and vacuum hose.
Step 13: There are total 7 rubber vacuum hoses. 3 hoses are facing passenger side on passenger side of intake manifold and 4 facing driver side behind intake manifold. You can pull them off or spray penetrating fluid and wait to take them easily. Usually they are very hard to remove (at least to me). Make sure you mark them, which hose gets into which pipe.
Behind intake manifold
Passenger side vacuum hoses on intake manifold
This is how it should look.
Step 14: Remove fuel rails. There are 5 screws. 2 on driver side and 3 on passenger side.
Driver side fuel rail screws
Passenger side fuel rail screws
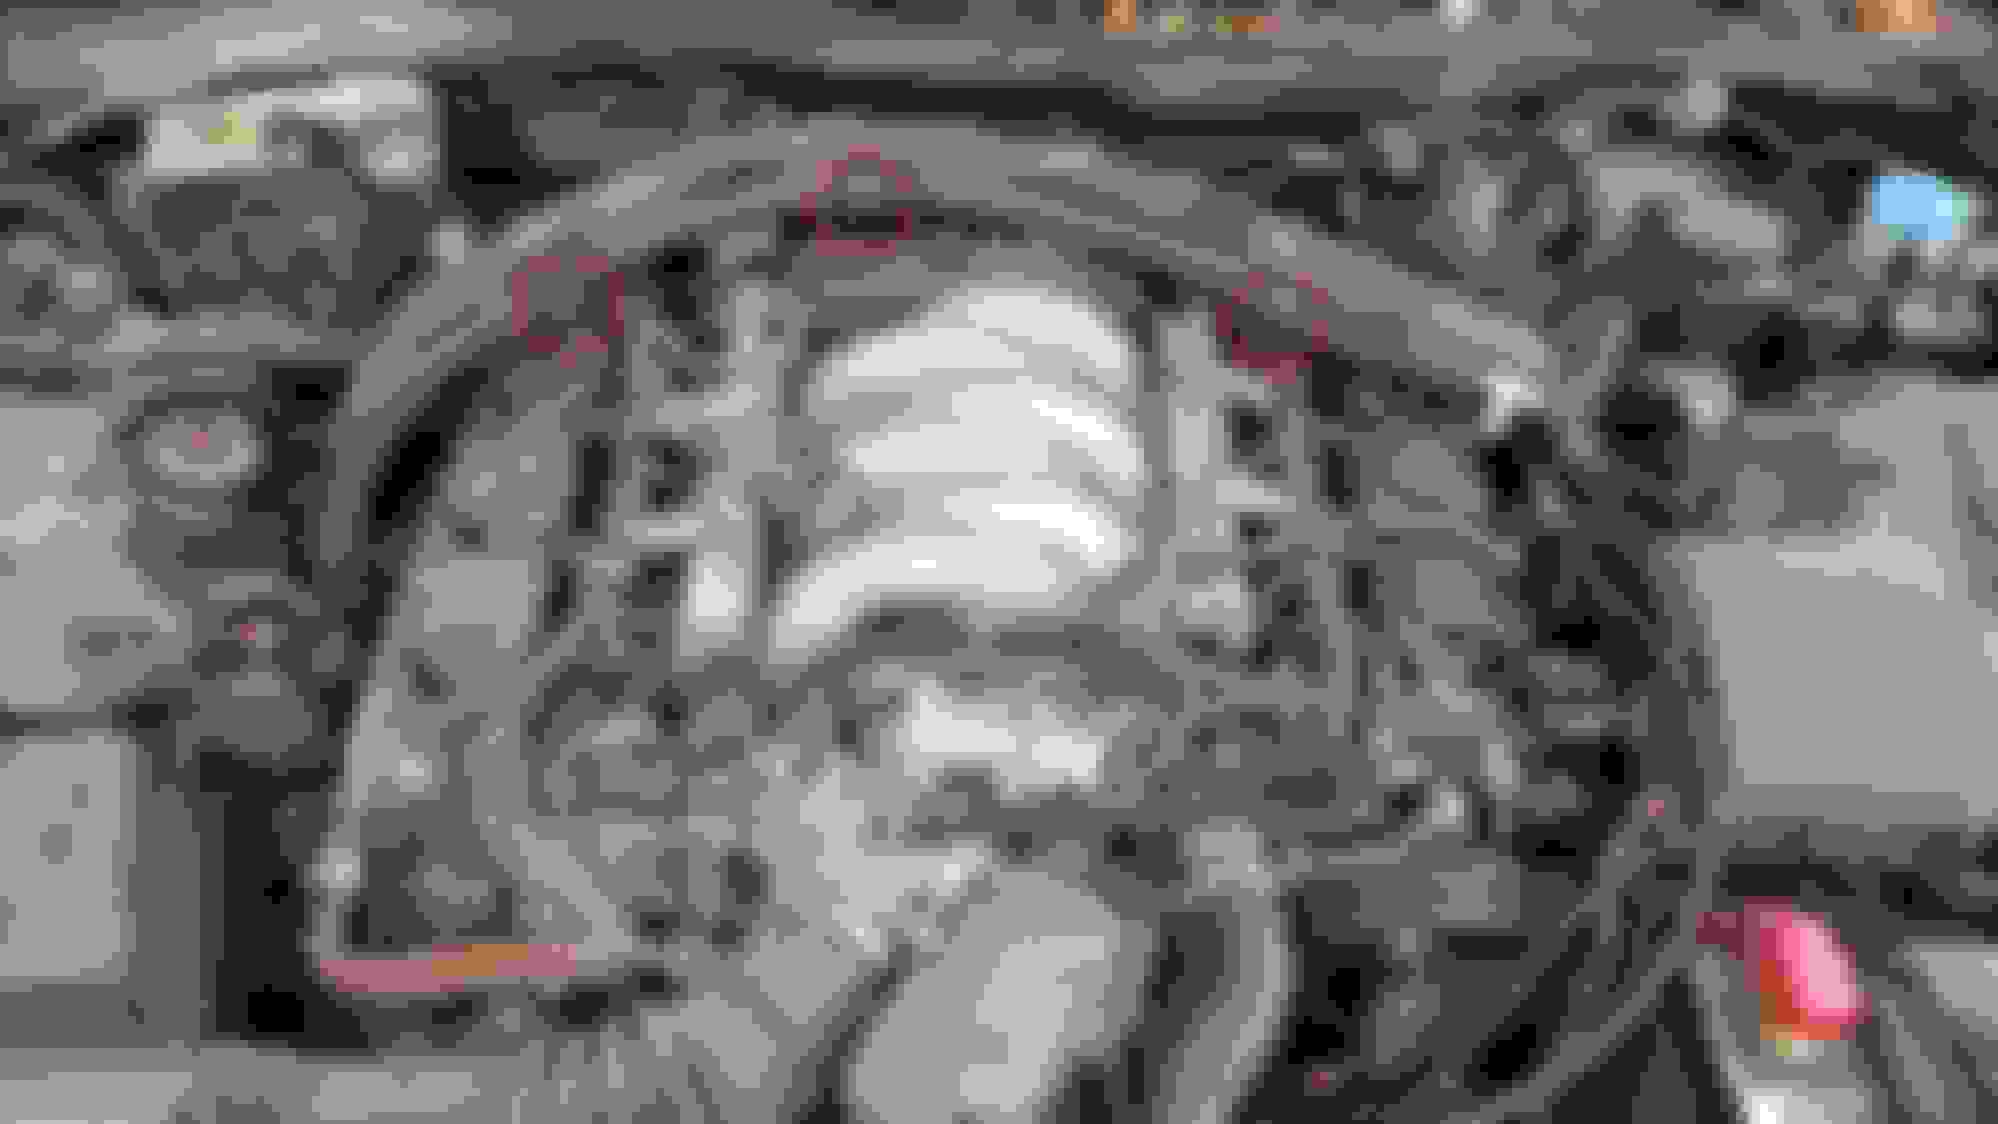
Step 15: Now the fun part is removing the middle screw on fuel rail. Its right below the tiny vacuum lines. Here is the trick. This is an extra step to save you from bending or damaging vacuum lines. Remove spark plug wire bolts. Then there a couple of screws on the vacuum pipe railing. Unscrew all those and slide vacuum lines to get good access to the middle screw on the fuel rail.
The top 2 red screws are important to slide the vacuum railing.
Make sure you cover spark plug way with napkins or something while you work on other stuff. You DON'T want anything to fall into those ways and make your life tough!
Step 16: Now gently and with even pressure on fuel rail pull it up. Don't be in rush or you will end up paying for fuel injectors. This is how it should look both sides. (Sorry forgot to take pic on passenger side fuel rail after pulling it up)
One of the intake manifold screw is obstructing view of windshield side fuel injector.
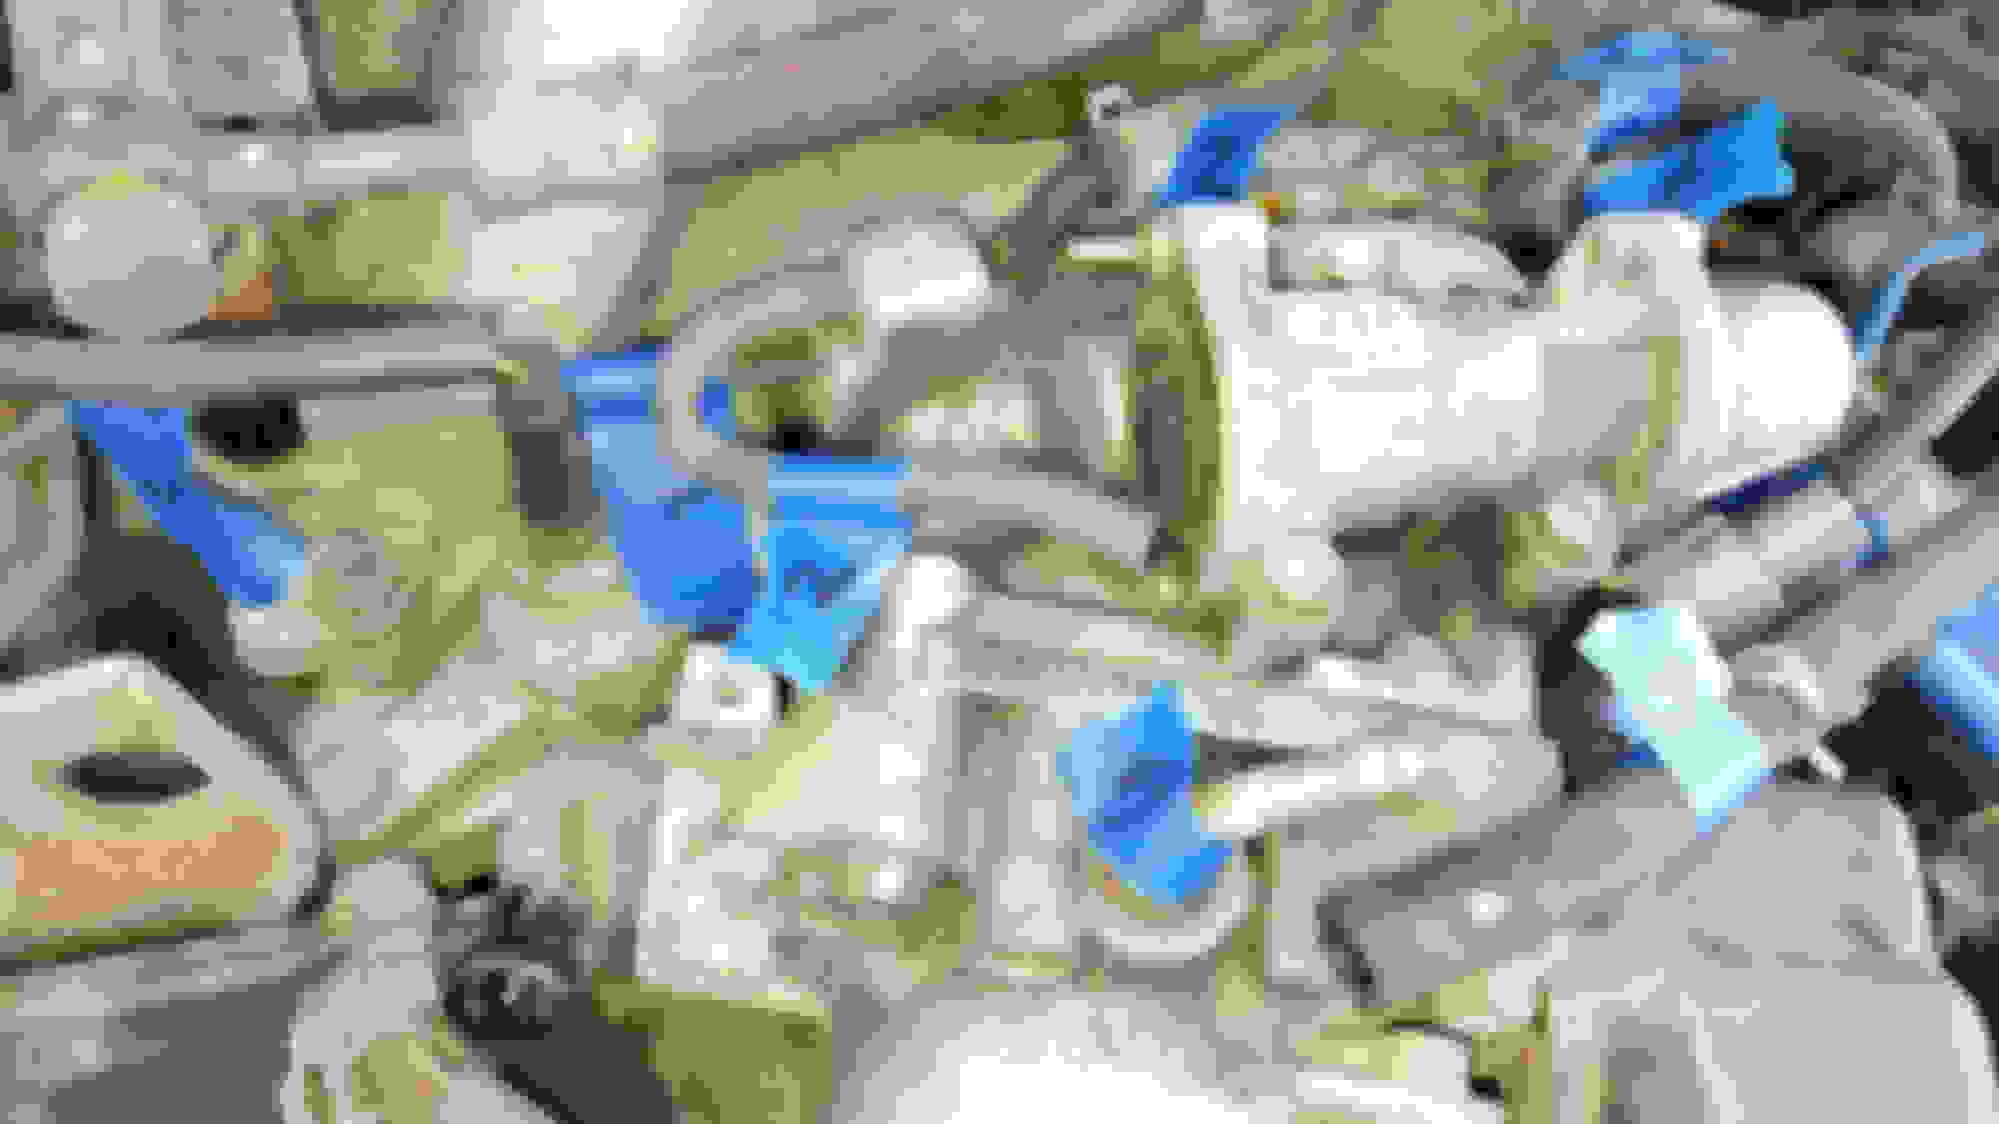
Step 17: Fun doesn't stop. From here it gets fantastically hilarious! We will be working on throttle body in the front. I will post all the pictures. I didn't follow a specific order to remove these hoses except disconnecting air filter plastic tubing should be first. DON'T FORGET TO LABEL ALL THE RUBBER HOSES. YOU DON'T WANT TO CONNECT TUBES IN DIFFERENT PLACES.
Don't worry about the rusted bold below the clips of air filter compartment. (In this picture it is rusted and sprayed with penetrating fluid. I thought it should be removed, but not required)
Rubber Hoses:
You see rubber hose number 7? Coolant is over flowing. This is the reason you should drain coolant. Draining coolant also prevents coolant to enter into valves.
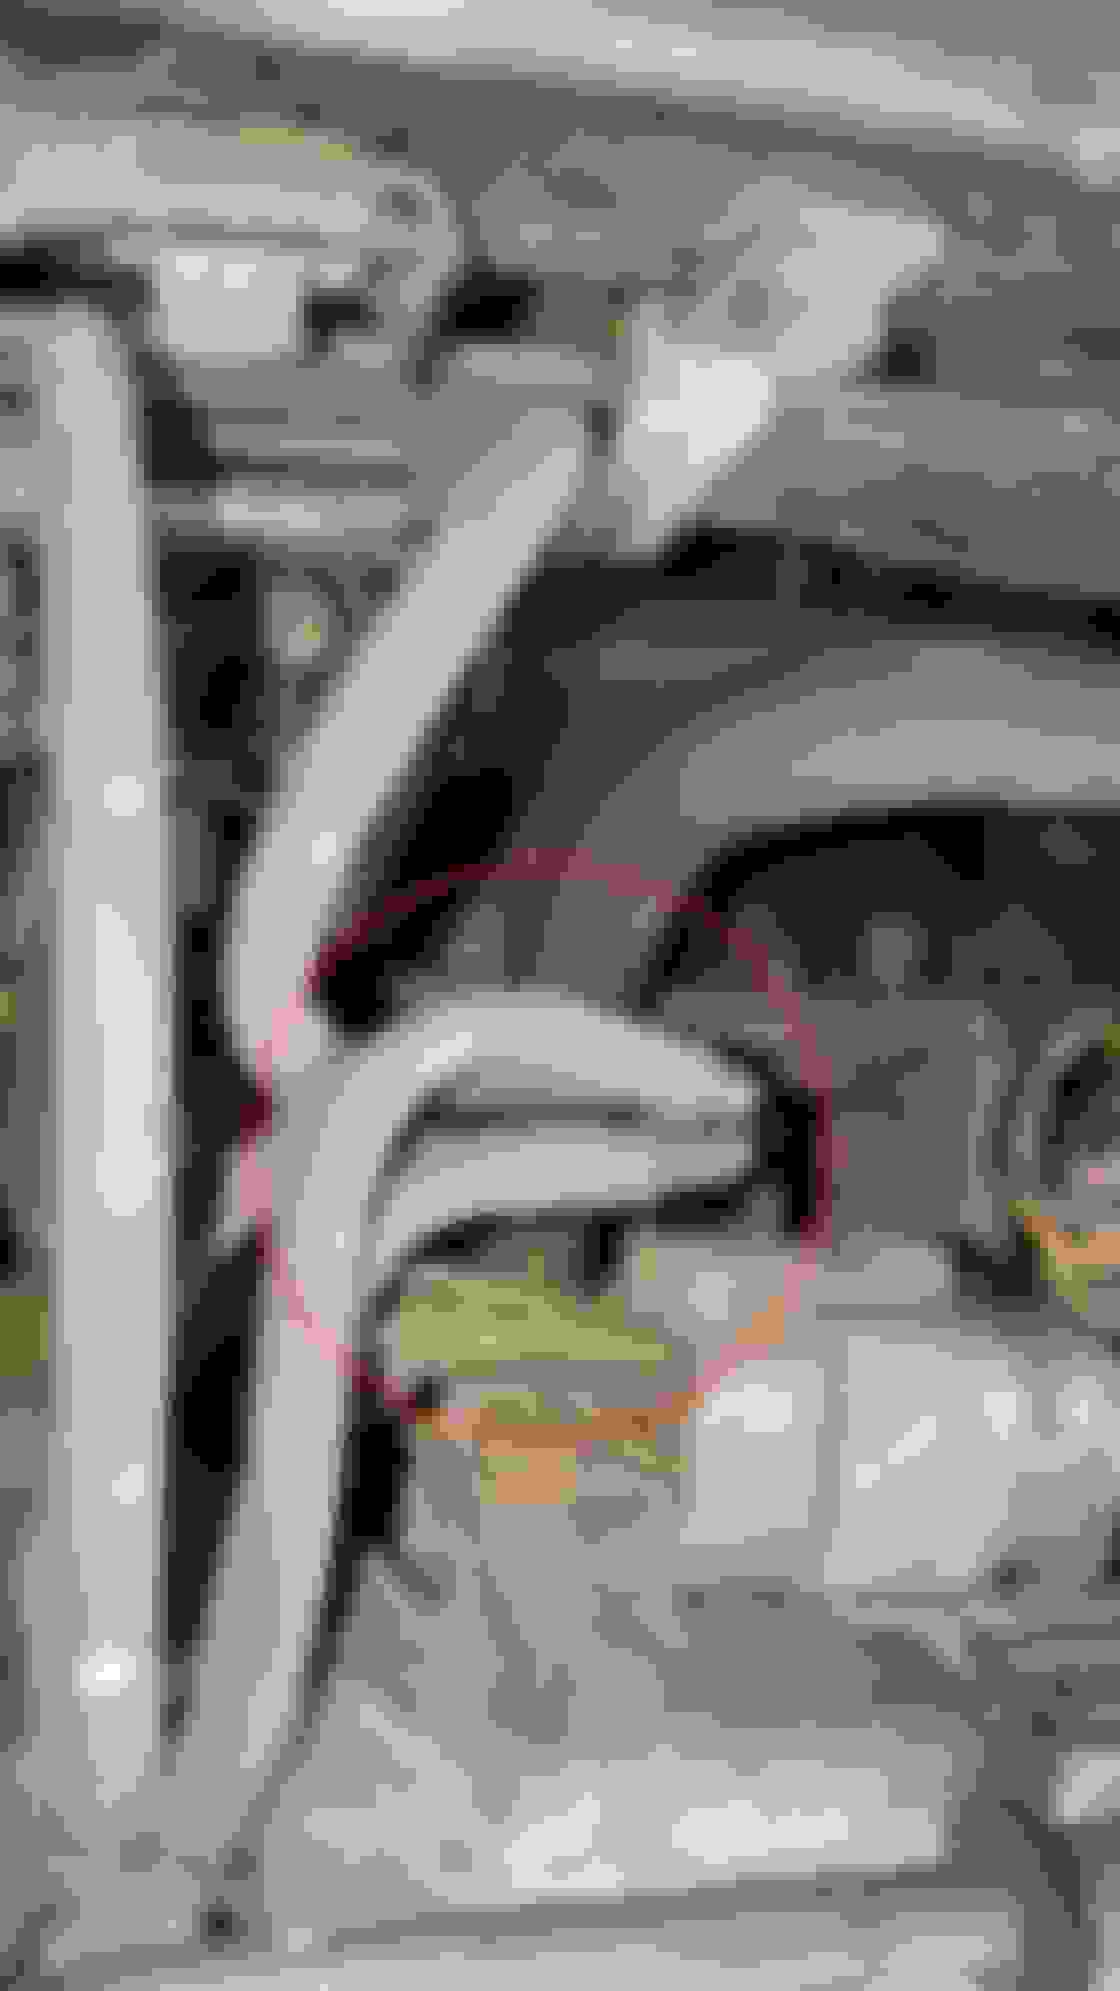
Also you have to disconnect the radiator hose connecting near the throttle body. (Radiator hose is the biggest and toughest rubber hose, runs between radiator and water body). BE CAREFUL WHILE YOU REMOVE ALL THESE HOSES. PREVENT PUTTING PRESSURE ON RADIATOR OR ANY OTHER UNWANTED AREAS SO THAT YOU DON'T BREAK STUFF THAT YOU DON'T WANNA FIX!!!
There are few connectors to be disconnected in the above step. I am sure you can see those connectors in pics.
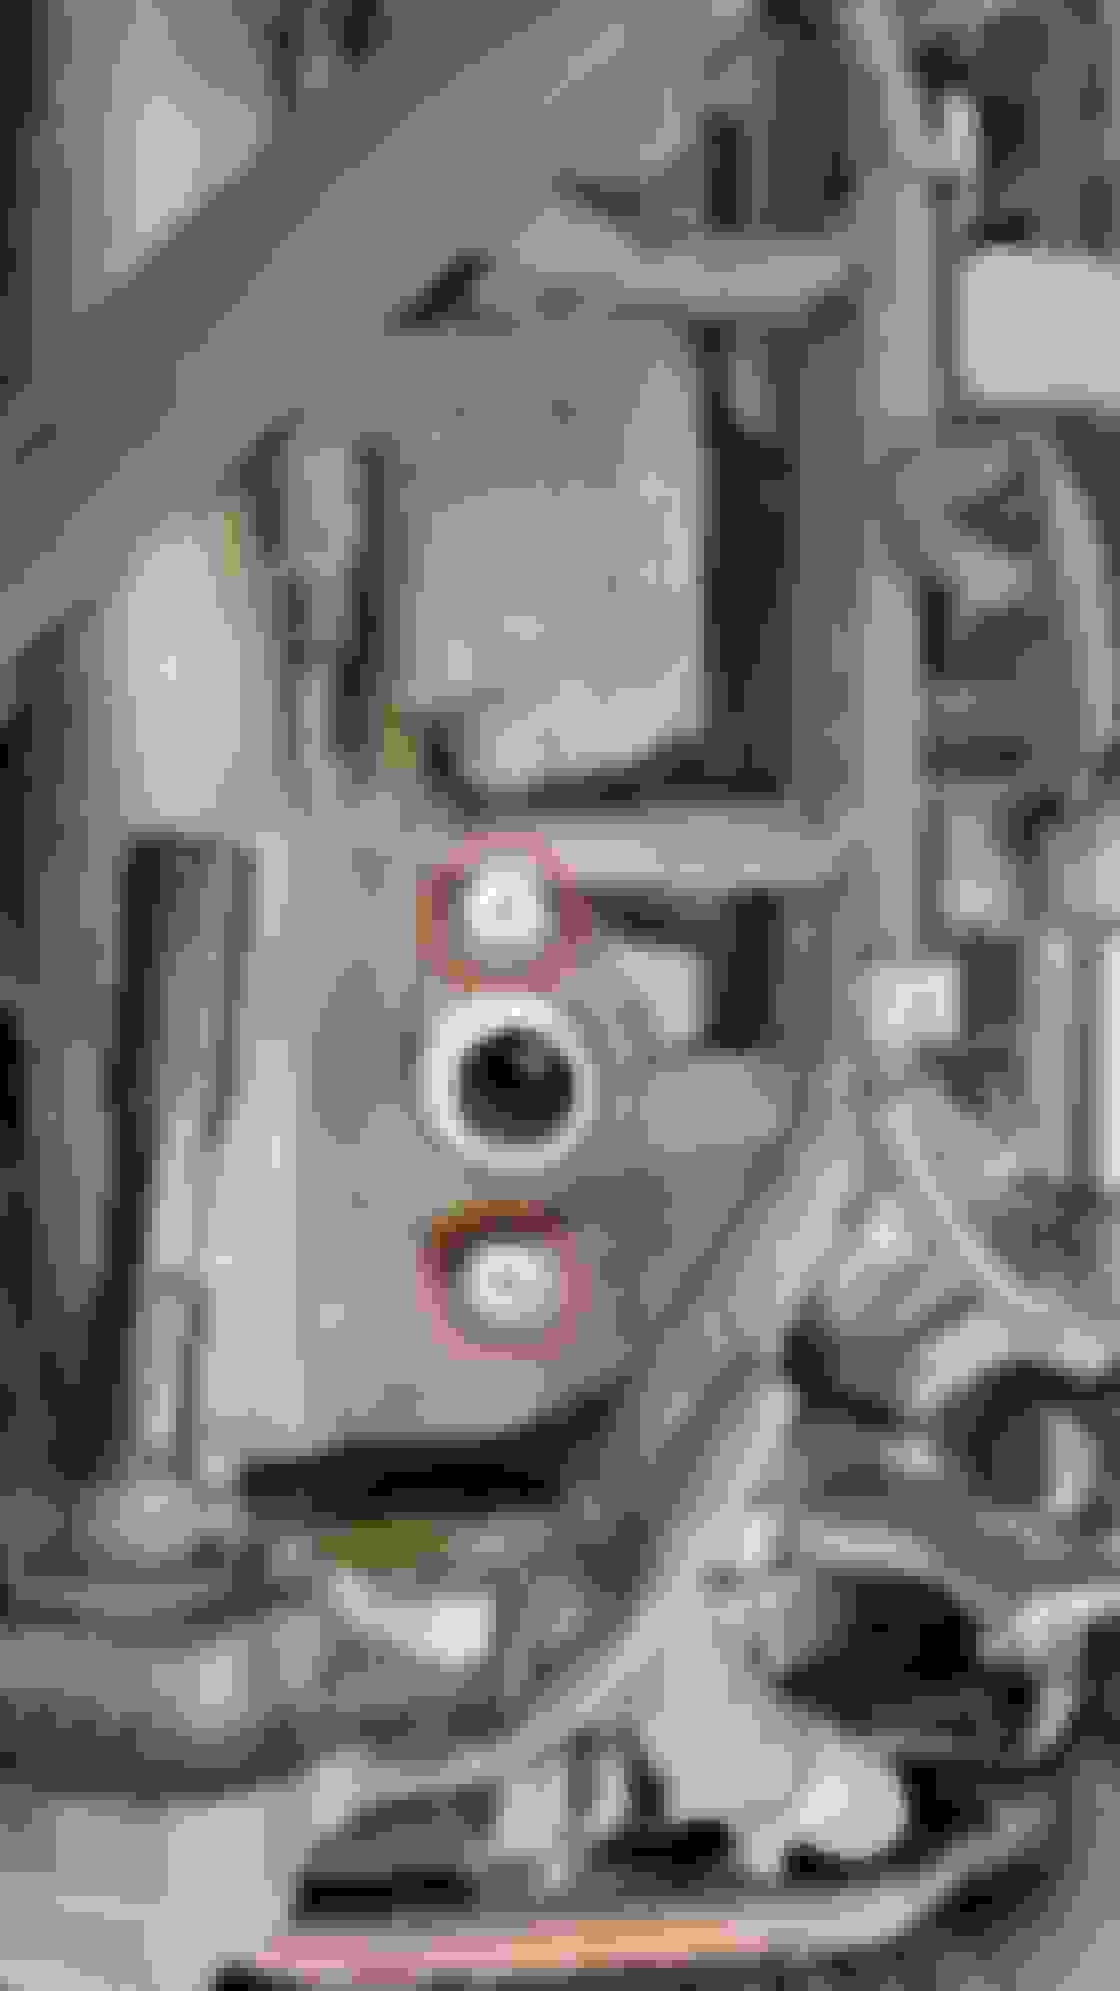
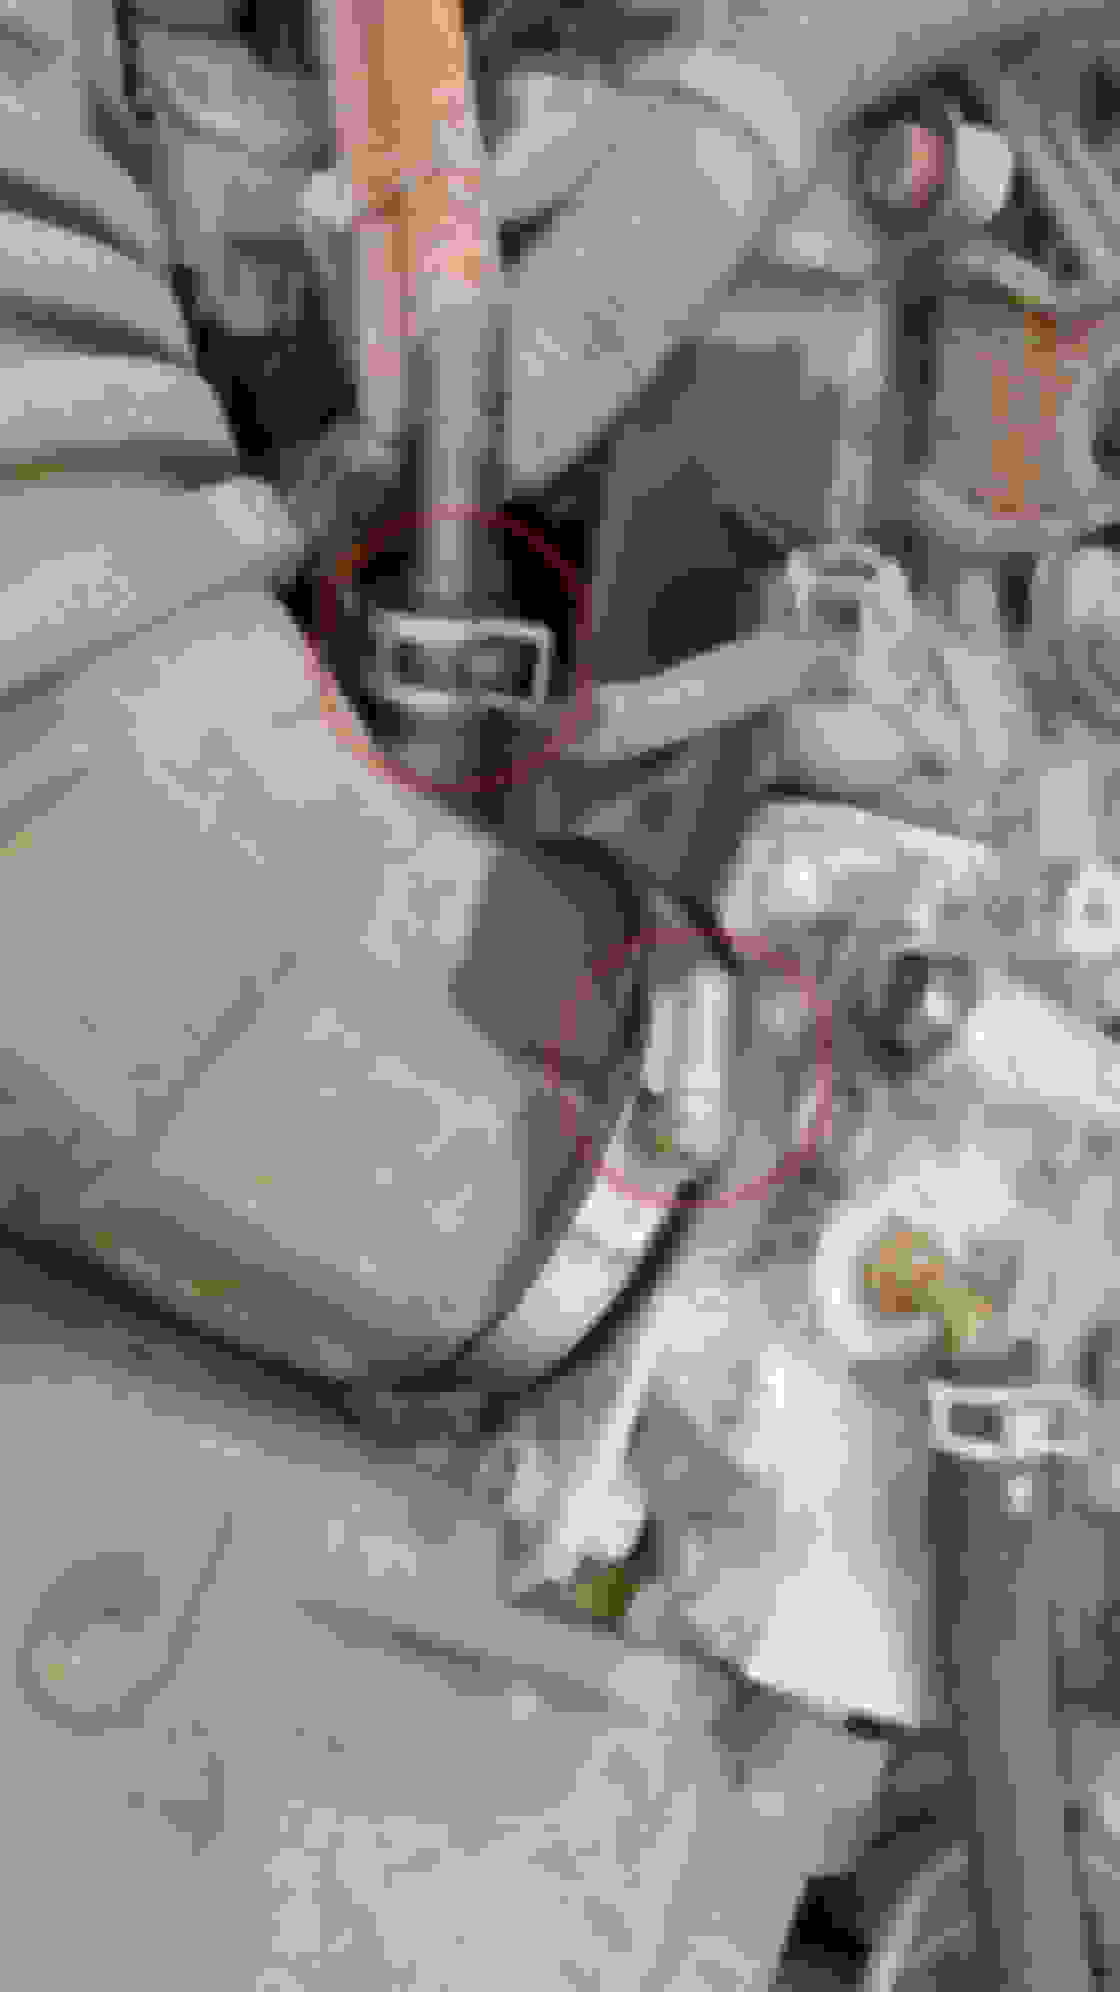
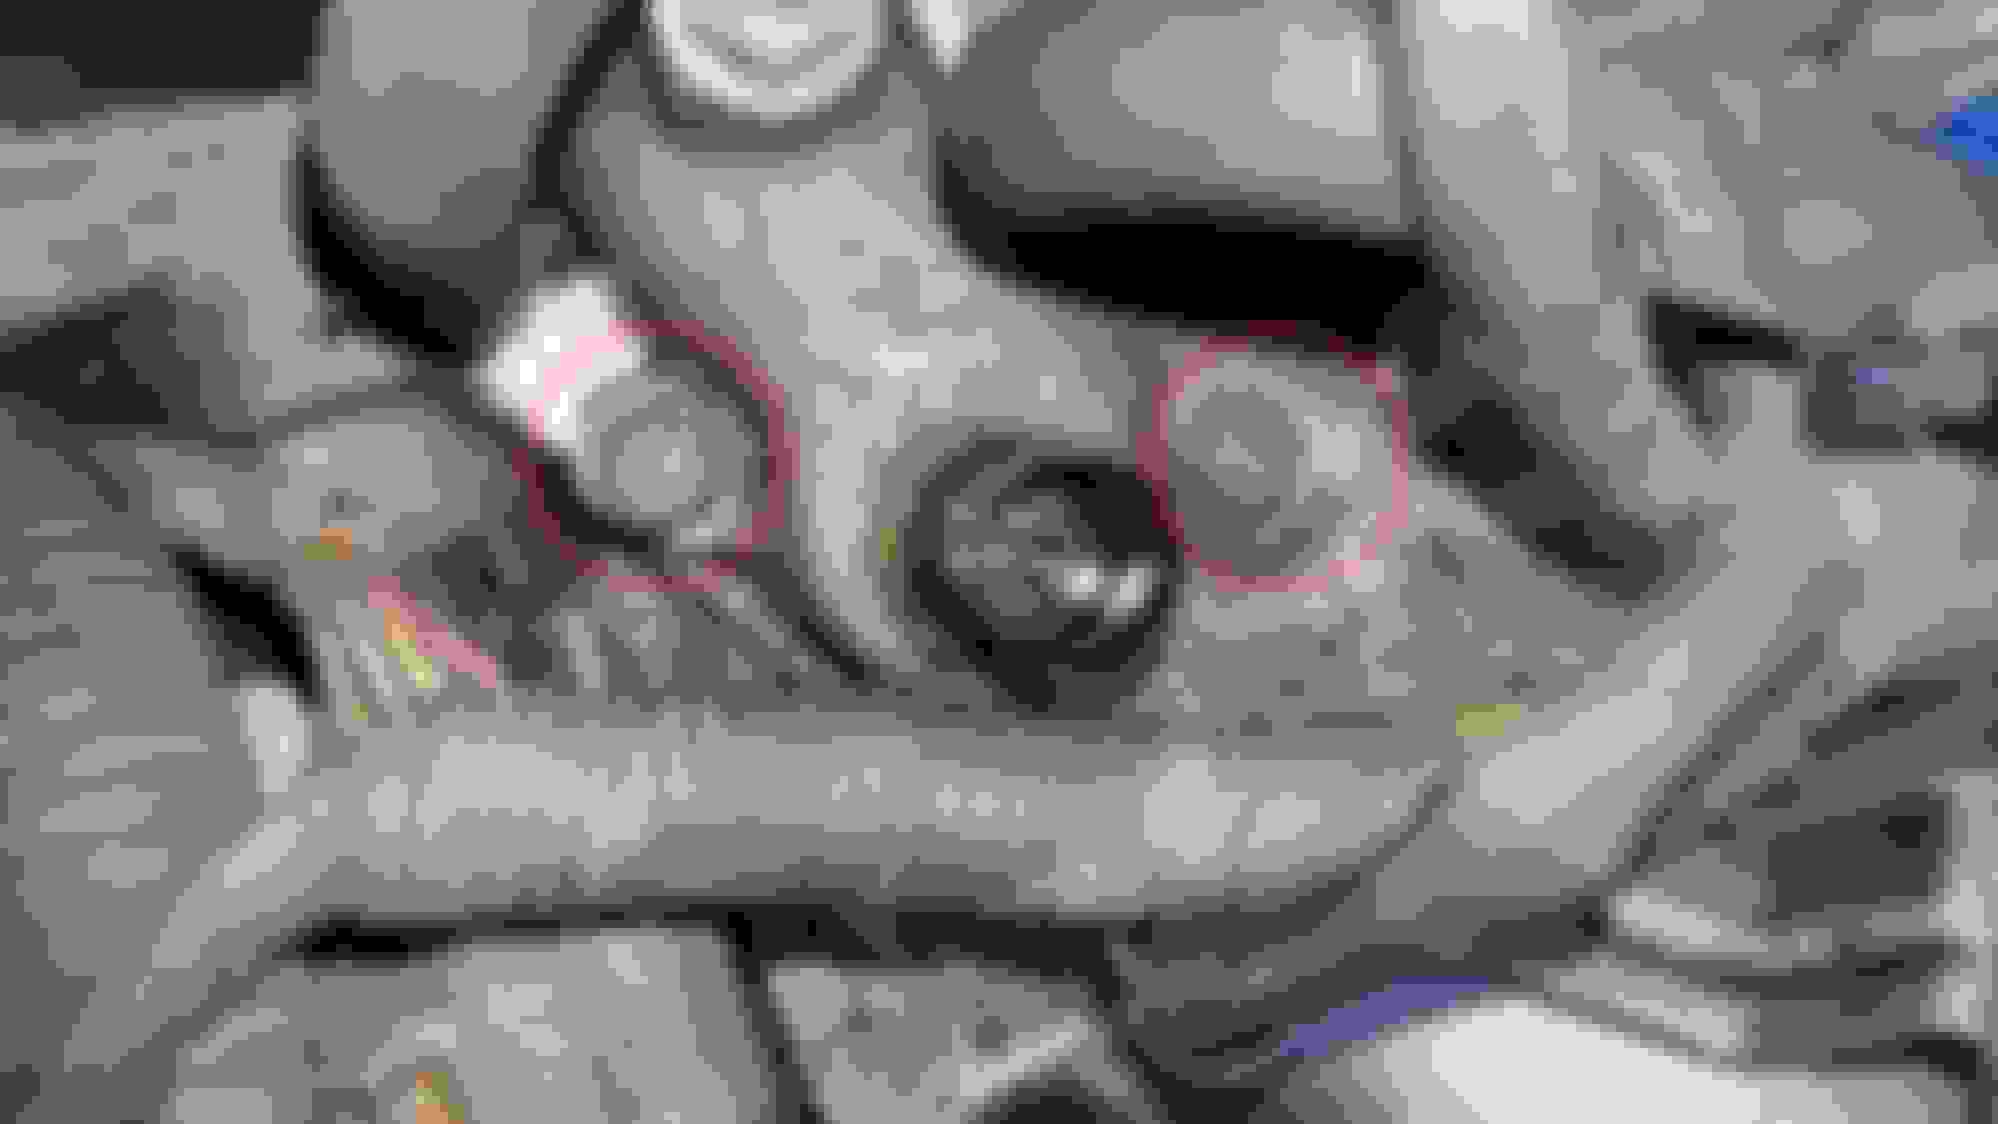
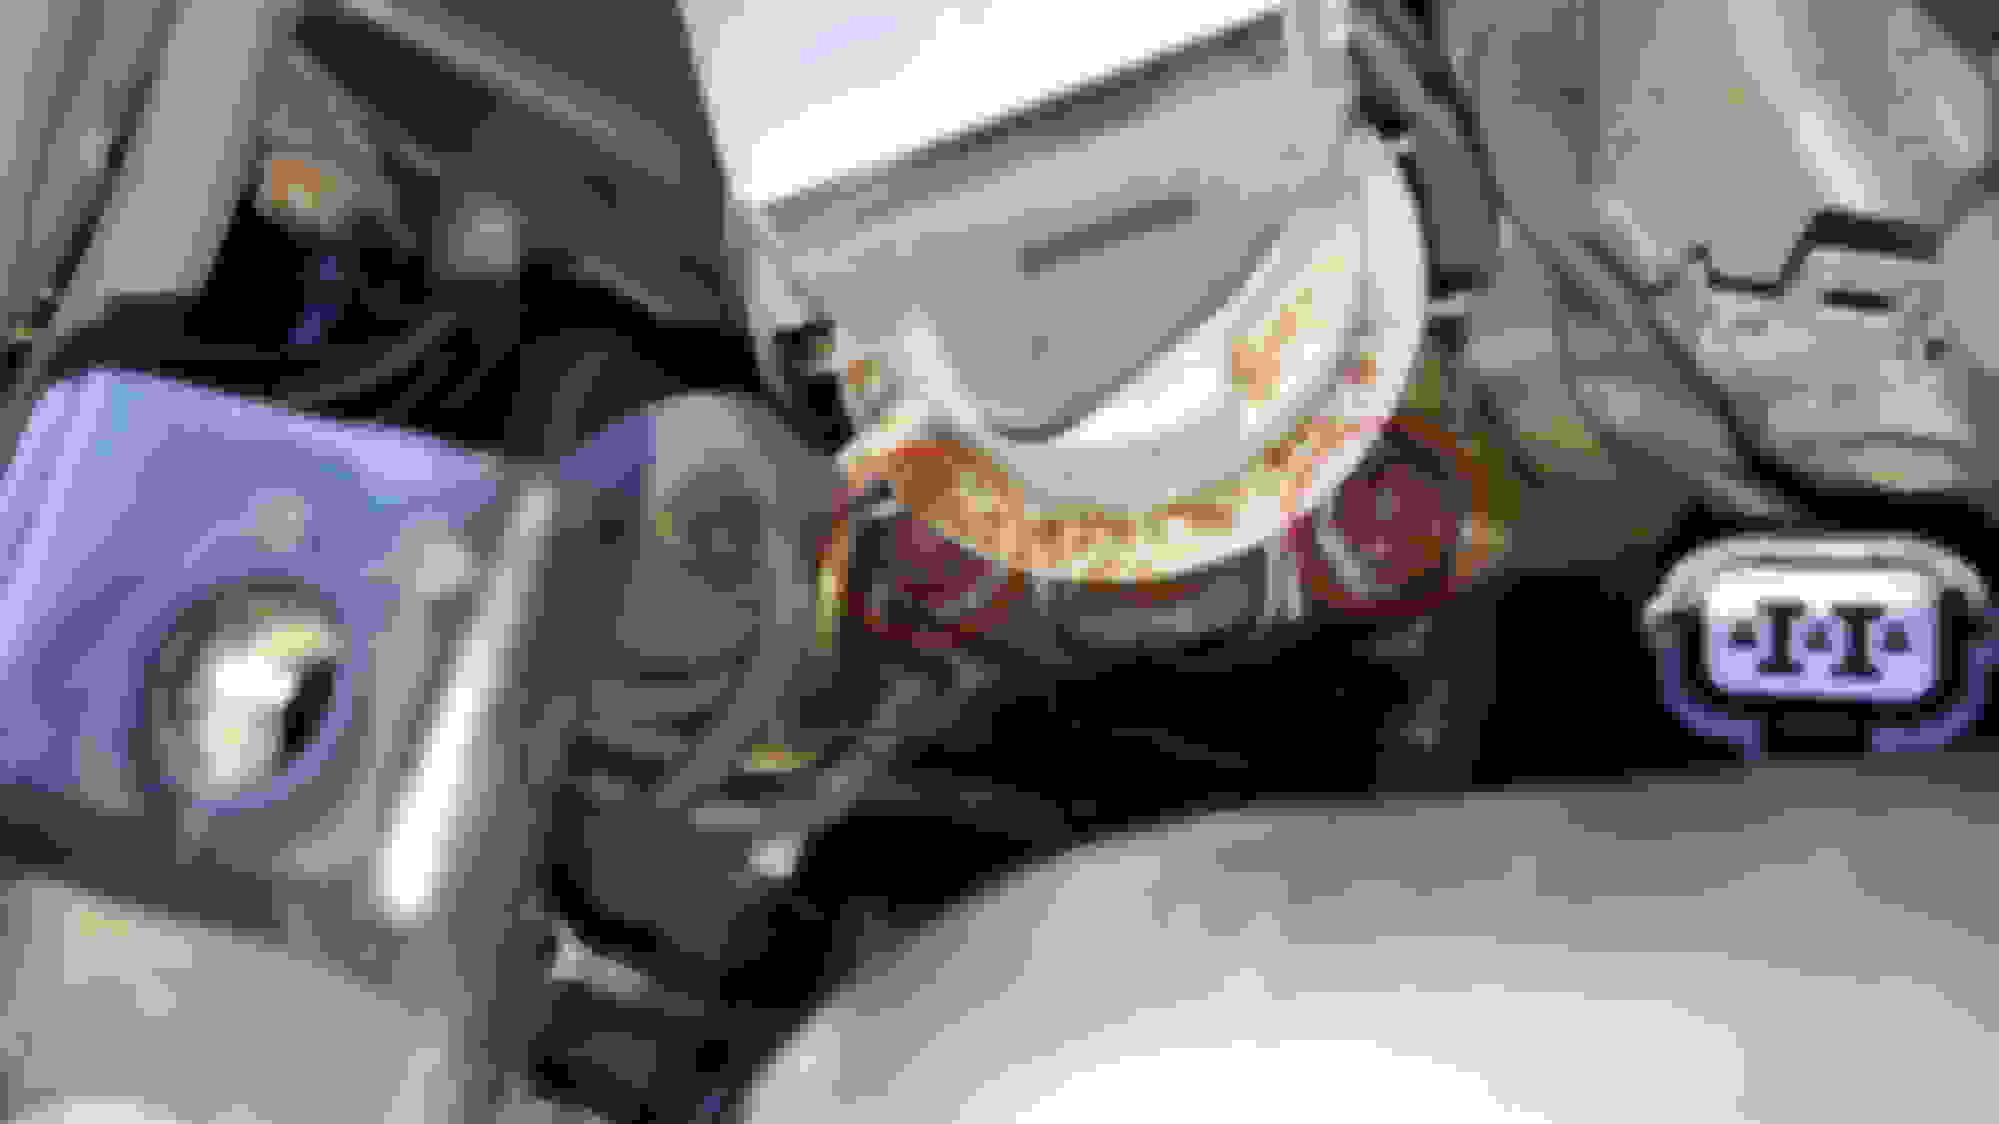
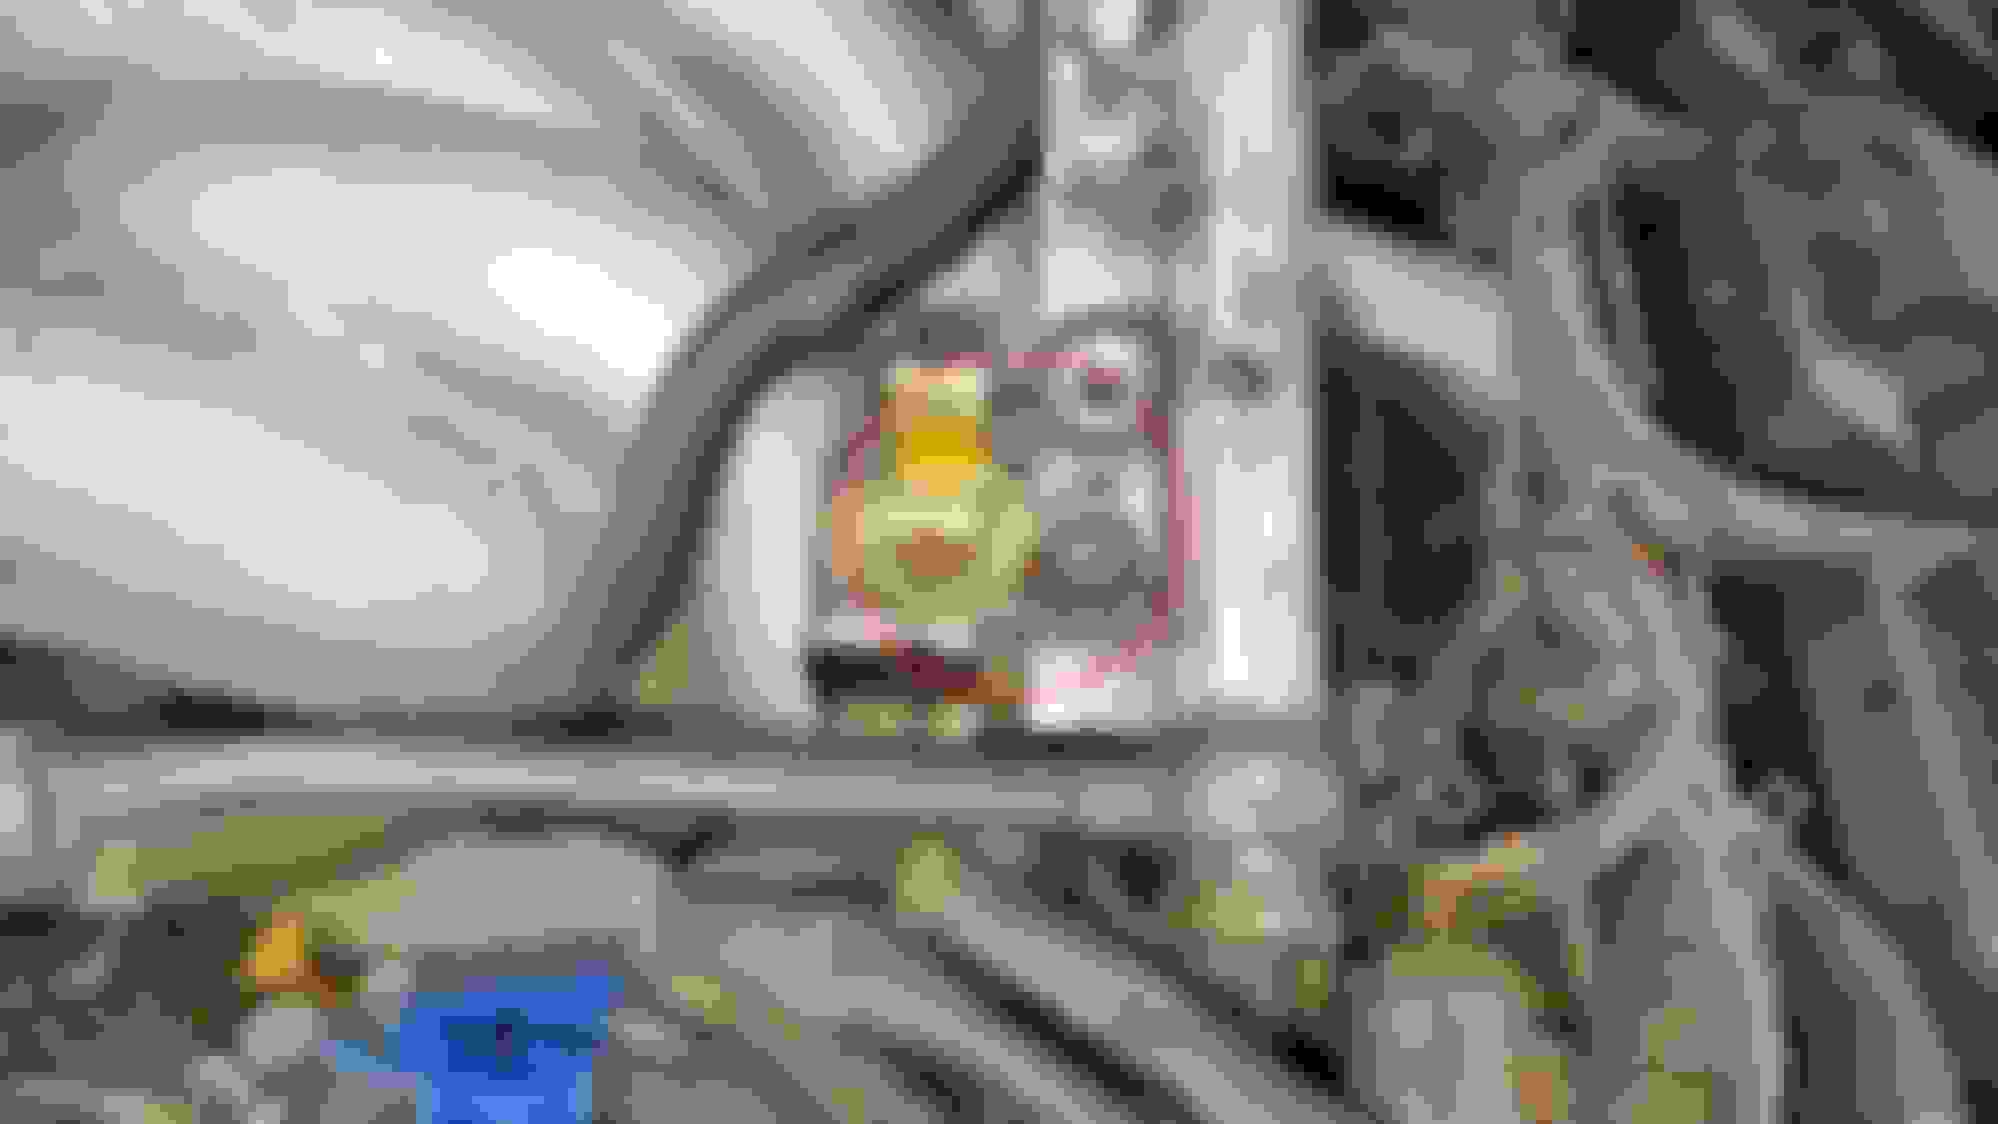
Step 18: Now loosening water passage. Its located between intake manifold and throttle body. 2 bolts on driver side are located on either side of Engine Coolant Temperature sensor. 2 bolts on passenger side are located on either side of Engine Coolant Temperature Gauge Sending unit.
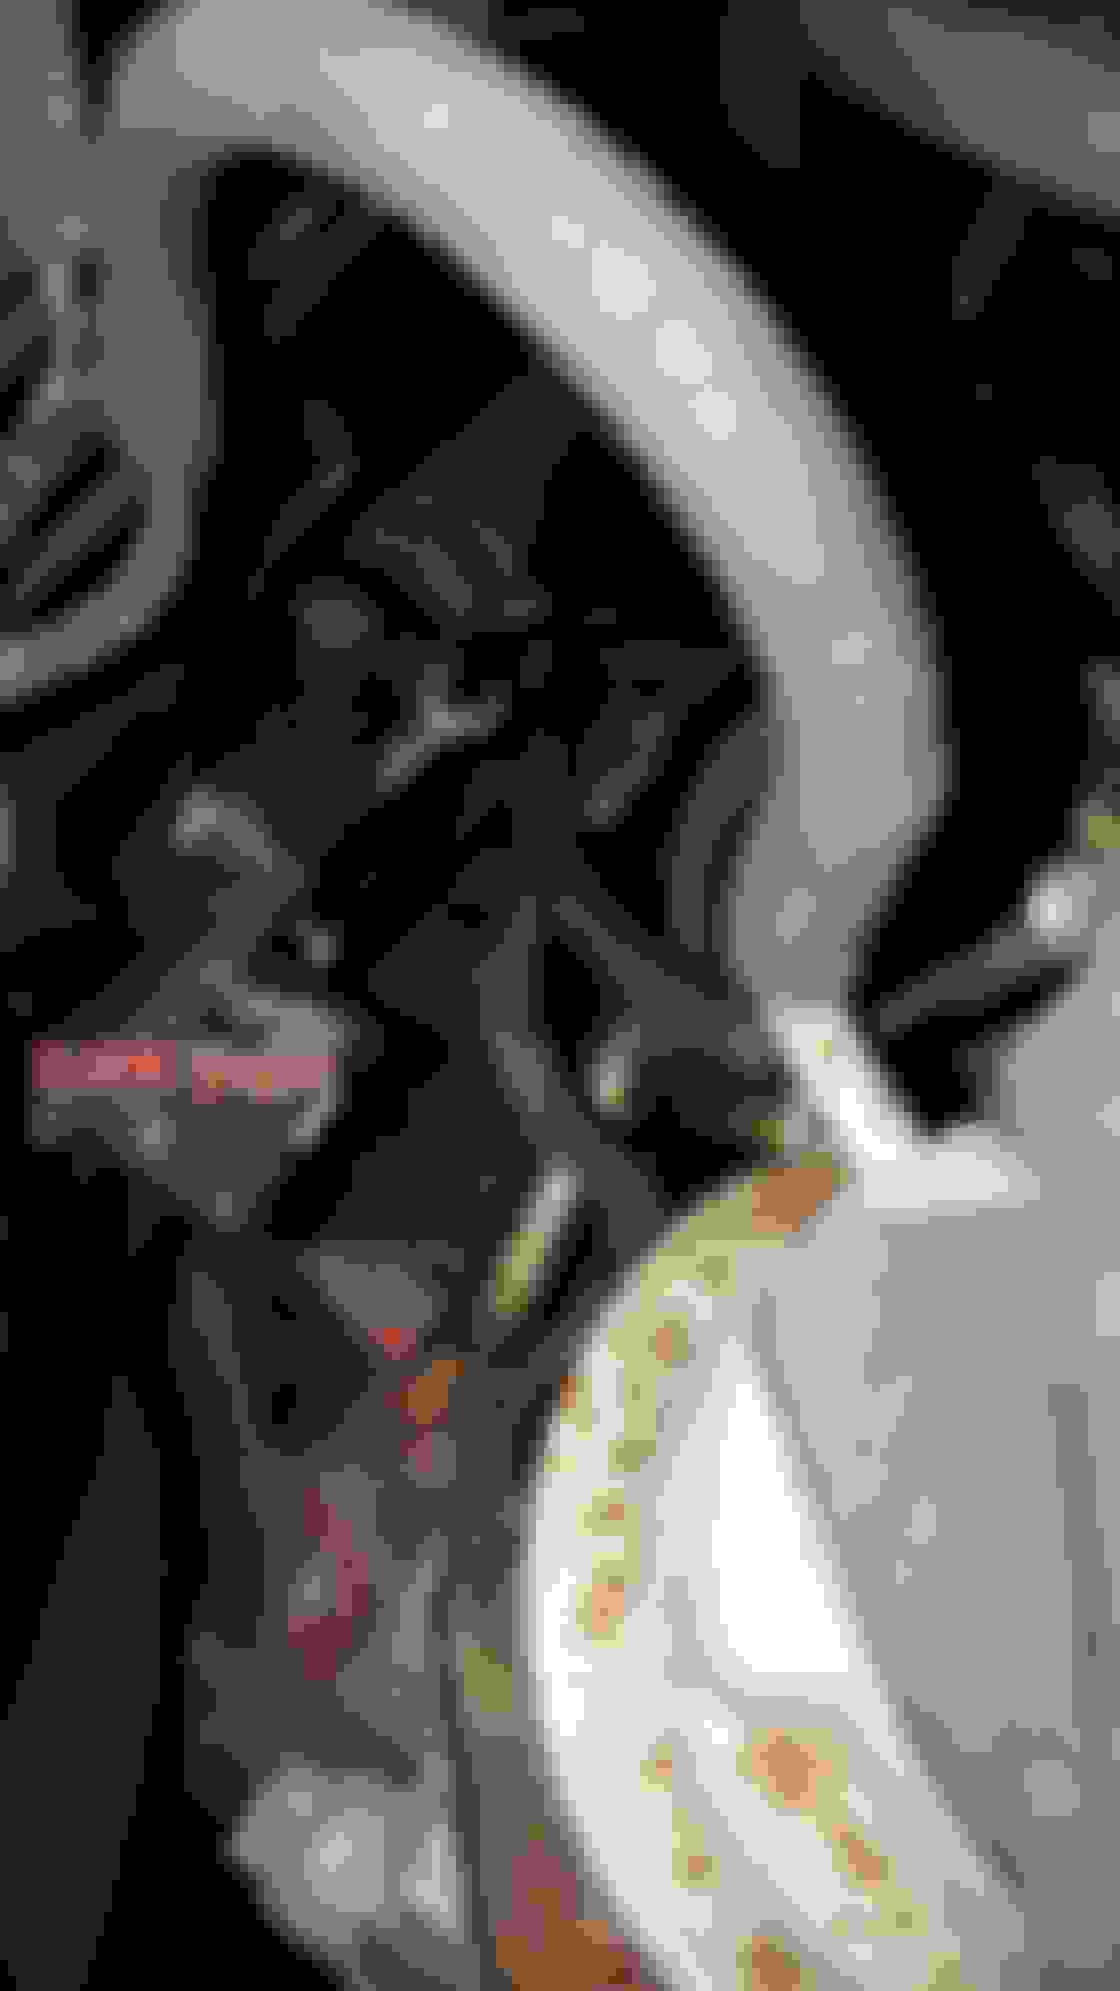
Step 19: Removing ECT Gauge Sending unit is fun. Its just holding at the base and pulling it with a tug. Then remove the bolt.
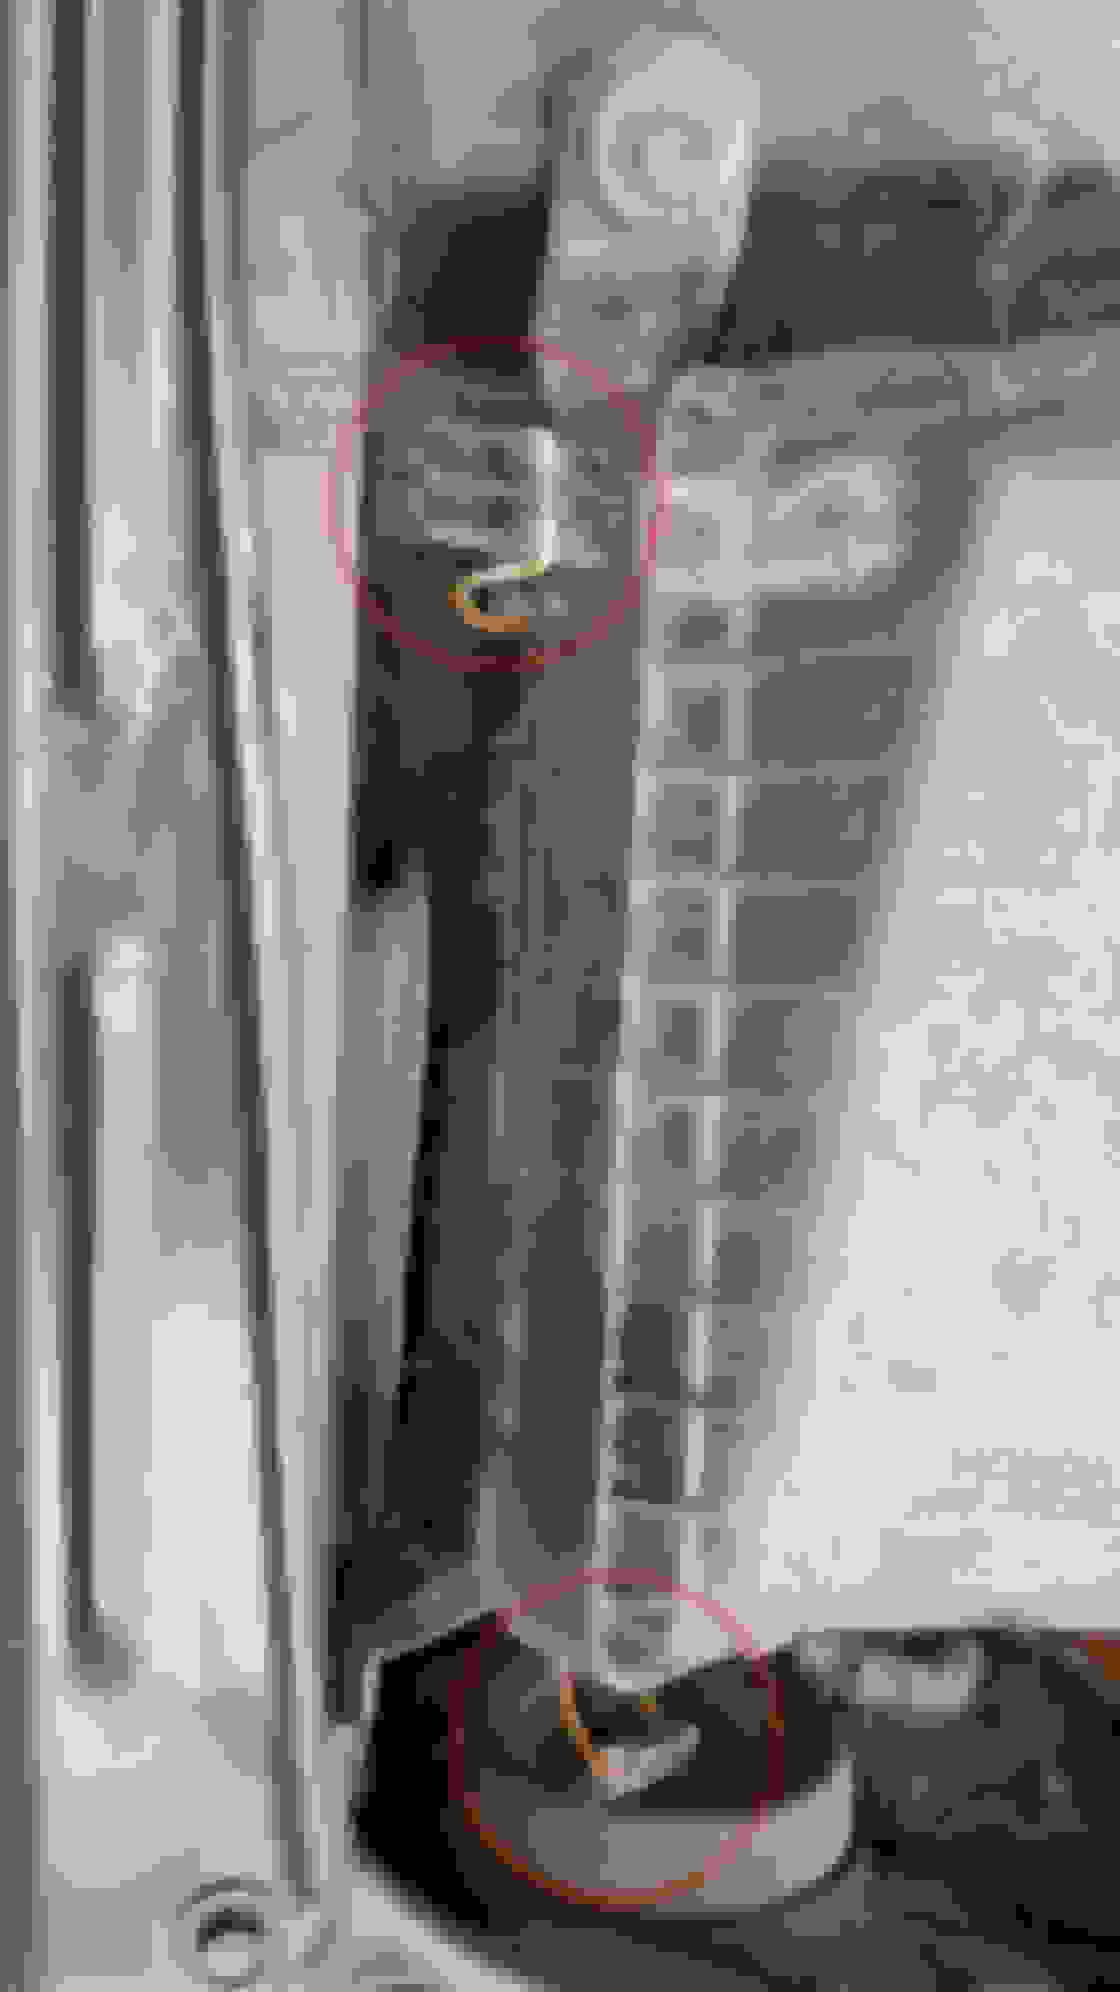
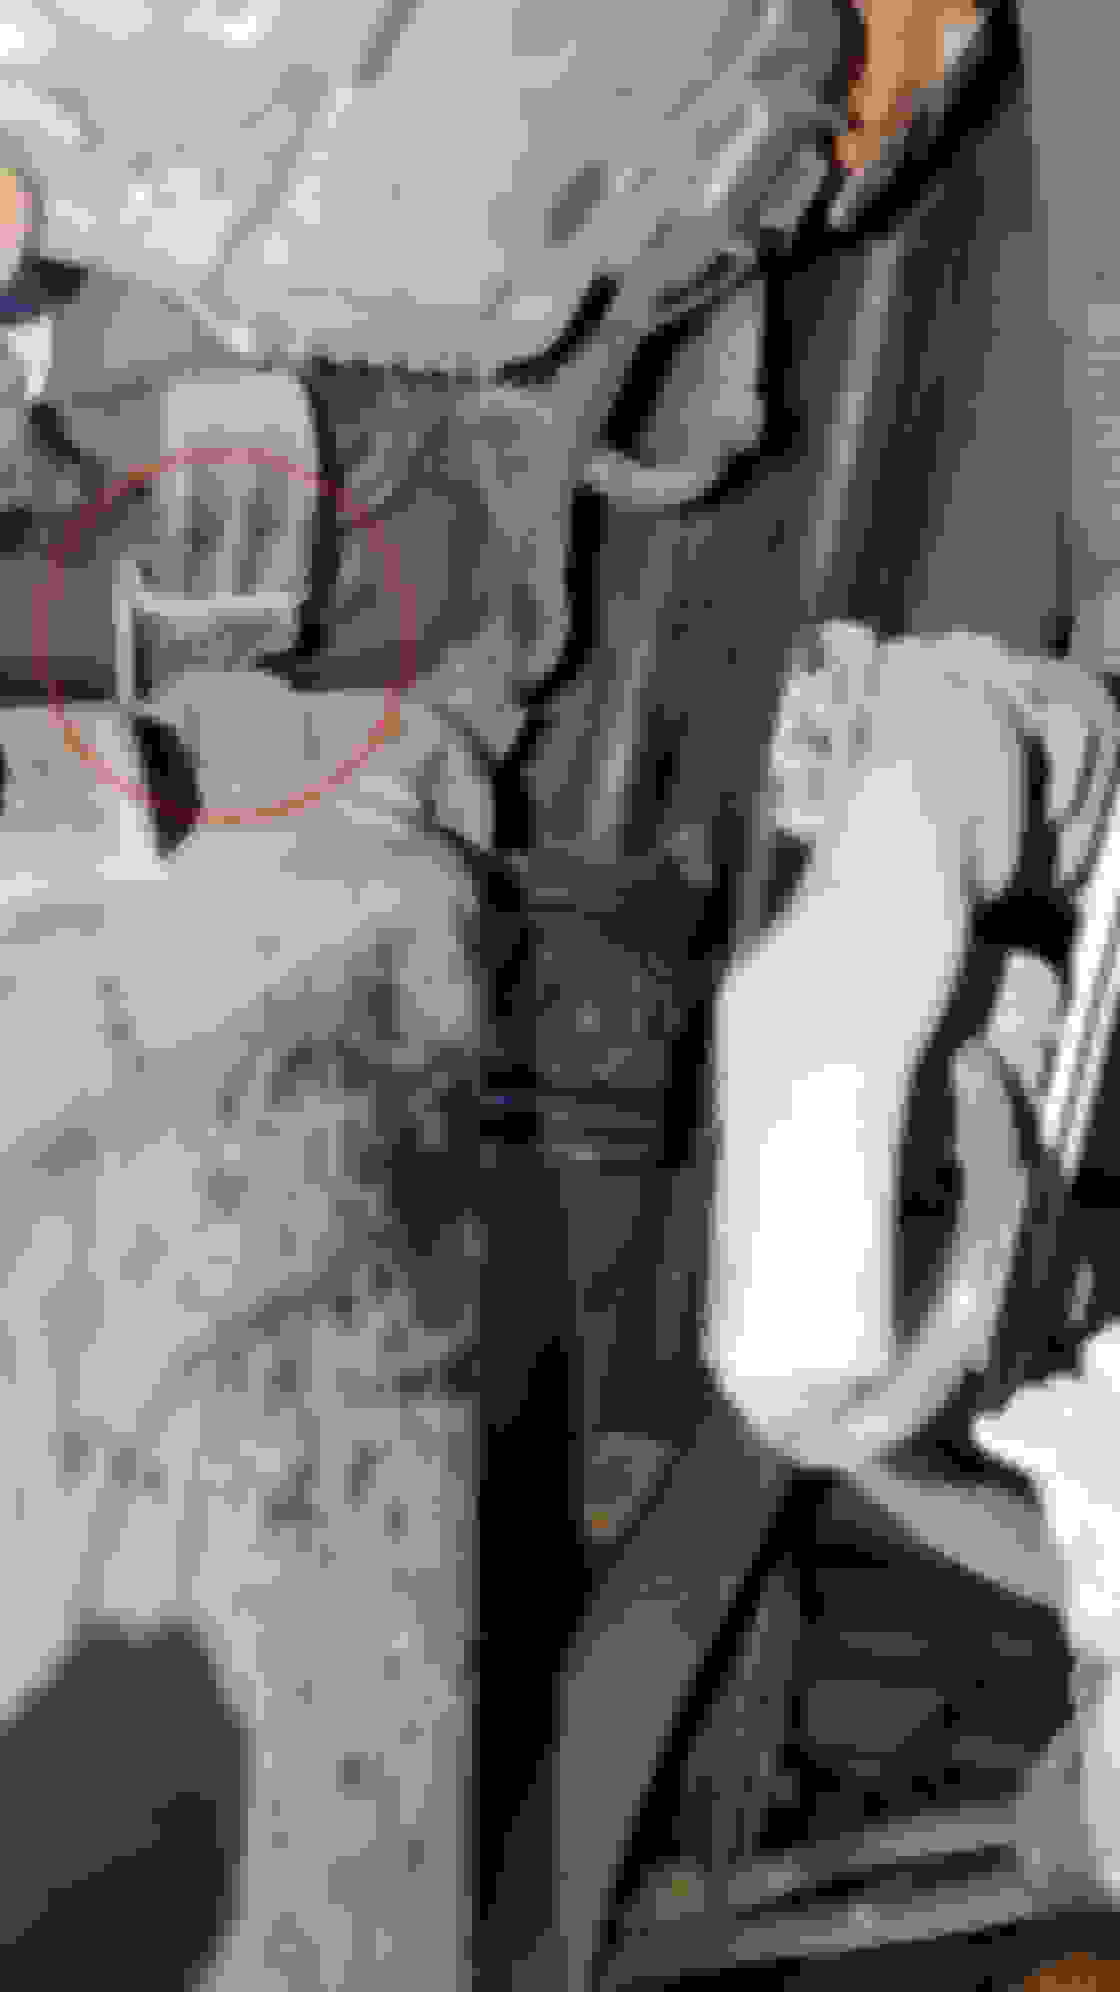
Step 20: Now lets go behind the manifold to remove EGR pipe and valve. To do this, you gotta remove solenoids holding metal frame. To get access to screws for this frame, the connectors should be disconnected or moved. Then take off that whole frame.
Step 21: Now there are 1-2 vacuum rubber hoses there. Disconnect all and now remove EGR pipe and EGR valve. This is the real fun part as there is not enough space to unscrew 6 screws, 2 from EGR valve and 4 from EGR pipe. I am going to include pics of screws for valve but unable to get pics of screws of pipe.
You can see a rubber hose from EGR valve. Disconnect that.
Will continue this post once I fix everything back. If you have any input please feel free to drop a line. Thanks guys
Step 22: Now lets move to intake manifold and fuel rail. The driver side fuel rail is easy to pop out, but the passenger side is little tricky.
On the driver side there is a plastic pipe holder which holds PCV valve pipe. Unscrew it from the the fuel rail before poping out fuel rail on driver side.
Remember - we loosened vacuum rail to unscrew the middle screw on passenger side fuel rail, that will help now to take off the fuel rail completely off of intake manifold. You have play around not to damage or break those tiny brass lines.
Disconnect MAP Sensor and remove it totally from fuel rail. Then pop out the passenger side fuel rail.
Caution - give even pressure all over the railing so that you don't break injectors. Also, do not lose the injector insulator rings on intake manifold and rubber sealant rings on injector itself. If you lose either of the rings - order in Autozone or O' Reilly's and it will least take 3-4 days for those rings to be in your hands. Book says you should replace them when you take out injectors, but they looked fine to me so didn't replace them.
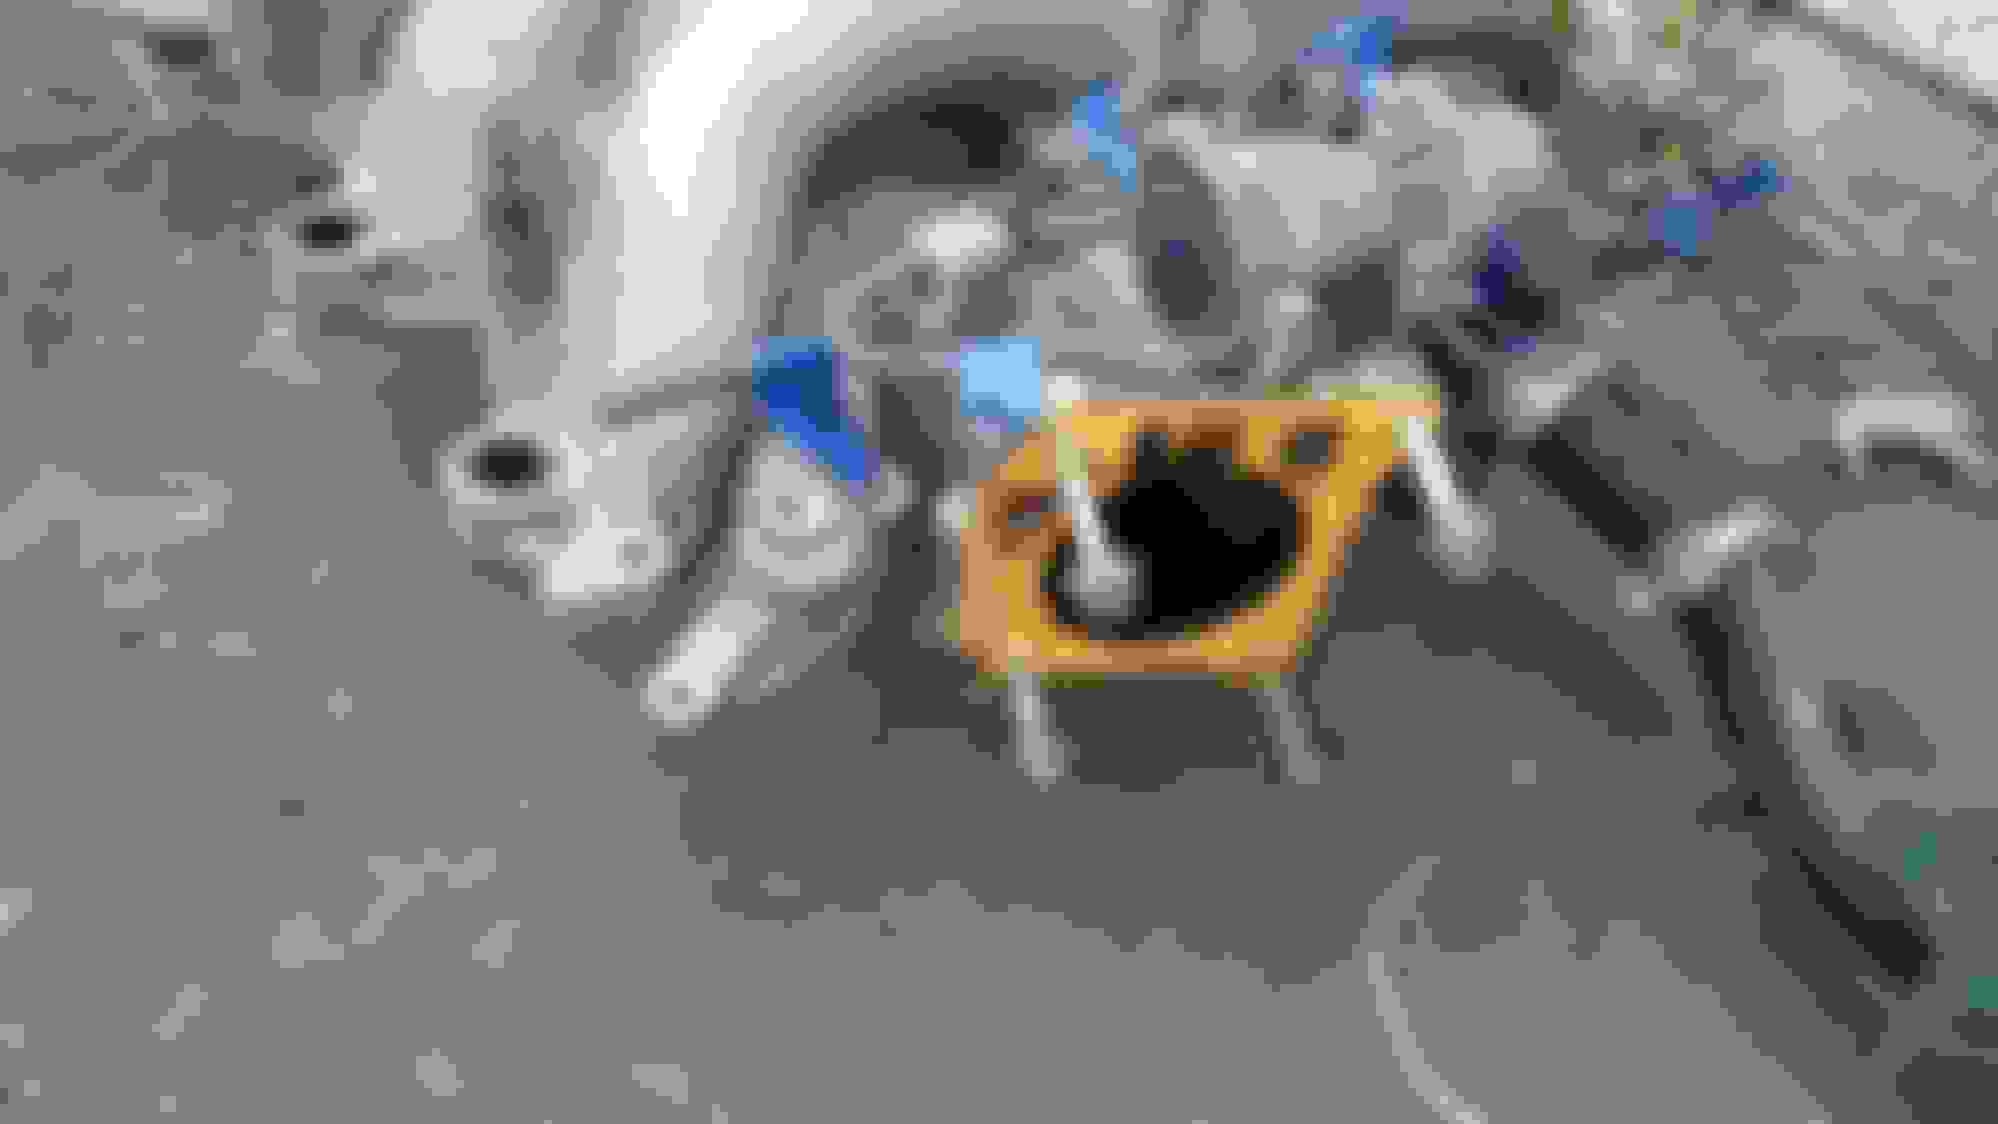
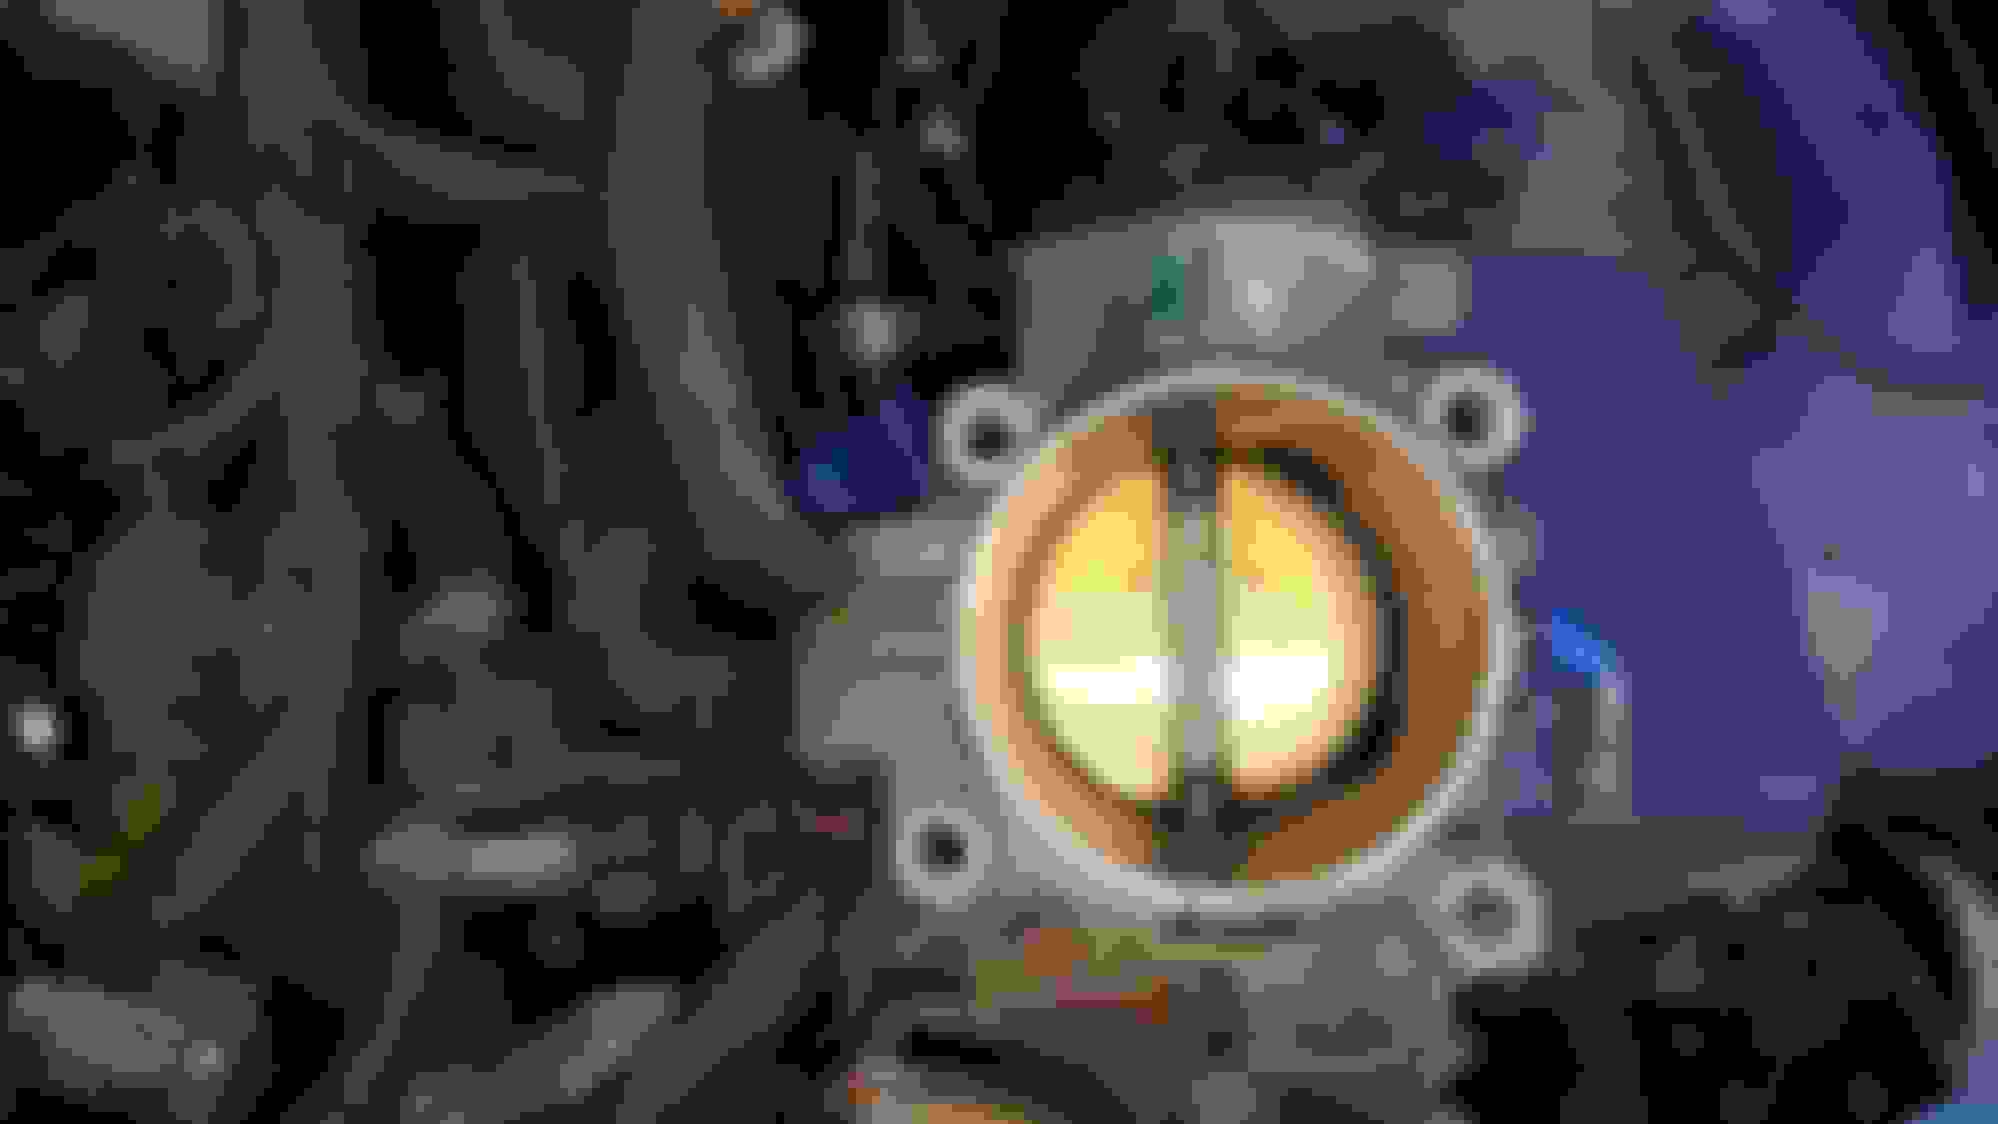
Step 23: Now unscrew 4 screws on throttle body. 2 on top and 2 on bottom.
I forgot to take full pic with 4 screws!
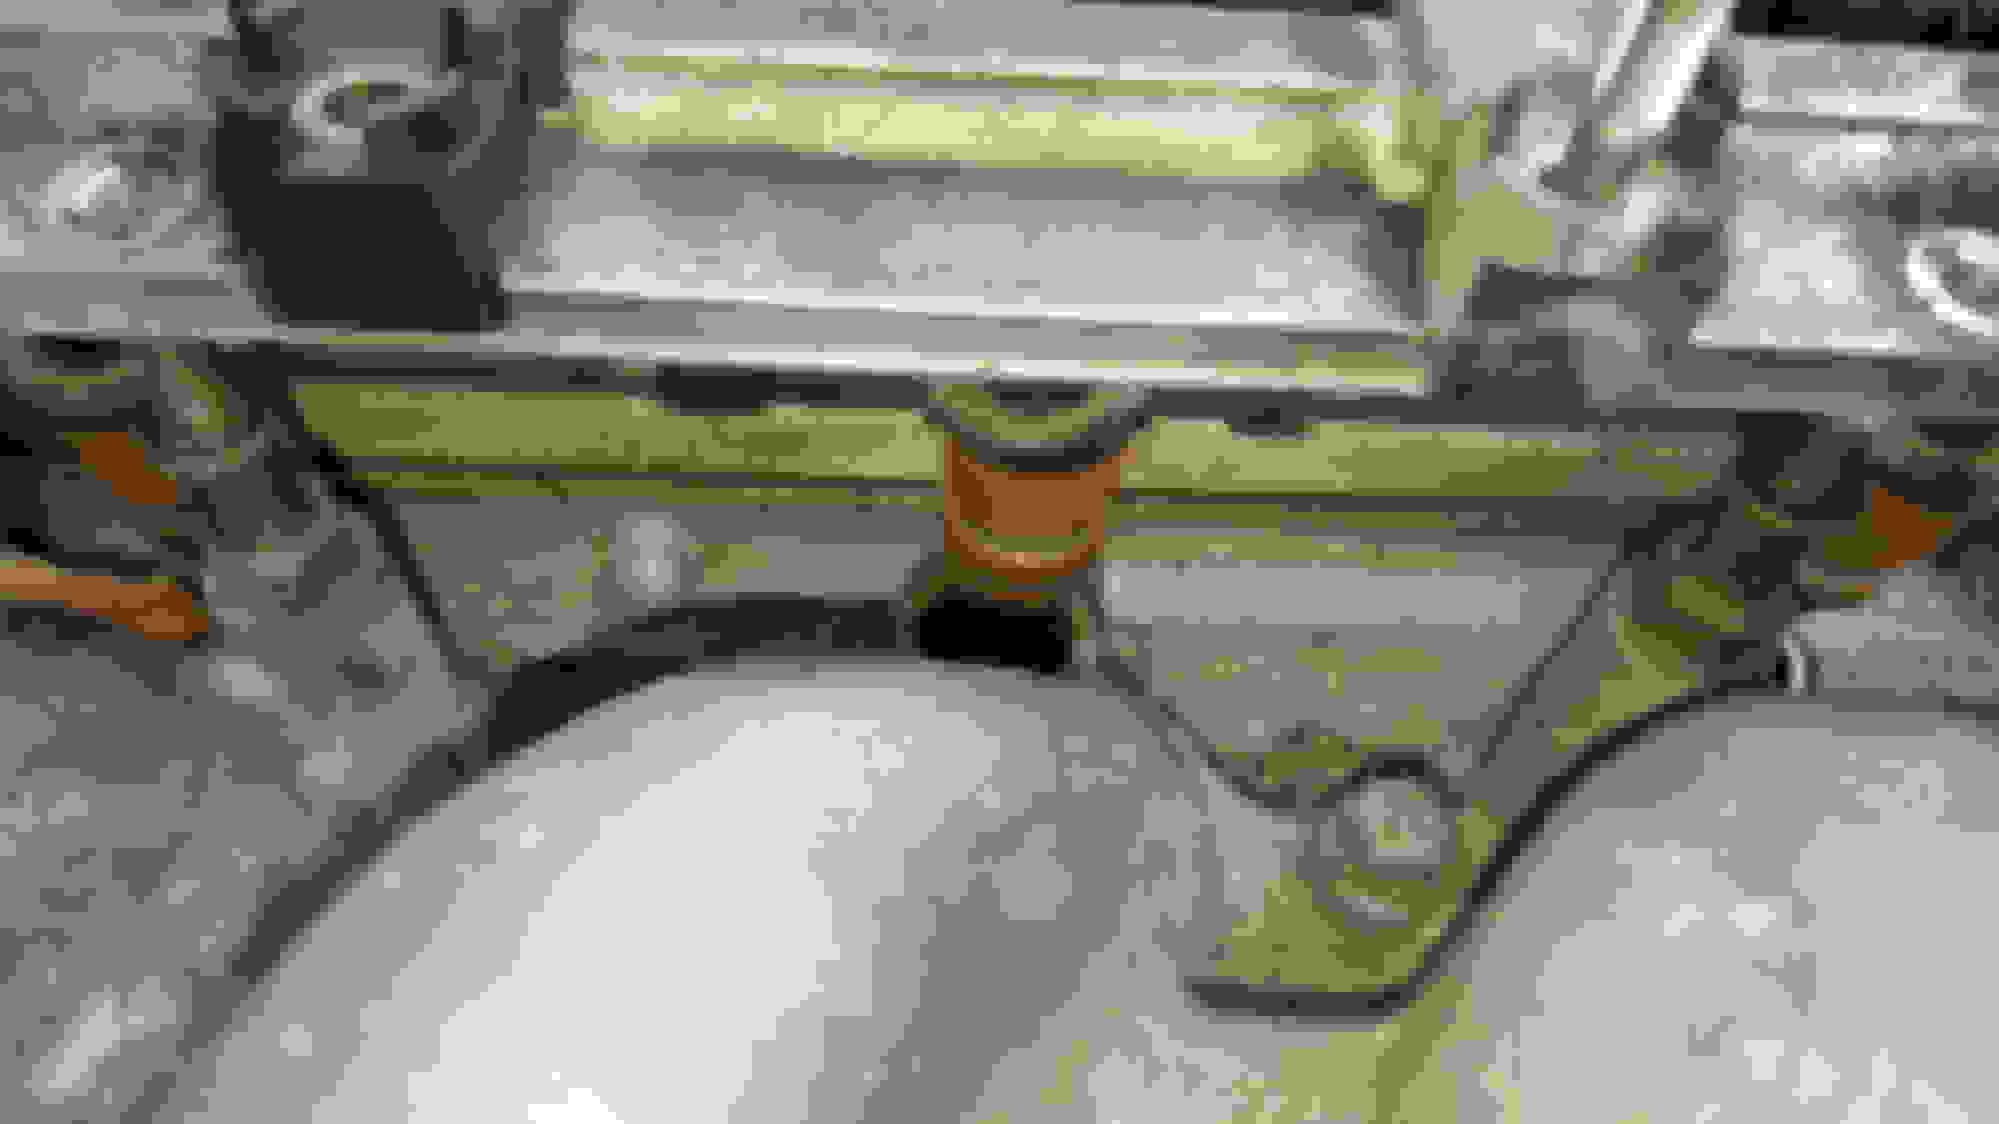
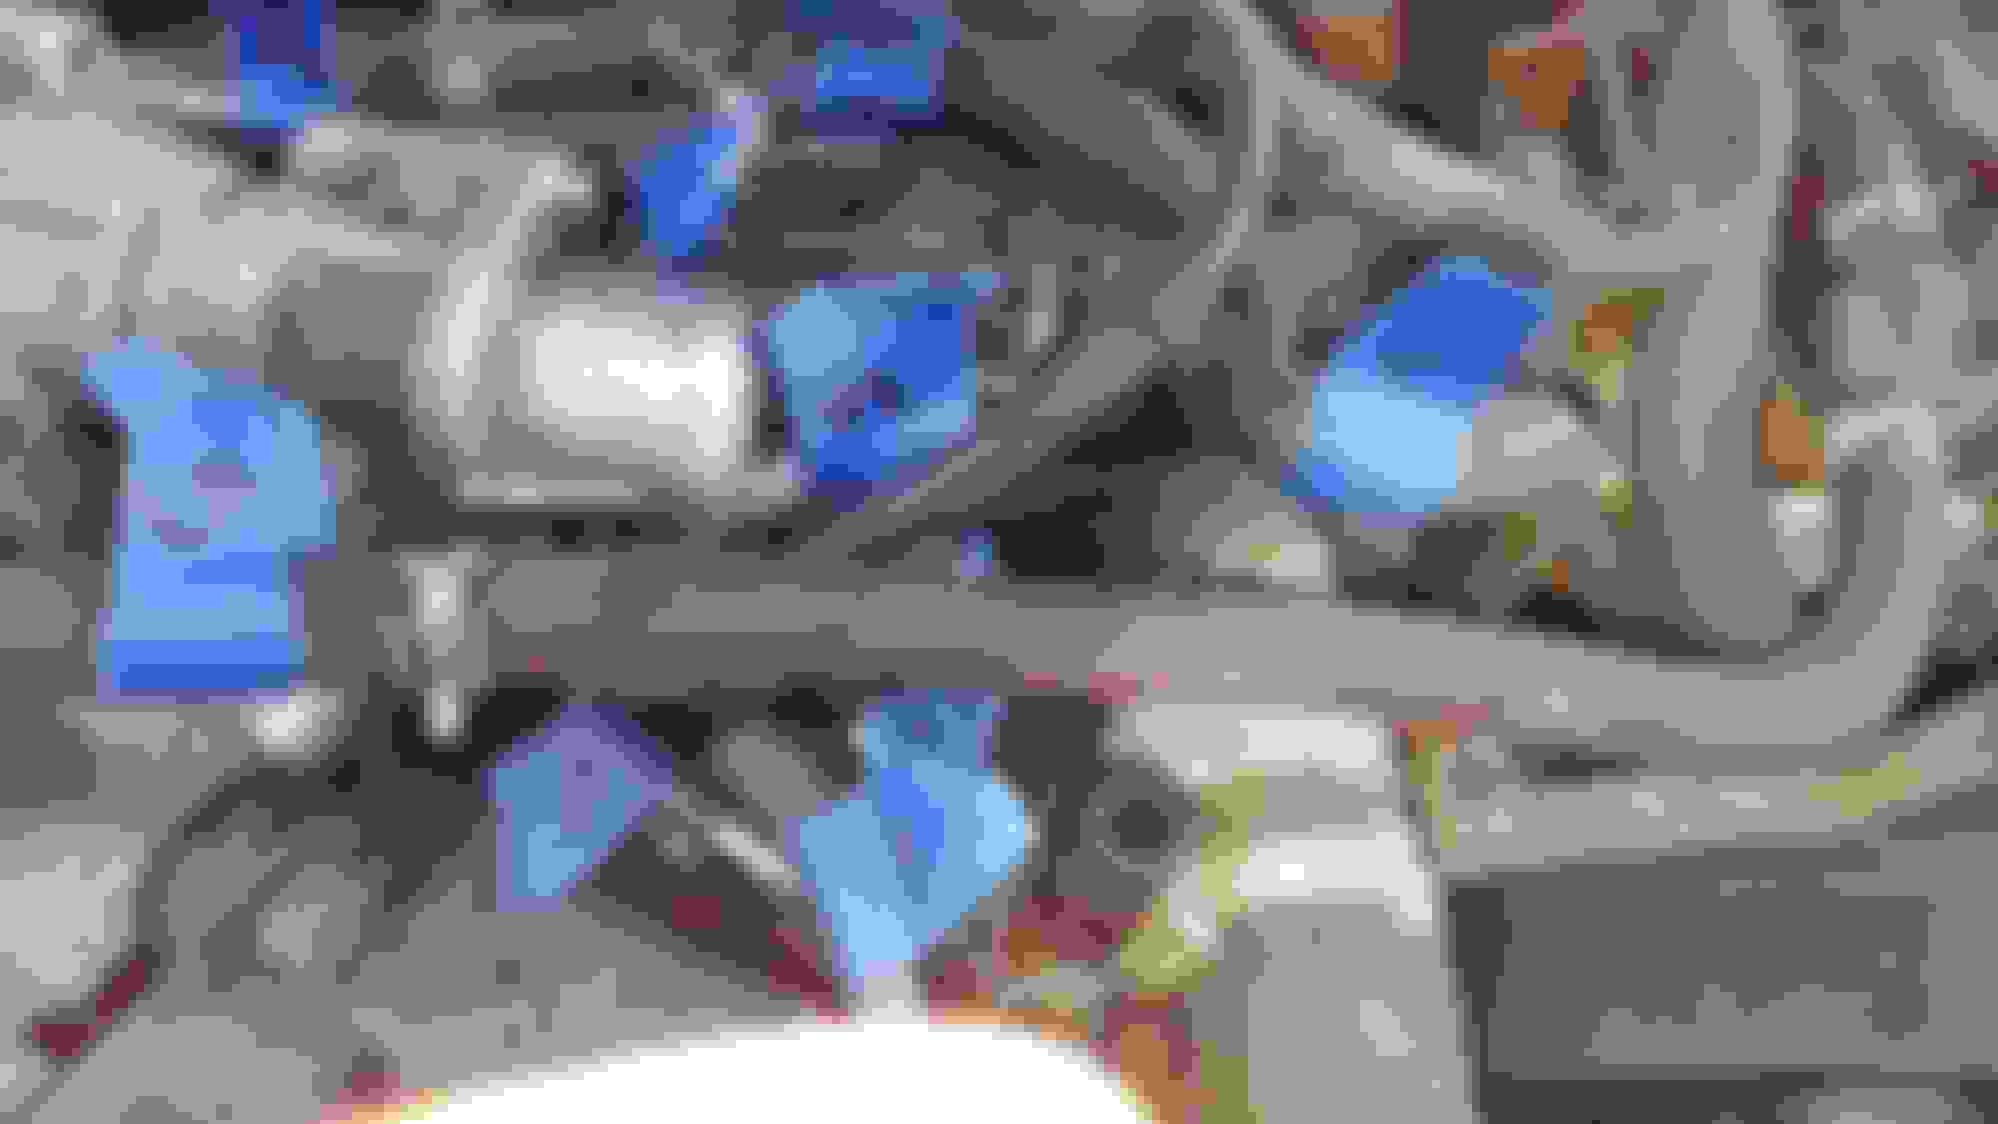
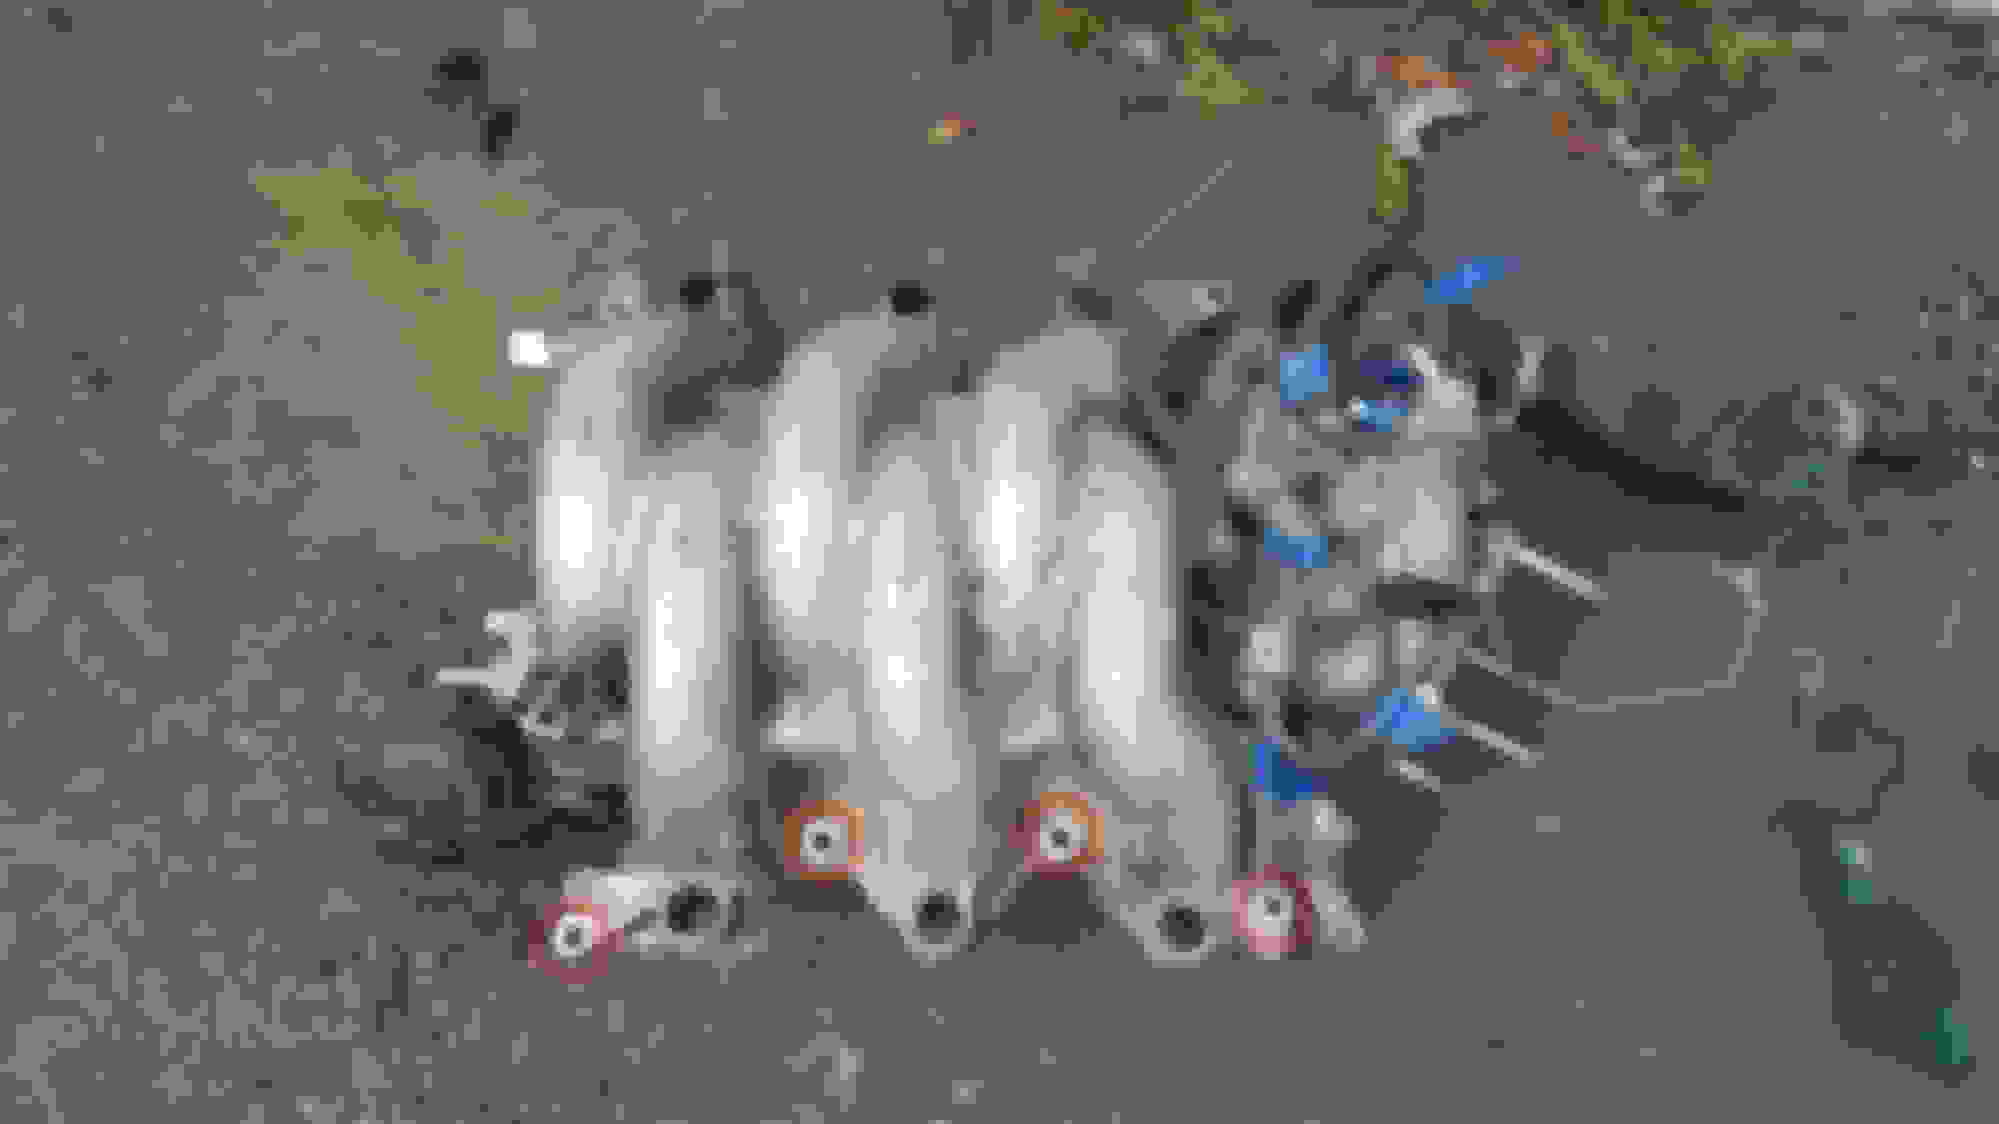
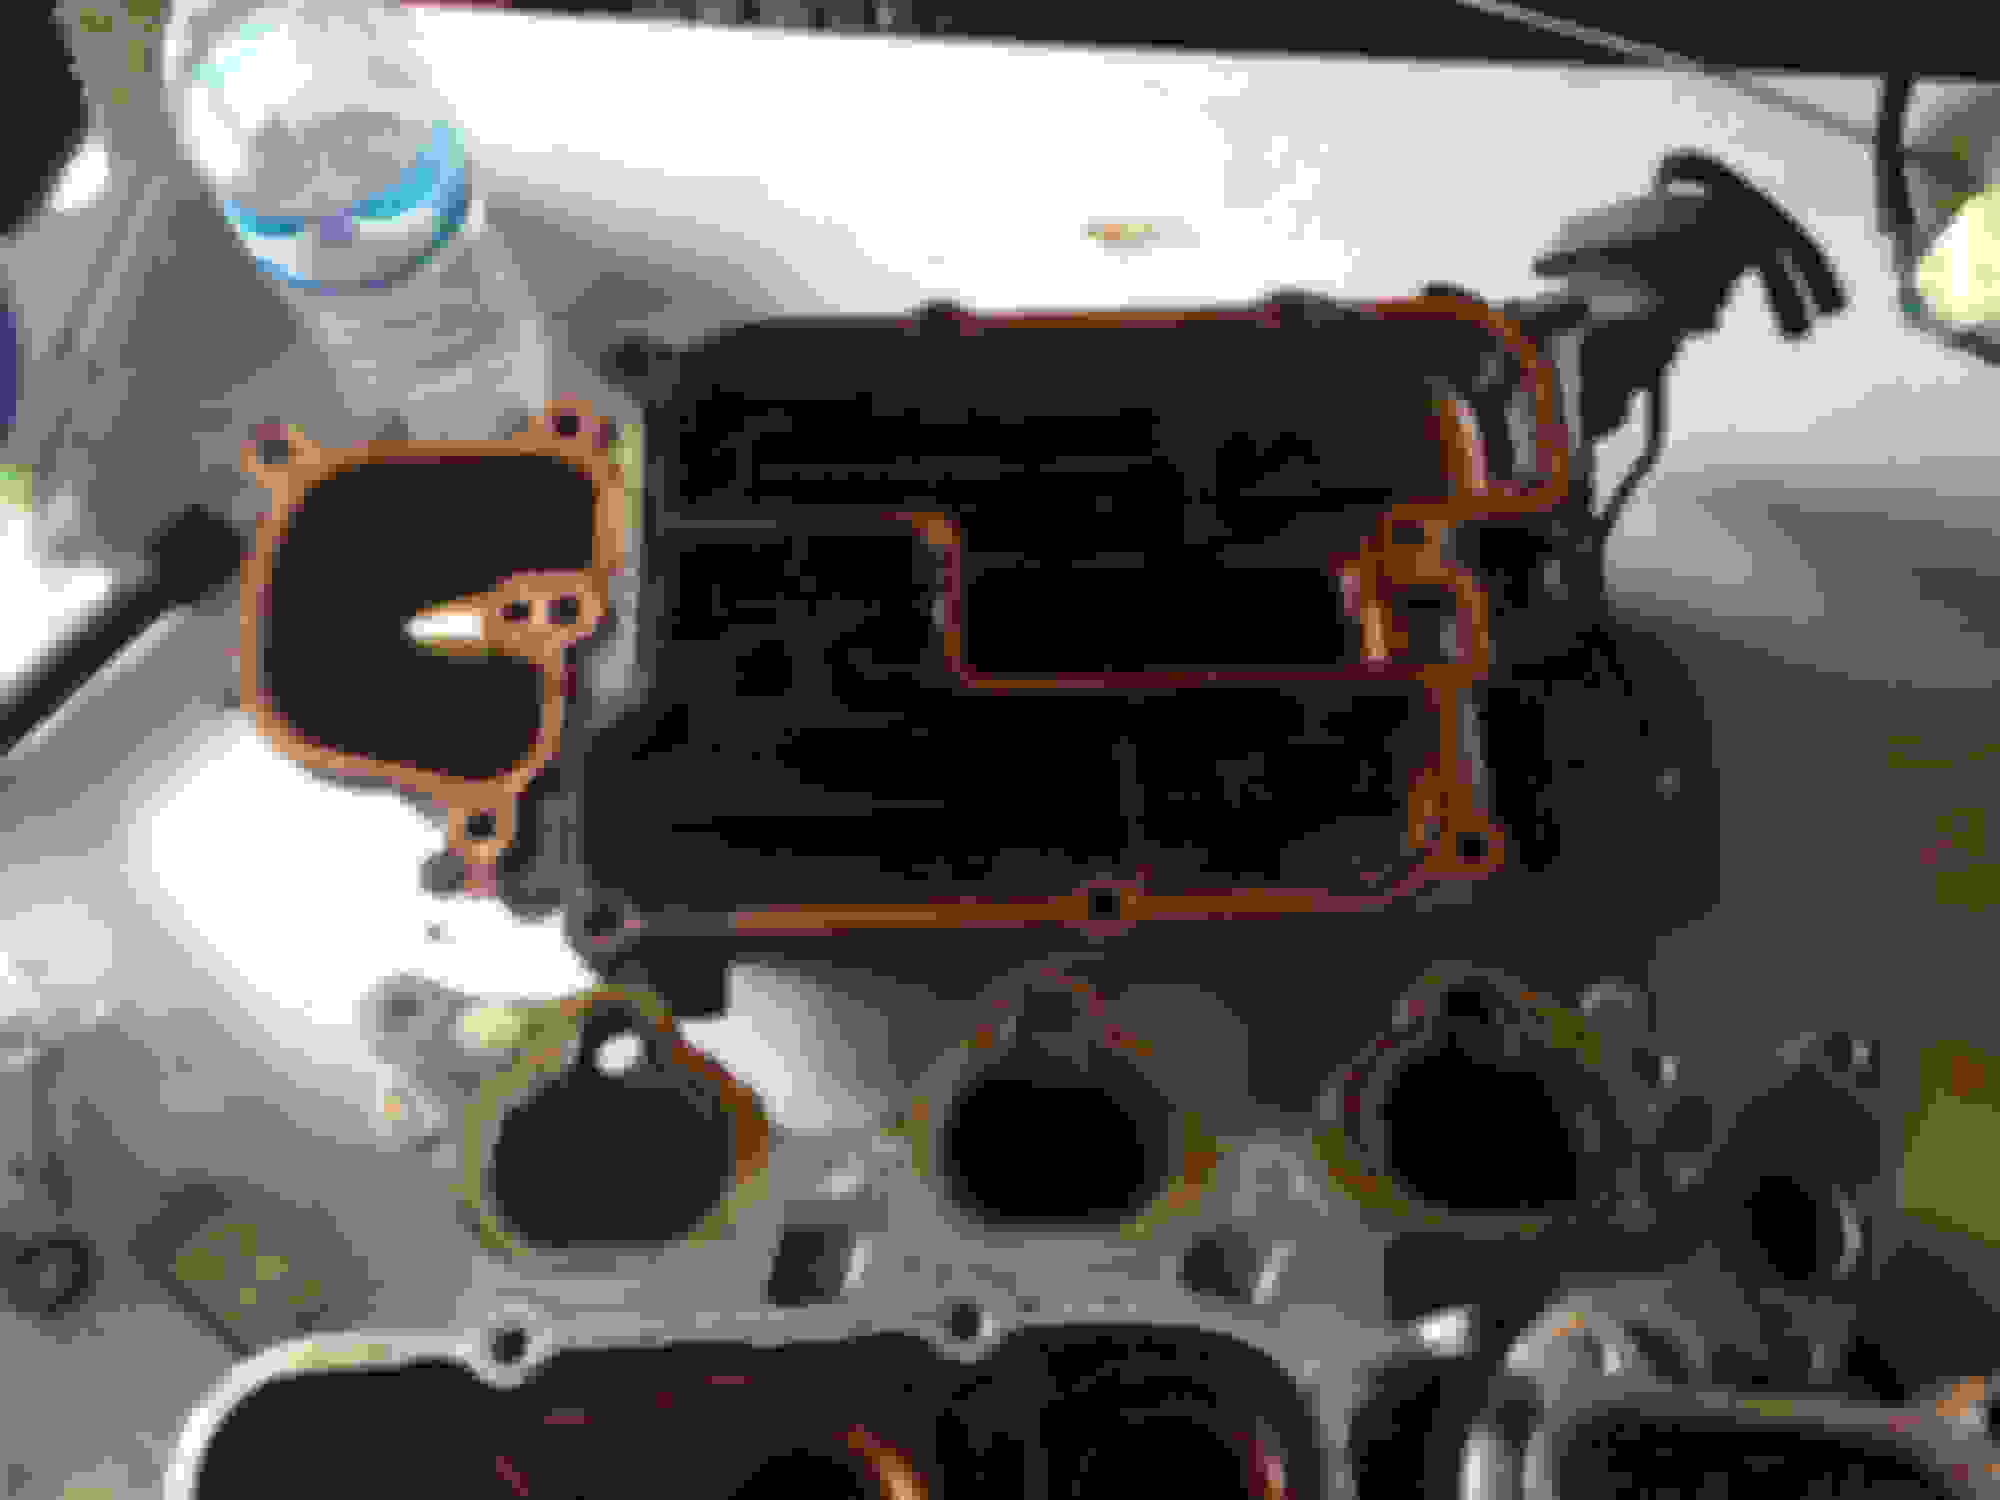
Step 24: Next remove 8 screws/bolts off of intake manifold. I didn't take pic while intake manifold was on engine. But here is the location for 4 screws/bolts. There will be another 4 on the other side.
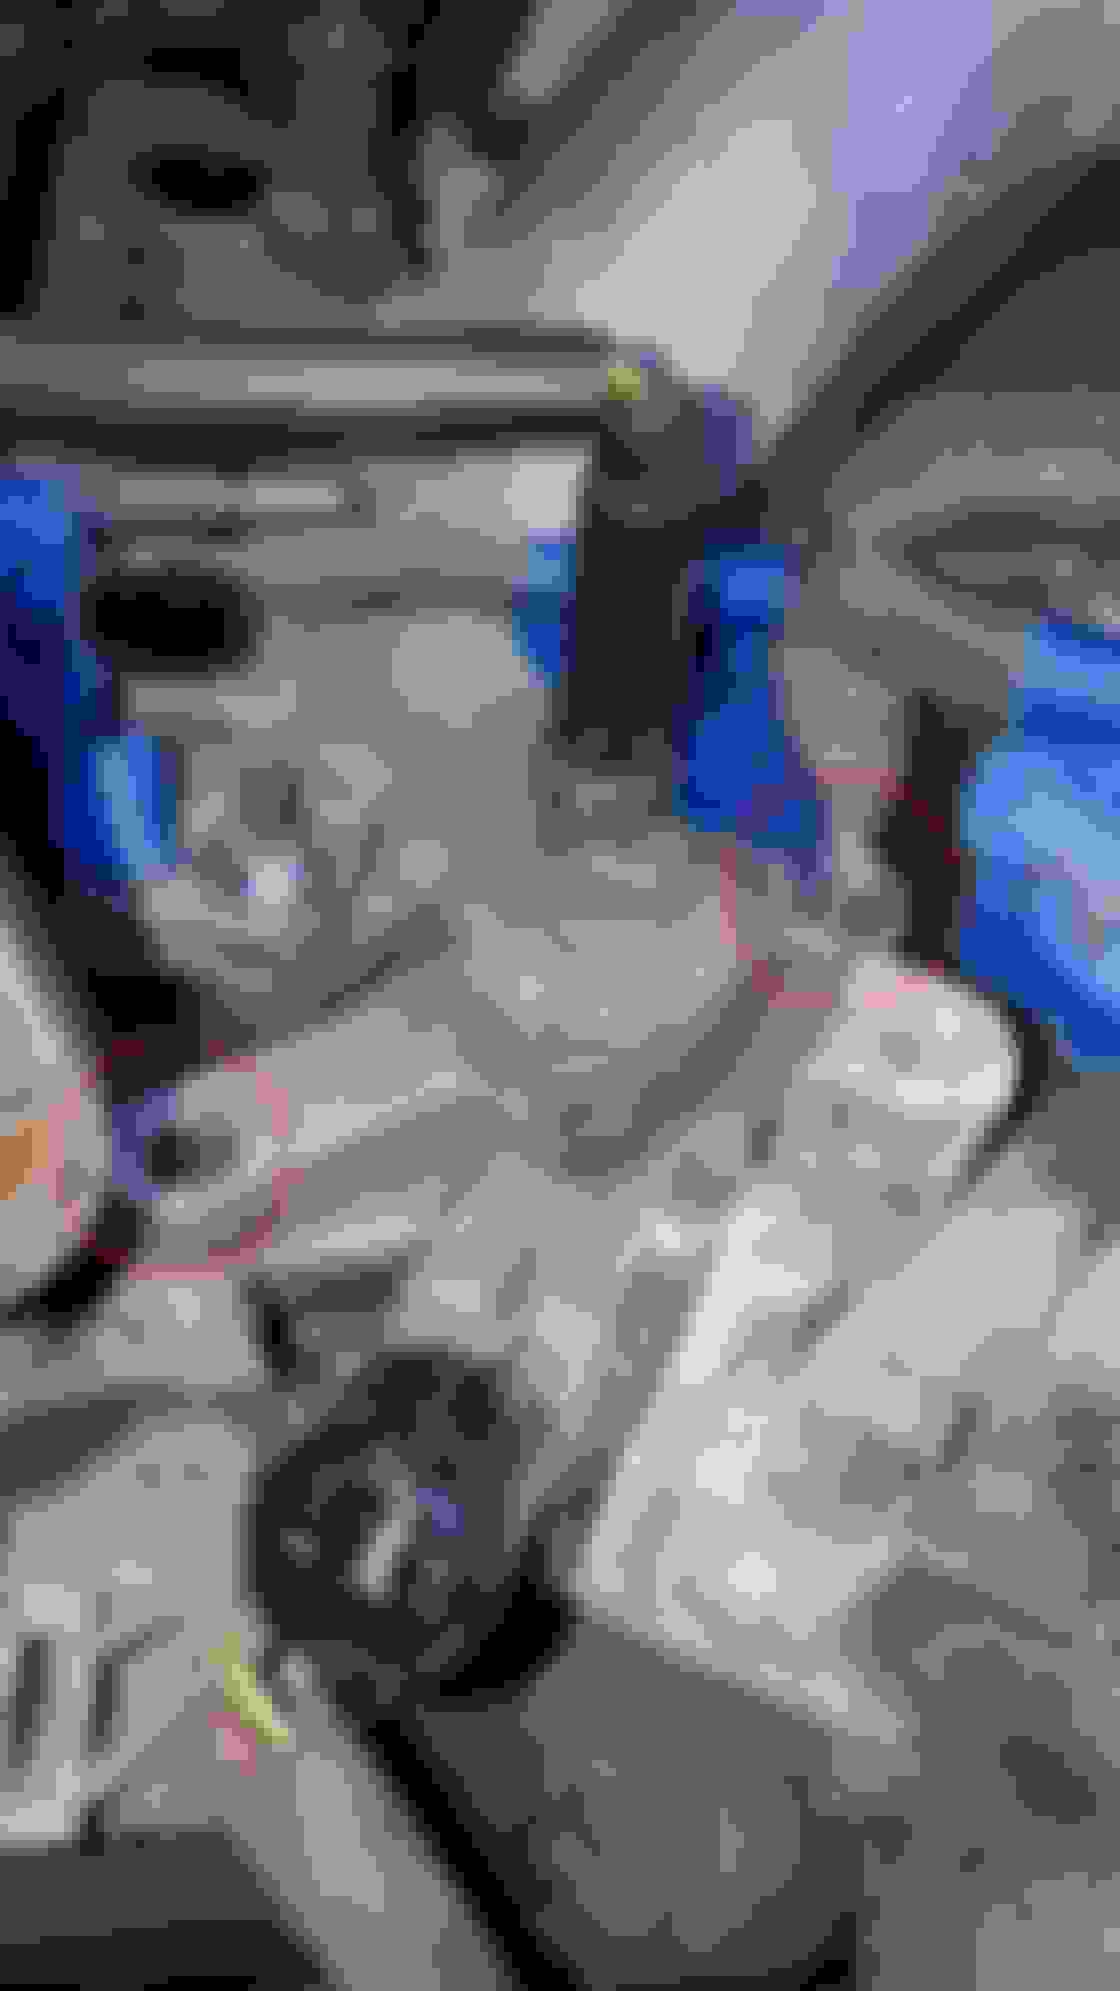
Step 25: Disconnect rubber hose (running from break booster and intake manifold) from the back of intake manifold on passenger side. There is also a connector on driver side on the back of intake manifold. Disconnect that as well. Intake manifold is free to be removed from the engine. With a good tug lift it up. You might need help of friend/spouse!
Once intake manifold is out of engine this is how it should look.
Towards throttle body!
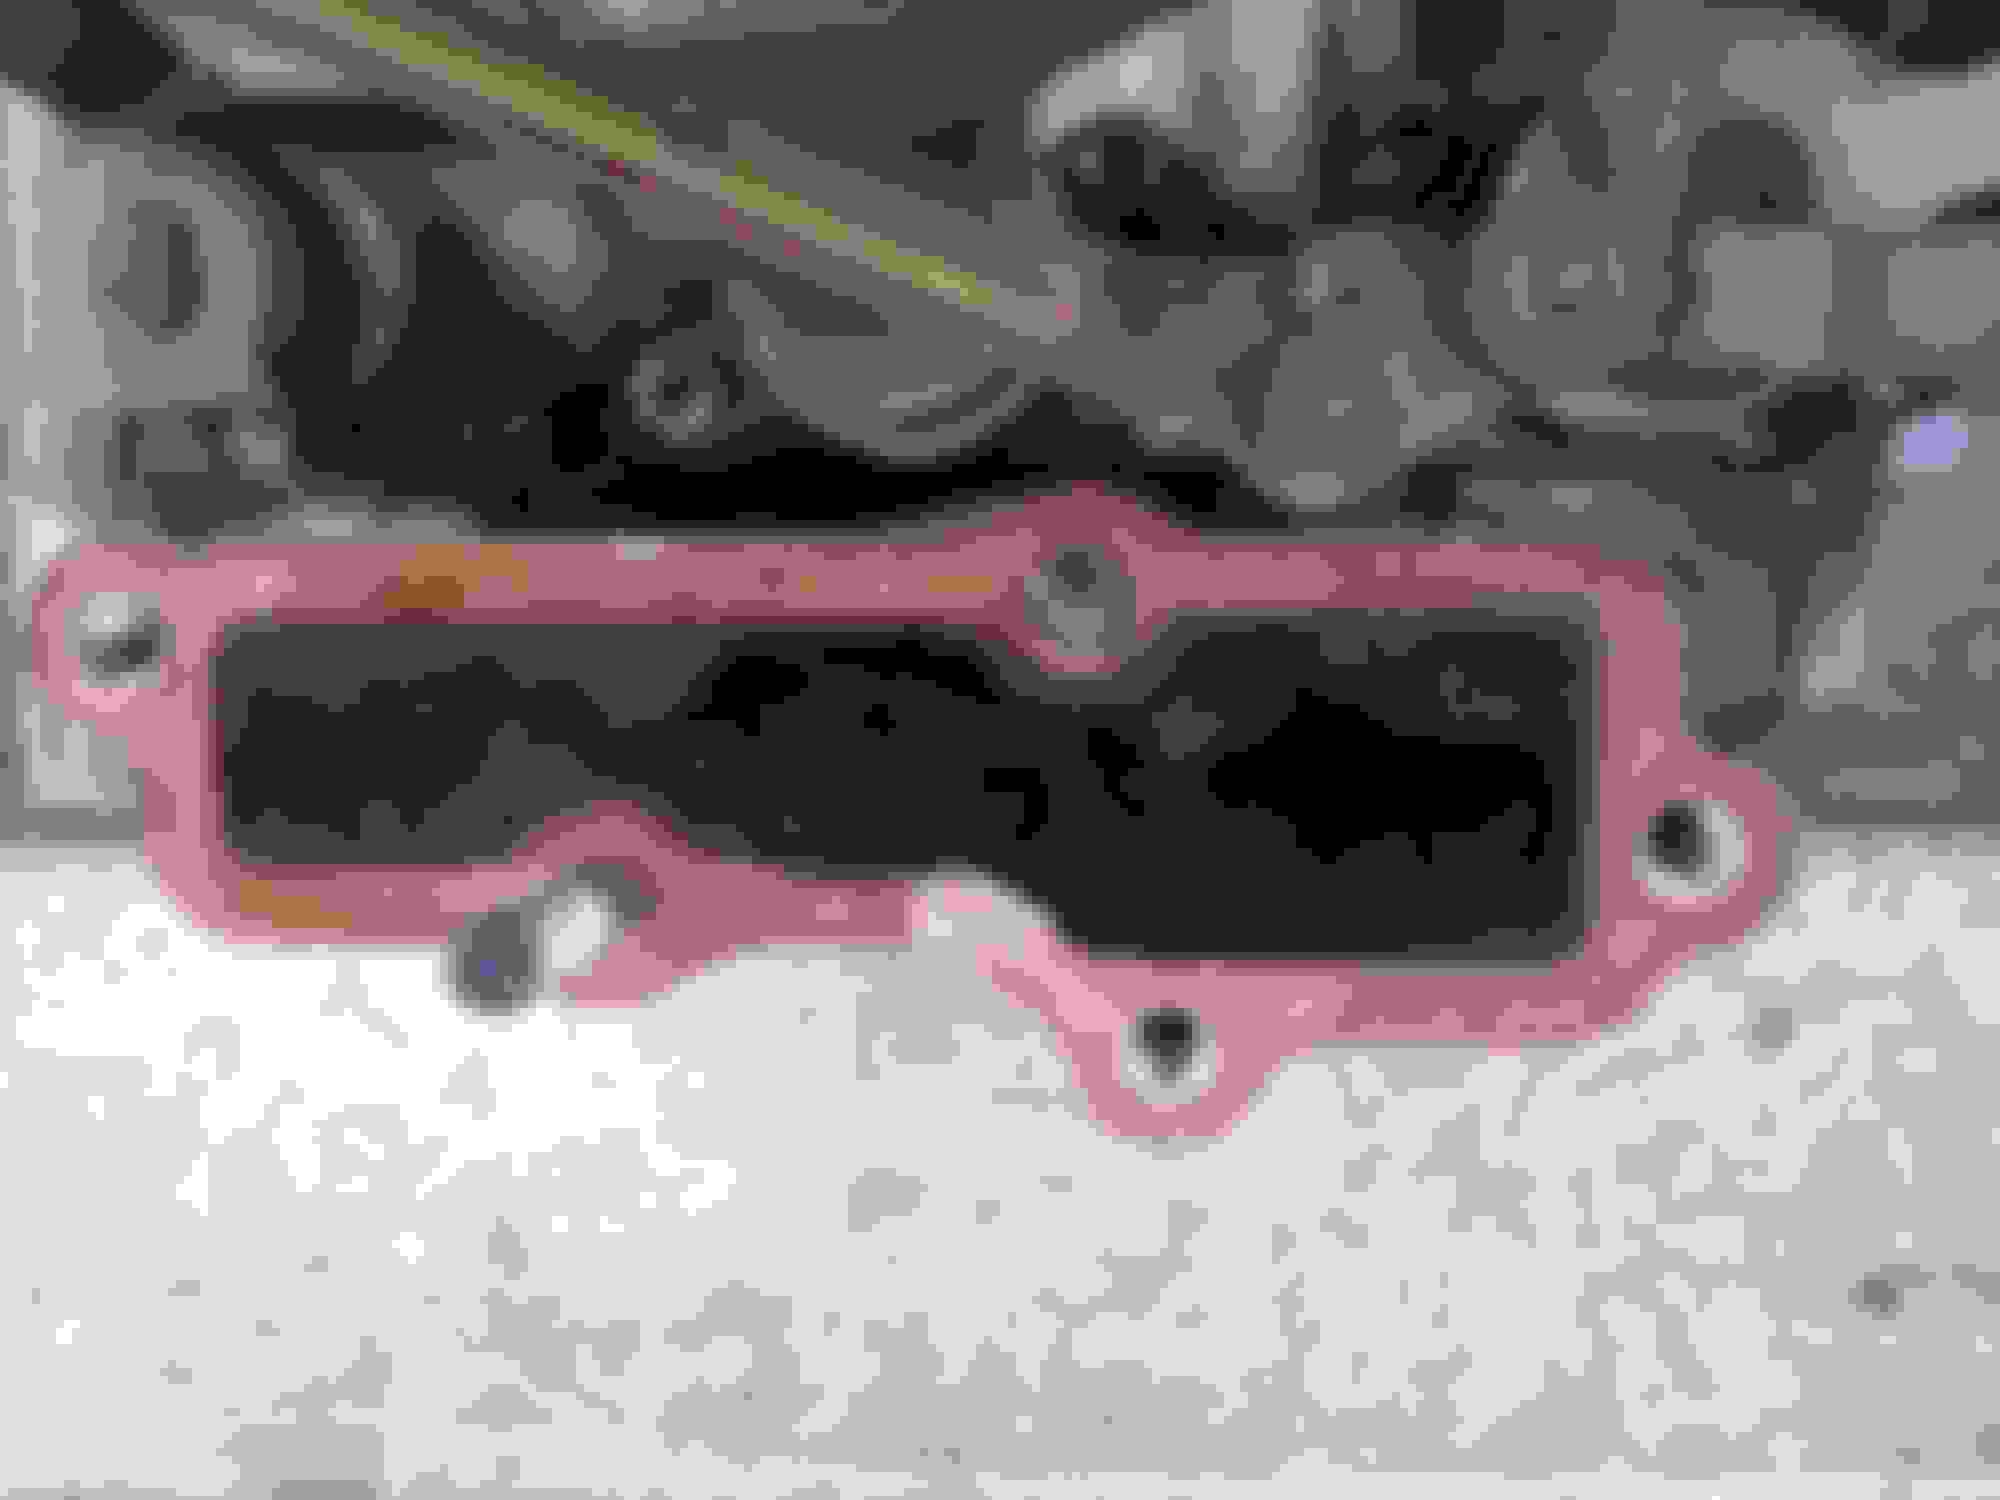
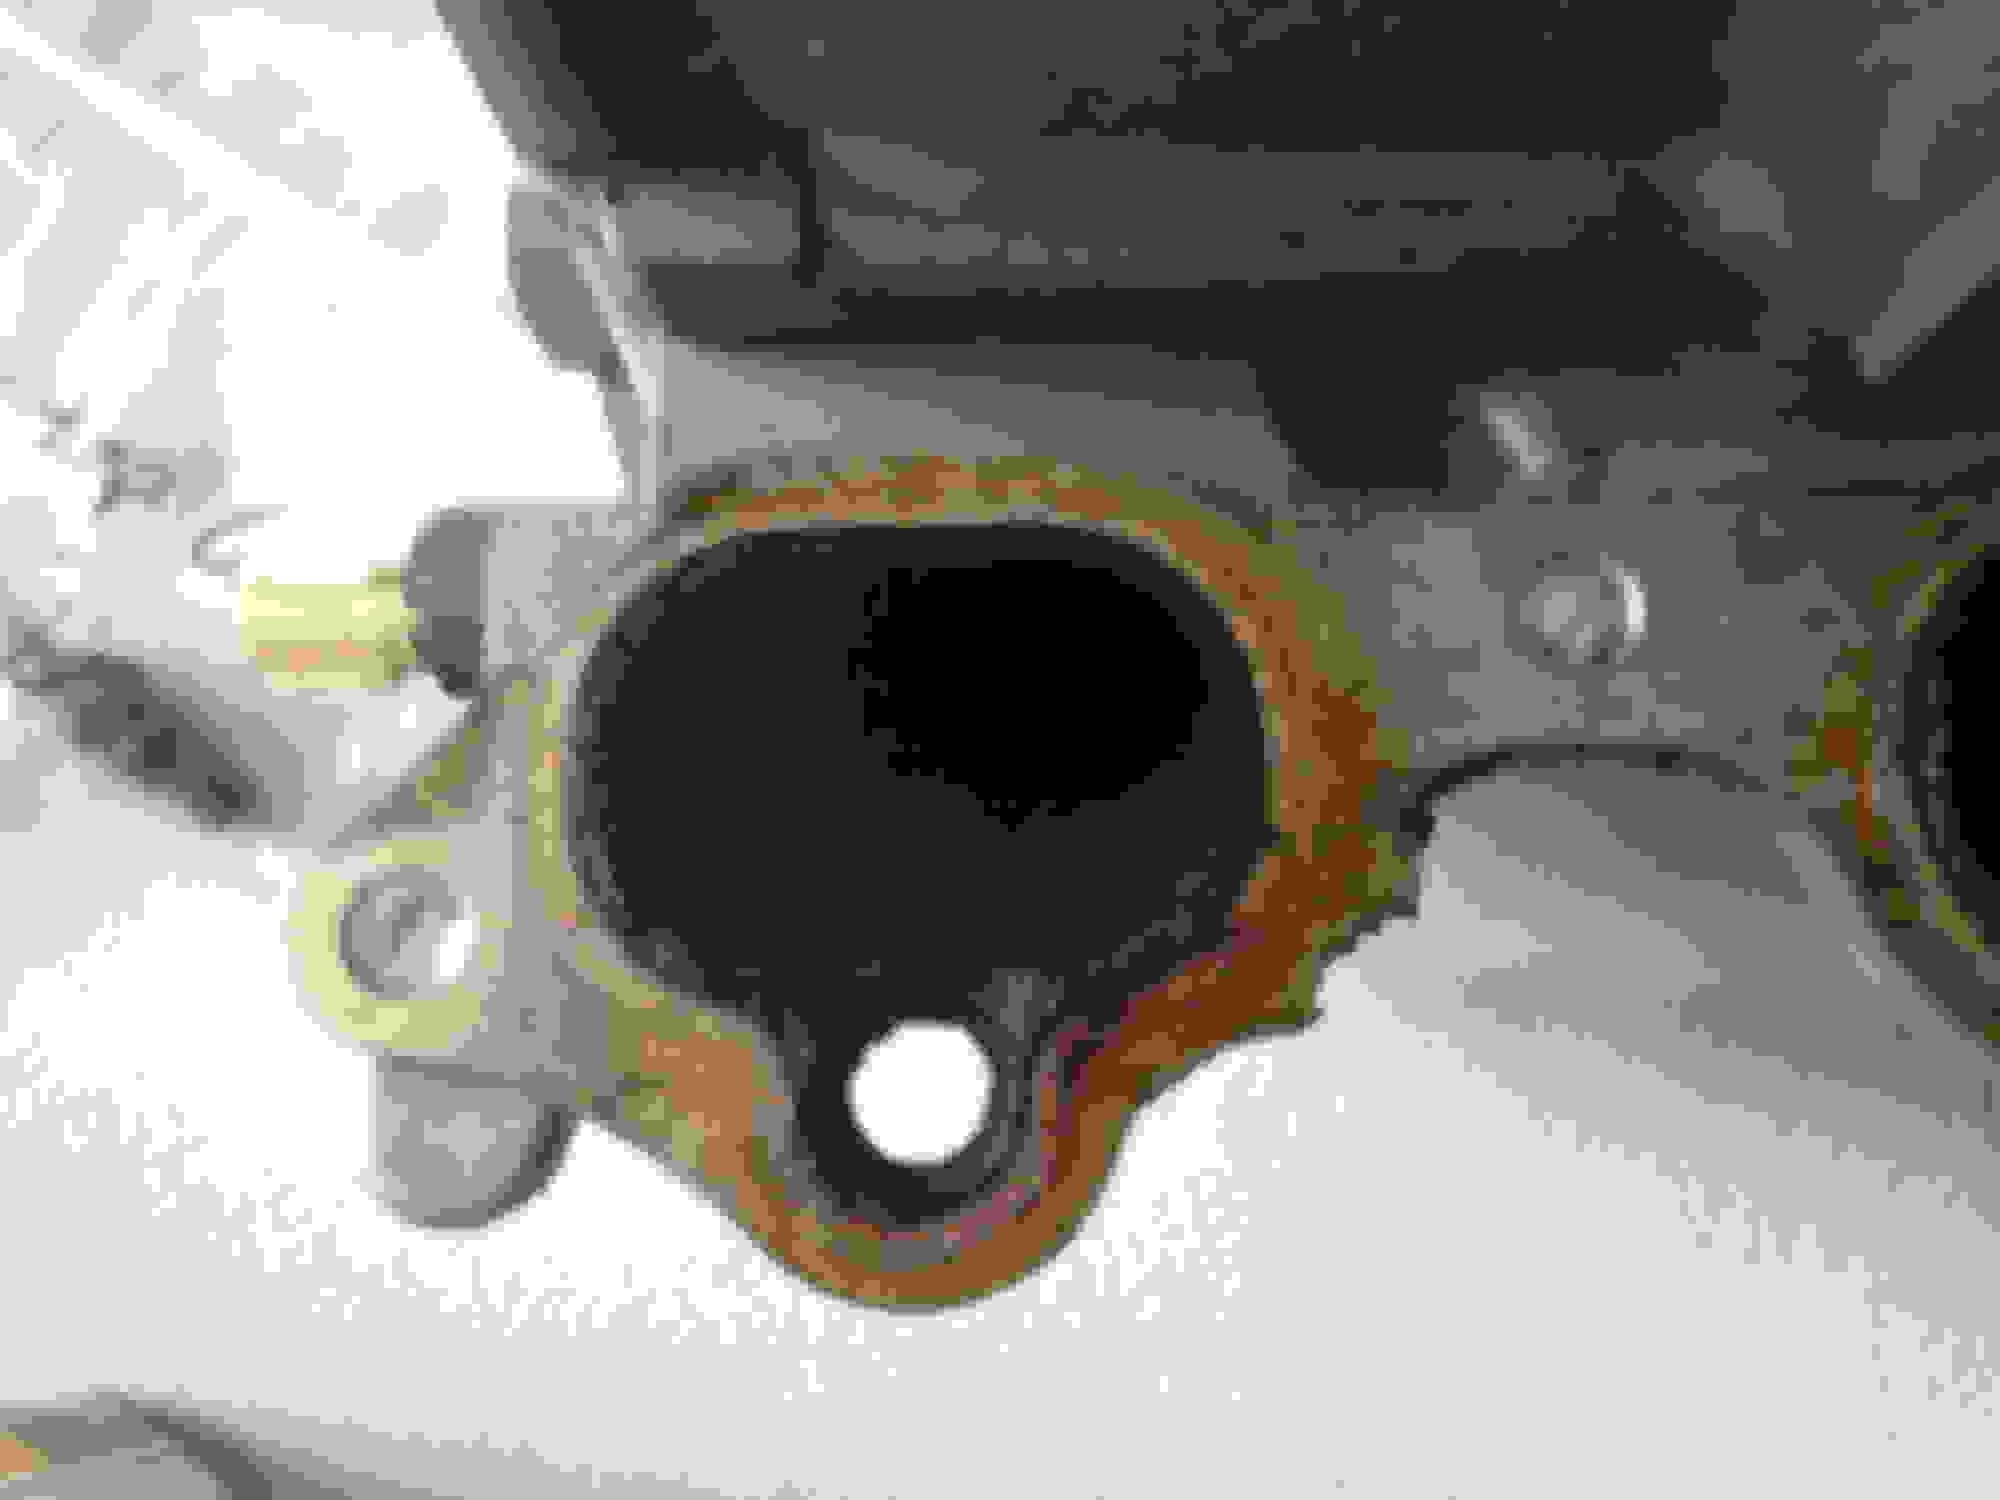
After removing intake manifold, engine block looks bare. Green - intake manifold gasket, needs to be replaced!
Throttle body end still sitting on engine.
Brake booster cable!
Brake booster cable!
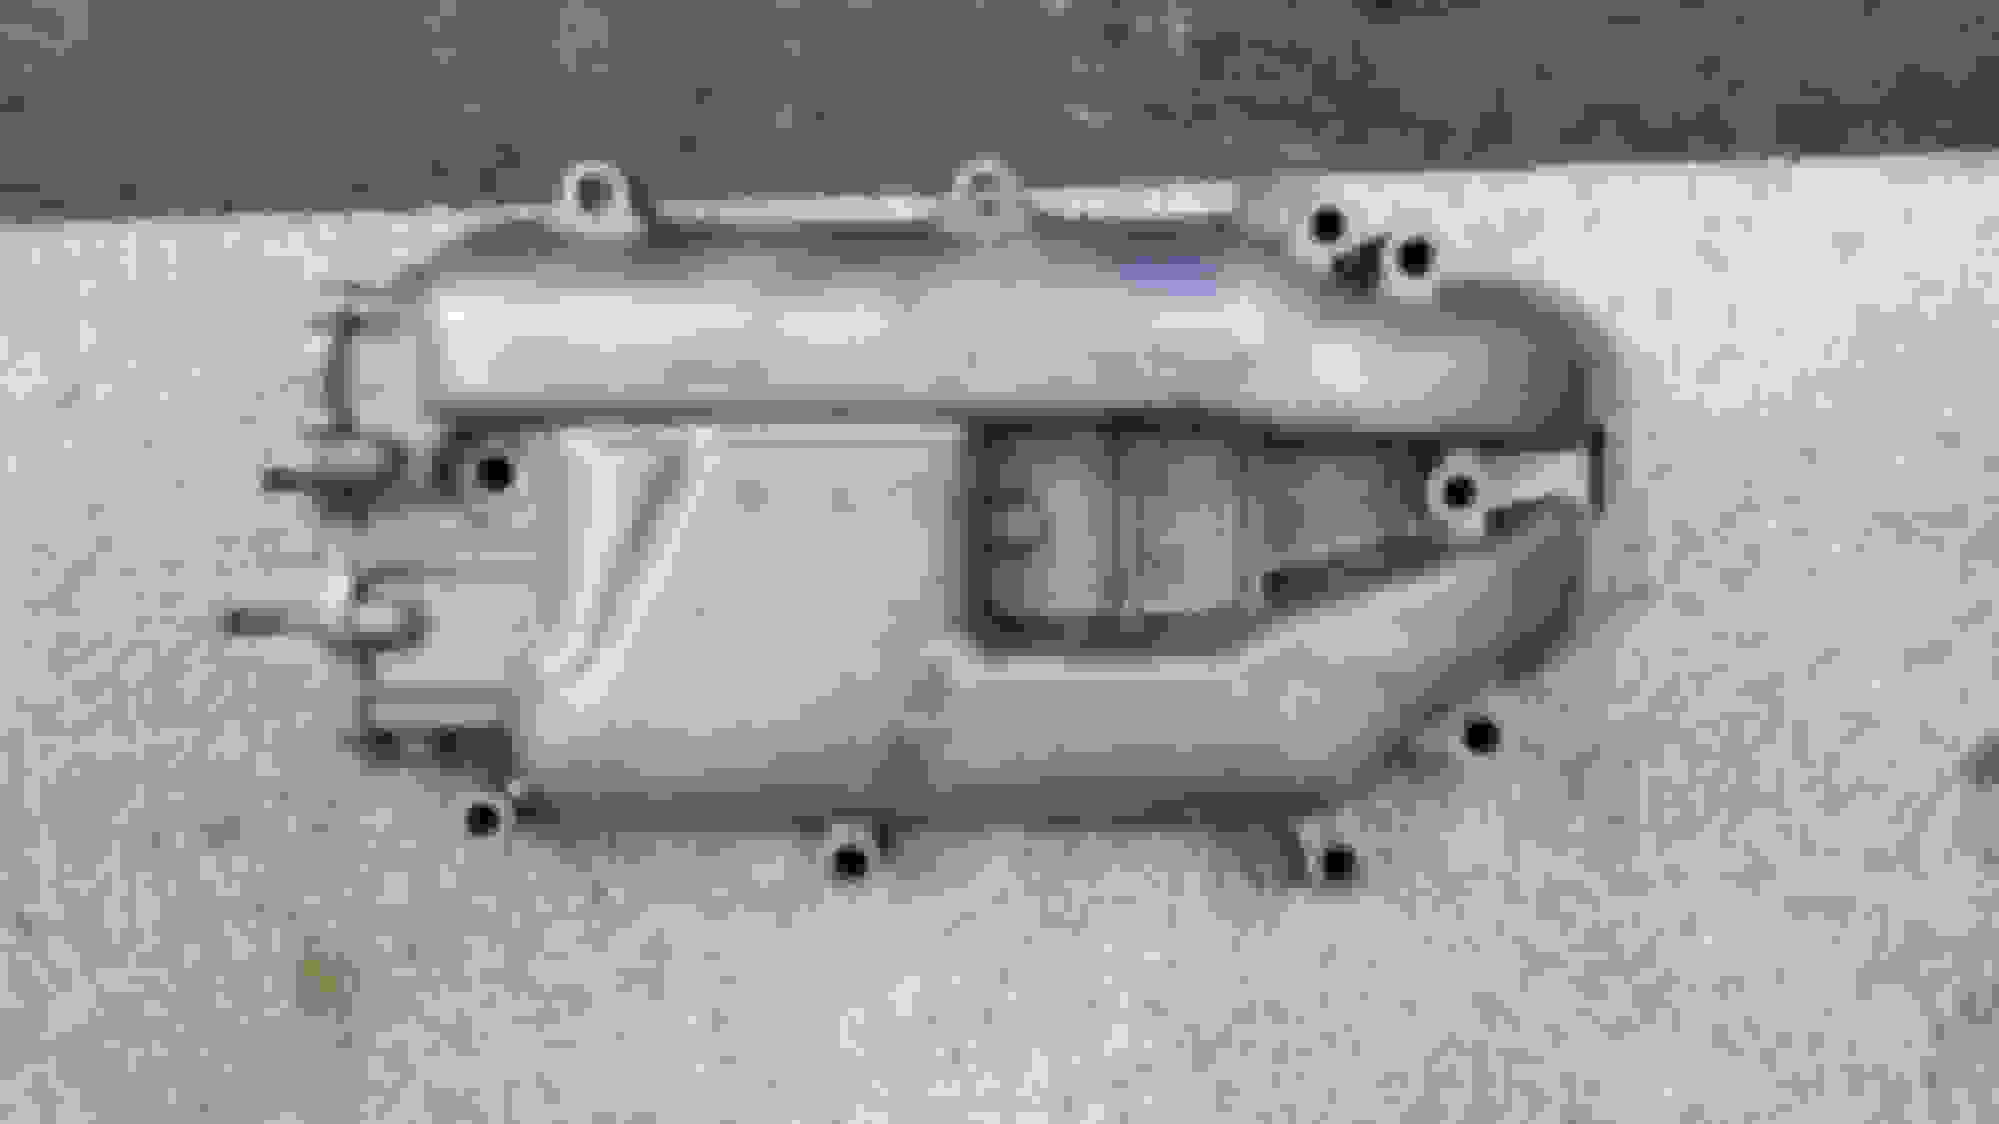
Step 26: Dismantling intake manifold by removing several screws on it.
Intake bolts/screws.
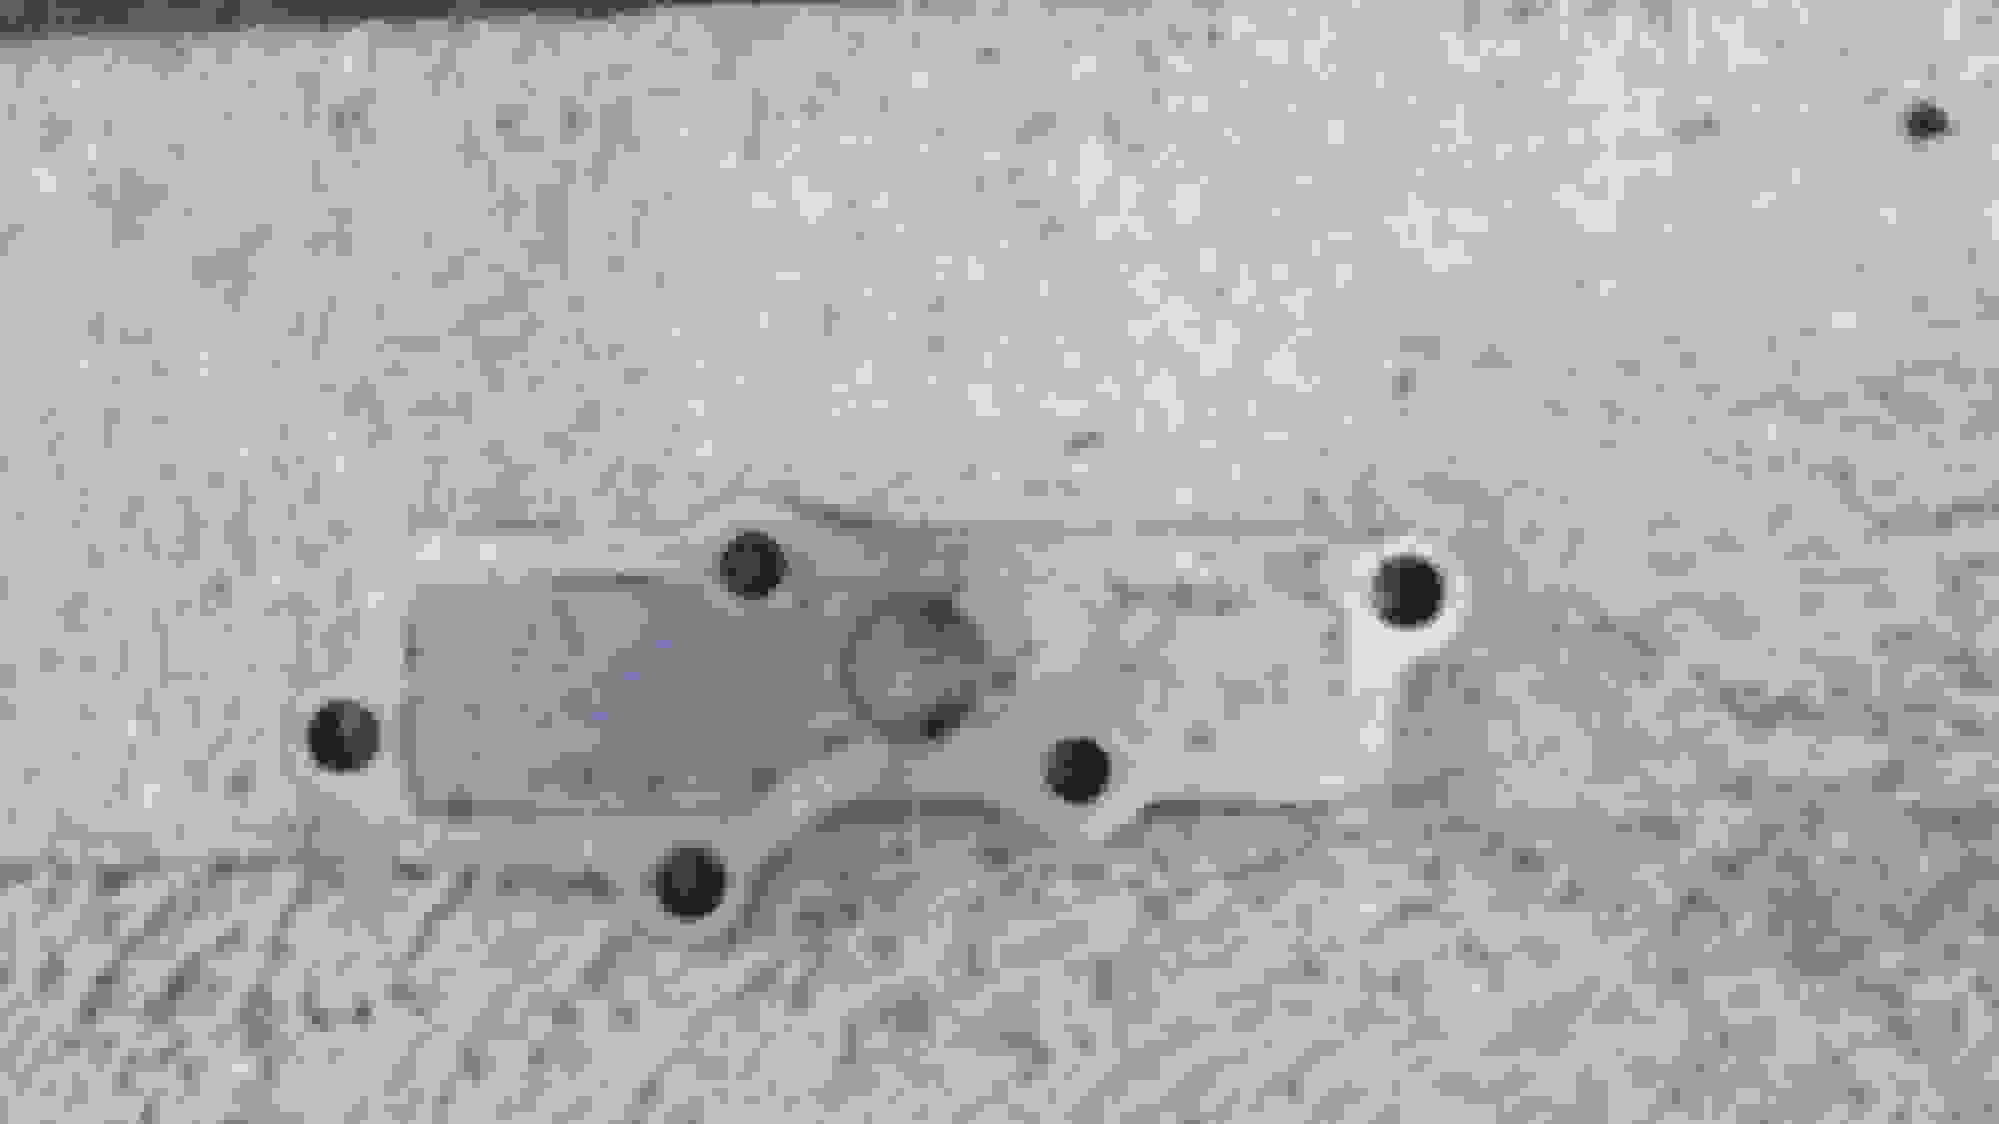
EGR port bolts.
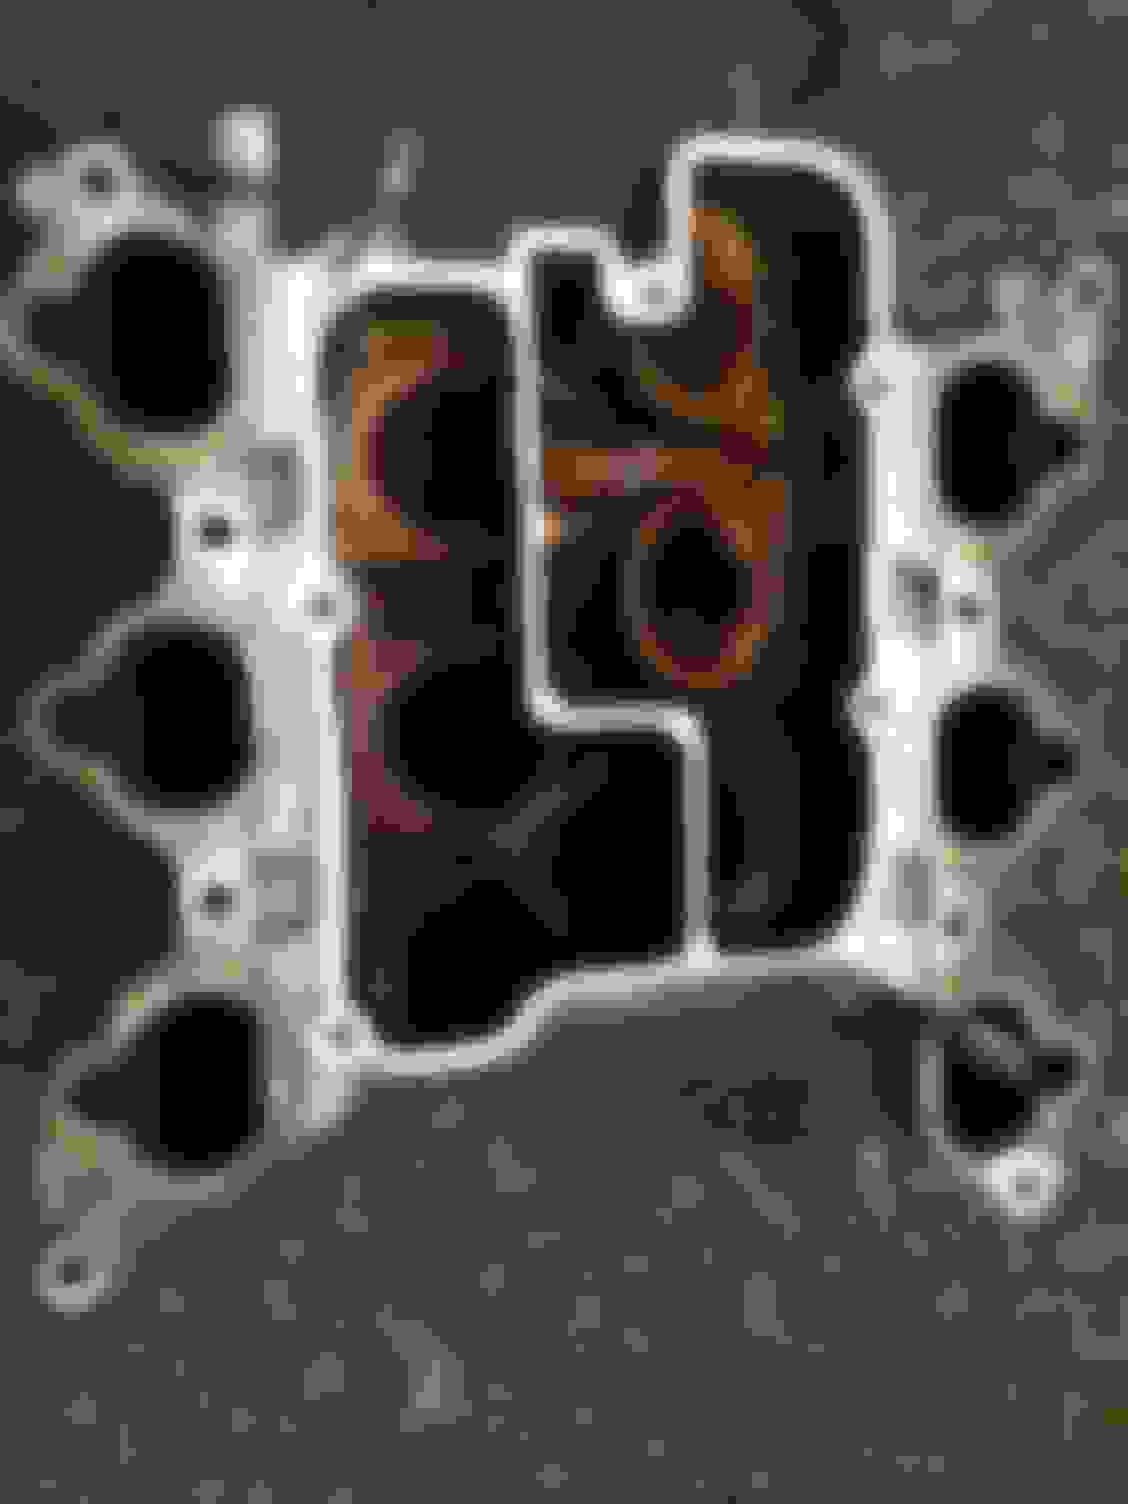
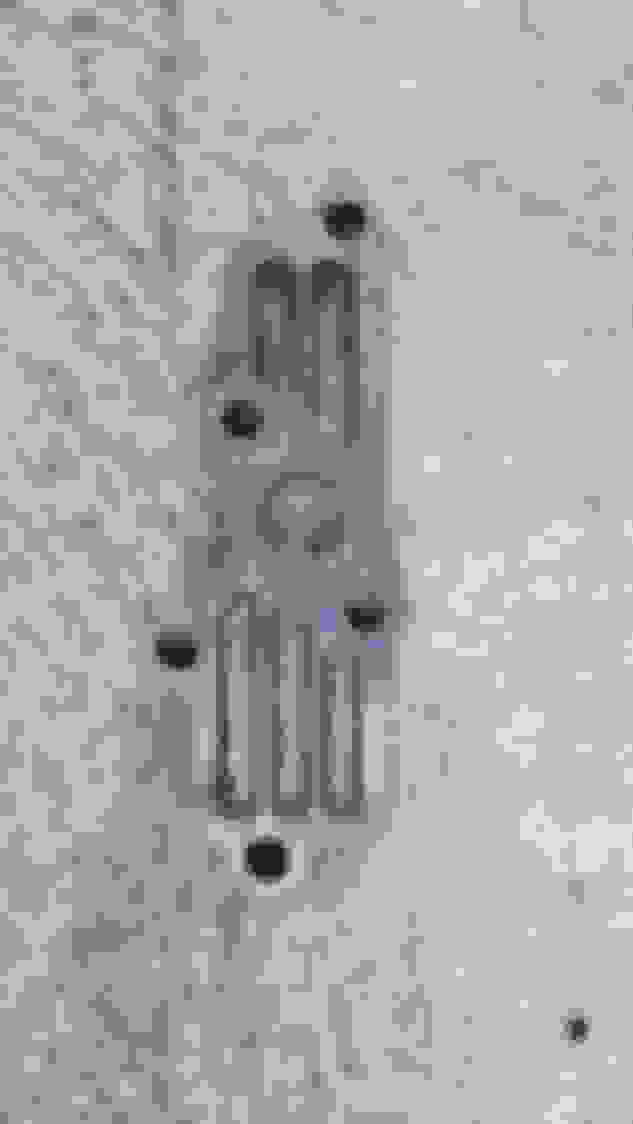
This is how inside of my manifold and EGR port is looking. Yes its looking horrible because the previous owner didn't care to take of car well!
Carbon cake in EGR port.
Carbon build up in all valves!
Step 27: Clean every part of intake manifold with Chemdip. You can get Chemdip in Walmart for $20.
After cleaning:
Clean EGR port
Cleaned EGR port plate.
Cleaned EGR pipe.
Cleaned intake manifold.
Cleaned middle part of intake manifold.
Step 28: Now lets put everything back. I used Fel PRO MS 96919 gasket set. Heads up: this kit does not come with EGR valve gasket, so you have to get it separately. I used Permatex gasket maker. Got it from Autozone for $ 8
Apply thin layer of gasket maker with your finger than the tube that comes with it. This is to avoid over flow of gasket maker. I read in some of the blogs about over use of gasket maker cause blockage of oil pump. Now to remove oil pump on 96 Acura 3.5 RL, you have to remove engine. So lets avoid all this.
After putting back everything on intake manifold, this is how it looks:
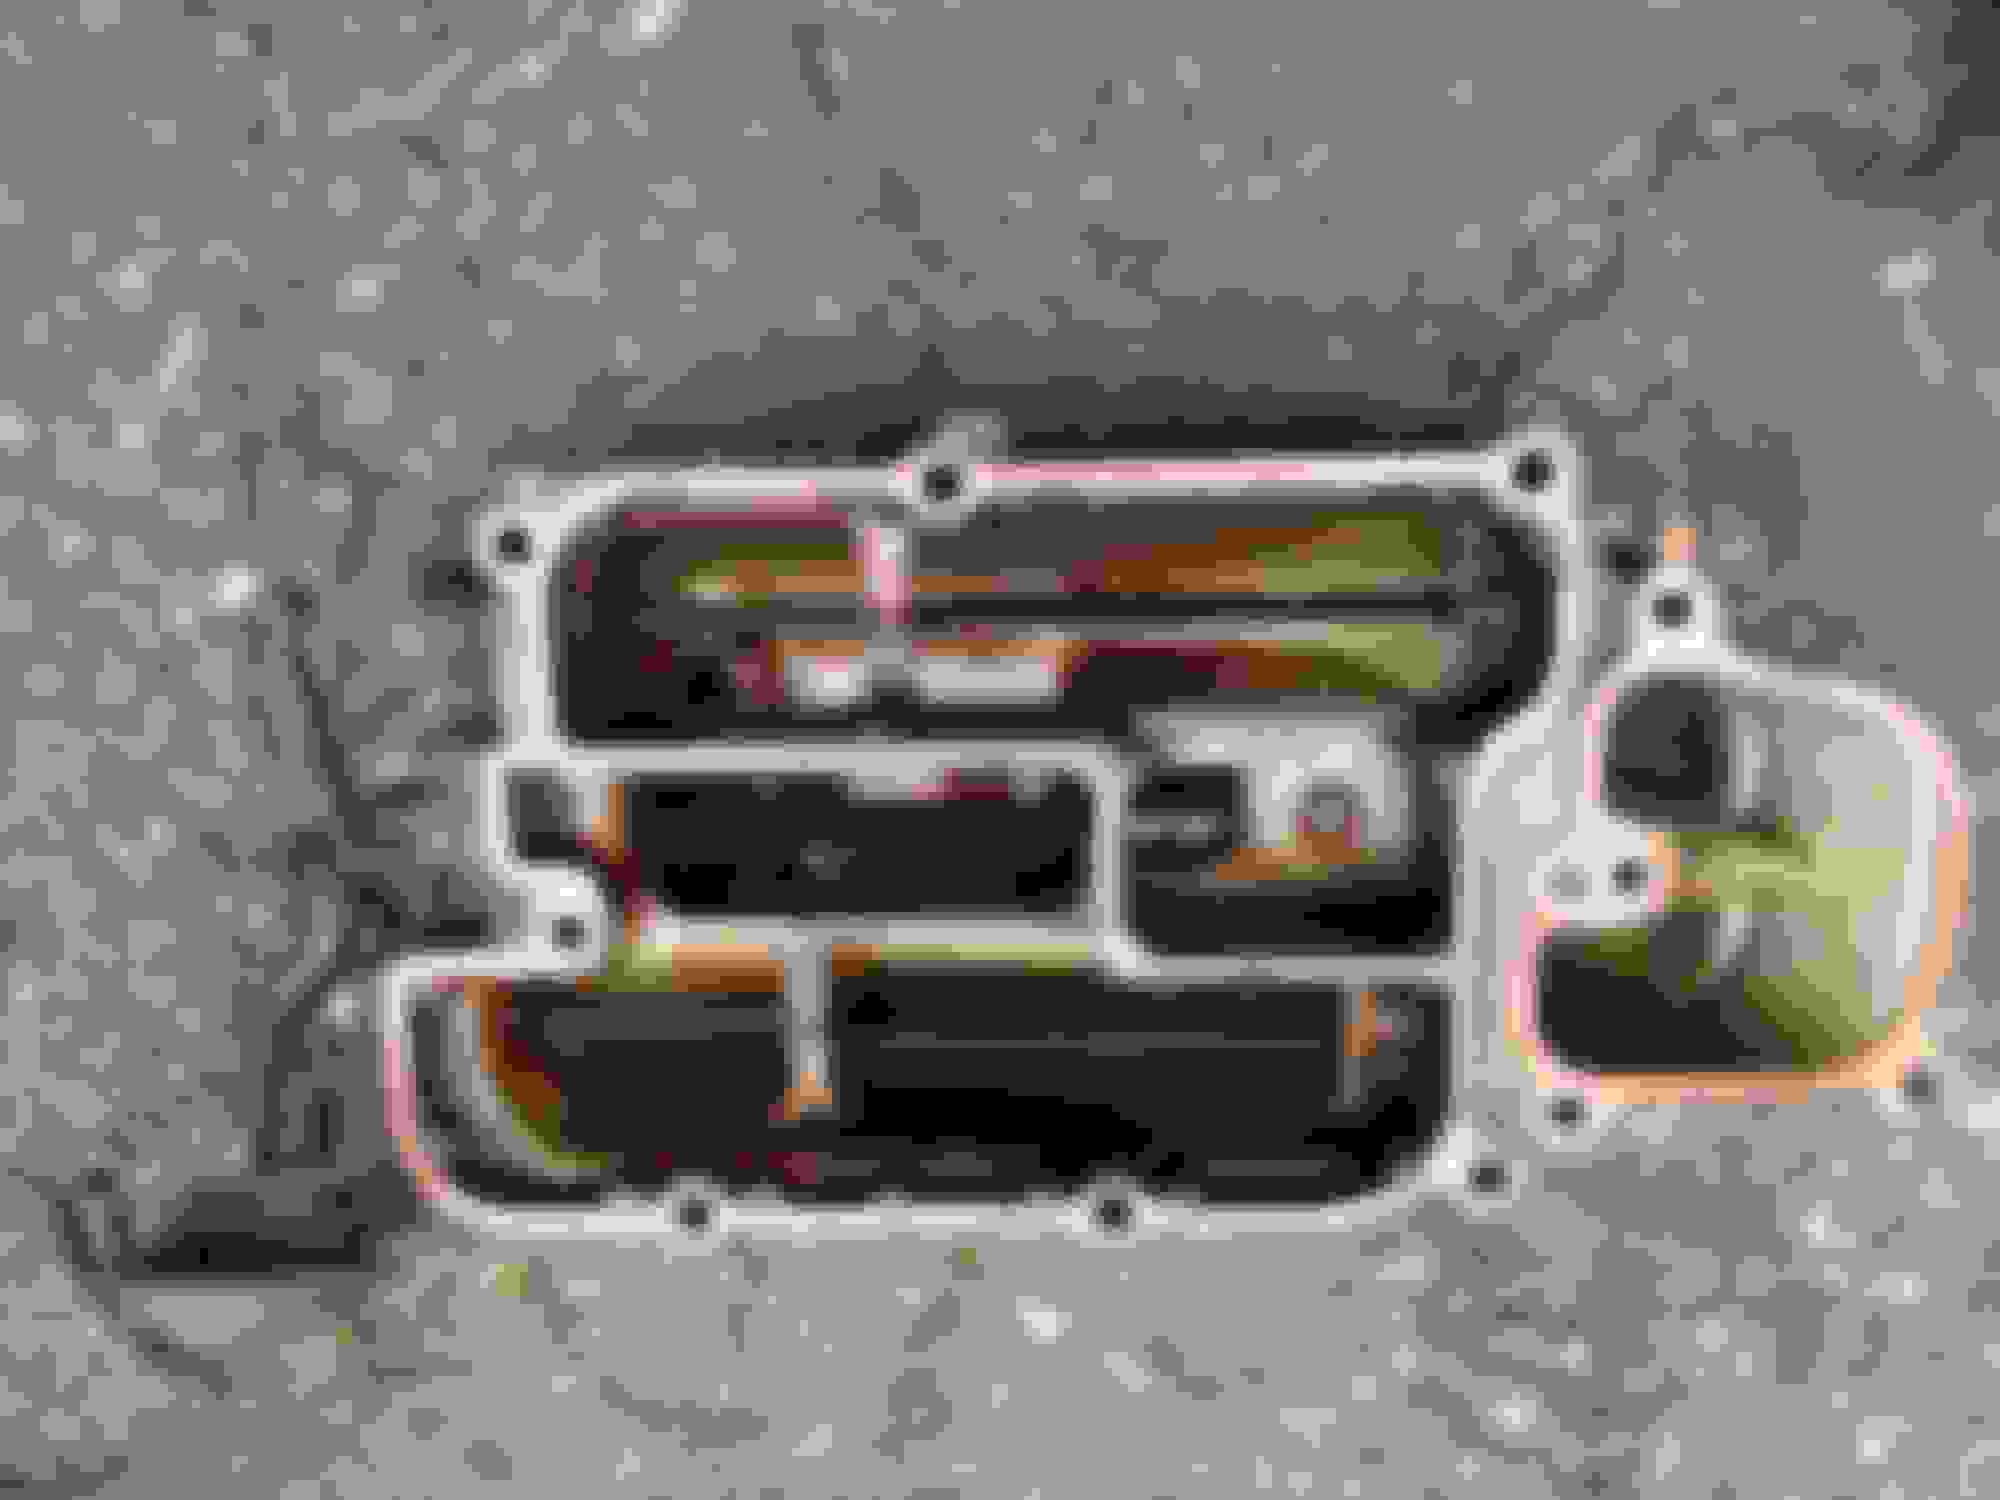
Intake manifold with thin layer of gasket maker.
Intake manifold with thin layer of gasket maker.
Step 29: Intake manifold gaskets on engine with gasket maker below gaskets.
Red gasket maker below white gaskets.
Step 30: Now with help of friend/spouse, put the intake manifold on the engine. Once you put everything back tighten screws all over.
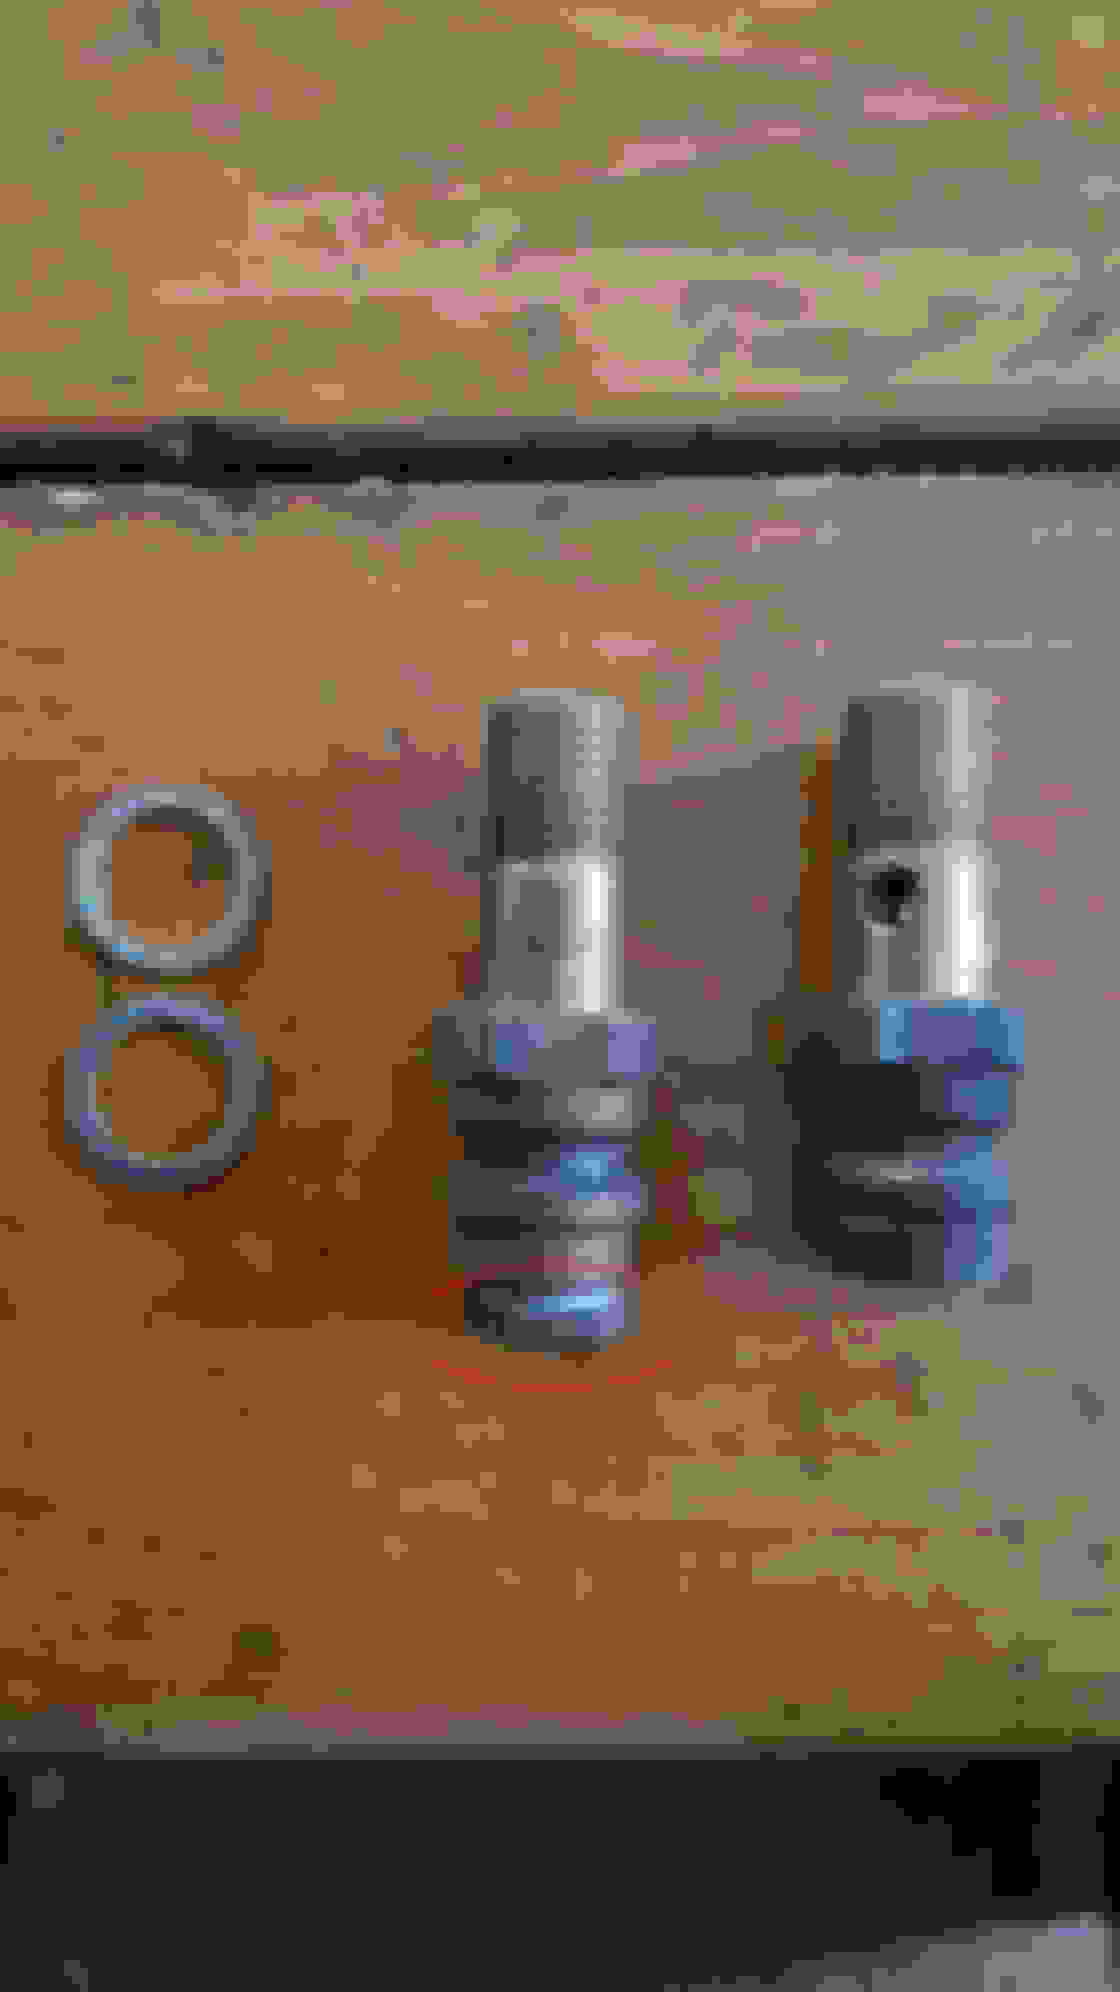
Heads up - on water passage there are 4 screws. 2 are longer than other 2. The longer screws goes towards fenders and 2 shorter ones goes inside.
Once you put everything back, make sure you fill with coolant and bleed it from radiator bleed bolt. Bleed bolt is located on driver side on water passage.
Bleed till you see continuous flow of coolant.
Step 31: Then connect all the rubber hoses, fuel rails, injectors and sensors. When putting back injectors clean the injectors from carbon sediment around them. Dip insulator and seal rings with engine oil. Connect the battery back.
Once you put everything back, turn the key to II position. Check for any fuel leaks. Then fire it up.
Since I didn't drain the coolant, some of the coolant entered into engine through intake valves. So saw some smoke after 3-5 mins of idle.
I went for a 37 mile test drive. Check engine light disappeared with smooth idling.
Good luck and don't break anything!
I will change spark plugs, differential fluid and transmission fluid shortly. If possible I will write up. Thanks guys!
 09-26-2015, 05:31 PM


 )
)