When you click on links to various merchants on this site and make a purchase, this can result in this site earning a commission. Affiliate programs and affiliations include, but are not limited to, the eBay Partner Network.
Hello, I'm rehabbing a 97 Acura CL 2.2 for my non-mechanical friend who missed his 97 3.0 CL, which was lost to an accident, and replaced it with this one.
So far, the car has been pretty good. Transmission shifts fine, a bit firm shifting compared to his 3.0.
I've done most of the items on the immediate to-do-list, or have diagnosed issues and am awaiting parts to arrive.
(1) IAC valve and FITV valve. Both of these items are likely a bit clogged, causing a diminishing idle bounce range of 1000 rpm, as the idle gradually slows down from 2200 initial start rpm during cold ambient start conditions only. I read that the FITV valve is a wax pellet type design, so a clean up of the old unit will likely not fully correct the issue. Therefore a new one is on backorder. As for the IAC valve, I picked up a used one from a 97 Accord sedan with the F22 engine, and cleaned up the screen and passageways. I'll install it at the same time that the new FITV valve arrives. The old FITV will be disassembled and bench tested using hot water to see if the wax pellet inside is still capable of fully closing the air valve. If so, it will be cleaned up and sit in the spare parts bin for future use.
(2) EGR chamber port passage cleanup. The car had a DTC 401 Insufficient EGR flow when purchased, which was likely due to clogged EGR passages to the 4 ports in the intake manifold and the chamber connected to the EGR valve. I bought a used chamber and cleaned it up ahead of time, so I just swapped it out and will teach my friend how to scrape the old one clean and have it as a spare, clean part on hand for the future maintenance. I used a code reader to reset the CEL lamp and drove it on the highway to confirm that the DTC did not come back. It seems the freeze frame data associated with the 401 DTC set when the car was cruising at 50 mph and 2050 rpm under part throttle. With completely blocked EGR ports, the MAP reading was out of range for expected EGR operation..
(3) The rear brakes were squealing on slow right turns. I thought it might be worn pads. With the car lifted, the left caliper was dragging a bit on the rotor. Inspection of the pads showed that the wear indicator was almost touching the rotor surface. The passenger side pads were less worn, but close enough for replacement. I bought some premium North American made Wagner Thermo Quiet ceramic pads. As the rotor thicknesses were nearly at their minimum values, I went shopping for premium rotors. I found some Wagner branded rotors, which were priced at 3X the price of white label rotors, but when I examined the box, the rotor stampings looked identical to the no-name rotors and was also made in China. So, I went with the no-name premium brand (funny oxymoron) and saved a bunch of bucks. I don't normally work on Hondas, so it gave me a chance to try out my caliper wind back tool kit. Pretty easy to wind the calipers back with the correct slot attachments. the left side caliper piston was a bit stiffer to wind back than the right side, but it bottomed out fine.
(4) The paint was still pretty good on this Primrose Mist car, but it had quite a few scuffs on all corners from the previous owner. Thankfully the Acura clear coat was durable enough to be buffed out, leaving only a few areas in need of touch up.
That's it for now. I would post some pictures but I can't do that for another 12 days cuz .
Boy.. that Fast Idle Thermo Valve sure is hard to acquire. Probably because some parts vendors have categorized it under carburetor parts.. lol.. hopefully will get one soon.. so the idle bounce will go away.. it's getting cooler on the mornings.. so the revving up and down is kinda annoying..
New FITV valve finally arrived Looks pretty simple. It is a spring loaded valve that is slightly open at room temperature to allow additional air to a port in the throttle body, and rapidly closes off the air passage when coolant flowing into it heats up the wax pellet inside. Will probably try to install it and the IAC valve this weekend.
Installed the new Fast idle them valve and IAC valve.. noticed there was little coolant present in the hoses going to these valves when changing them out.
You really need a 1/4 inch rachet with a flex jointed long handle to remove these valve parts due to firewall clearance issues.
added 2 quarts of OEM Honda coolant (blue colour)
started it up.. normal fast idle at 1500 rpm.. gradually slowing to base idle 750 rpm after 2.5 minutes @ 45 degrees F. ambient temperature.
noticed a small puddle under driver side upper block to oil pan area.. coolant seeping from water pump weep hole. . Going to need a new one soon.. probably timing belt at the same time.. cam seals need checking. Stuff on the ground is 90+% coolant though..
I forgot one more item I need to research.. The DRL light stays on and only one high beam has power to it. I think it may be a DRL module solder failure I read about... next week's update will hopefully include a fix for this..
car runs very smooth now with the idle sorted...kinda don't want to give the car back to my friend right away.. lol
Yep. They sure are nice cars.. well equipped with features even by modern standards. Even when I was pulling the fuse for the DRL running lights.. A little factory fuse puller was thoughtfully clipped to the fuse panel.
I forgot one more item I need to research.. The DRL light stays on and only one high beam has power to it. I think it may be a DRL module solder failure I read about... next week's update will hopefully include a fix for this..
car runs very smooth now with the idle sorted...kinda don't want to give the car back to my friend right away.. lol
DRL light being on can also be the bulb being bad. I'm not 100% familiar with the 97 CL but is the DRL bulb the same as the high beam bulb? A quick reflow of the solder in the module should fix that if that's the case.
Are you saying only one high beam light comes on, or only one gets power? That can rule out the bulb.
Thoiboi, yes the DRL bulb is the same as the inboard high beam bulb at 80% voltage..
The first thing I checked were the bulbs. The passenger highbeam (DRL) bulb was burned out. The halogen bulb was bulging in its outer plastic capsule so the bulb inside had melted. I swapped a new bulb into the passenger side and flipped the High beam switch on. The passenger beam lit up but not the driver side. Tried the good bulb in the driver side and no light (also no voltage). Tried the DRL setting.. engine on parking brake off.. Neither side worked. . So only the new passenger side bulb worked on high beam setting which pointed to the DRL module failure.
I yanked out the grey module with the blue connector above the gas pedal under dash. . yep.. it has the look of solder separation from the circuit board at 8 spots for the 2 power relays.. hmm.. now i have to go find my pencil soldering iron and solder sucker tool.. lol
Well the timing belt and water pump were changed and all coolant leaks have stopped. I need to still confirm that the shop that did this work installed the balancer seal retainer that comes with the parts kit. That should have been done as part of a recall for 97 model year CLs and Honda Accords , but not all cars had this inexpensive but important modification performed.
The shop was asked to replace the oil pressure sending unit at the same time since the oil light flickered during hot idle only after long highway drives. Since the oil level never dropped in 2000 miles and no unusual noises were heard from the engine, with plenty of oil splashing visible from briefly removing the valve cover oil filler cap with the engine running, I advised my friend he could continue to drive it until the shop did the timing belt and water pump service. Oil senders often fail over time as the oil gums up the passages in the sending unit creating a false low pressure reading and causing the ECU to command the oil light to flash.
I'm back. My friend called me about his 97 CL losing its power steering and some noise under hood. After he drove it a mile home (unwise decision).. but no real damage.. I performed a phone diagnosis that his crank pulley had come loose. A few days later.. after raising the driver side and removing the wheel.. I reached in and verified that the bolt had backed out but not all the way. After spinning the bolt out through the engine access hole in the plastic splash panel.. the pulley was removed and the woodruf key was pretty beat up as was the key slot in the pulley.
A new Acura 2.2 pulley was available from the dealer parts dept. for $490 with a 2 month back order.. so I located an affordable alternative from RockAuto for $100.
A new $12 woodruf key might not be needed as long as the crank bolt torque is properly applied at 180 ft lbs.. using the 50 mm. pulley holder tool I also bought.. to keep the engine from rotating during the crank pulley bolt tightening action.
This loose pulley issue is clearly a historically poorly thought out Honda design issue.. by their choice to not use a left hand threaded bolt design for their counter clockwise turning 2.2 engine. That choice could have avoided the tendency for these bolts to loosen and fly off. I also think that the shop that did the timing belt change 5 years ago might have undertightened the crank bolt.
No matter.. when the weather improves i will replace the pulley and post some pics.
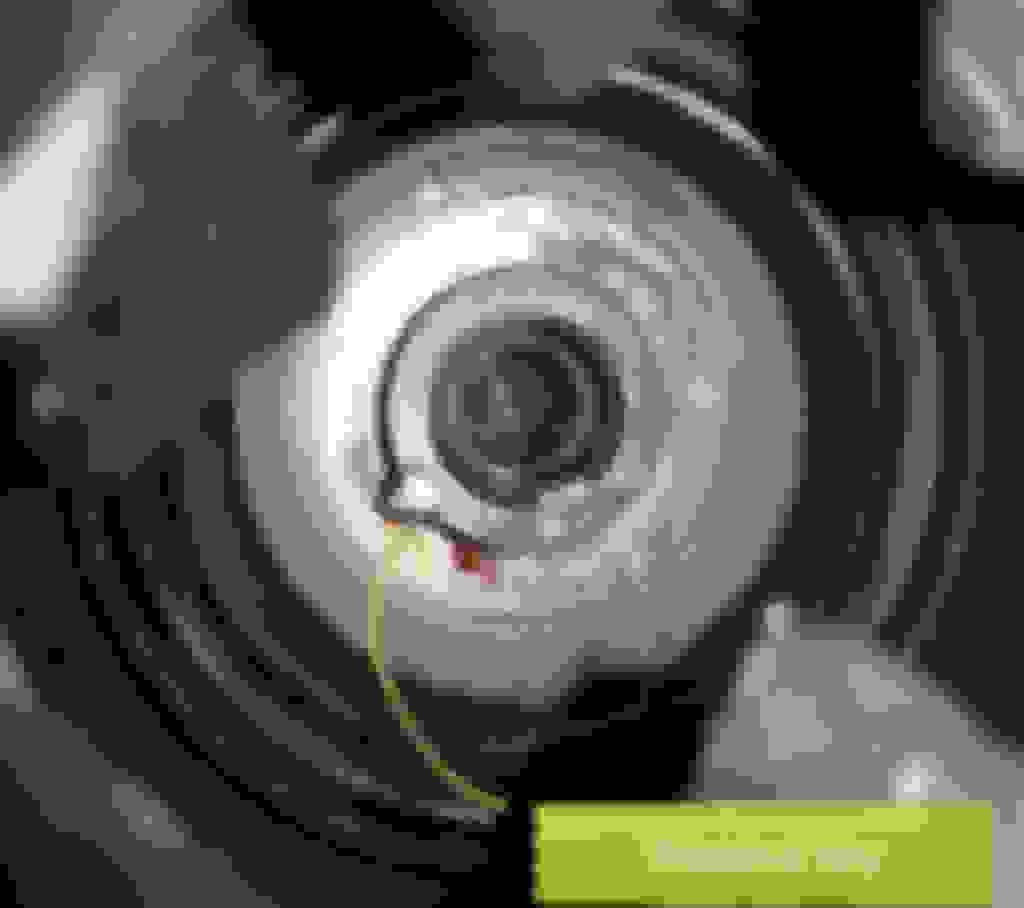
Here is a picture of the damaged woodruf key on the crankshaft snout. The key has enough undamaged surface to remain in service with a new pulley. This is because the key serves only to index the crank gear and the pulley. A properly torqued bolt provides clamping force and should prevent shear forces from acting on the key or keyway. The picture is a bit deceptive as the key and crank snout appear to lack depth. Actually the key and snout project about 3/4" out from the crank timing gear.
The new pulley arrived and initially looked good.
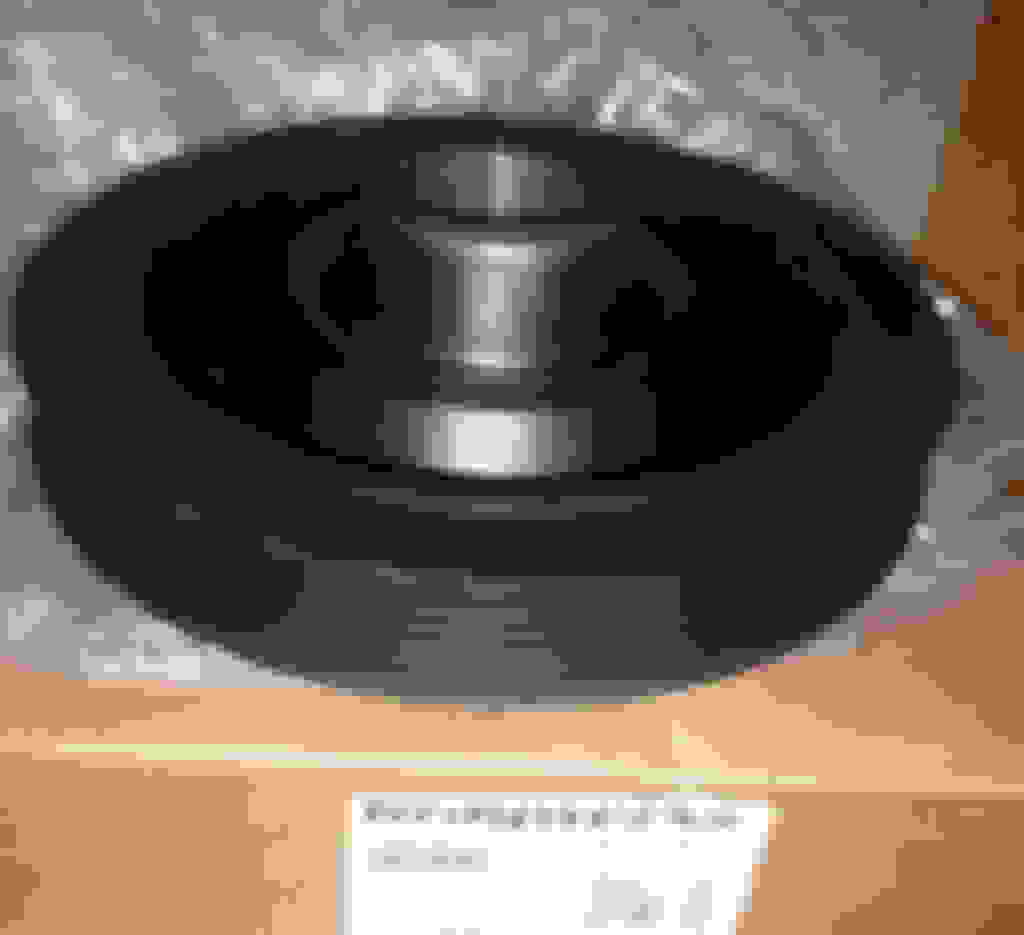
But after trial fit of the Performance Tool Pulley holder in the new pulley.. the 50 mm hex was measured to be 48 mm at best. tapered to maybe 45 mm at the base of the hex hole. The OEM pulley was exactly 50 mm throughout and the tool fit precisely.
What to do? I examined the old pulley at the woodruf key location. It looked like one side of the groove was still undamaged so it could be indexed in the right position. I decided to re use the old pulley and rely on the 182 ft lb. specified clamping force torque to make the woodruf key irrelevant to the pulley shifting position in the future.
Pictures below show the inaccurate machining of the hex in the ATP pulley.. which admittedly at $100 was $400 less expensive than a new Honda pulley (2 month backorder). I had a new $13 Honda woodruf key but did not feel it was worth disturbing the timing crank gear to replace it.
Tonight I will post the installation pictures, using a crank pulley holder tool, jackstand, quality 24" long 1/2" drive extension bar, breaker bar, and a quality 1/2" drive torque wrench.
I called ATP Tech Support in Missisippi (They also own the Pioneer brand). The agent was quite helpful and said he would take another one off the shelf to measure it and call me back. Unfortunately he found the pulley having the same undersized hex dimension. I asked if he would notify the factory (in China) so they would correct the defect. Of course, this will not help those who order one of these pulleys already in their warehouse, or installed anyway without using the 50 mm hex holder tool.
The only way to safely hold the pulley while torquing to spec .on a 97 Acura CL or 96 Honda Accord 2.2 is using the tool. On a 97 CL, You cant bump the starter motor like some newer Hondas as those newer cars likely have clockwise rotation engines and their engine cranks face the right (passenger) side. I suppose you could just use a 3/4" drive air impact to approximate the 181 ft lb torque spec. but I don't like that approach in order to fit an already iffy part.
I spent half a day repacking the new pulley to return it to RockAuto and dropped it off at the courier located at the airport.
pic showing incorrect 48 mm hex size. Previous post picture shows 50 mm tool cannot be inserted.
Last edited by Notahonda; 05-16-2023 at 05:32 PM.
Reason: add picture
I called ATP Tech Support in Missisippi (They also own the Pioneer brand). The agent was quite helpful and said he would take another one off the shelf to measure it and call me back. Unfortunately he found the pulley having the same undersized hex dimension. I asked if he would notify the factory (in China) so they would correct the defect. Of course, this will not help those who order one of these pulleys already in their warehouse, or installed anyway without using the 50 mm hex holder tool.
The only way to safely hold the pulley while torquing to spec .on a 97 Acura CL or 96 Honda Accord 2.2 is using the tool. On a 97 CL, You cant bump the starter motor like some newer Hondas as those newer cars likely have clockwise rotation engines and their engine cranks face the right (passenger) side. I suppose you could just use a 3/4" drive air impact to approximate the 181 ft lb torque spec. but I don't like that approach in order to fit an already iffy part.
I spent half a day repacking the new pulley to return it to RockAuto and dropped it off at the courier located at the airport.
pic showing incorrect 48 mm hex size. Previous post picture shows 50 mm tool cannot be inserted.
Above I meant to say that on a 97 CL with a 2.2 counter clockwise rotation engine.. you could tighten the crank bolt by bumping the starter motor while using a breaker bar and 19 mm socket on the crank bolt.. but you cannot loosen the crank bolt by bumping the starter motor in this manner. That method would be a last resort.
On some newer Honda clockwise rotation engines, loosening the crank bolt by bumping the starter motor is possible but not recommended.
i wish this forum allowed post edits after 15 minutes.. oh well..
Last edited by Notahonda; 05-16-2023 at 06:20 PM.
Reason: fix typo
After removing the wheel/tire, and turning the steering wheel full left for better access.. The plastic fender liner has a perforated access hole for the crank pulley bolt. The engine has to be lowered 2 inches in order to fit the 50 mm pulley holder tool into the crank pulley. The driver side engine mount has a long stud and nut on one side to allow the engine to sag down without fully removing the mount. Then with the holder tool inserted into the 50 mm hex of the pulley.. a 1/2" drive breaker bar is attached and angled into the ground so that the crank pulley cannot rotate clockwise while tightening the crank bolt. A 19 mm. impact socket was fitted onto the crank bolt.. after the bolt threads were cleaned and lightly oiled. Oiling threads is important so that the torque is accurately set.. otherwise thread friction will result in lower torque than expected when the torque wrench clicks at 181 ft lbs.
A 24" long 1/2" drive extension bar was used to allow the torque wrench enough room to work outside the wheel well. The adjustable height jackstand is needed to support the torque wrench's ratcheting head pivot.. so the tightening downward rotating clockwise forces exerted on its handle is fully transmitted by the torque wrench to the bolt.. This keeps the socket square on the bolt, and the ratchet handle remains exactly 90 degrees to the extension bar and not wobbling.
The torque wrench was tightened in 2 steps.. First to 100 ft lbs in a fluid single motion until a click was heard.. And the second motion was to final 181 ft lb in a single movement arc until click was heard. The torque wrench handle moved another 60 degrees further clockwise before clicking ..after the crank bolt stopped turning. This twist was an indication that full clamping force was attained.. as even a thick extension bar can twist a bit as the torque approaches the desired torque value and further turning of the bolt becomes almost undetectable.
The Acura crank pulley face in contact with the crank bolt washer has a slight knurling finish that I suspect will allow some slight deformation to occur at final clamping torque. I hope this repair will be lasting..
Finally.. the car was parked on level ground with the parking brake set and tires chocked to prevent the car from falling off the hydraulic floor jack during this bolt tightening procedure.
Last edited by Notahonda; 05-17-2023 at 05:35 PM.
Reason: typo
 10-18-2016, 11:46 PM


 man!!! Looking forward to more updates