When you click on links to various merchants on this site and make a purchase, this can result in this site earning a commission. Affiliate programs and affiliations include, but are not limited to, the eBay Partner Network.
I picked up my 07 TL in April of this year, it had roughly 114xxx kilometers on it (roughly 70xxx miles). The guy who I bought it off was the first owner.
Couldn't be happier with this car, look forward to driving it everyday and look for every opportunity to open it up
Anyways, I joined this site in October and I have literally found everything I have had a question for (so far), just a quick thanks to all the members on here for providing such a big database for the Acura Family.
I thought I would finally post some pics up, here are a list of some mods and pictures. Any insight and comments are more than welcome. Enjoy!
Mods:
- Blacked out front grill
- Black out front bottom grill (fog grill)
- De-badged
- Emblems blacked out
- Filled in the "Acura" letters for the front bumper, and filled in the bumper plugs (thanks EvilVirus)
- Installed VLEDS for license plate lights (5k 4 LEDS) - what a game changer!
- Installed "Frosty's LED's" for my DRLS - again what a difference it makes
- Did the Navi hack to update my maps
So far have done subtle mods, want to keep the car simple yet different. Have some ideas of what I want to do in the future (a slight drop, switch out the interior lights for VLEDS, add some tint, etc.)
Sorry the pics are a bit dark, gets quite dark around 430-5pm out here in Canada. Will upload more pics as time permits.
^^Thanks guys. I'm pretty new to this whole modding thing. Don't know much about mechanics of cars. But I do have an idea of what I want the car to look like. Again sorry for the crappy pics. I am hoping to update this coming week with some better photos.
Finally had a sunny day out here in Canada, had washed and waxed my car a day before. Thought I would take advantage of the sun, only had about 15 minutes to take these pics as it was on my lunch break.
Note: Don't mind the dent on the top right (above passenger taillight), some asshole with a highered truck hit me and didn't bother to leave a note. I've ordered the paint and will be repairing that soon. (not going through insurance company since it will run me $300). Will also be repairing some other knicks on the car.
*Any members with photoshop experience are more than welcome to edit these pics and make them look even better. I'm not experienced with editing photos, so I did the best I could while taking these. If some members have some free time to edit, that would be sweet! Also, would be greatly appreciated if they could send me some (garcha.bik@gmail.com) as I'm looking for a avatar photo
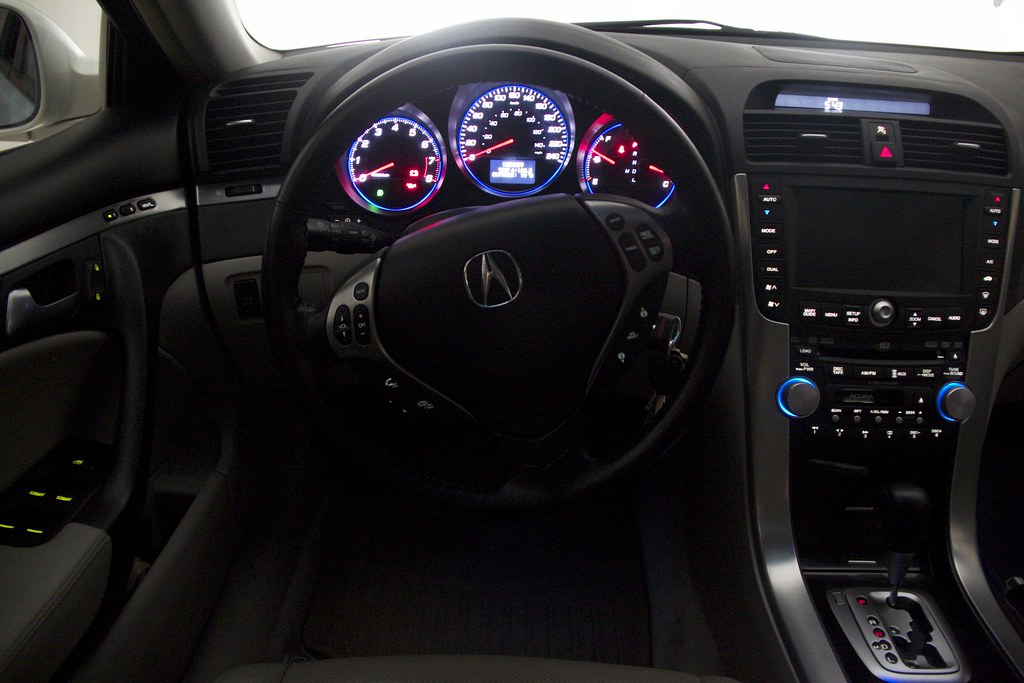
^^probably just the settings on my camera. however, the steering wheel lights are noticeably dimmer in person as well (when compared to the rest of the interior)
I finally put in my cargo mat. Ordered it from Ebay, thanks to one of the forums on here, got it for $40! Well here's a crappy cellphone pic, what do you guys think of my added touch?
True to its name... this thread is a really slow build thread. Nothing much has changed with the car, but i did just purchase this:
105k service
Will be getting it done a bit earlier for some peace of mind. Super excited to see how it drives once its completed!
Also, right after the maintenance its going for a paint correction and interior detail by a reputable shop who I'm trying for the first time
Definitely, will!!
Forgot to mention I will also be swapping out the thermostat and radiator cap during the service.
Maintenance is now scheduled for the 17 and detail the 19.....so see everyone in a couple weeks
Definitely, will!!
Forgot to mention I will also be swapping out the thermostat and radiator cap during the service.
Maintenance is now scheduled for the 17 and detail the 19.....so see everyone in a couple years
Small update. Picked up the remaning two items for my 105k service which I ordered through Curry Acura. I wanted to make a quick post about what I experienced with them.
So orginally I placed my order and Curry Acura promptly processed it and had it sent to Fedex for delivery.
However, after over a week of the status having not changed, I decided to call Curry Acura to figure out what was going on.
I thought maybe there was a chance Fedex had it but just didnt update its tracking.
So anyways, called in...spoke to reception and then Noel, who is the parts Manager there.
After about 5 minutes Noel notifies me that Fedex seems to have lost my shipment, I voiced my concerns and Noel assured me he would fix the issue.
So he tells me over the phone that he will have the package shipped overnight following Labor Day, as it was the earliest he could do so. I was pretty satisifed with hearing that.
I hang up feeling good about receiving my shipement in the next couple days, then I get a email notification stating an amount has been refunded.
I called back and spoke to Noel to make sure it wasnt a mistake.
Noel tells me that he isnt going to charge me for shipping!
At this point, I am already feeling pretty good now.
So finally my point, today I pick up my parcel.
To my surprise, above the items having been packed very nicely to assure no damage, Noel also includes a Bluetooth Acura speaker as a kicker!
Now I know its probably not the best speaker in the world, but honestly it is more about the customer service for me. The speaker does have a nice touch to it though with having a Acura label on it.
Sorry, for the long post, but I promised I would put in a good word and deservingly so! I will definitely be ordering from them again
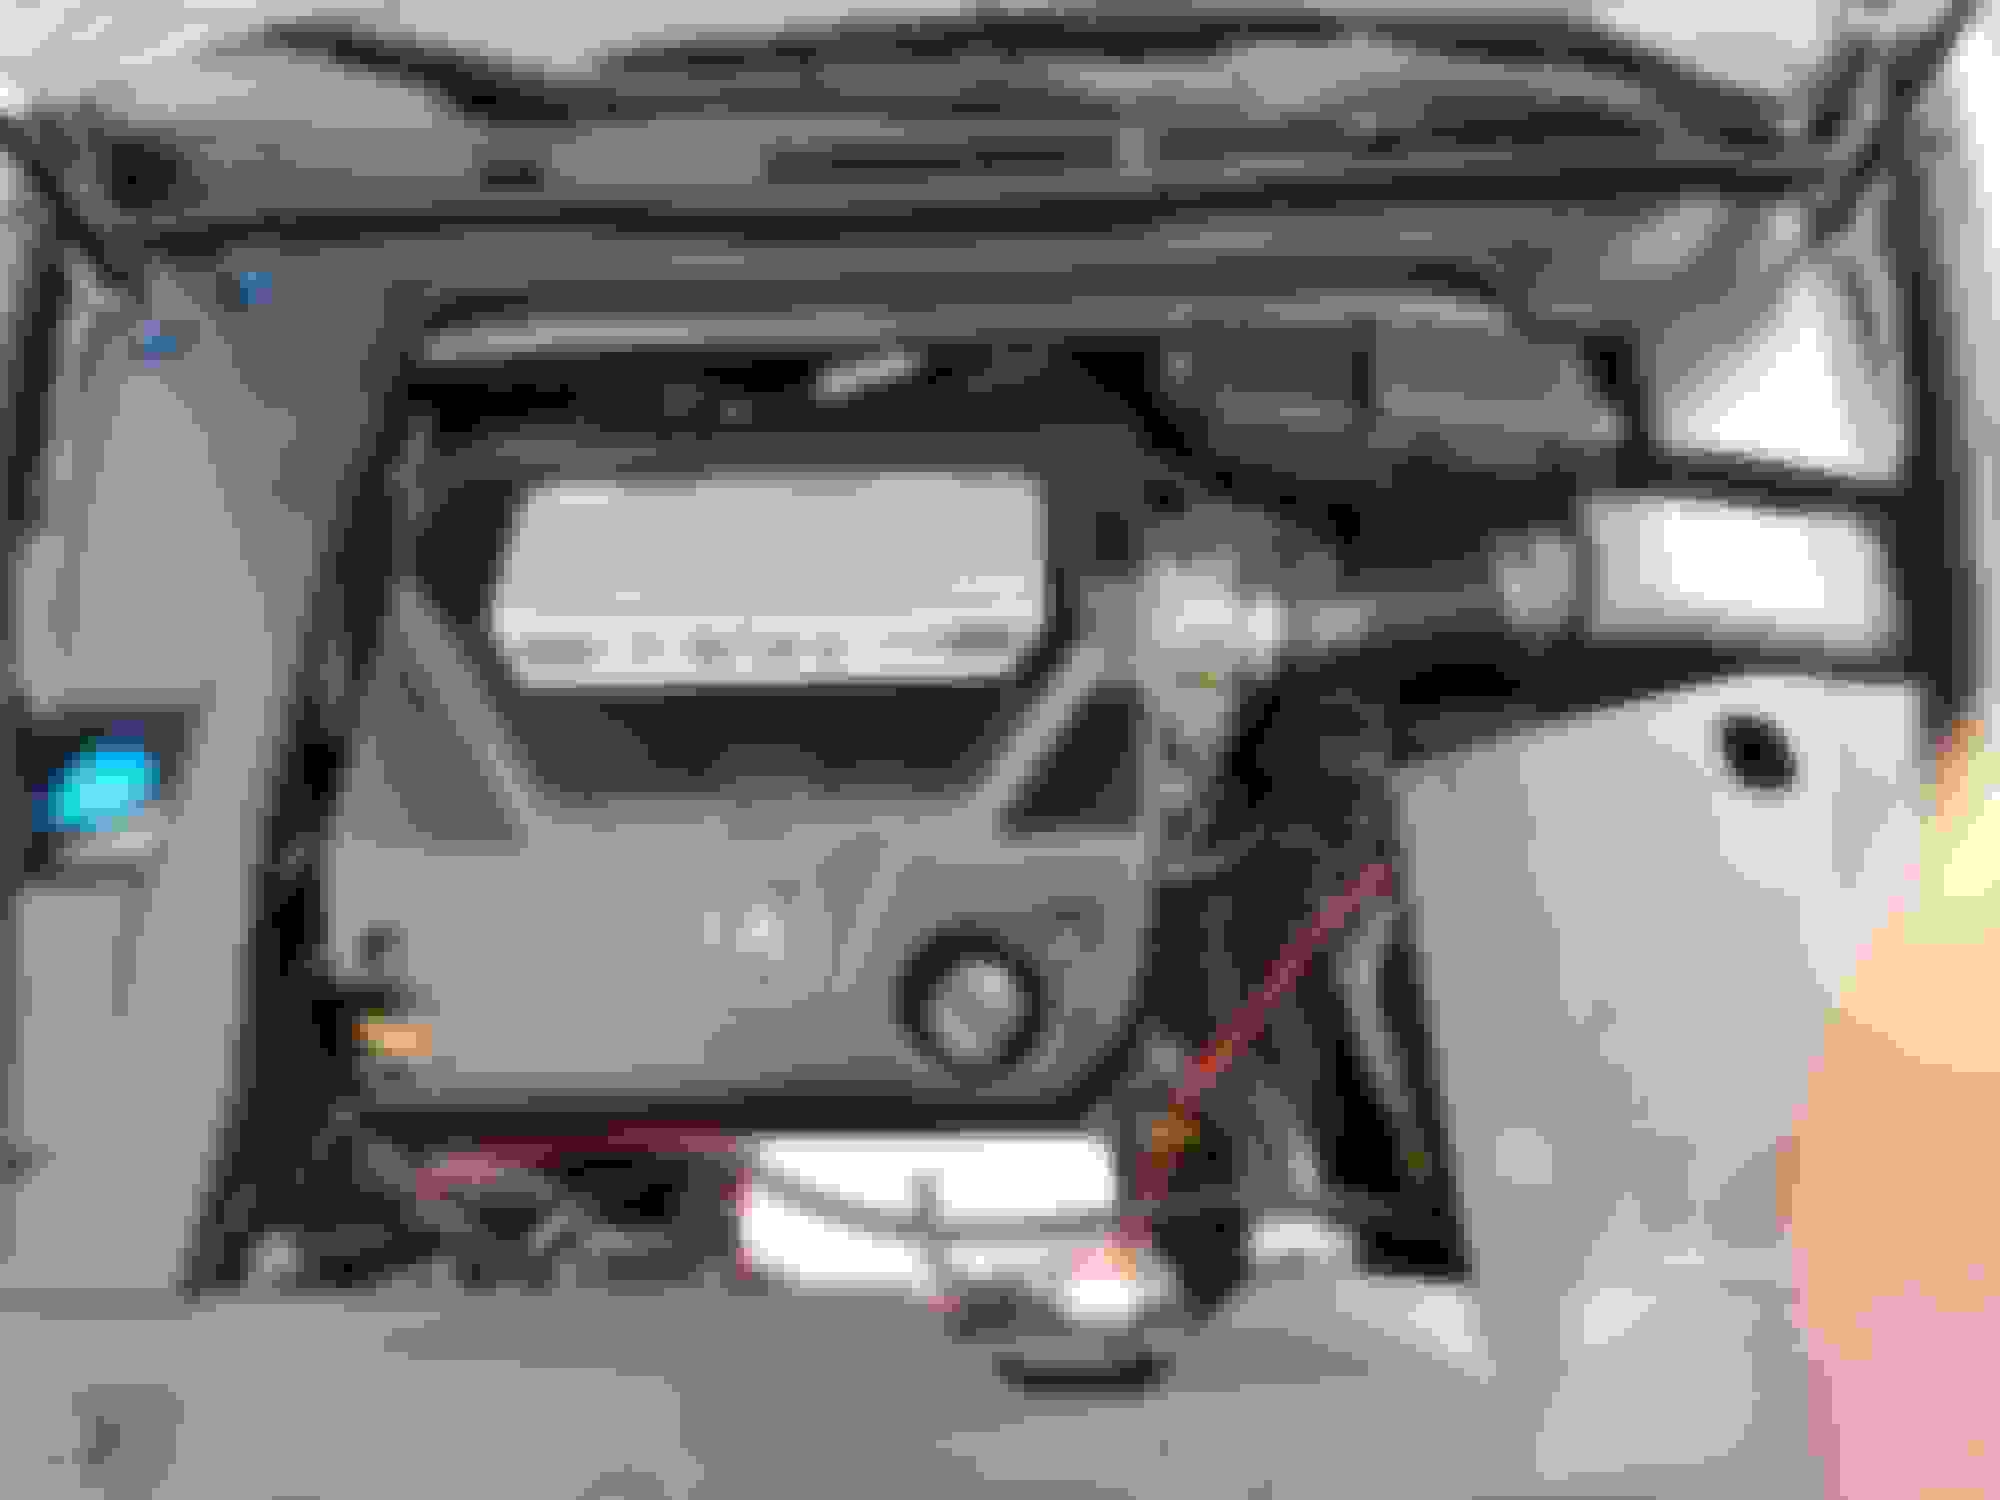
Got the 105k service completed yesterday. During the process, the guys over at Speed Syndicate (shameless plug) found that one of my motor mounts was torn. I hadnt planned for this, but they were able to order another one and get it fixed the same day. Rest of the service went without a hitch, and they were also kind enough to snap some pics....
this mount was messed!
Yeah its deinitely a peace of mind to have the maintainence done. Hope to keep this car for another 10 years!
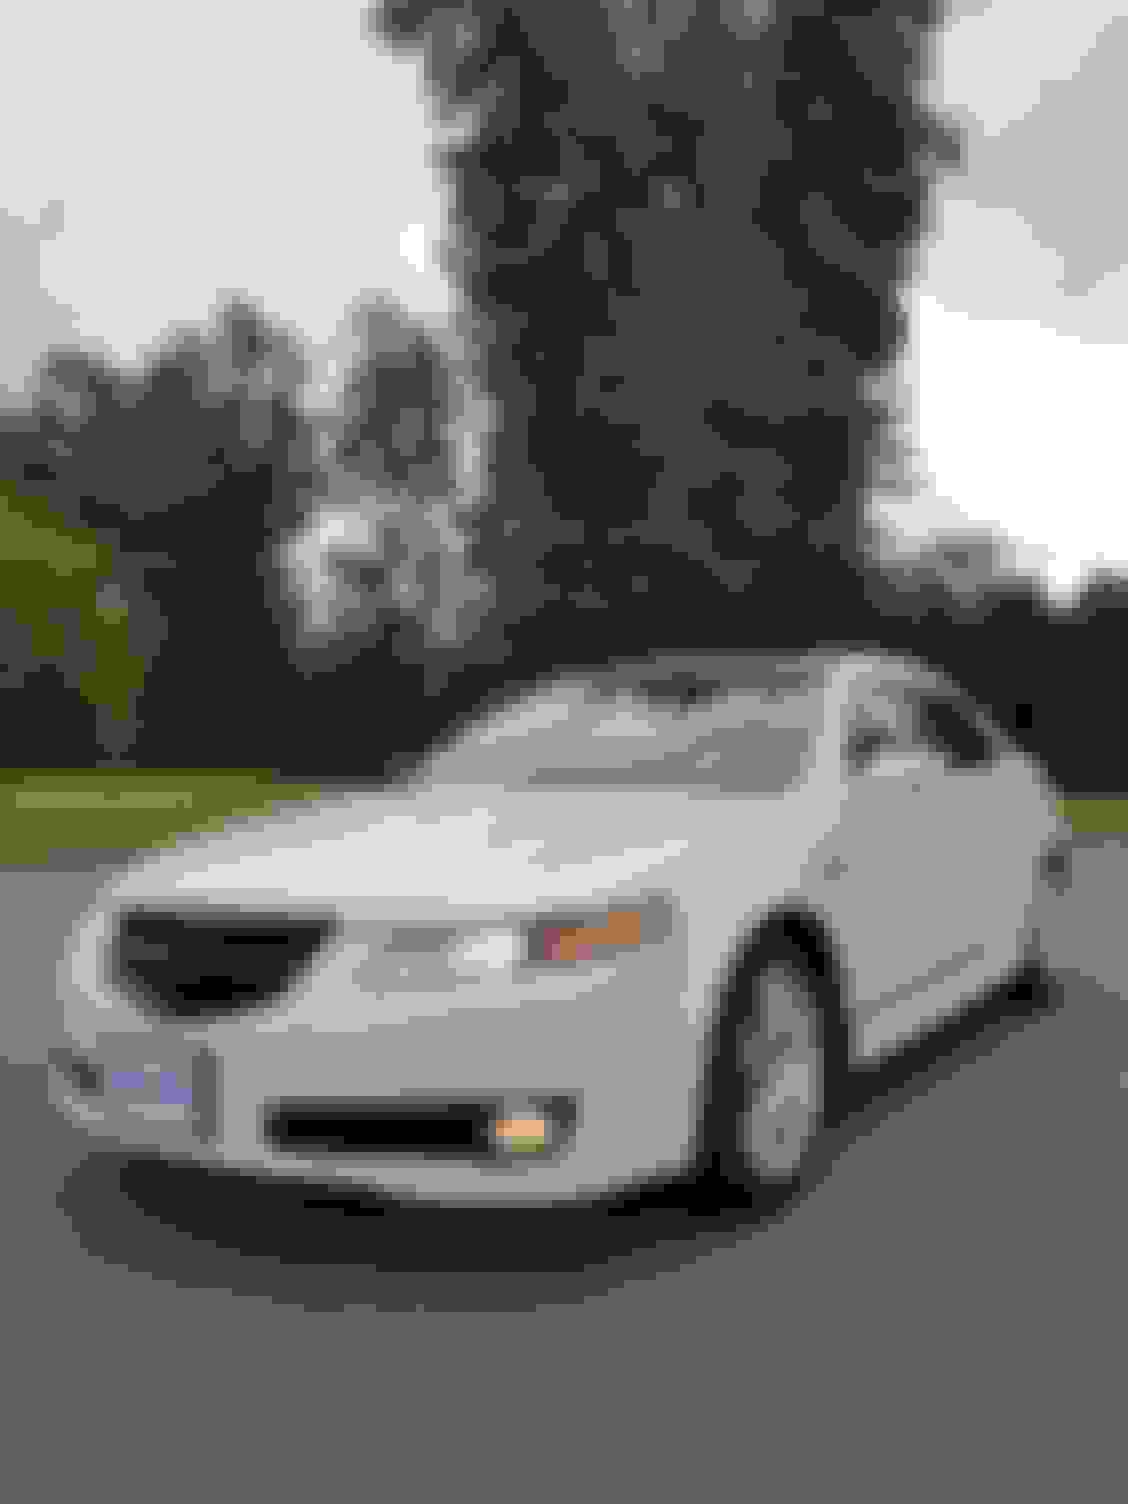
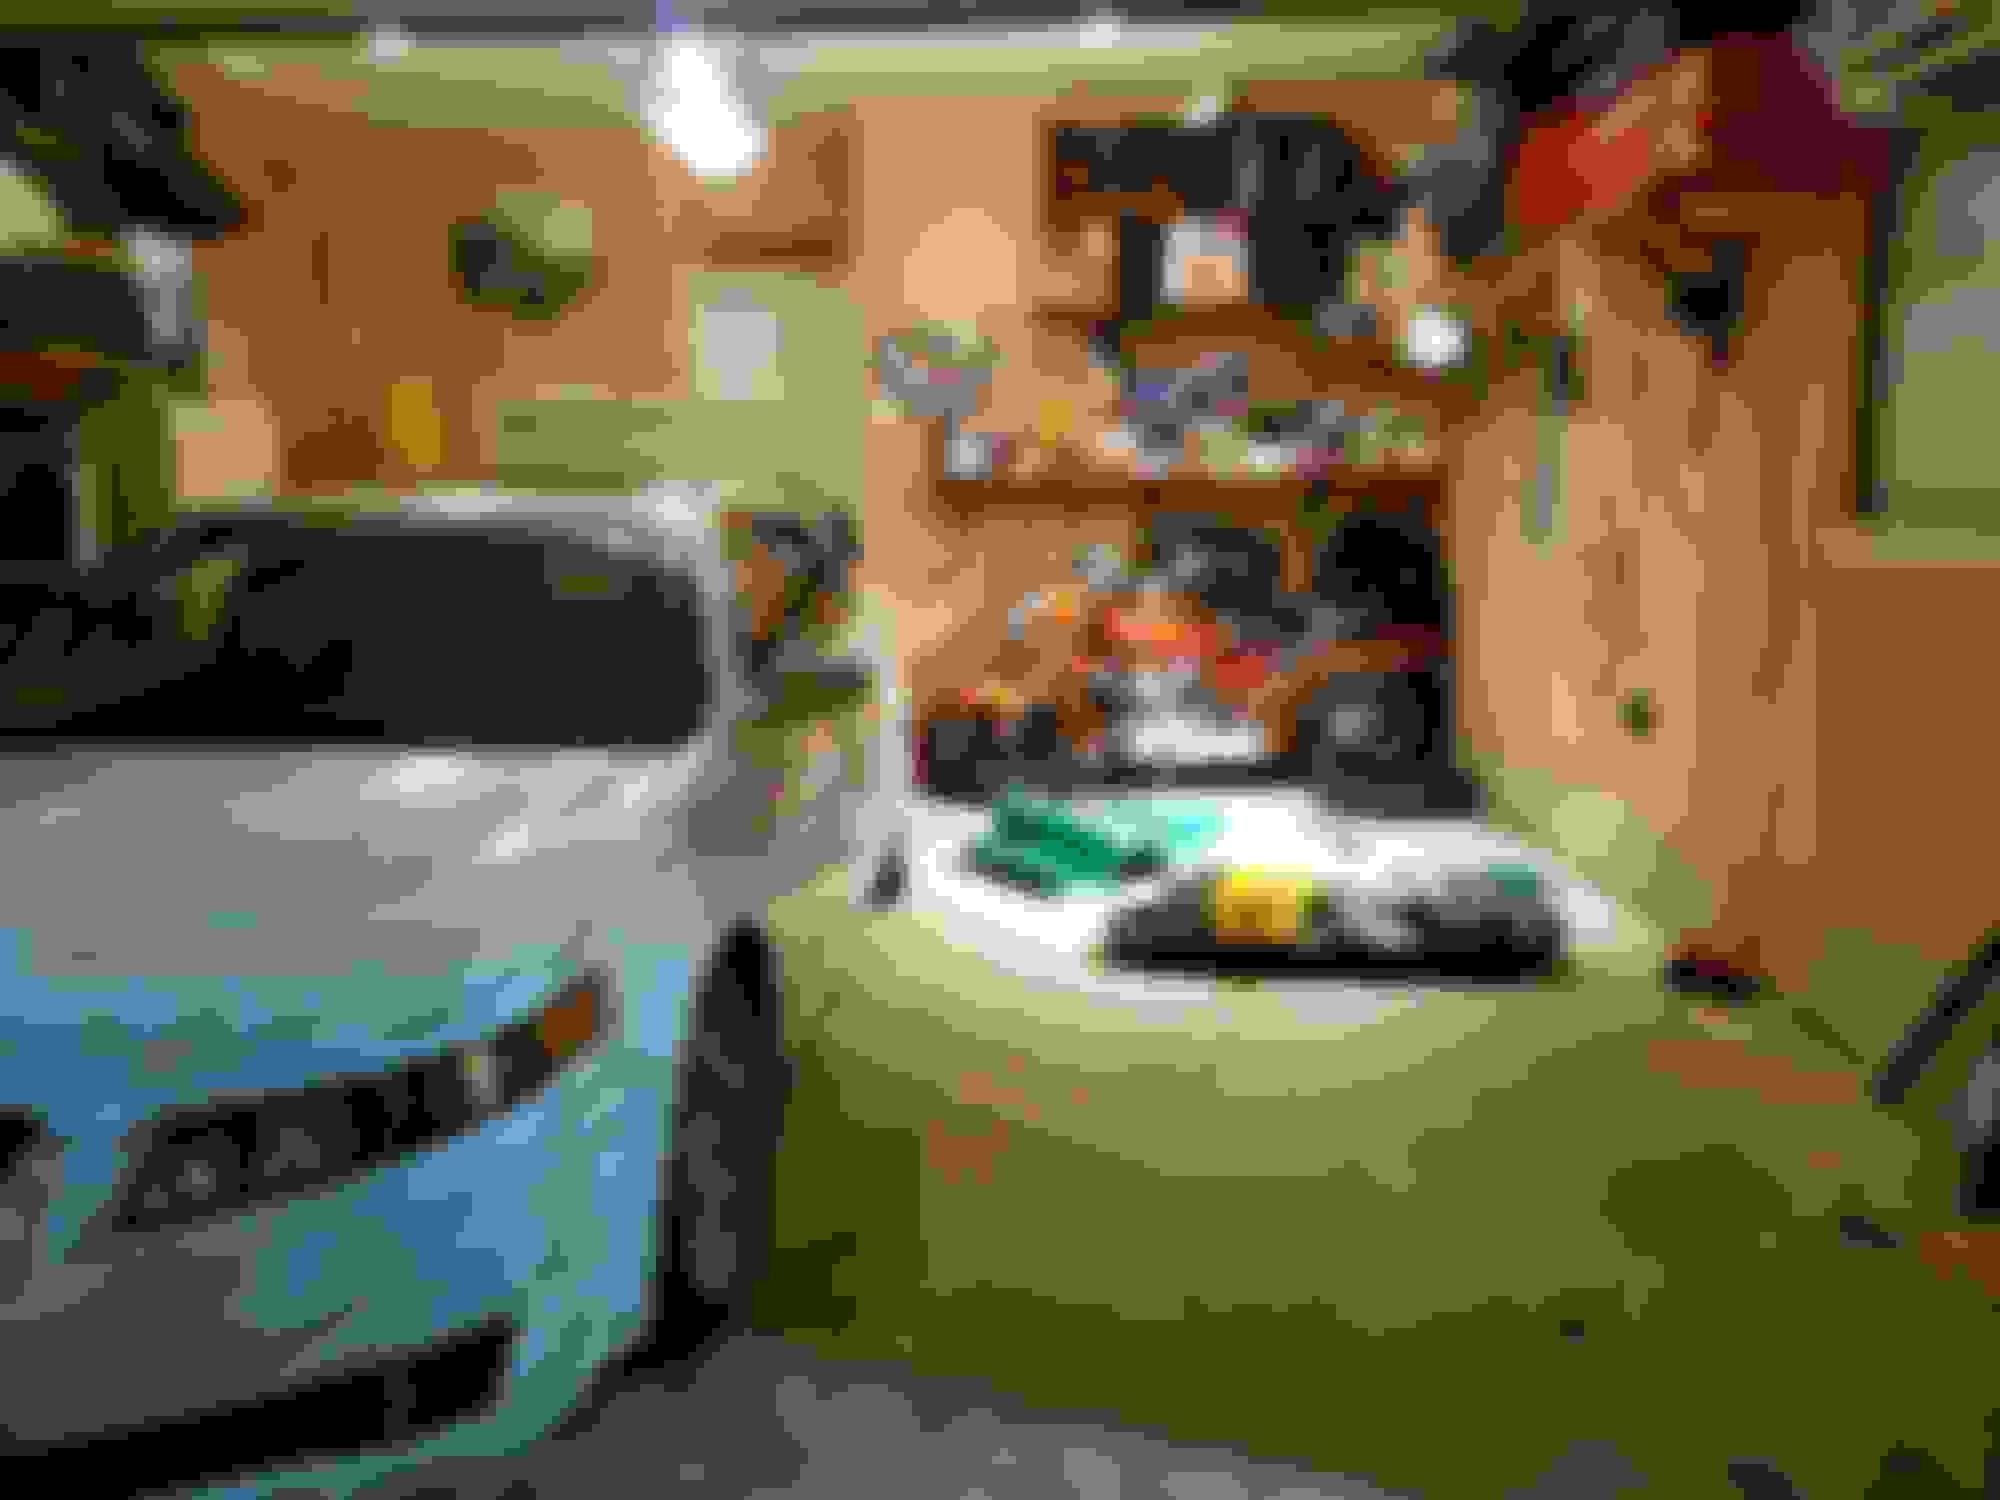
A couple days after the maintainece was completed, had her lined up for a full interior and exterior detail.
Didnt get a chance to take my time with the pics, nor am I a photographer by a long shot, heres the 30 seconds I had to snap pics (teaser shots? i guess)
More pics will come tom, the interior is just as mint as exterior
This is a quick pic of my paint, it was covered in swirls (snake lines), once I noticed them I knew I had to get rid of them
Random interior pic while driving, nothing special, Wait till tom
Killing me with that red wire strewn across the bay~
Put loom over it and move it out of the way!
Great thread, Guti, love seeing someone taking pride and keeping everything looking good!
Haha I know man, that red wire is a pain in the ass. What is a loom? I shall look into this
And thanks, I really enjoy my car, even though it is practically bone stock, mods will happen slowly......keeps the car fresh for longer IMO
Not a update Im particularly happy about, and here's why:
I purchased a set of Bruce's modded taillights from another member on here. The member had used them slightly and was going with a different set and put them up on the blackmarket.
We eventually reached an agreement on the price and everything was set. At the last minute, the member informs me that the previously mentioned "light scratch" is actually much more severe than described. So I back out of the sale.
The member then informs me that he will have this detailer repair the taillight scratch, I let him know that I would be interested if the tails are repaired.
A week or so passes, I get a msg letting me know the scratches have been removed by his "professional detailer" and they appear to be mint and are described as being so.
I send the payment and anxiously await the arrival. I was so stoked for these.
Get them in the mail and get the car prepped for the install.
Go to put them on the car, and neither light fits!
In all fairness, the passenger taillight was a decent fit, need a little wiggling around but I managed to get it in. But the drivers side was a whole different story....
The taillight had been reopened and resealed by this so called professional detailer. Only one problem: the sealant used to reseal the light was very excessive.
So excessive that it would stopping the light from being placed on the car. I was super frustrated with this. The install should have taken a max 30 min, but ending up taking hours because the member is a douche.
I had the car prepped, and I was on a mission to get the tails on the car, so I powered through.
Started with various types of sandpaper to try and sand the sealant down, this did not work.
Ended up using a blade to trim the sealant down, this was a game of trial and error and a lot of patience.
Eventually, with a lot of pressure I got the taillight to fit. It still is not aligned correctly, but only someone who knows what to look for will notice that. Plus ive made my peace with it.
So anyways, I get them on the car and they look good, so im "ok" with the whole situation but still want an explanation from the member.
Msg him and let him know what happened, long story short he tells me to go F myself and that im not getting my money back and that it was a final sale (this was never mentioned nor discussed)
He also mentions that he used a sealant that hes used before and it should fit just fine (I thought he had a professional do this?) obviously he lied.
So Im not left with many options at this point, but like ive said ive made my peace with them. They are far from perfect, but I will work on them slowly and get them where they should of been in the first place.
Above everything else, I notice that there are tiny pieces of paper in both taillights, and again I mention this to the member and tells me to use a blowdryer to try and get them out (thanks u ass****)
Oh and they also have severe condensation, most of goes away after driving for awhile. Im hoping that during the summer months they look good, I can live with them having some condensation when its cold out.
Anyways, I needed to vent a bit and get this out there. Heres some random pics, its been freezing out so ive just snapped some pics when possible. you can see one of the small pieces of paper near the bottom of the light here first time taking off the back bumper car also hit 160 today
after all that you didn't even show us the lights on the car!
some tips and tricks for you, man...
cut off the 2 bottom brackets from the light and bolt the bumper support itself back onto the car.
This allows you to remove the tails by just undoing the 4 bolts in the trunk, no more messing with the bumper.
Also, you can just pry the corners down from the liner to get at those 4 bolts...no need to remove the interior panels entirely.
About the lights...I've done about 15 sets and I can tell you that that is why I always just seal with butyl...wet your finger, go over the seam and bam. No leaks.
Plus, it's easy to pry open again if need be (albeit, messy). I've had plenty of "fuck there's a hair in there" but most of the time from more than 3 feet away, you can't see it.
I bought a set of tails from a guy that said he just changed his mind after opening one. I get them and the one that's open has crooked cuts that went too deep. I modded them and sold them for what I paid (cheap) to be fair and was forthright about the state.
I hate liars!
Oh, and just an FYI but I've almost never had a cut and resealed light sit perfectly against the body afterward, usually the lens is sticking out a little at rear or sides are pulled in a little. OEM obvi fits best, depo not as much. TYC an Eagle Eyes can't be modded.
That's it!
I havent posted pics of the lights cuz I just havent had a chance to take a pic, and forgot to the day I swapped them in. Coming shortly though I promise.
I only decided to remove the bumper because I never had before......I have swapped out lights prior without removing it. Was nice to know I could get the bumper off though.
I might look into cutting the bottom bolts and putting the bumper back on with its supports.....thanks for that tip!
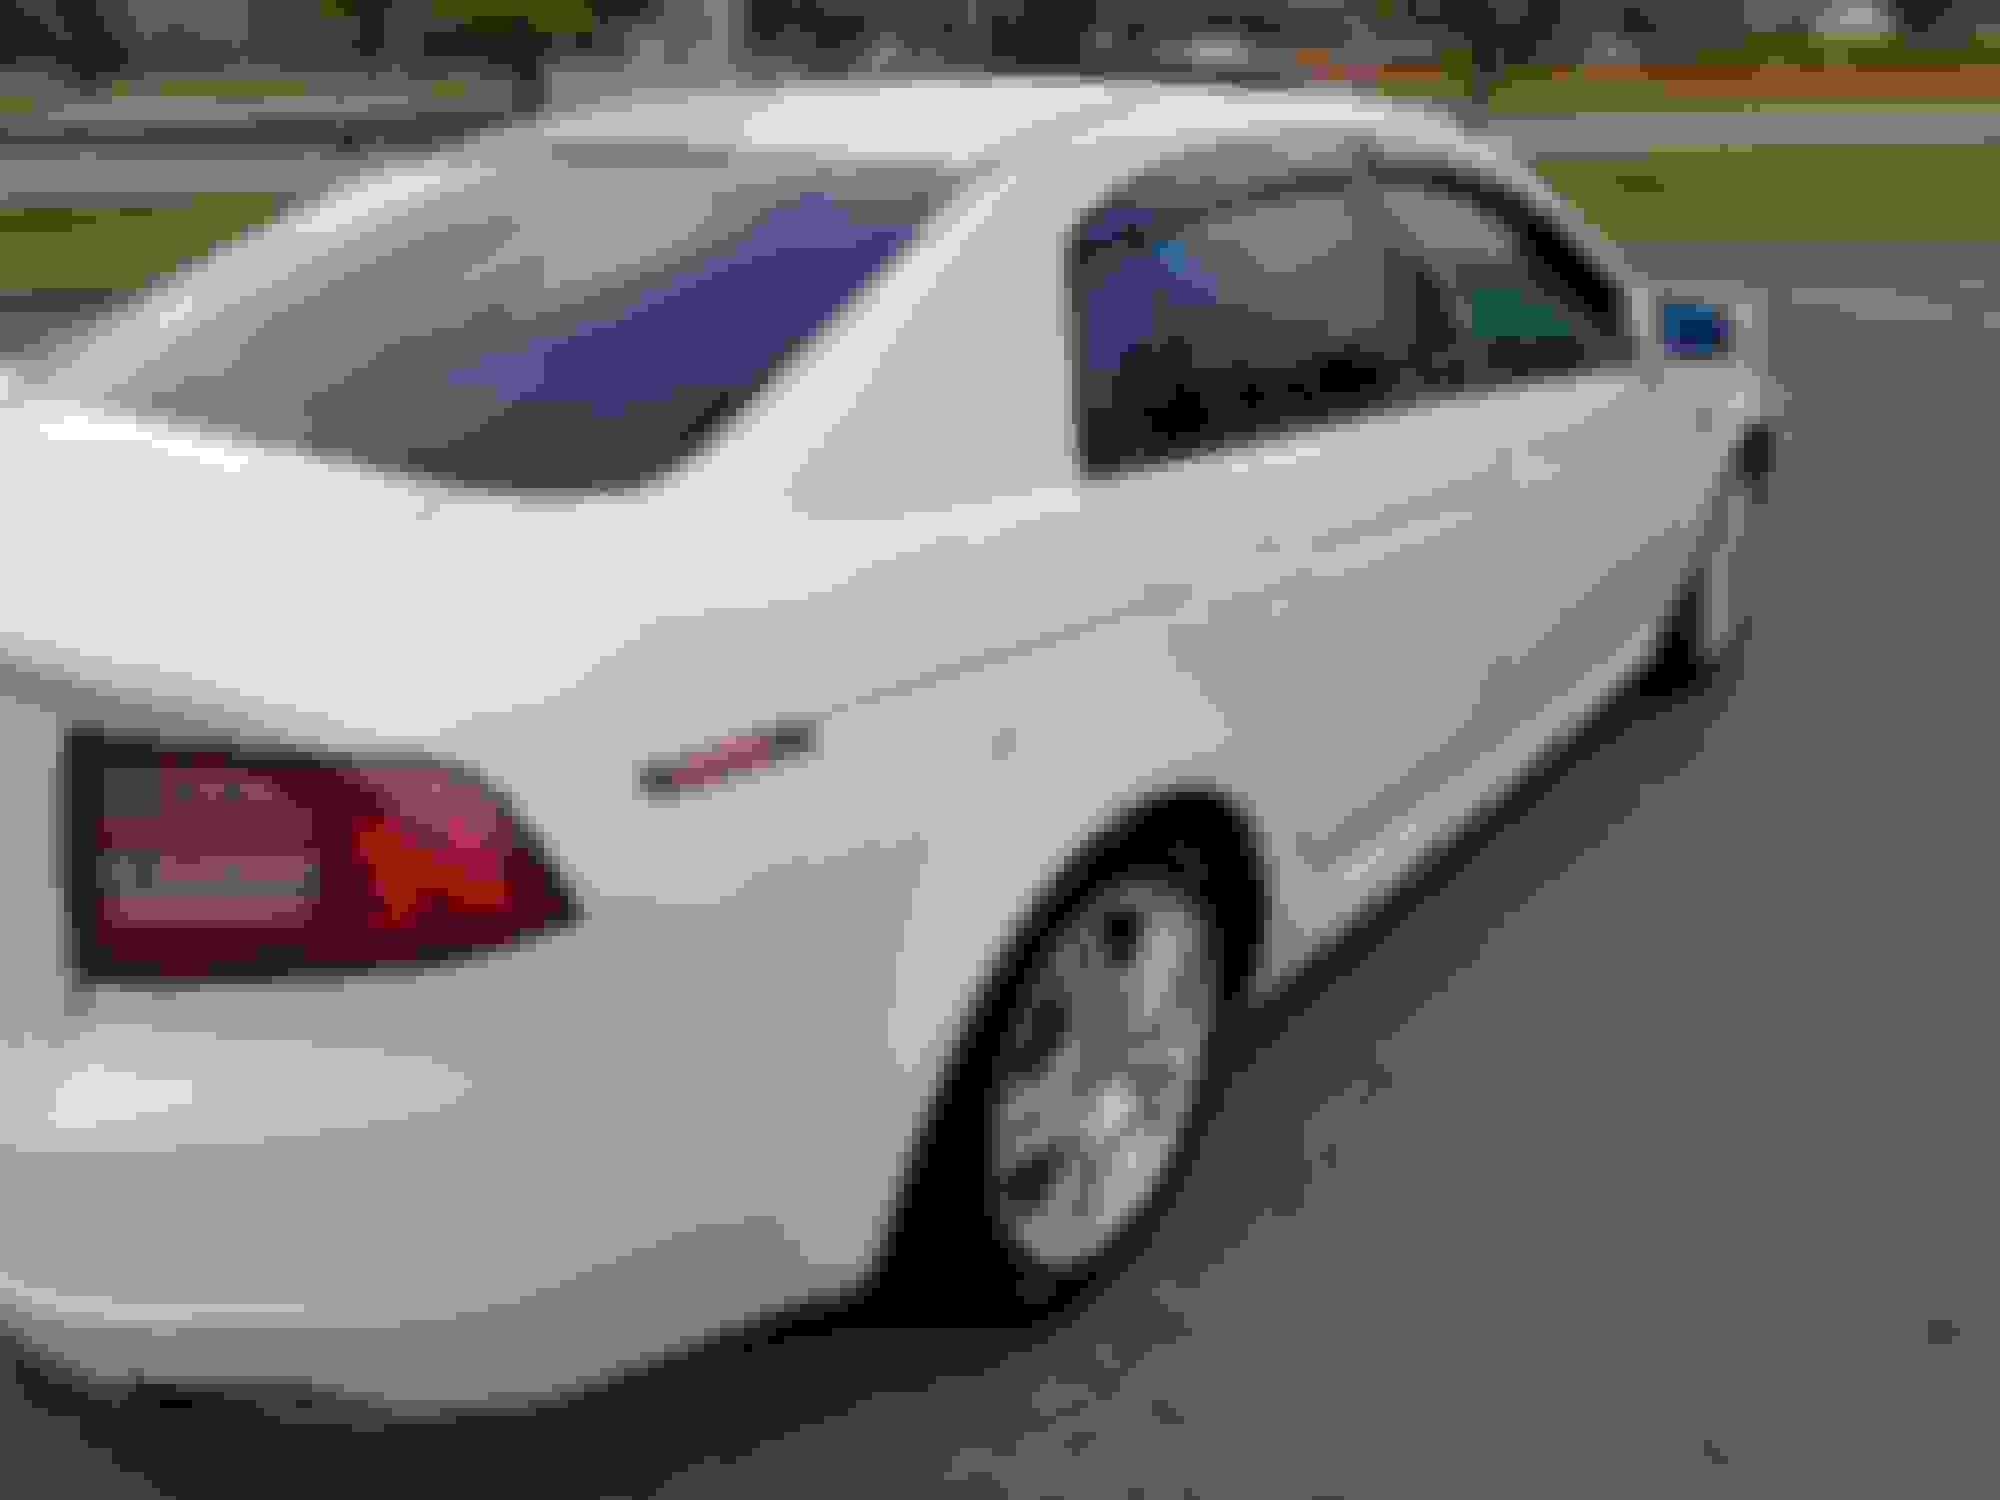
First things first, here's a couple pics of the rear lights. Gave the car a quick wash and
remembered to take a pic of the tails to update the forum. The driver side did not fog up today which is odd, usually both show condensation.
Also forgot to mention in the previous update that I had got brand new rotors and pads installed, along with bleeding the brake lines. Safe to say the major maintenance is done and taken care of for the foreseeable future. Also, received Endless RPM's reverse lights, and VLEDs interior lights should be shipping pretty soon.
Funny thing is I'm actually going to go look at a type-s manual tonight. If the cars clean and somewhat maintained, I might jump on it.
Love those tails, but that sure is a lot of condensation... Hope you got a GREAT deal on em.at least. As for that member, to bad he just got defensive right from the start instead of conversing with ya first. Unfortunately, some people are way too selfish.
 11-08-2014, 07:14 PM


 at not even posting pics of the lights..