When you click on links to various merchants on this site and make a purchase, this can result in this site earning a commission. Affiliate programs and affiliations include, but are not limited to, the eBay Partner Network.
What should I do about the color difference in the two pieces? The factory ones on my car are the sorta brushed silver color and these two new pieces I have (which did not come from a TL) are chrome..
I'm pretty sure I want them to be the same color, but not sure how I should go about doing that. Paint? Vinyl?
Looks good man! I honestly can't see the imperfections you're talking about with the decal.
I'm with you on the chrome pieces, they definitely should be color matched. Light sanding, primer, paint and clear sounds like the best option to me. You can't screw up a paint job on such small pieces. I don't think dipping them would hold up very well so low on the front bumper, too many ways they could get damaged.
Well done! I had a feeling you had the power to do that. Thanks a lot Steven!
So I got my LED DRLs installed yesterday. The bulbs are cheap eBay ones because I just wanted to see how I liked the color. The output is terrible of course unless it's cloudy outside, which is what I expected.
I think I like the color and will probably order some high quality bulbs soon.
cool, good job. you should get some ones that are white in colour??
man I wish the 04-06 headlights came with the dual ring it looks so much better
I thought about the whites, and I still end up that way one day lol. But for now my plan is to wire them so they're on with the headlights too, and for them to kinda match the turn signal/parking lights.
Whites look really nice, but everyone does whites. So the orange stands out a little more. Also I think they look aggressive and menacing this way lol
the orange does look sweet tho! you ever see that demon eye stuff? now that looks menacing lol
Oh yeah man I love the demon eyes. I saw them in person one night, the lights were red on a silver WRX STI that was slammed on black Varrstoen rims. Looked siiiick.
If I ever pull apart my headlights I will definitely be getting demon eyes.
Oh really? I had never heard of it being illegal, maybe it's not as big a deal out here. That WRX I saw had backed into his parking space so he was basically advertising it lol
If you have the extra cash I would def send your lights to Bruce, the work is unreal man
Well I dont really have any extra cash right now. I do have a couple other mods that will be up here soon :, but then next in line really has to be the springs or coilovers.
I may consider doing the lights afterwards, but i also really want to pick up a Type S front a-spec lip... I haven't officially decided on that yet though.
It's actually pretty easy, but it's messy so I would recommend wearing gloves if you have a box of the nitrile or latex ones handy.
Basically all you need is a screwdriver, a razor or scissors, spray adhesive, and up to 2 square feet of 1/2 inch high-density foam (I bought mine at a local fabric/crafts store).
I should've taken pics, I don't know why I didn't.
First remove the armrest from the center console by removing the four screws and sliding it off of the hinge.
Then remove all the other screws that hold the cushion section to the plastic sliders/brackets (pay attention and remember where they go).
Finally you will see the leather wrapped around the edges of the armrest, should be just adhesive holding it on. Mark an outline of where the leather is sitting so you know how to reinstall it. Mine was pretty easy to peel off but take care to not rip or tear the leather.
After you get the leather cover off, clean out and scrape off all the old foam. Once that's clean, set the plastic piece on top of your new foam and get sort of an idea of how to wrap it before spraying the new adhesive.
Follow the directions for the spray adhesive and apply to the foam and to the plastic. Then stick them together and cut off the excess foam.
The hardest part for me was reinstalling the leather, trying to stretch it over the foam and then reapplying new adhesive to the tabs, I don't really have any tips except to clean the leather immediately if you accidentally get any adhesive on it.
And that's it! Put it all back together and let your elbow enjoy that New-Car comfort!
Last edited by UA7X; 06-04-2015 at 11:32 PM.
Reason: Typos
It doesn't look like a difficult job. Finding the time is the harder part.
That's what my thought was at first. But really you could do it in about an hour start to finish. I stretched it out because I took things apart before I had the new foam or adhesive.
I just ended up driving around without an armrest for a couple days lol.
Here's a pic of the foam I bought. They sold it by the yard and I basically have enough to do the job again if I ever need to.
Well done! I had a feeling you had the power to do that. Thanks a lot Steven!
So I got my LED DRLs installed yesterday. The bulbs are cheap eBay ones because I just wanted to see how I liked the color. The output is terrible of course unless it's cloudy outside, which is what I expected.
I think I like the color and will probably order some high quality bulbs soon.
I got a set of high powered amber/orange DRL's if you want to swap yours out. I have some recent pictures in my progress thread. Ill let them go forcheap as I don't use them anymore
I got a set of high powered amber/orange DRL's if you want to swap yours out. I have some recent pictures in my progress thread. Ill let them go forcheap as I don't use them anymore
Thanks for the offer, but I actually already upgraded my DRLs and I'm pretty happy with them. Just because I'm curious though, what brand and specs are yours?
Here's a pic of the upgraded bulbs.. Amber/orange LED DRLs
What led DRL's are you running? I am still debating on what to get. I like the look of that!
They're "CREE LED 50W 9005 HB3 ORANGE AMBER" that I ordered off ebay. Specifically, from seller formula-J87
Two years ago, I bought those original low-powered orange DRL's for cheap, and I also bought fog light LED's from formula-J87 (which were more expensive and slightly higher powered), so I could compare the quality and light output. The cheap LED's failed and actually literally came apart after about a year. The ones I bought from formula-J87 are still going strong and I've had no problems with them after 2 years.
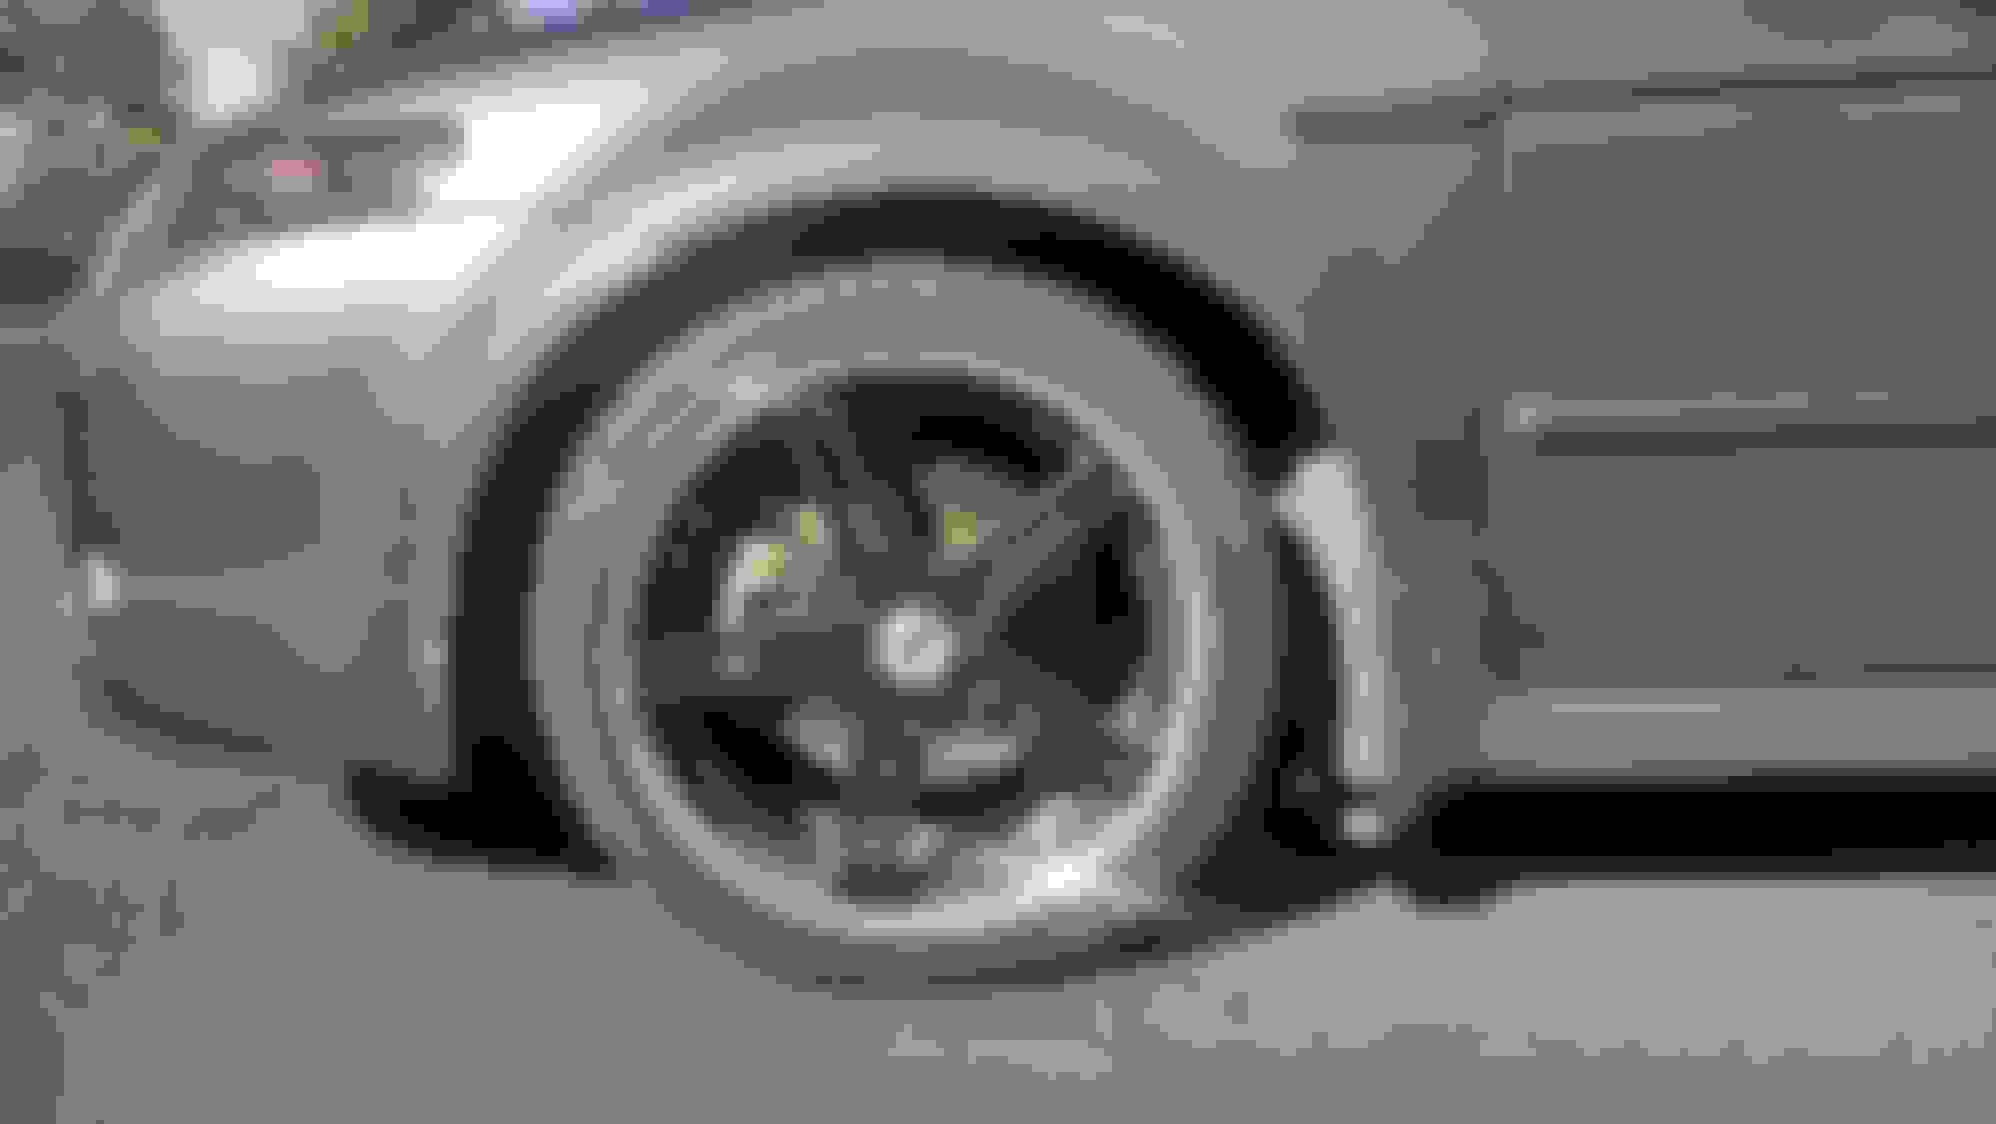
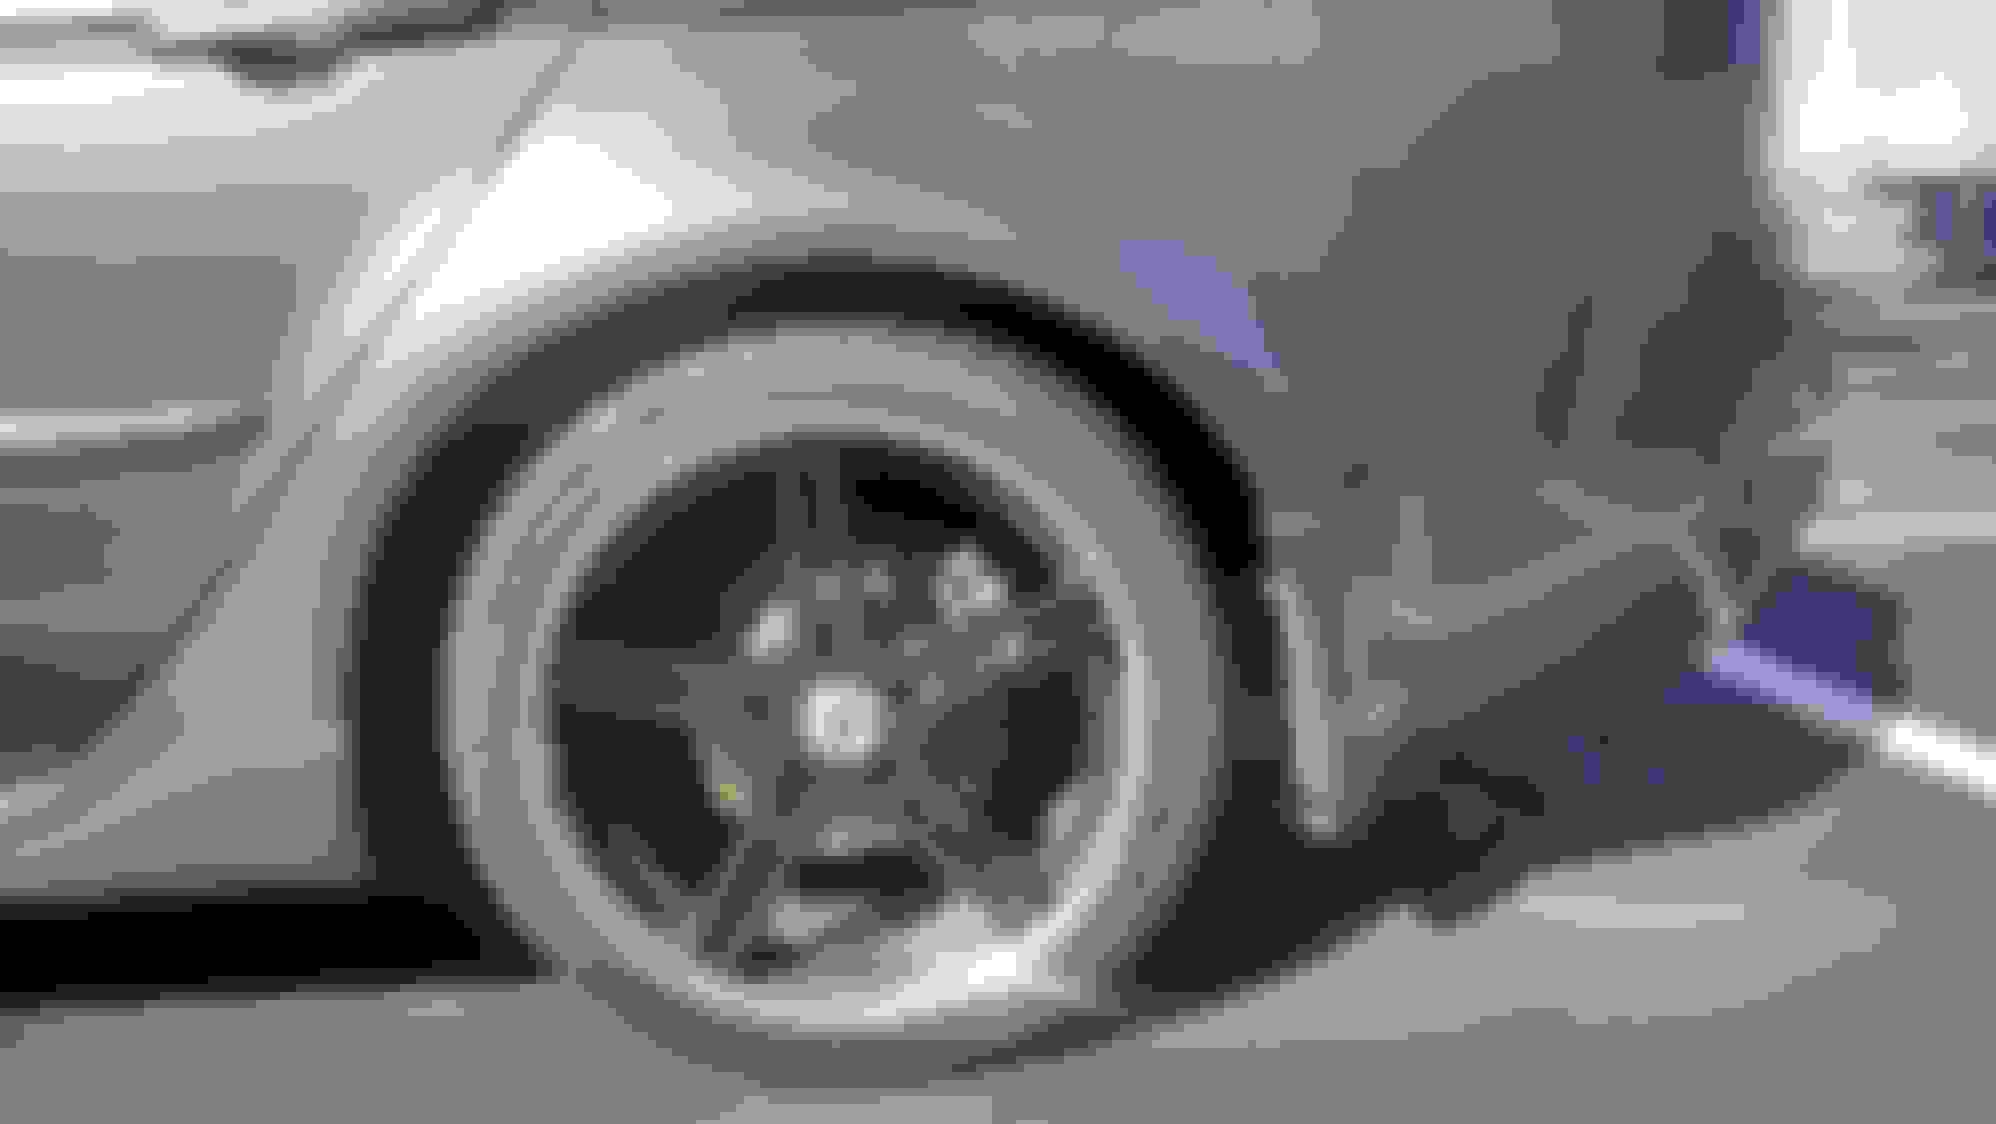
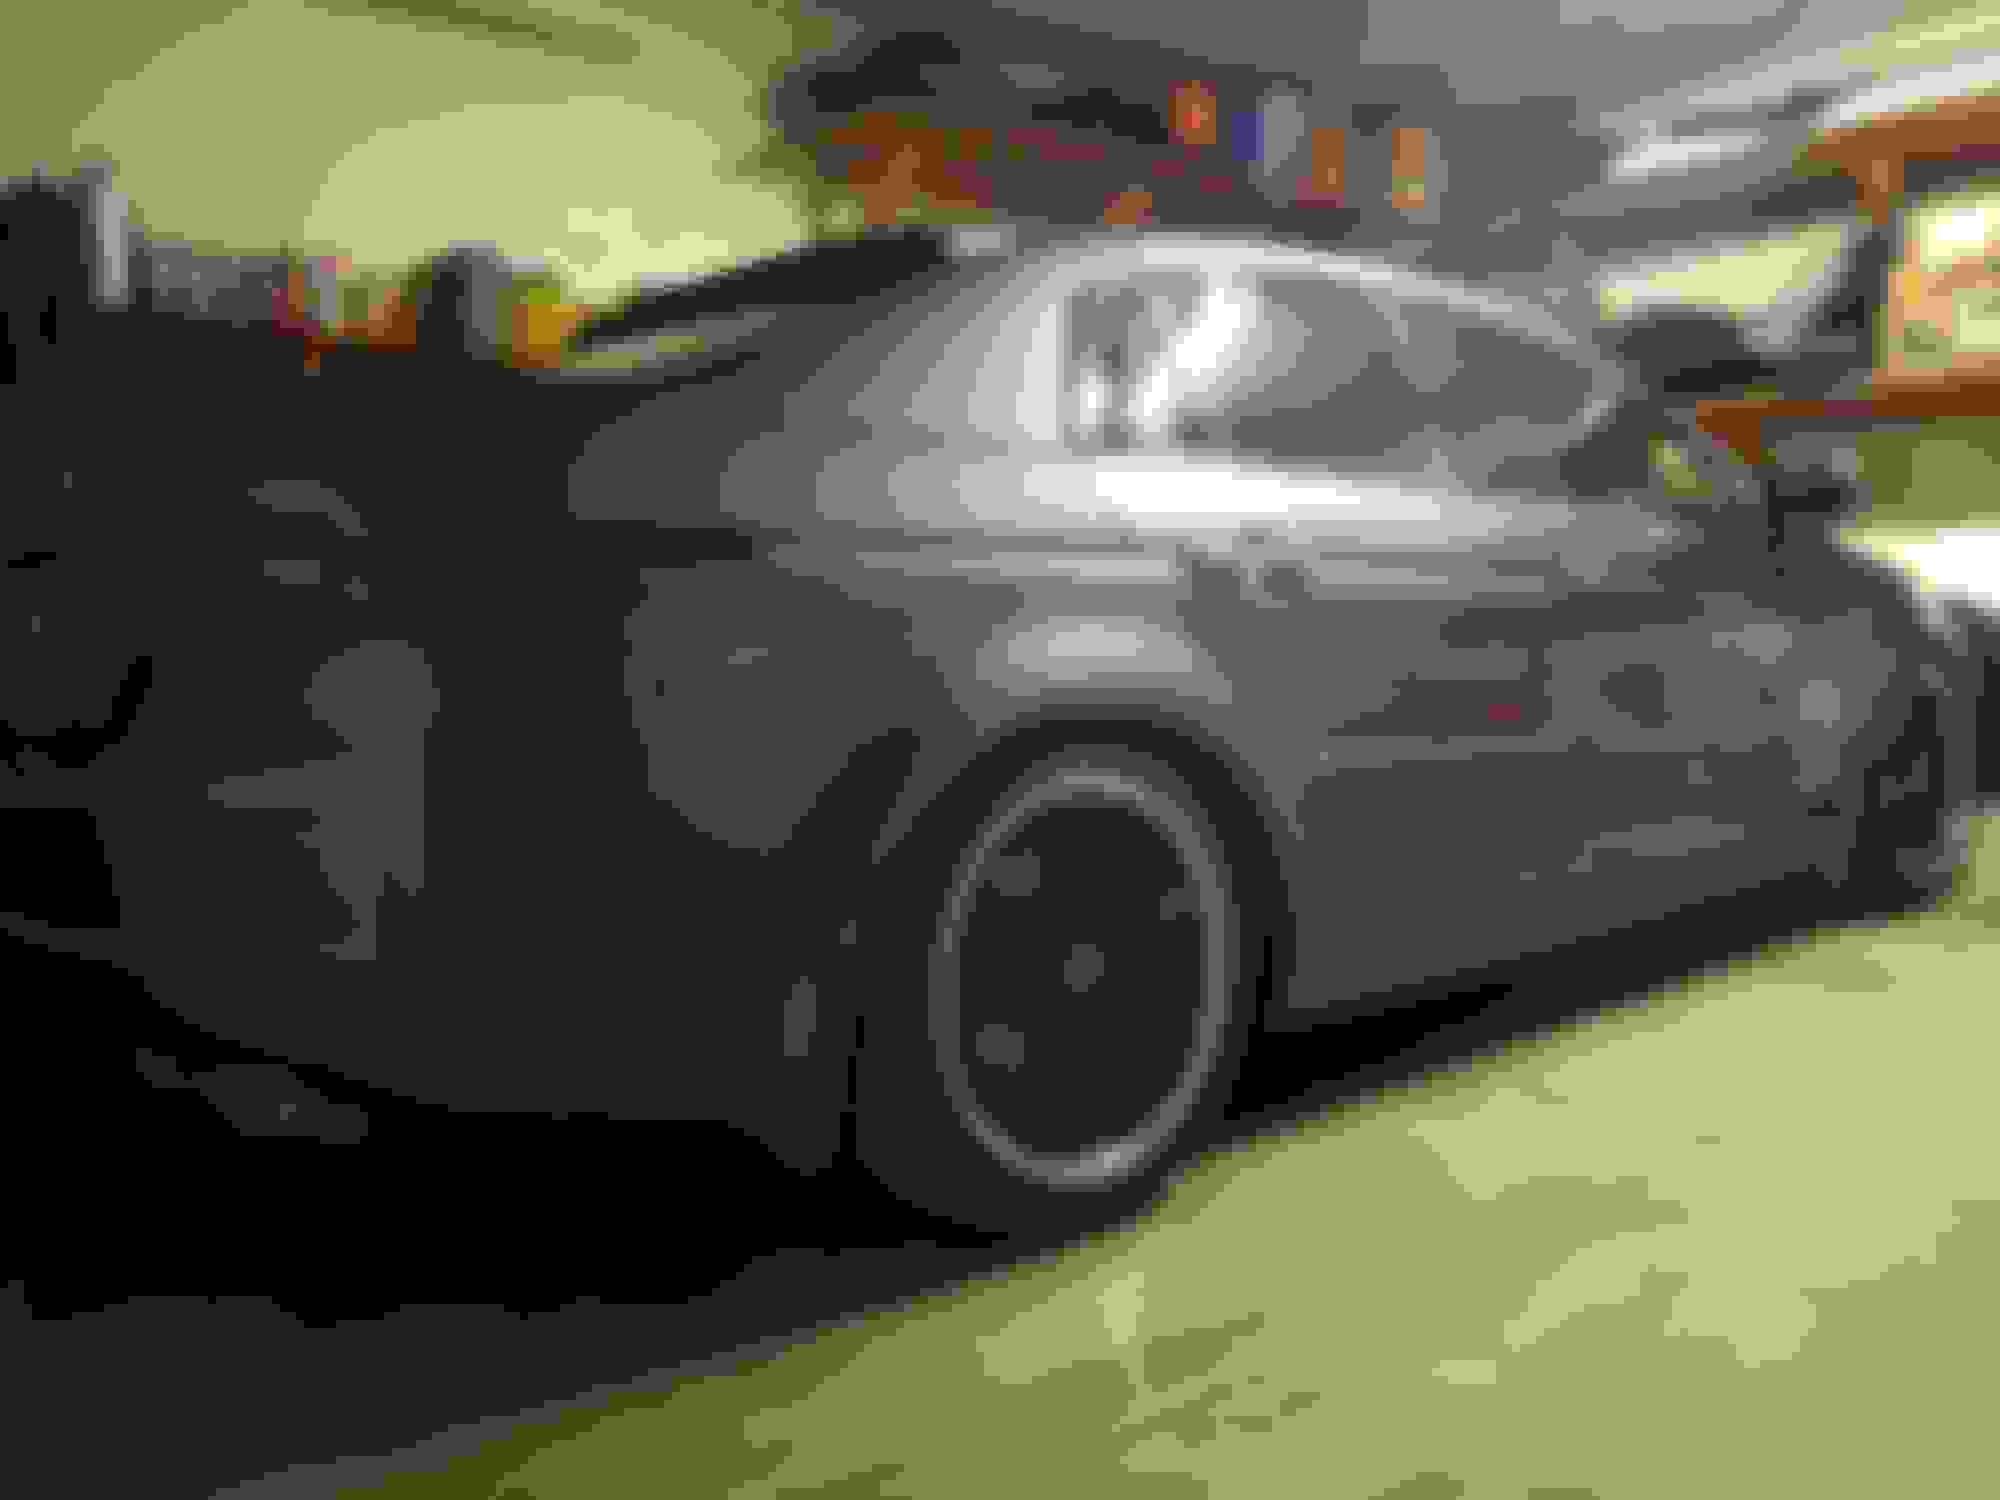
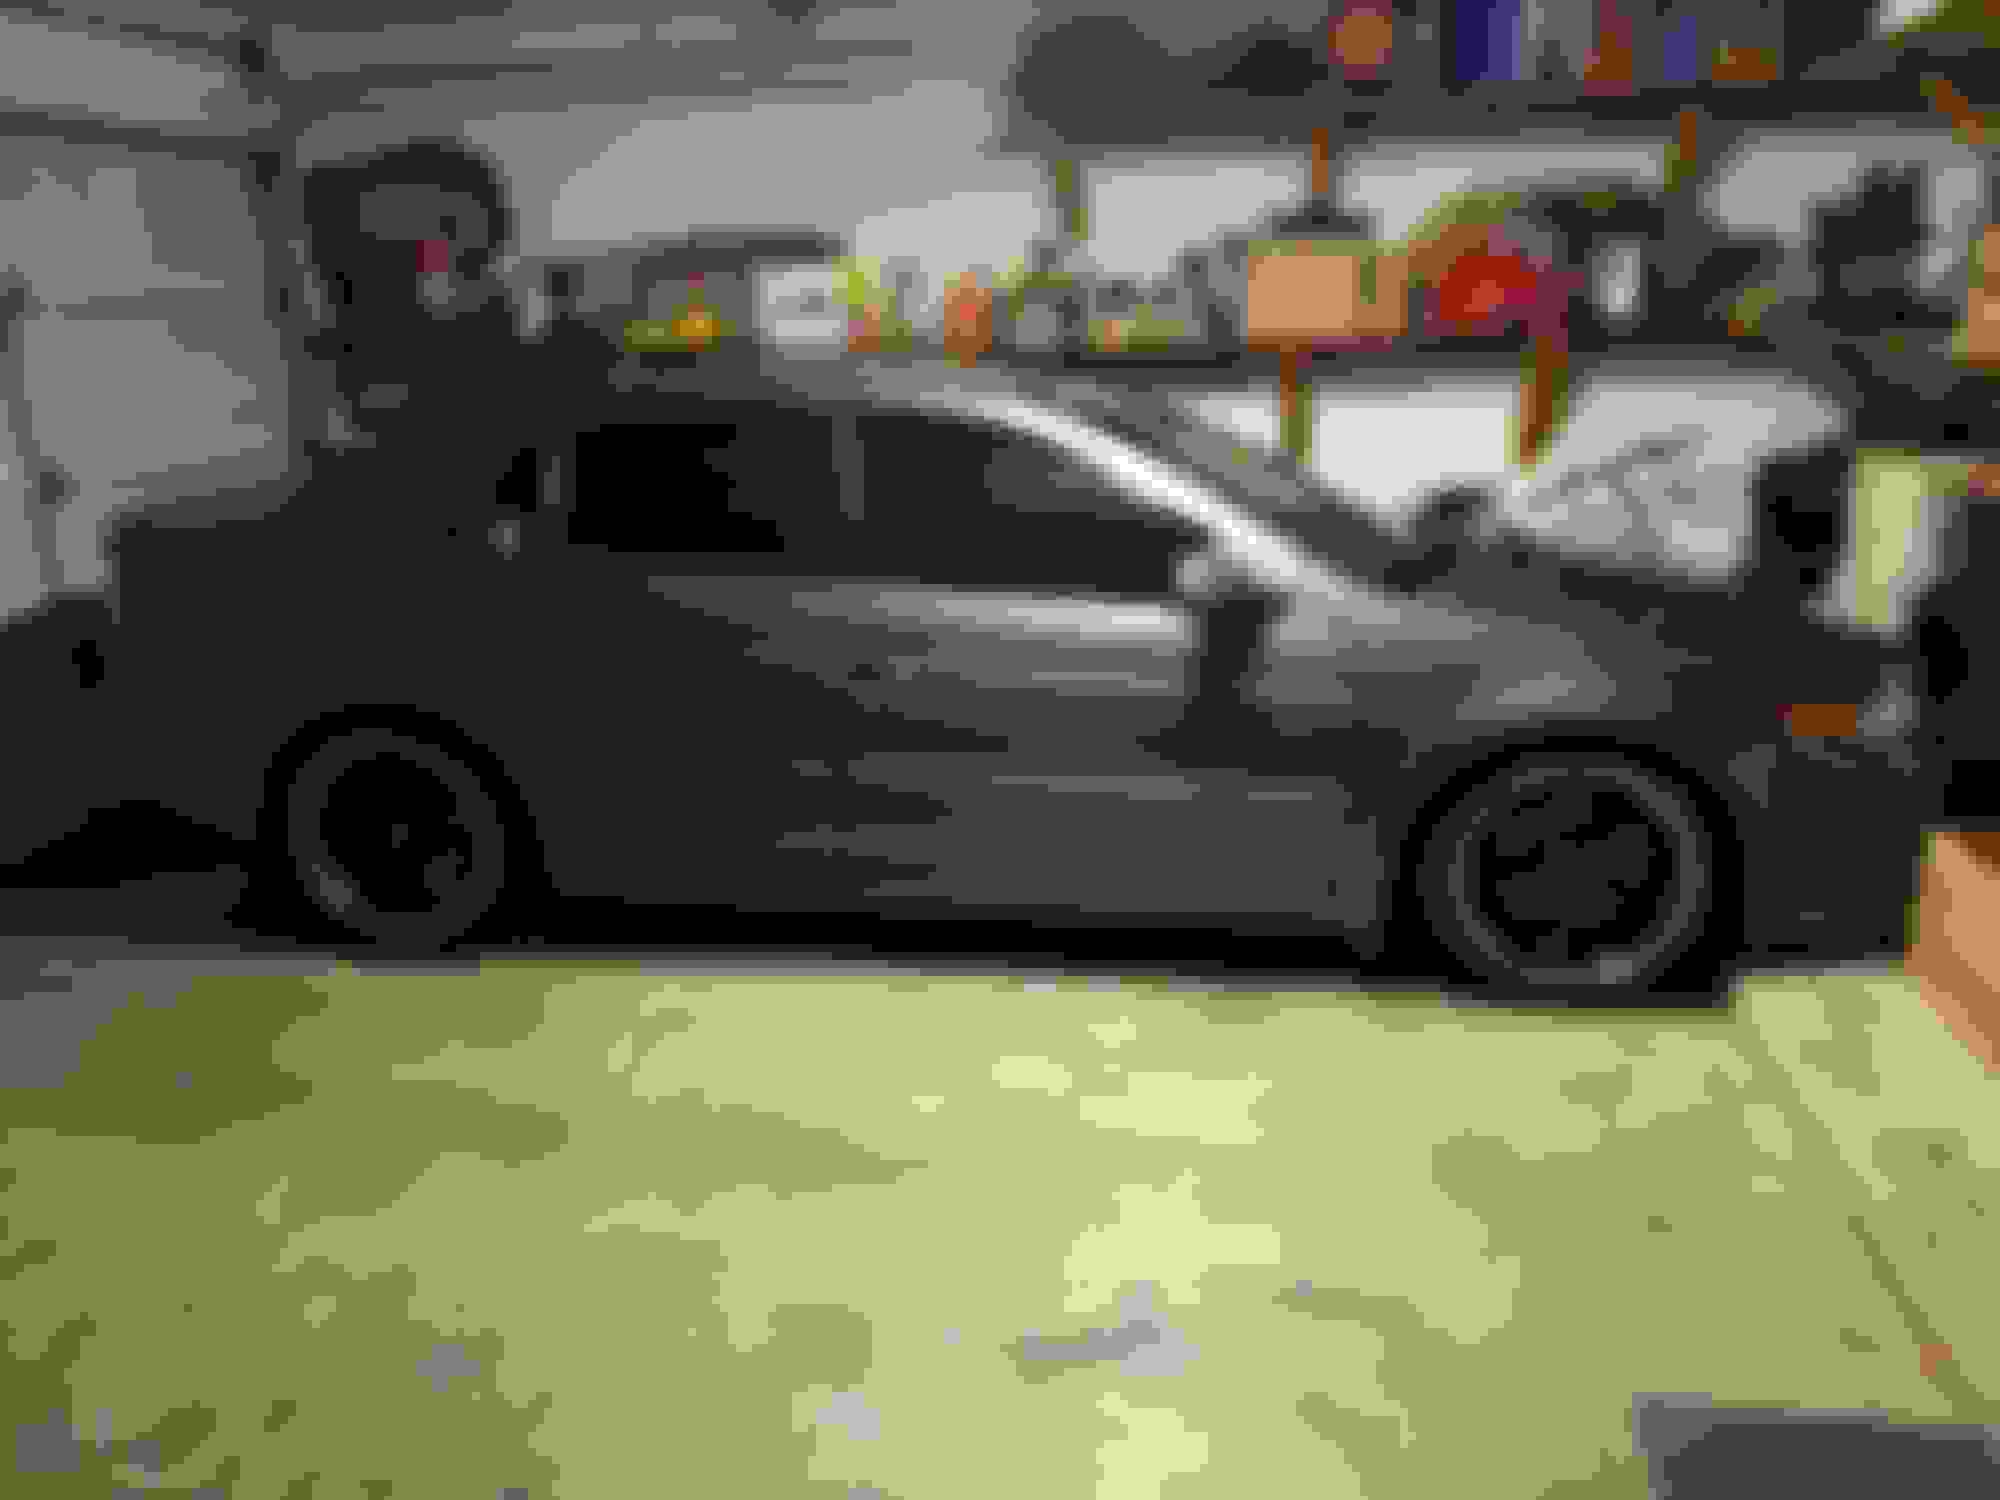
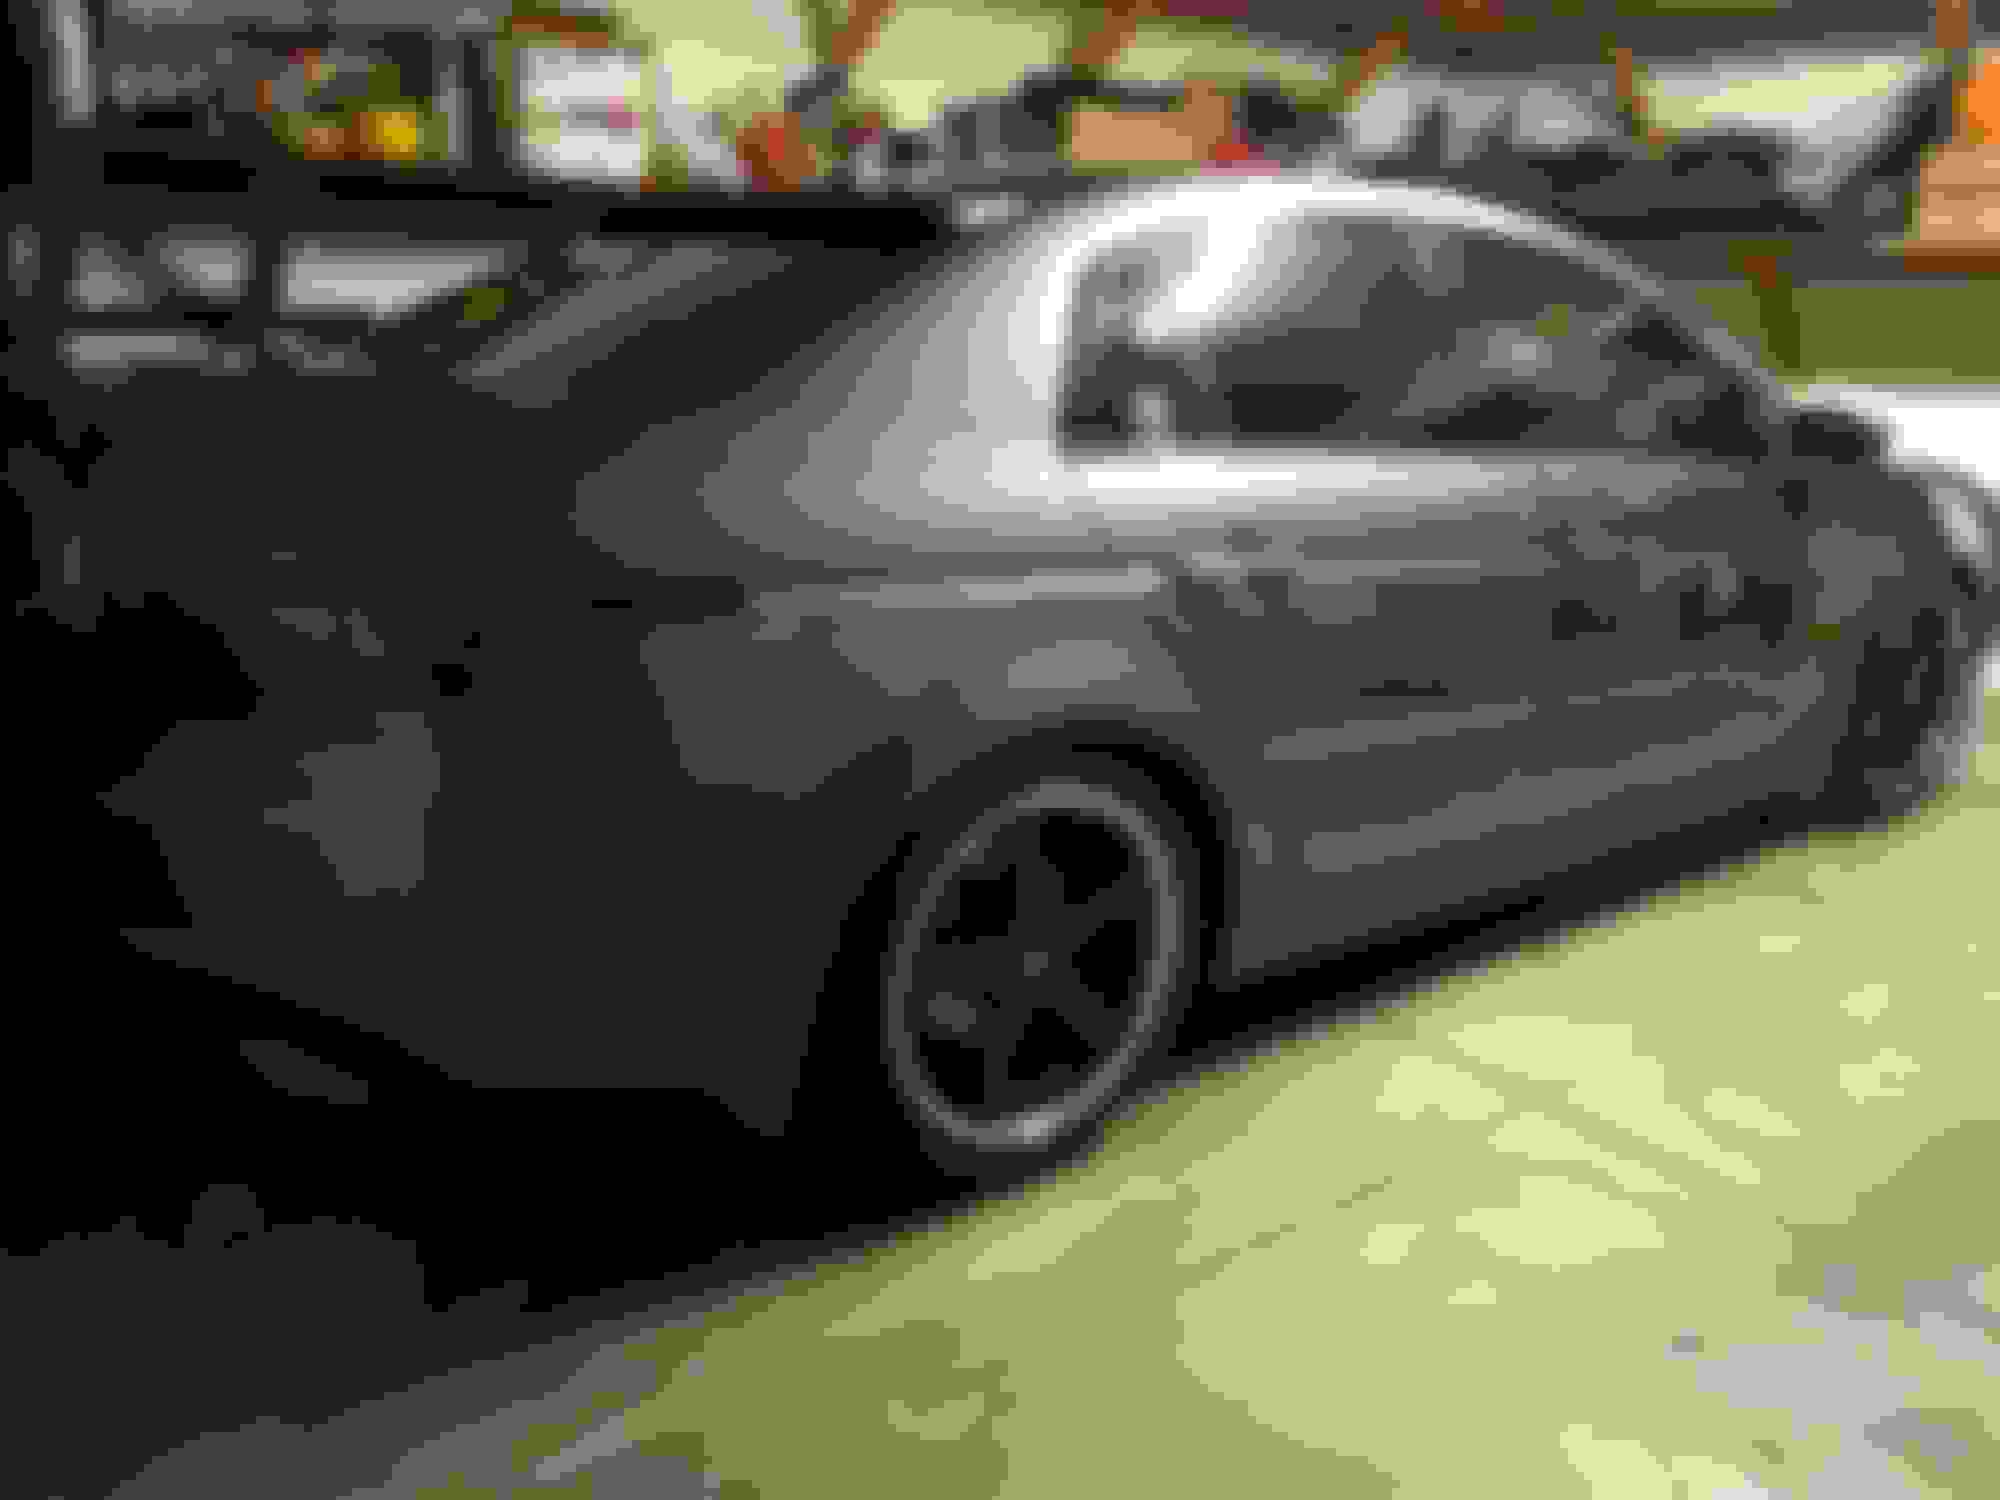
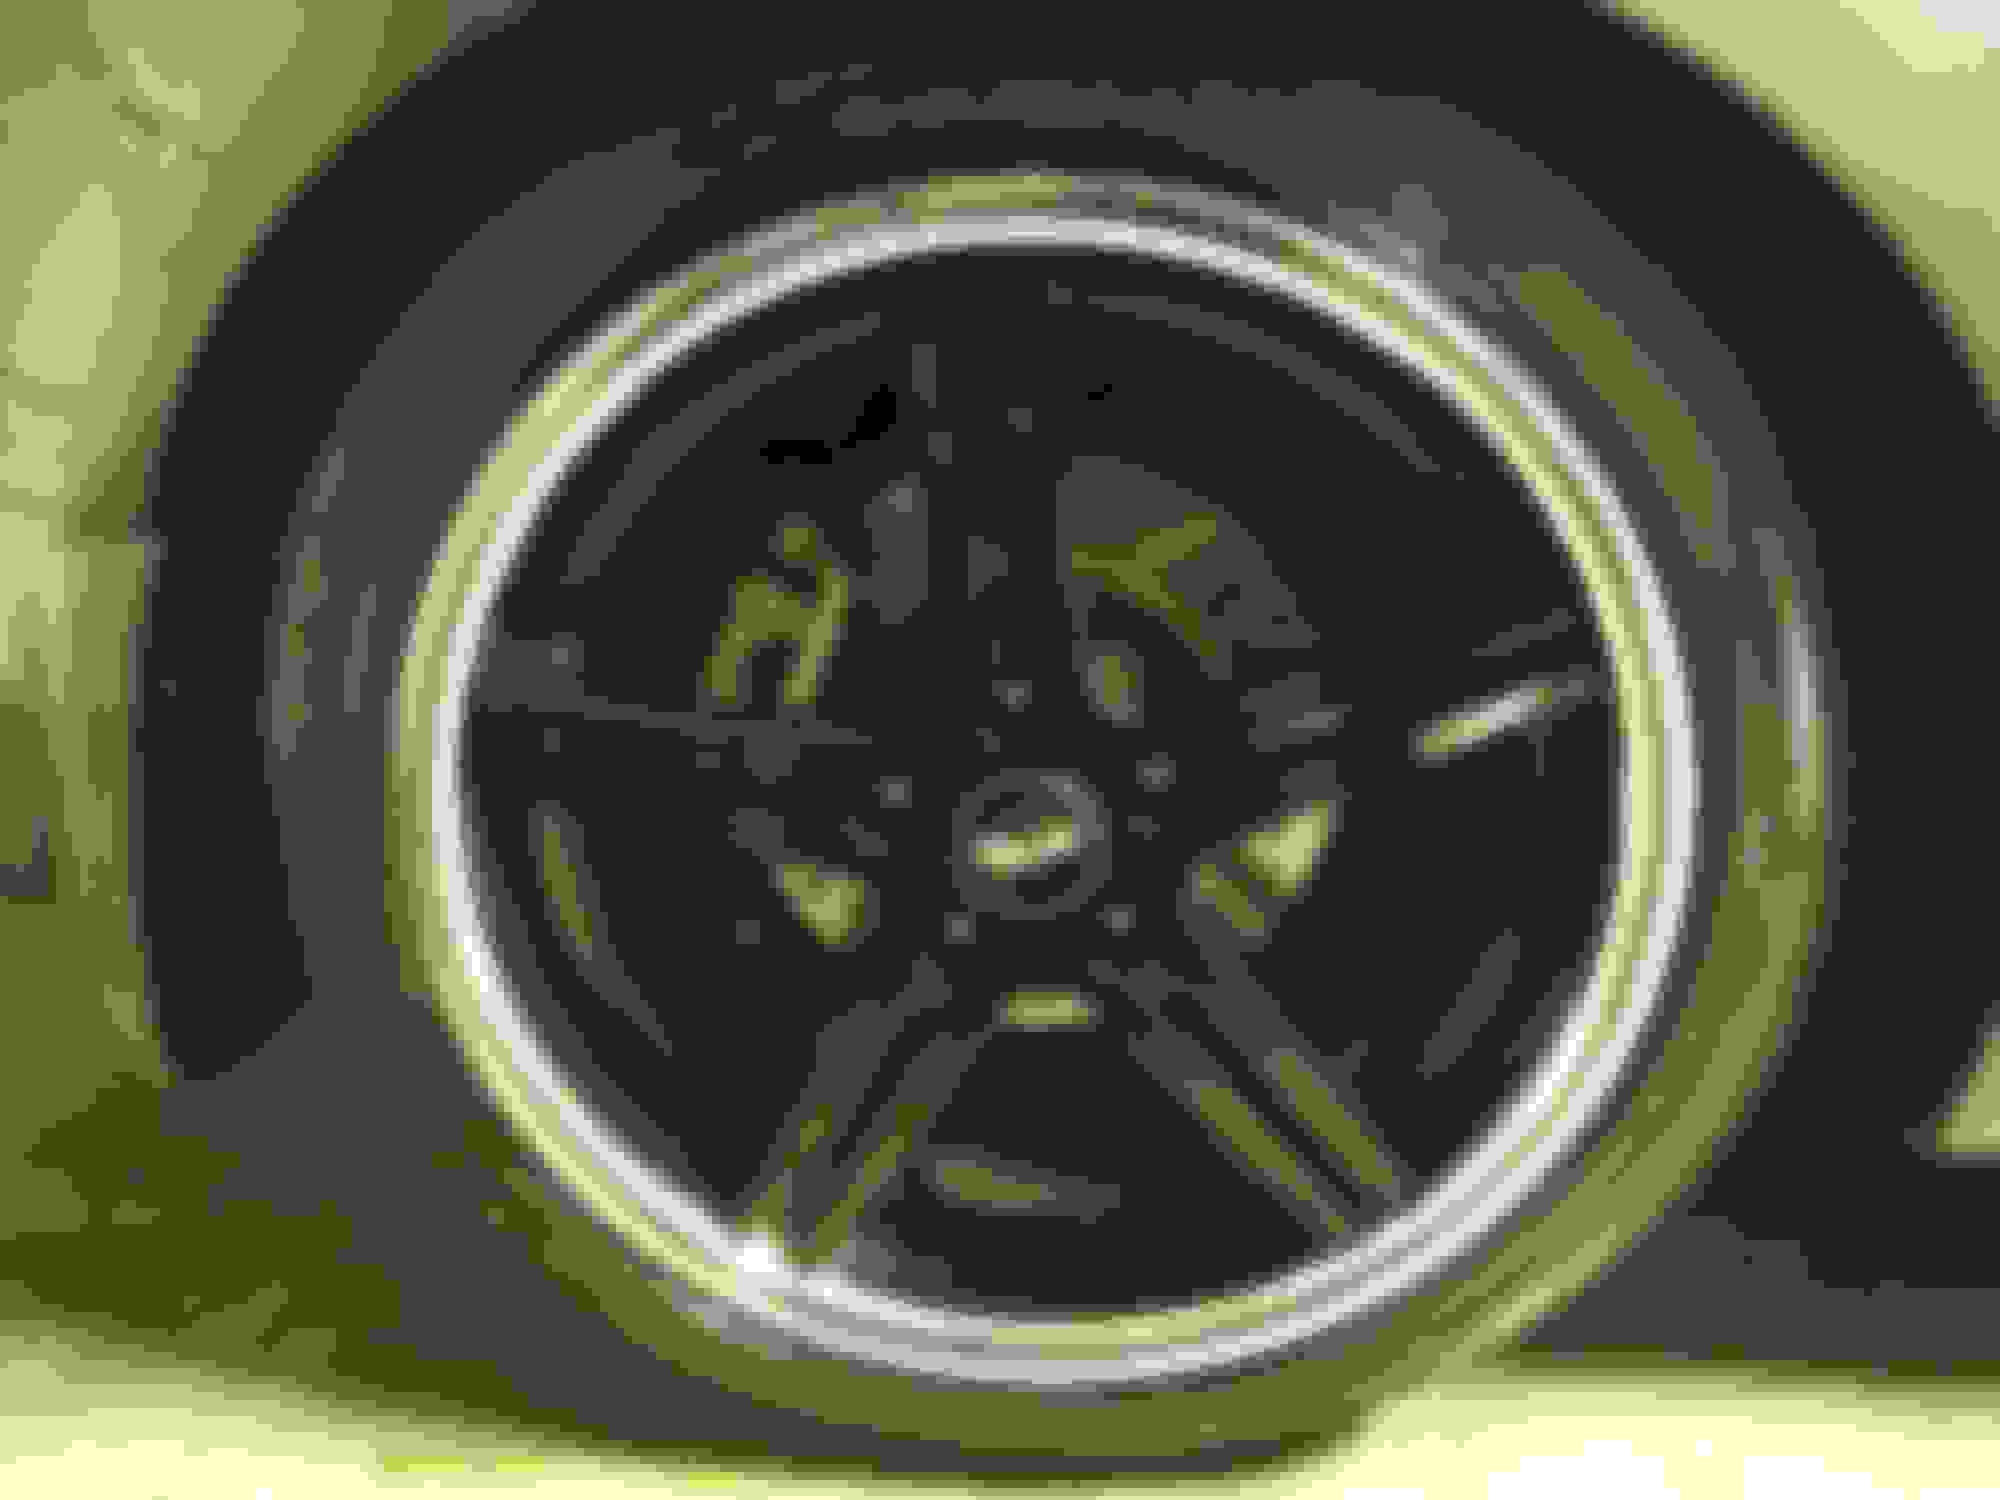
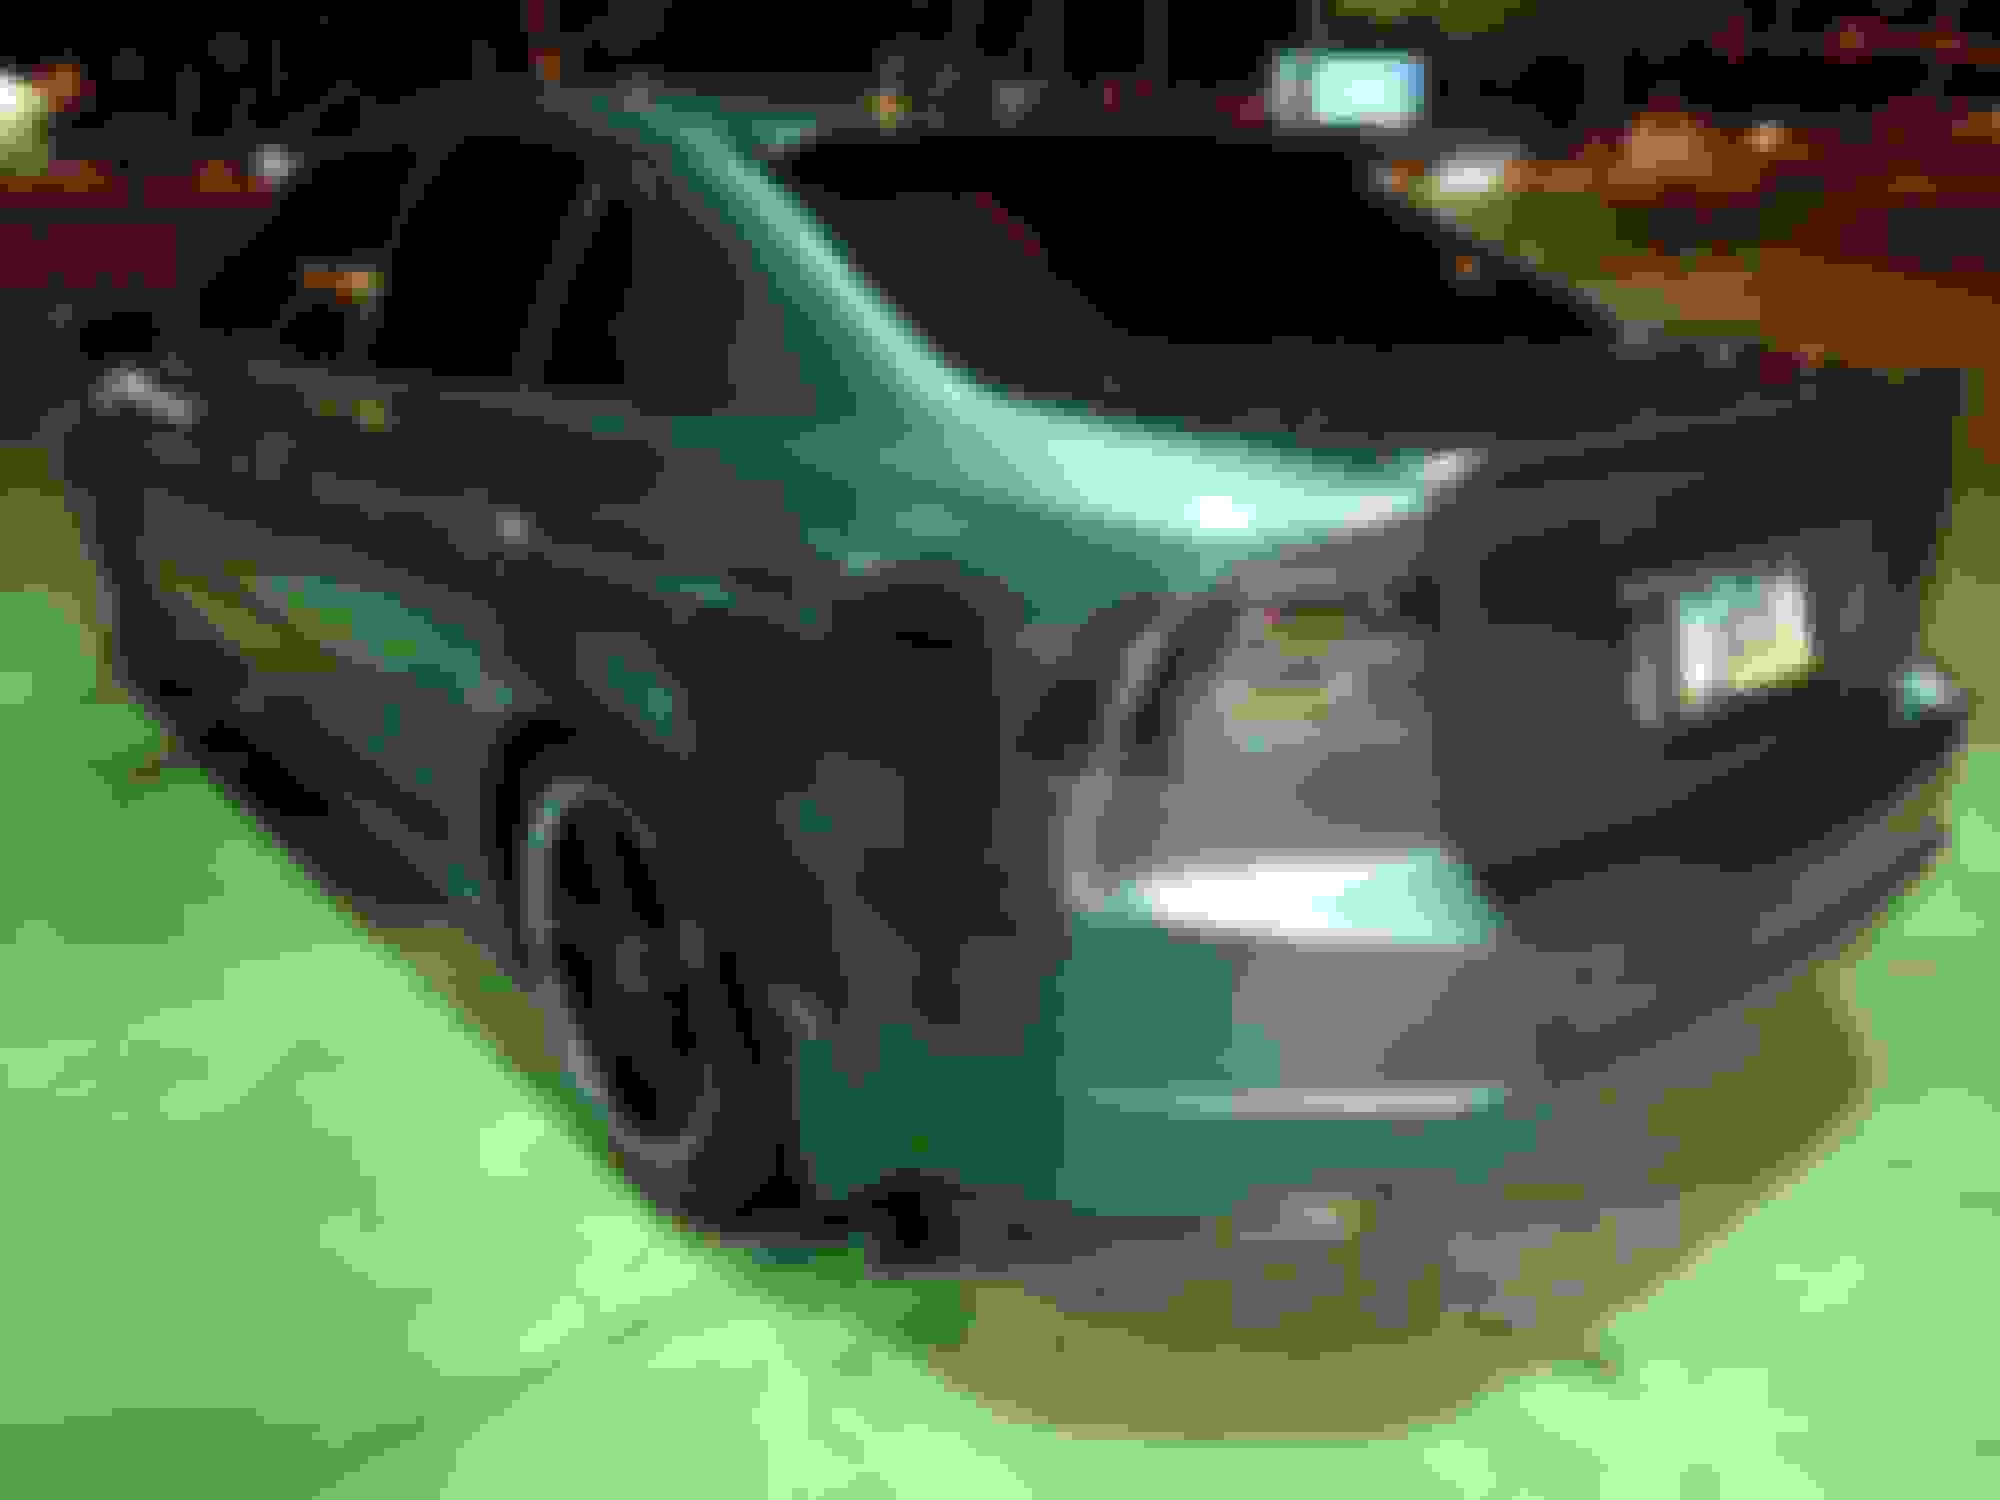
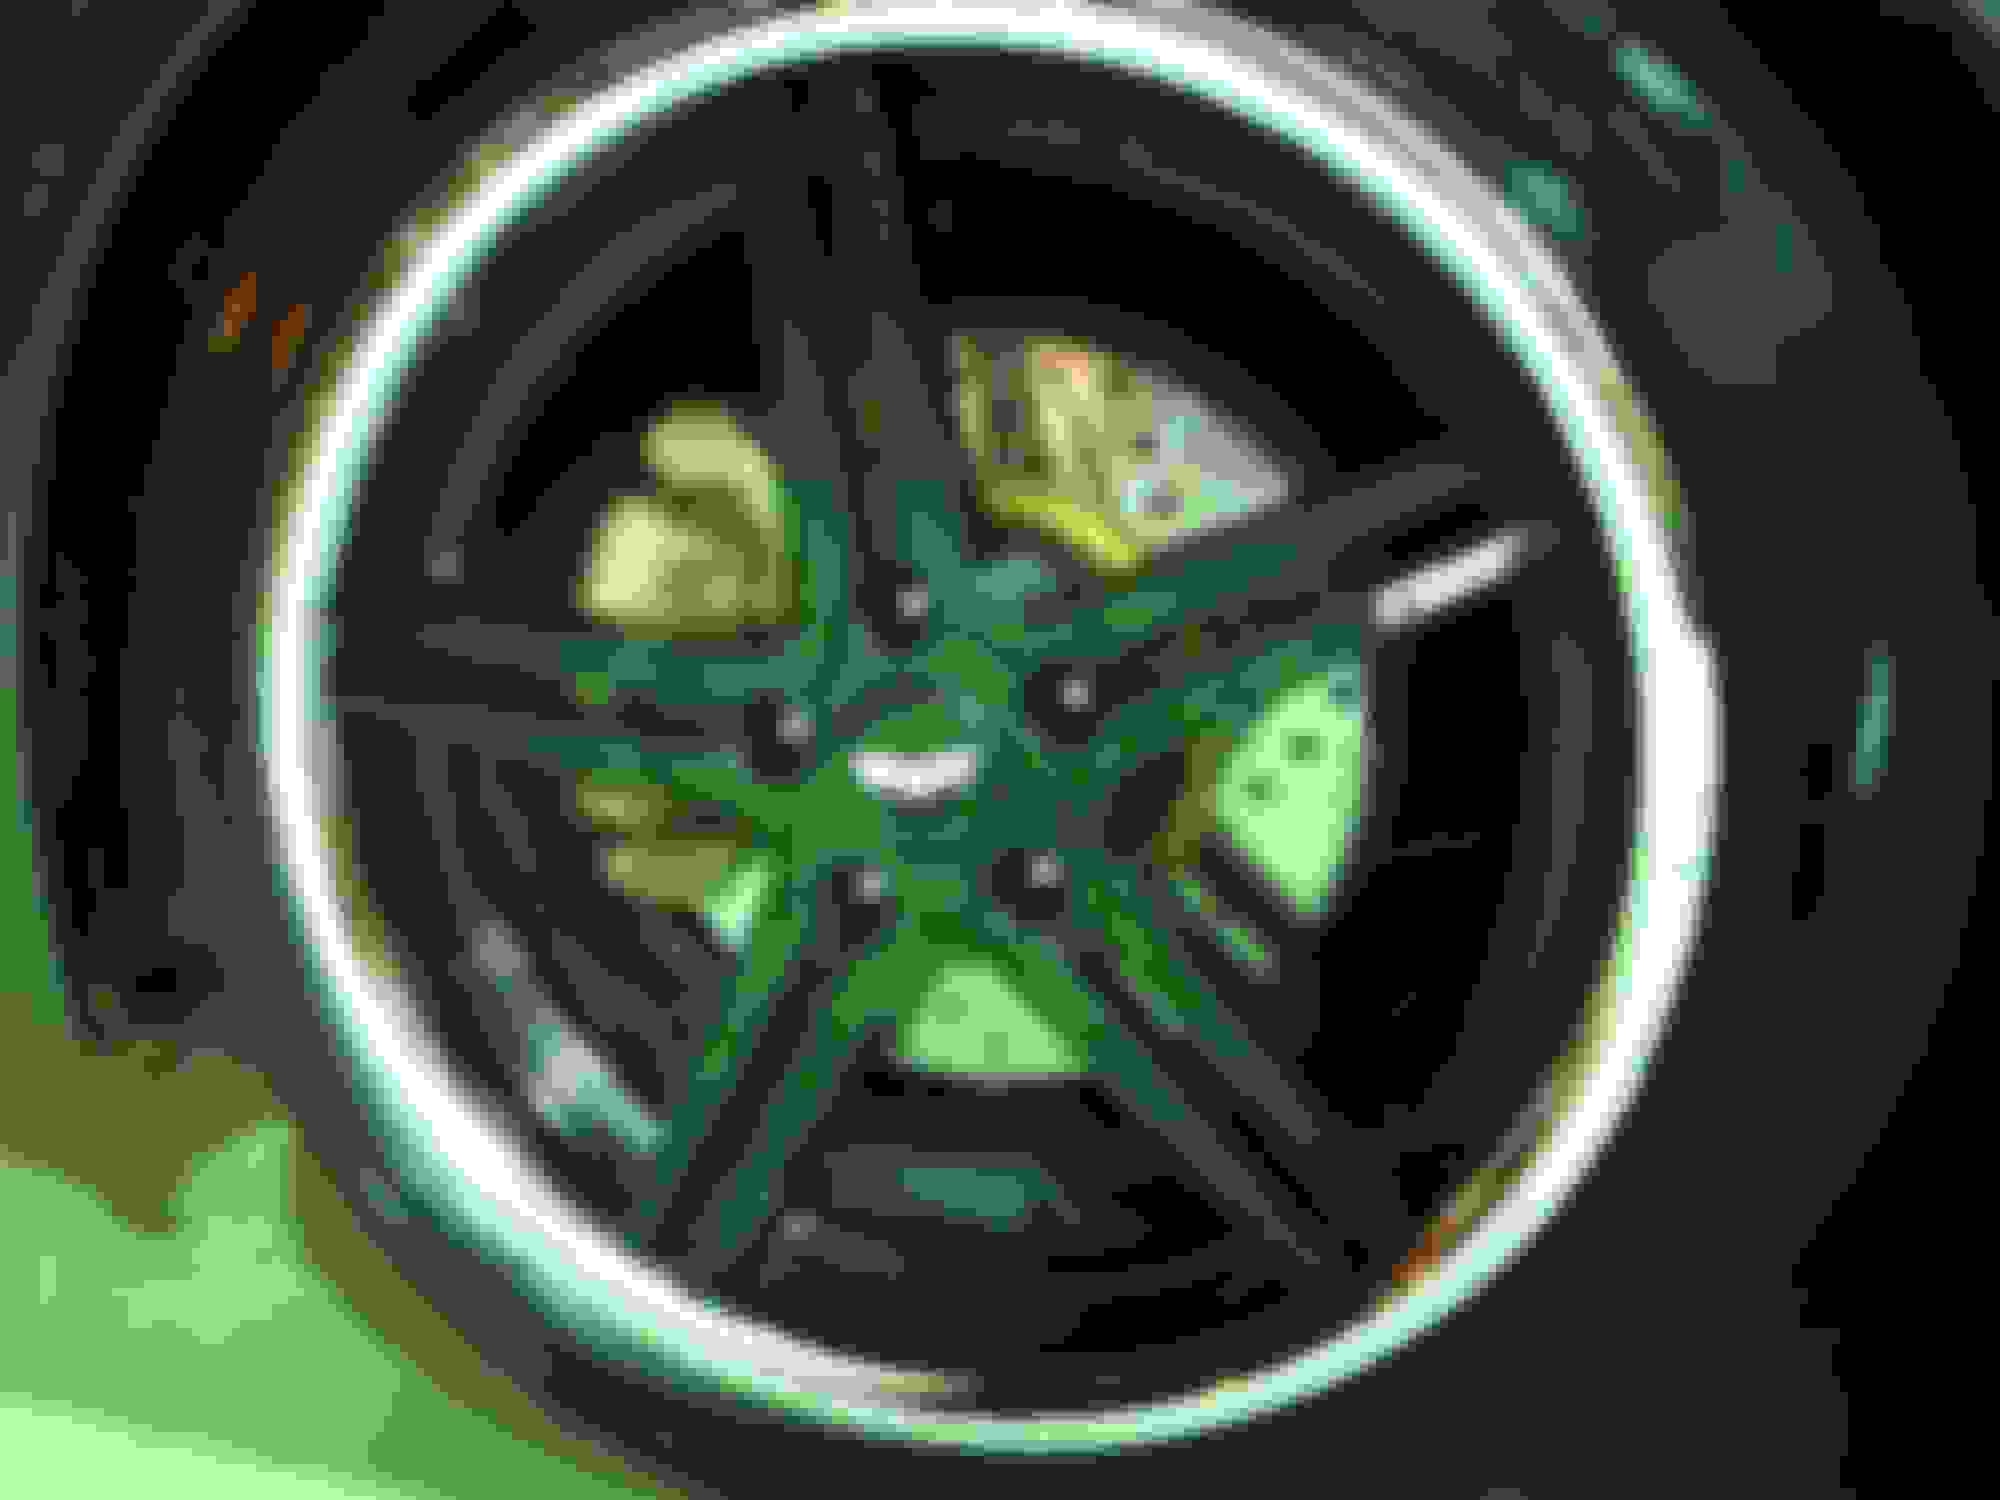
I picked up this set of TSW Mirabeau wheels. 18x8 +35.
Also, I found one of the only sets of OEM color-matched mudflaps left in the country. (Parts locator at the dealership only showed two left in the US). Also, they sold them to me for less than what I would've paid for aftermarket unpainted mudflaps!
Thanks for the offer, but I actually already upgraded my DRLs and I'm pretty happy with them. Just because I'm curious though, what brand and specs are yours?
Here's a pic of the upgraded bulbs.. Amber/orange LED DRLs
oh no worries, those look good though! I'm not sure on my bulb specs, I know their Cree 60w though (pretty sure). Ill probably end up throwing them on craigslist or something after I dig through my email to get the info for them.
The tint on your headlights fits well with the amber, primarily because it darkens the side markers, which in turn match the DRLs better
Car lowered on Tein SS springs, added Duraflex roof spoiler, ebay OEM style trunk lip spoiler, custom license plate, black/white smoked tail lights, and Avenged Sevenfold sticker on passenger rear quarter window. These pics also show how I took off my TSW wheel center caps because I lost one during a rainstorm
Added Stoptech front drilled and slotted rotors, Centrix rear drilled and slotted rotors, chrome TSW stickers on rims, custom Batman wheel center caps, and removed black paint from inside exhaust tips. Also had to remove the tint from the headlights because they were flaking, I had them buffed/polished but the lenses are all cracked so I will probably upgrade to Type-S headlights eventually.
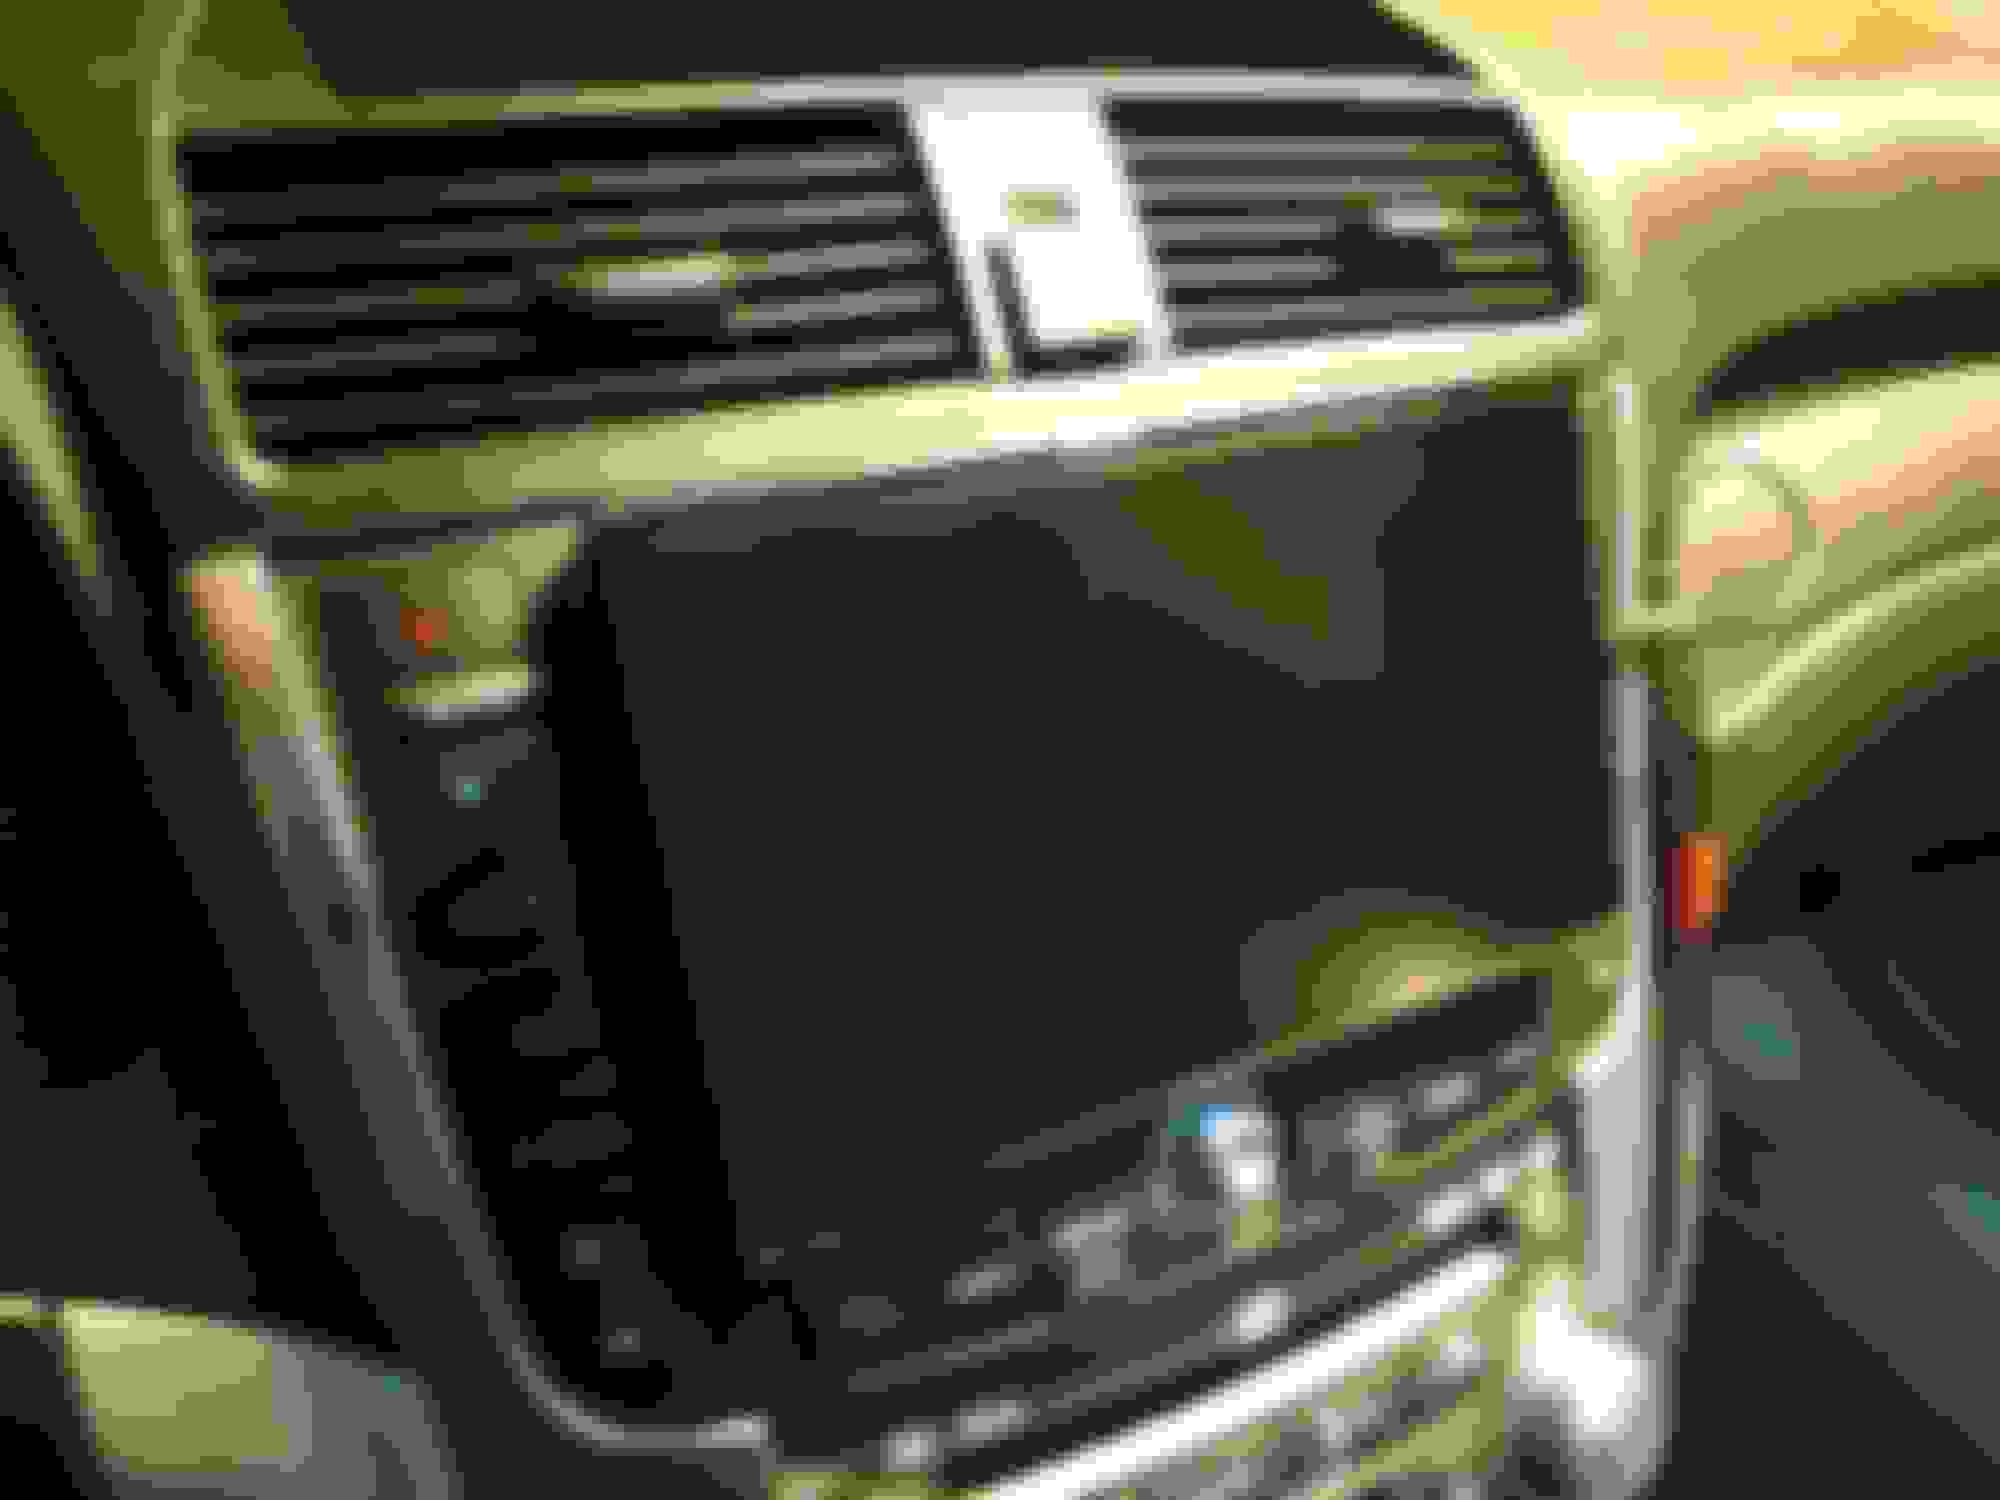
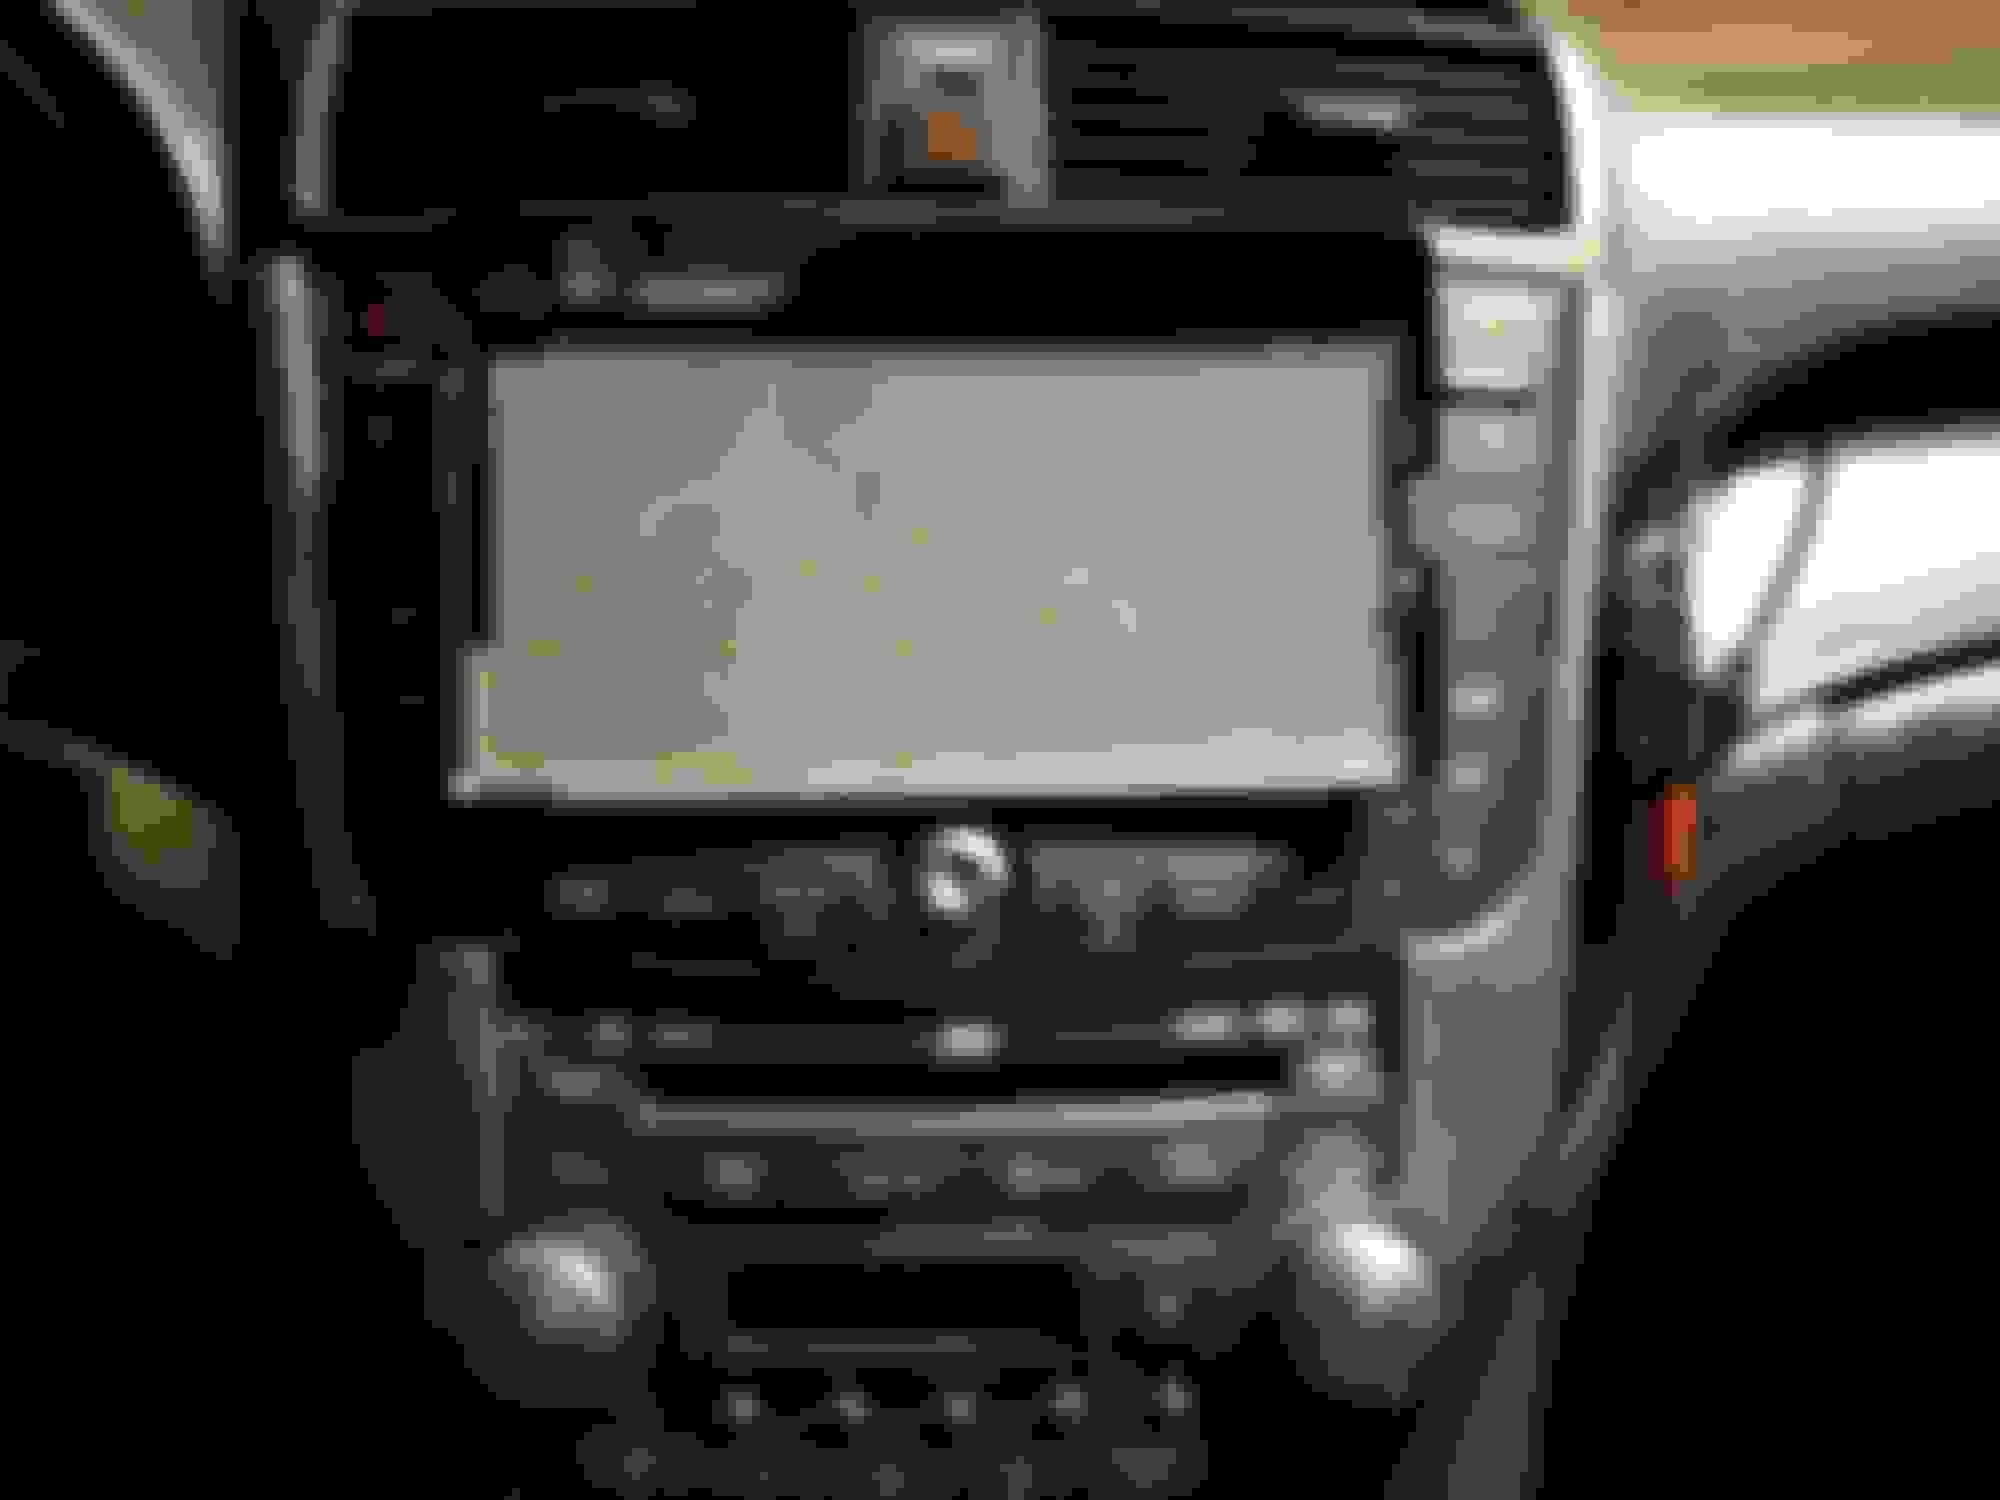
I've been working on a Nexus 7 tablet navi conversion for a few months. The 2008 Base/Navi model is the most ideal model for this conversion. The 2008 models have the AUX port in the center console, so the audio is a single cable plug & play setup. This means the OEM HandsFreeLink will integrate perfectly when playing music and using navigation on the tablet (audio ducking on calls or turn-by-turn navigation, etc.), the steering wheel volume and mode buttons still work normally, and the OEM audio unit equalizer settings can be easily adjusted (treble, bass, fade, etc.). The 2008 also has the A/C status shown on the mini-display above the navi screen, so no custom wiring or re-routing of that info is necessary.
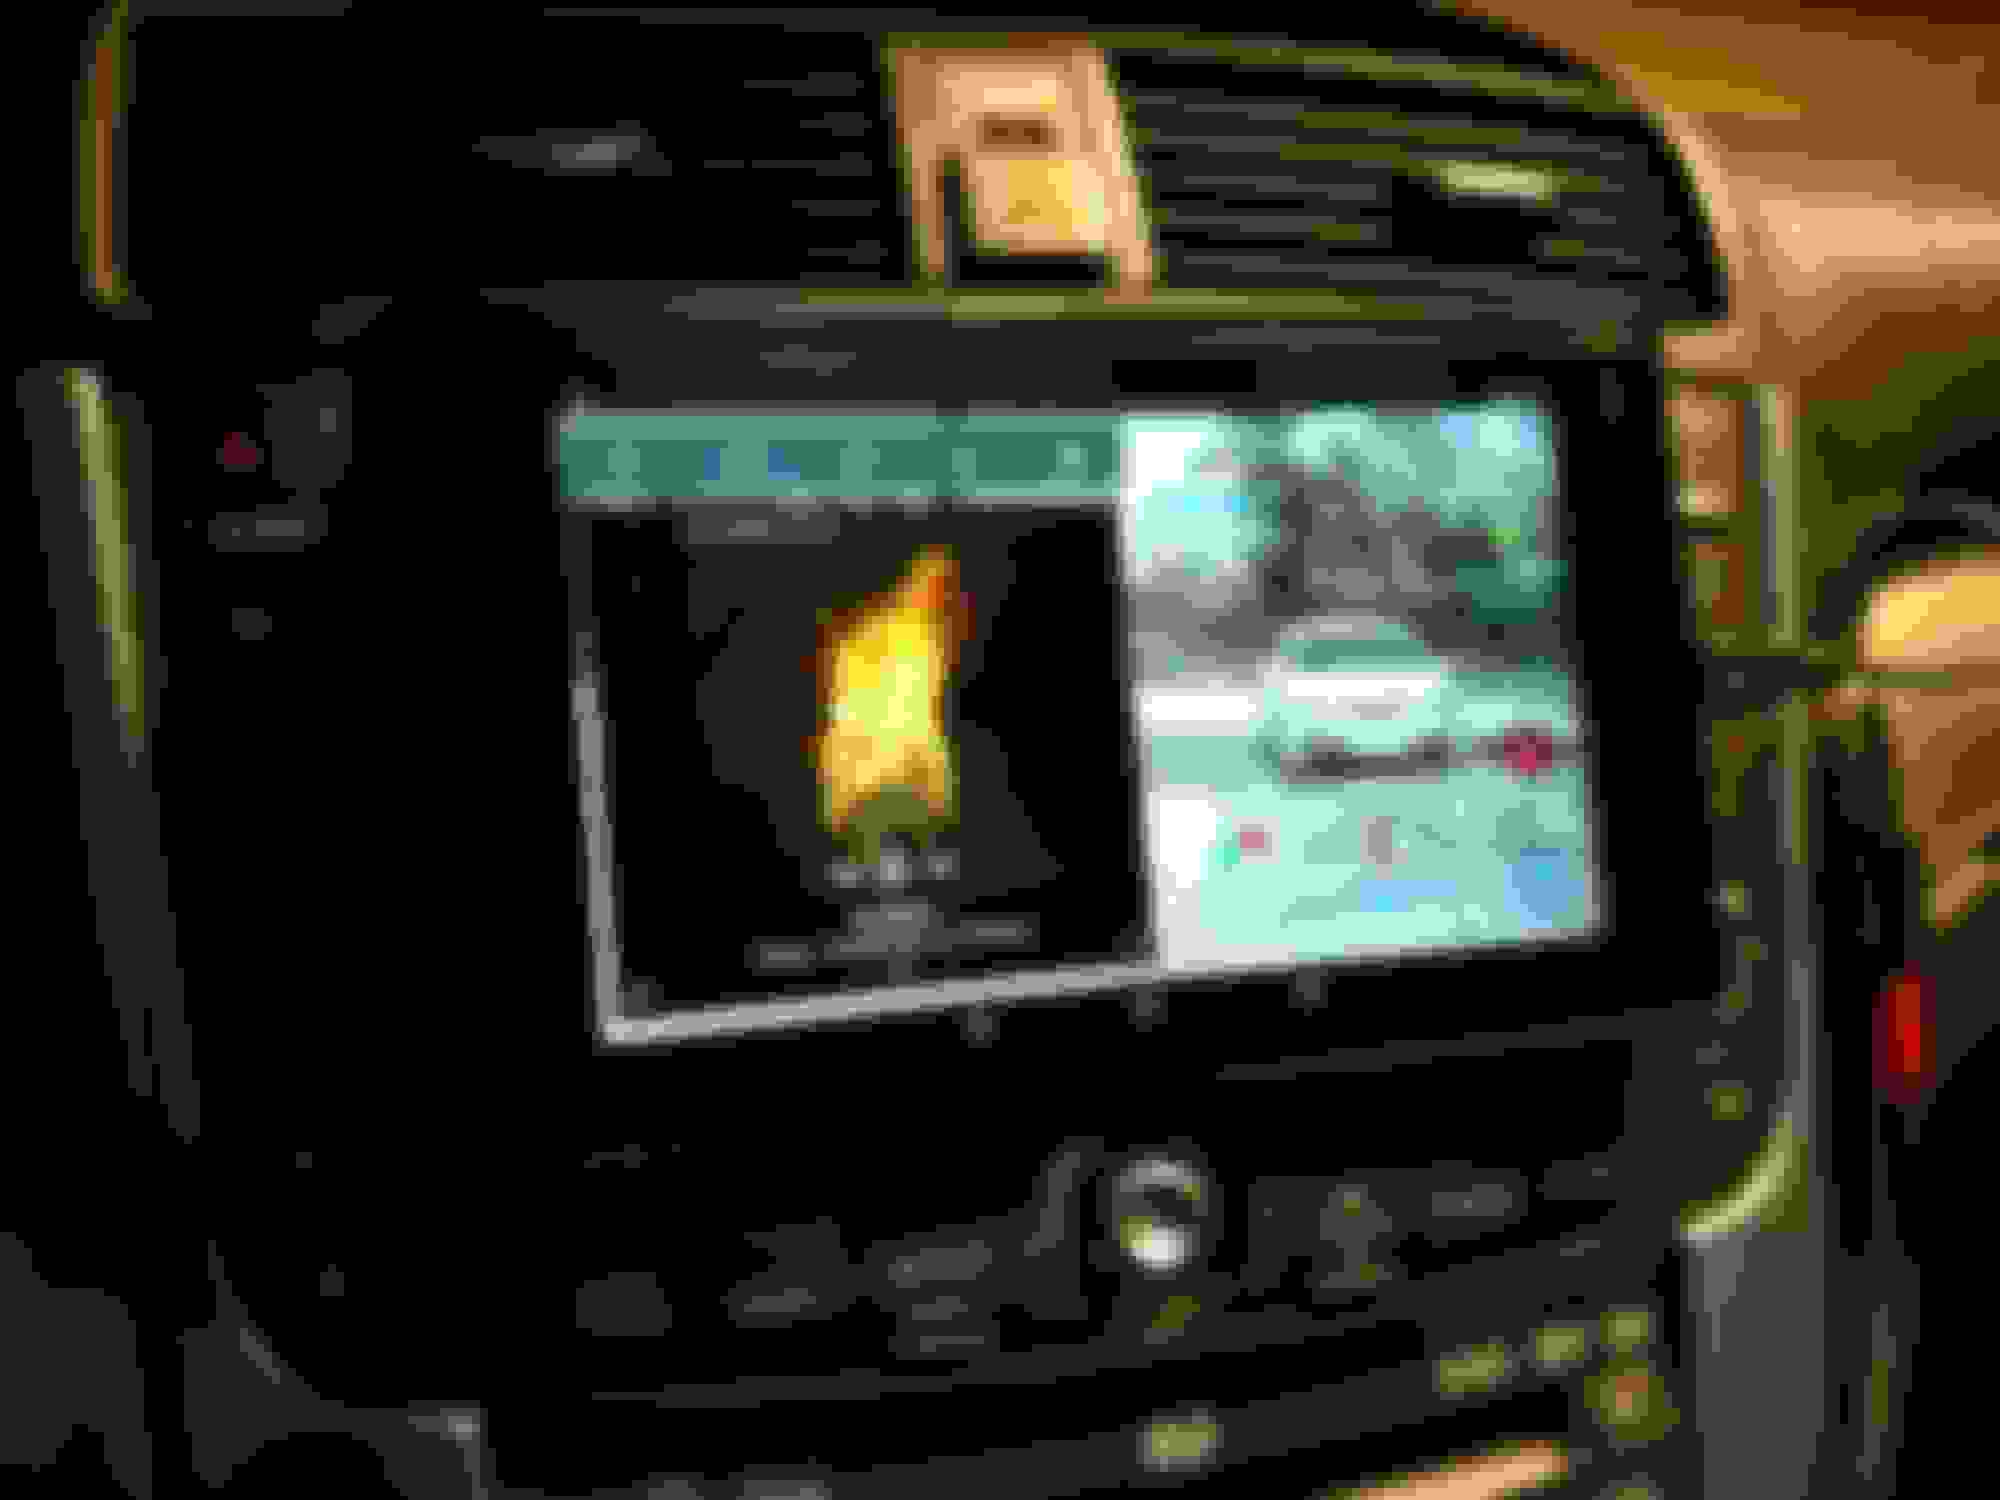
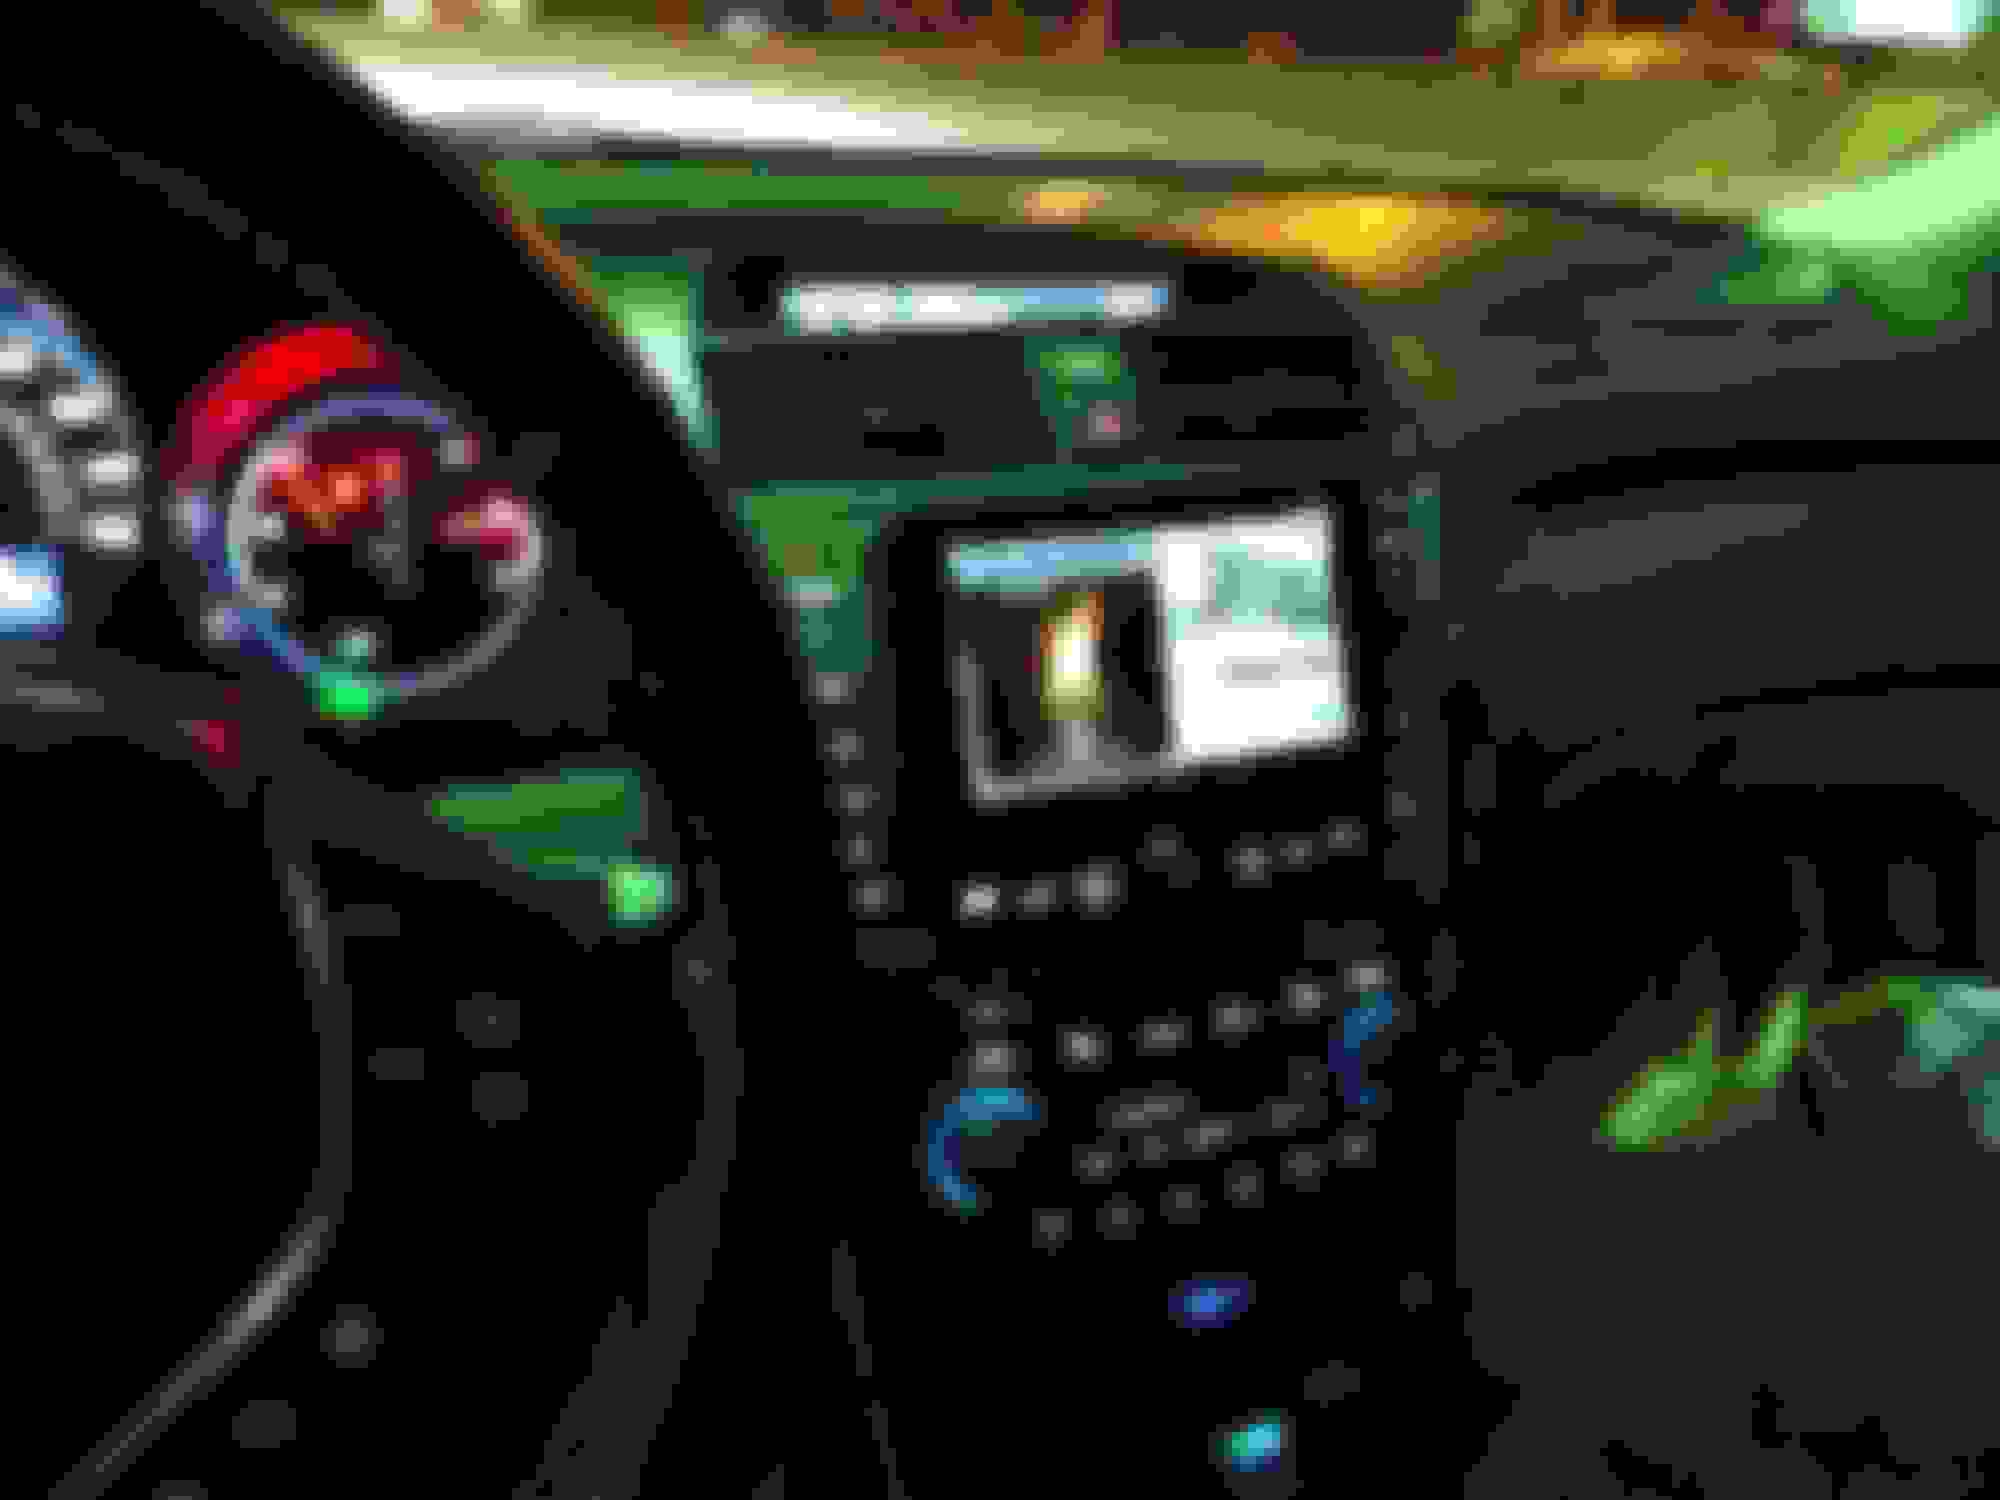
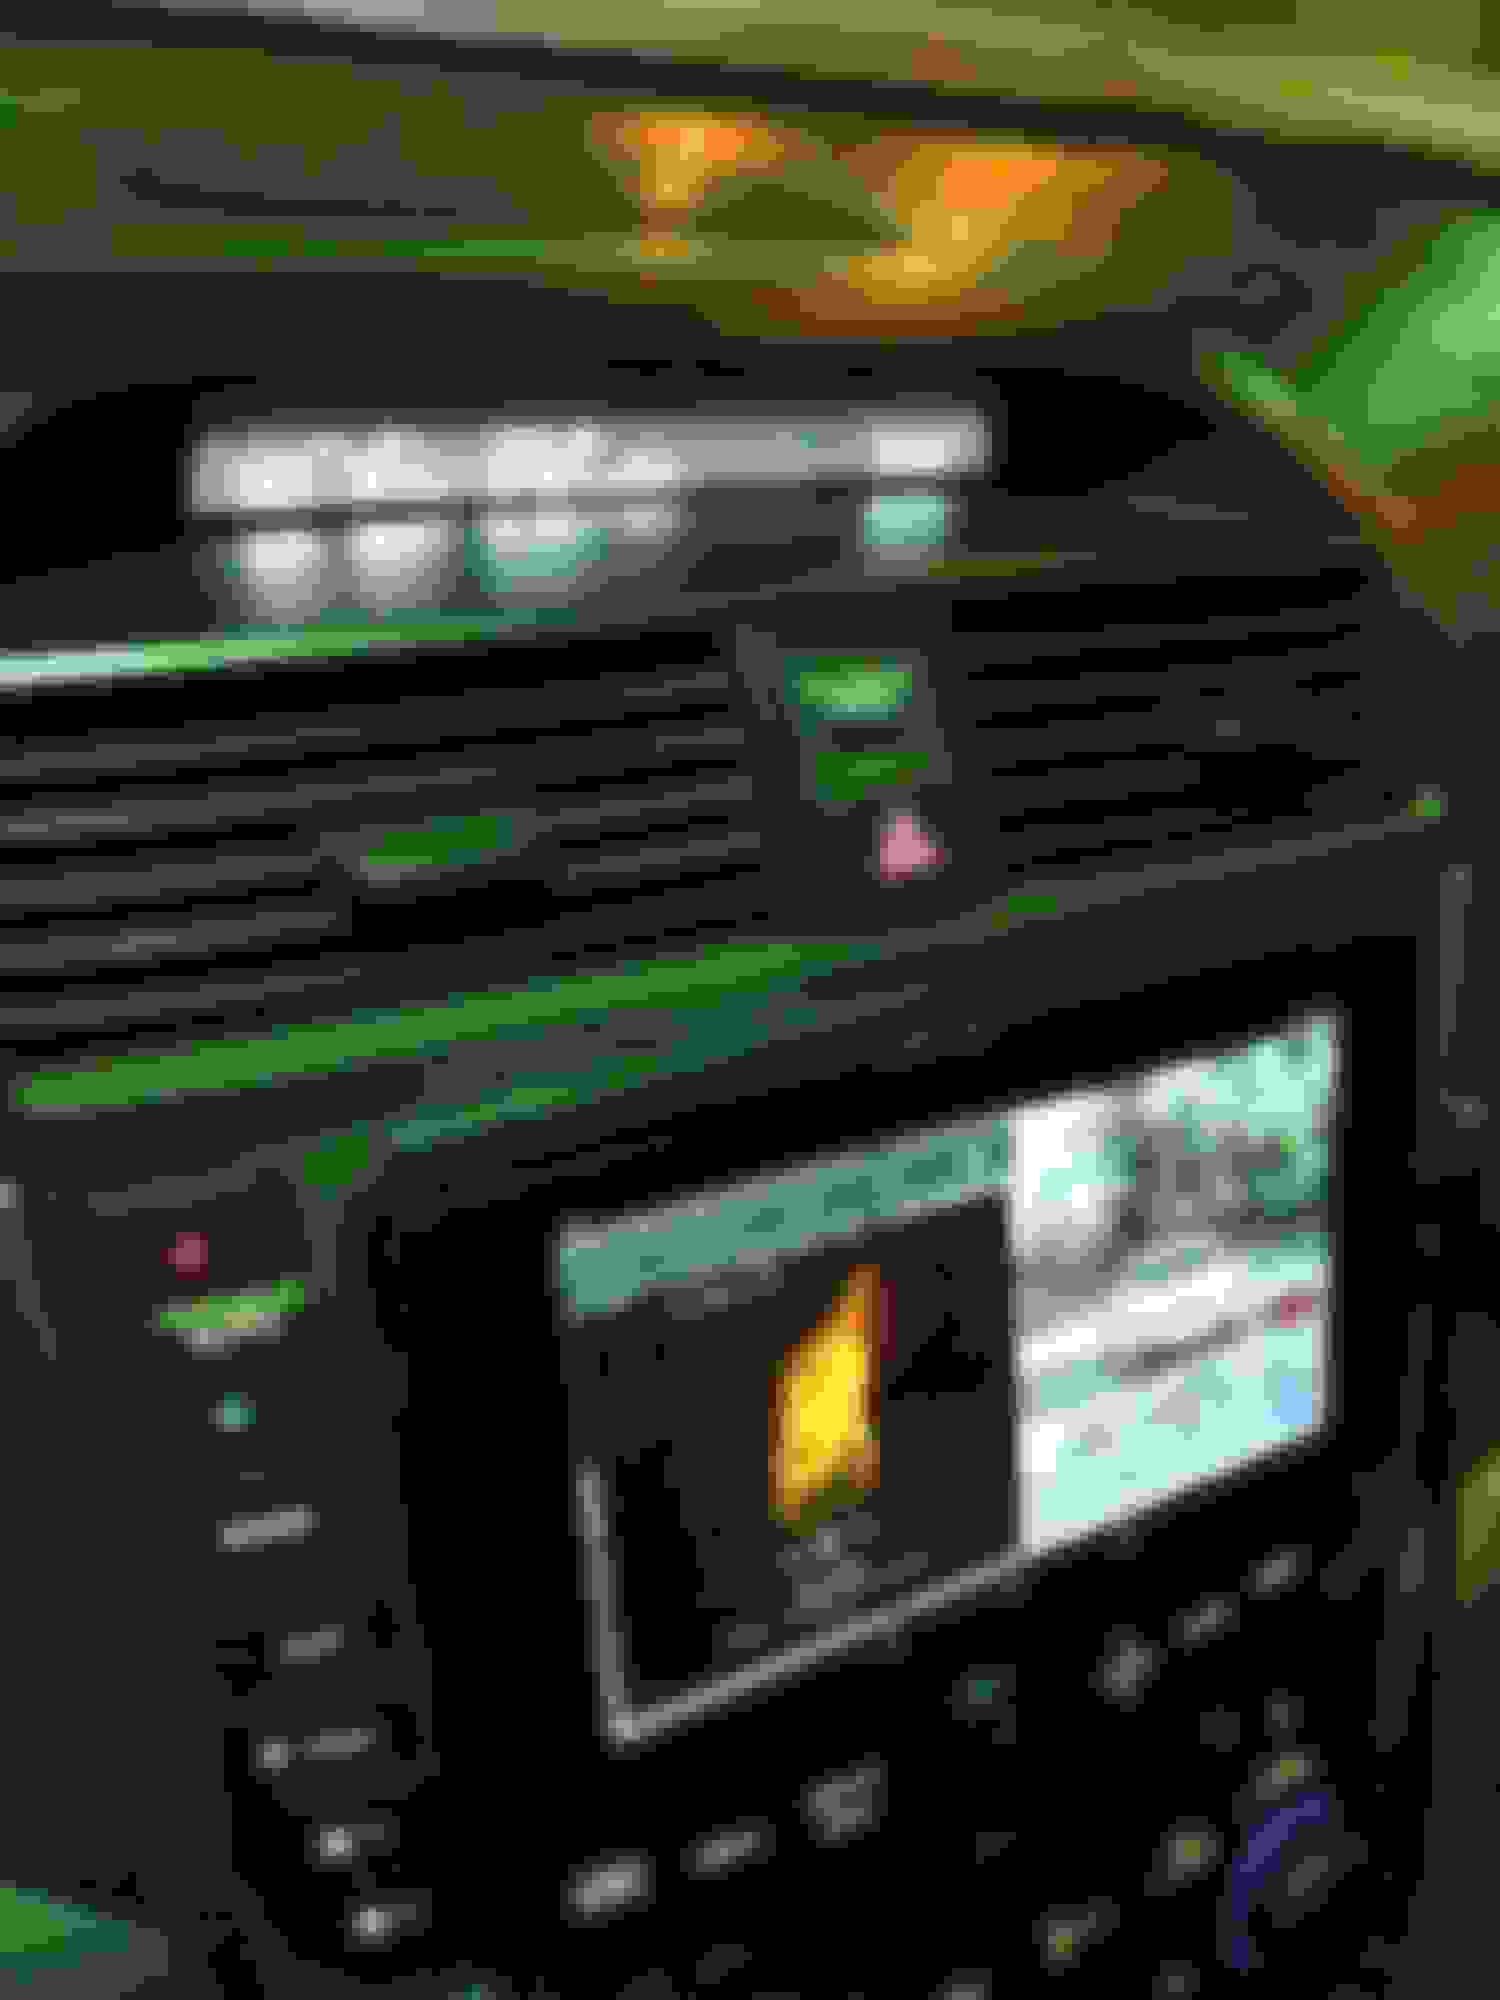
Since there are a lot of software settings to figure out and adjustments to make, I decided to do a temporary mount in front of the navigation screen so I could do some in-car debugging, while still having the option to pull it out quickly if it was necessary to do any kind of major overhaul. The downside to this idea is that it's so convenient that I'm less motivated to take apart the dash to permanently mount it lol. The tablet can still be set up to turn on and off with key on/off, but it can also be unplugged and removed from the car in a matter of 3 seconds. So for those of you who were considering the tablet install but were afraid of being fully committed, I feel this is a pretty solid solution to at least see if the setup is right for you.
that setup is totally what I would do, lol just mount it over the top of it fuck it
I still use the damn tape player bro, I feel ancient lol
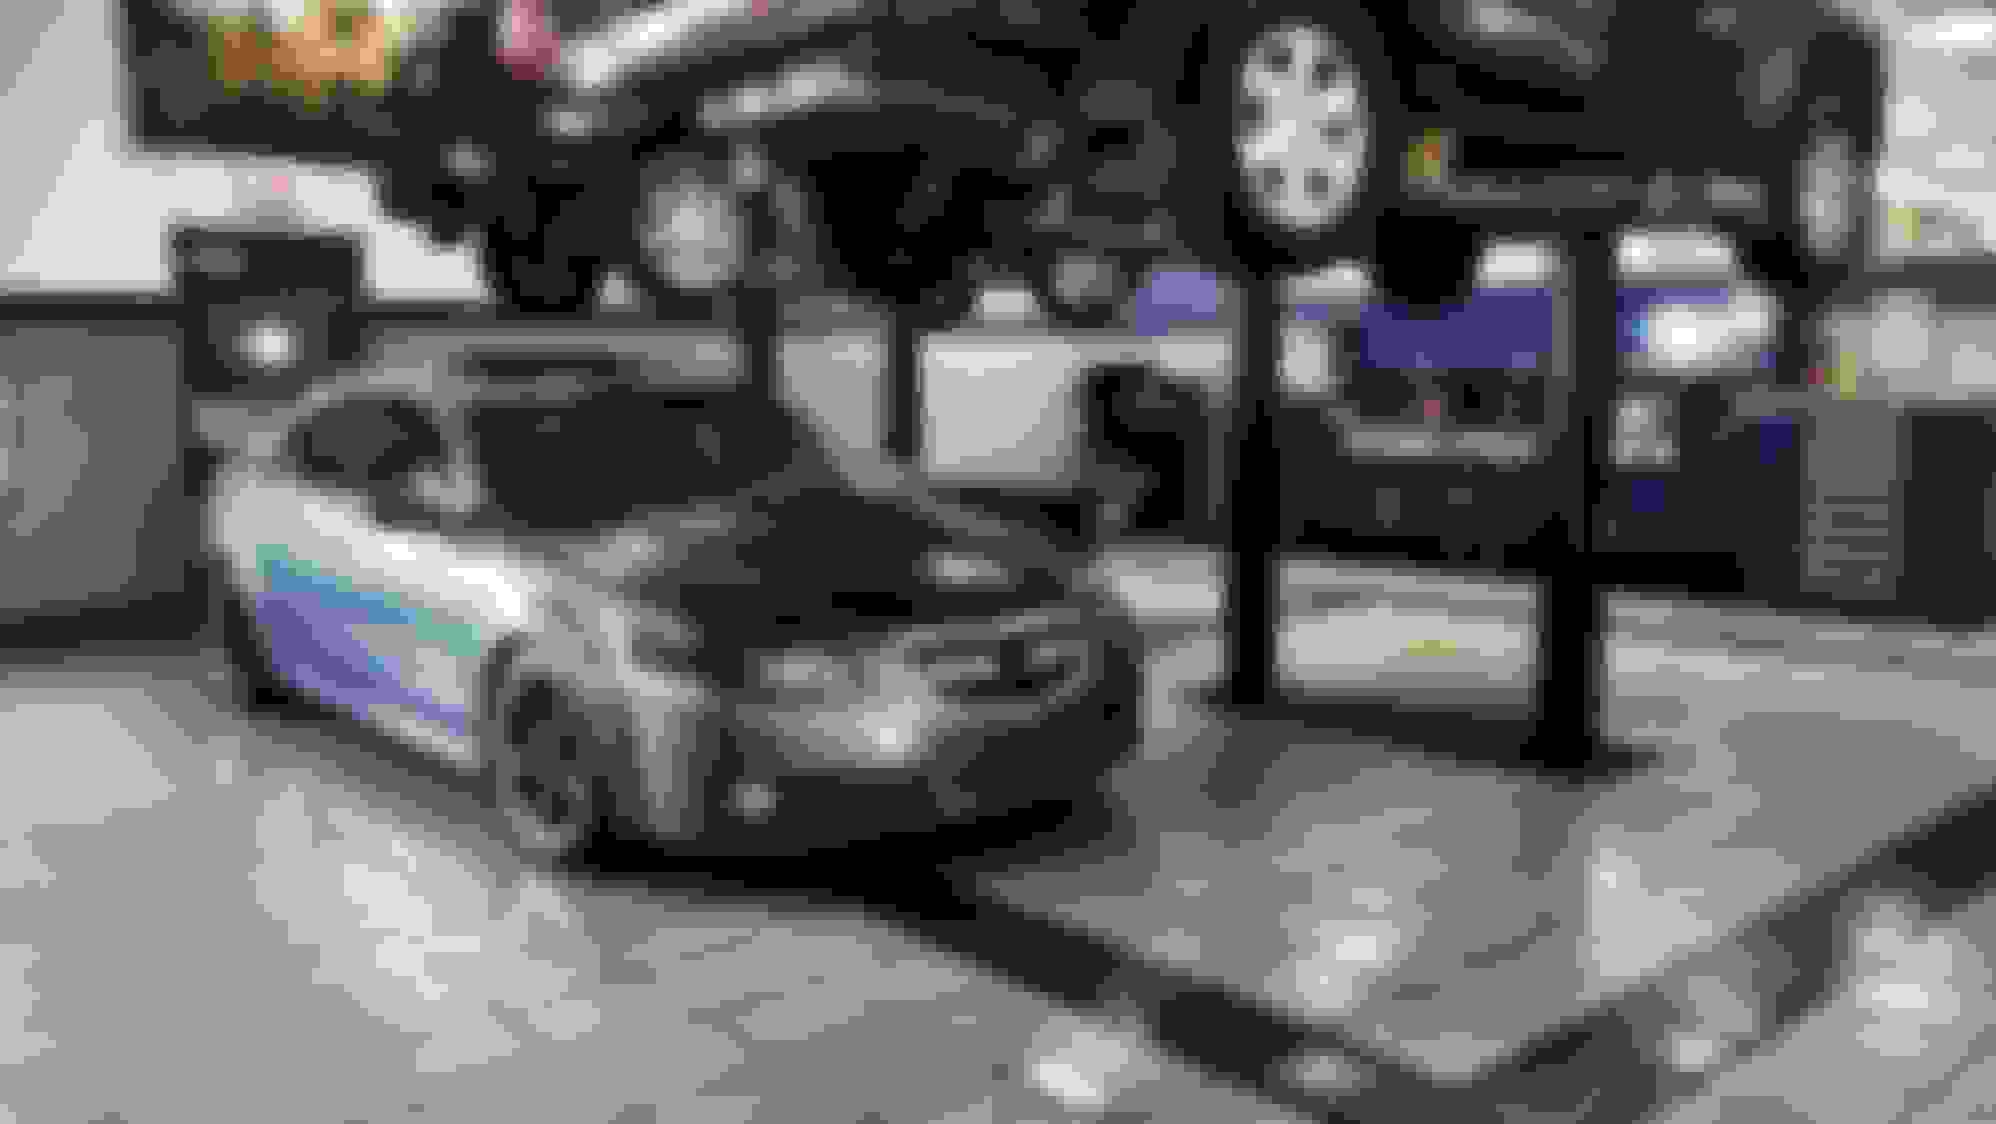
Looks good though man I like that pic of the car under the lift with the 2 cars over it
Do you work at a dealership?
Lol, yep, using cassettes makes you ancient. But that's ok, because now you can have your cake and eat it too - this setup allows you keep all your OEM audio system features, including CDs, AM/FM, XM, and even cassettes for you old farts.
I used to work at a dealership, I was a mechanic for about six years, but I quit a couple of months ago. It was a great dealership to work at - one of the top Hondas in the country - but it's not a great field to work in if you're considerate and honest to a fault like I am. Kind of like the "Fast, Reliable, Cheap - pick only two" phrase, but it's "Honest, Well-paid, Mechanic - pick only two" lol. Overall, I loved the dealership but hated the career - so I have a lot of bad things to say but it's all directed toward the industry, not the shop or the people I worked with.

 04-20-2015, 10:16 PM


 , but then next in line really has to be the springs or coilovers.


 fuck it