When you click on links to various merchants on this site and make a purchase, this can result in this site earning a commission. Affiliate programs and affiliations include, but are not limited to, the eBay Partner Network.
Alright brain trust, I need some help. I'm looking for some precut clear vinyl to apply to the rear hatch seal (topside of the rear bumper) to prevent scratches, etc. I don't like the look of the brushed option from Acura.
So here's my quetion, Lamin-X specs the 17 differently from the 14-16. Are the bumpers different? I didn't think they were.
Attach a message to your order and state the Make/Model/Year and he'll get you taken care of. $18...hopefully I'm getting more than what I've paid for.
I just did this. Because of the fold. Heat gun or hair dryer is needed. If someone can help you hold then heat while you push the water out. Not easy. I'll post pics when I get home
Hope the pics are not too big. But if you watch the youtube video, I did it like that... it comes with a small squeegee, if you have a bigger one, might be easier, you really need to squeeze out all the water. The issue is the third fold, trying to get it to stick, it keeps lifting the second fold.
I think the biggest issue is you're not suppose to install this in cold weather, I did this outside in the 40s.. might be easier when its warmer. Also I think in their video, they used a steamer, I didn't have one but it said heat gun or hair dryer..
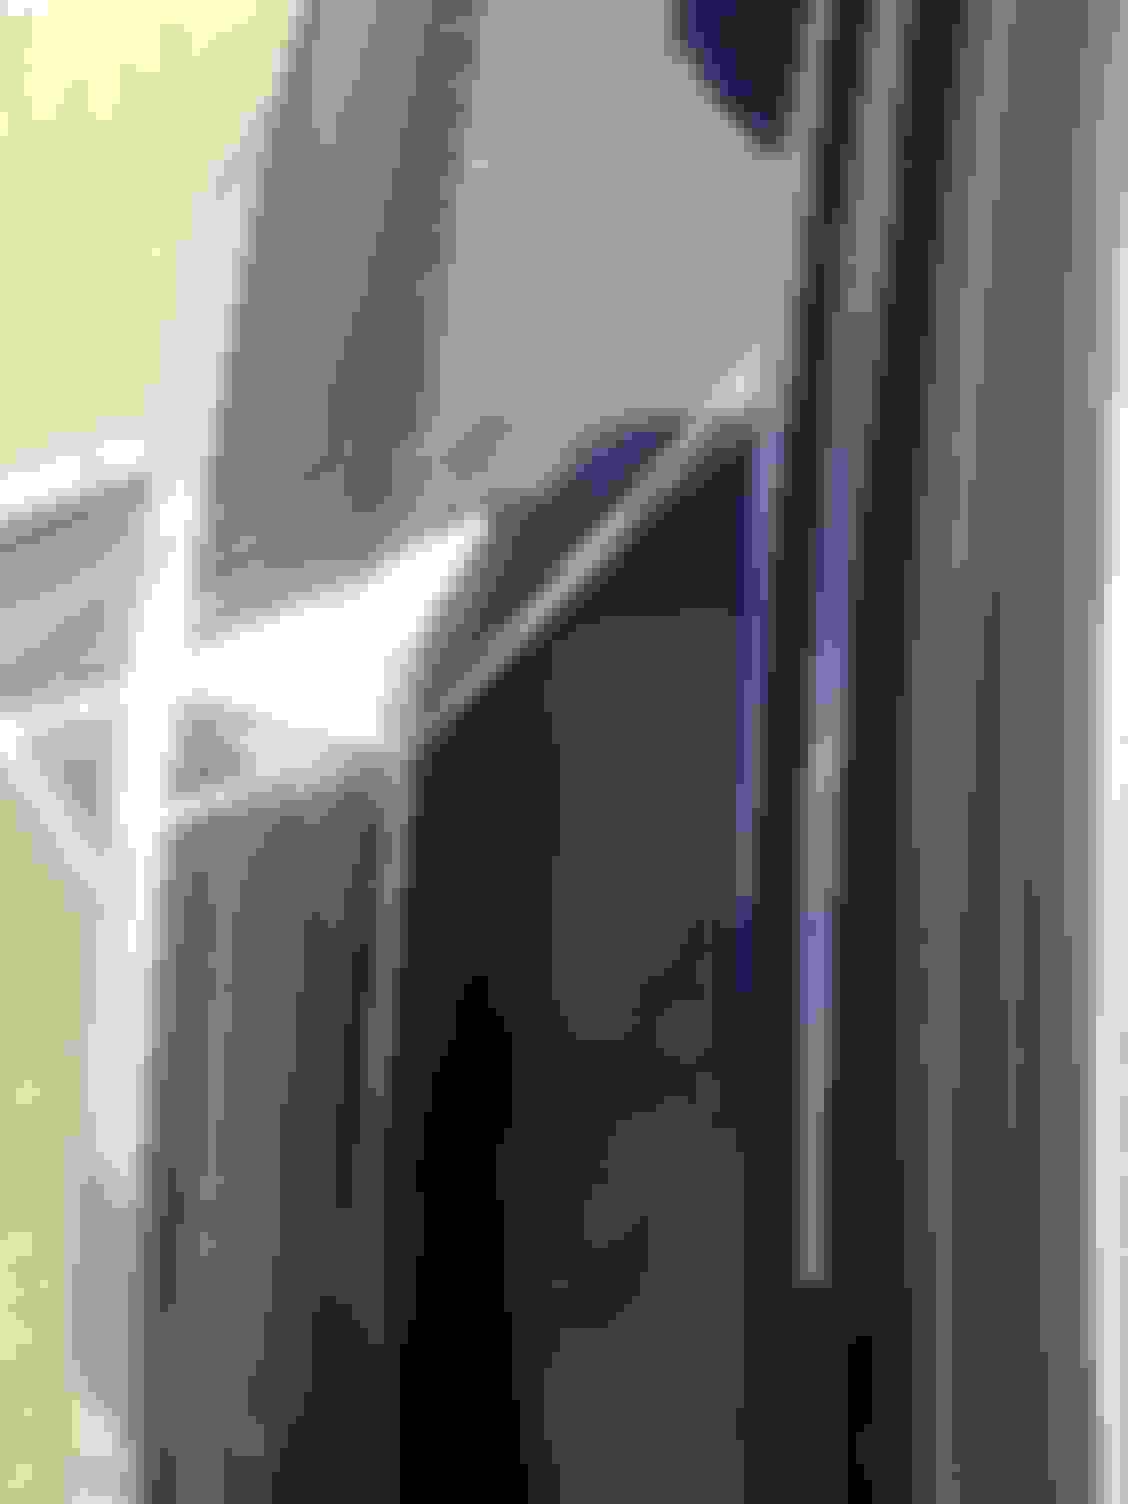
Dirty bumper... get a nice wash and use alcohol to clean any wax/etc off it the lexen rear bumper deck Close up of the film, its got a protected film on top of the actual film. You'll peel it when you finish Test fit Used hair dryer to get it to fold Did the left side first and spray the solution as I needed. After its done I peel the top protected layer Rinse the area, hard to see that it was installed
Did this today. Took about an hour. I did move mine up a bit from the pics above to cover the first small step up from the large flat area on the bumper. It still covers the lower bend as well. Patience is the key. Use heat wisely as it helps mold the material to the bends. For $18 I'm happy with it.
I'm happy to report that this little addition seems to be holding up just fine. I was worried that I hadn't gotten all of the water out and I did in fact miss a few small spots as it began to rain just as I working the rest of the small spots out. However, with all of the recent warm weather we've had the small spots have disappeared.
I did mine in the freezing cold... I also did the front.. my front bubbles gone out, the rear bumper had some issues... for 20 bucks i might redo it or buy a bigger wrap and do the entire bumper
There are two smallllllllll imperfections in mine, but the wife couldn't see 'em so I think it's just me that knows they exist. If I were to redo the rear bumper then I'd go top down. I did the large flat portion first and pushing the water up wasn't easy...worked, but not quickly. I'd start on the upper most small ledge first and work with gravity. Live and learn!
 02-07-2017, 09:01 AM