Type II...
 11-24-2009, 09:33 AM
#41

Car feels little quicker to me all the time. BUT its more fun at 5K. I keep it in D3 in city all the time, shift into D4 if needed/40+MPH. Car sounds totally different than before.
 11-24-2009, 01:10 PM
#42
大日本帝国
This is the diagram for a TL intake manifold. I need gaskets 2, 3, 5, 7, and 9?

This is the TL EGR valve. I need 2, 6, 8 (2 of them), and 9?

This is the Legend Fuel Injector diagram. I need 4 (6 of them)? They're called injector insulators. There were some stuck in the Type II IM, one was hard, I'm assuming that's the seal ring (#2 in the diagram), and the other was squishy, I'm assuming that is the insulator (#4)? Can you confirm?

Which one is the air suction pipe? I didn't see it in any of the TL or Legend diagrams.
Thanks Ken!
This is the TL EGR valve. I need 2, 6, 8 (2 of them), and 9?
This is the Legend Fuel Injector diagram. I need 4 (6 of them)? They're called injector insulators. There were some stuck in the Type II IM, one was hard, I'm assuming that's the seal ring (#2 in the diagram), and the other was squishy, I'm assuming that is the insulator (#4)? Can you confirm?
Which one is the air suction pipe? I didn't see it in any of the TL or Legend diagrams.
Thanks Ken!
~Cheers~
11-24-2009, 04:20 PM
#43
Three Wheelin'
Join Date: Dec 2004
Location: The Hella part of Cali
Age: 33
Posts: 1,896
Likes: 0
Received 2 Likes
on
2 Posts
When you cleaned the intake ports did you just let all that crap fall into the runner? I'm guessing it gets burned up one way or another?
This is the diagram for a TL intake manifold. I need gaskets 2, 3, 5, 7, and 9?
http://www.acuraoemparts.com/delray/...sw50_e0301.gif
This is the TL EGR valve. I need 2, 6, 8 (2 of them), and 9?
http://www.acuraoemparts.com/delray/...sw50_e0410.gif
This is the Legend Fuel Injector diagram. I need 4 (6 of them)? They're called injector insulators. There were some stuck in the Type II IM, one was hard, I'm assuming that's the seal ring (#2 in the diagram), and the other was squishy, I'm assuming that is the insulator (#4)? Can you confirm?
http://www.acuraoemparts.com/delray/...sp00_e0301.gif
Which one is the air suction pipe? I didn't see it in any of the TL or Legend diagrams.
Thanks Ken!
for the first picture, you might also need the gasket that goes in between the throttle body and the intake manifold.
In the second picture, you don't need 9, just don't remove it. It can be cleaned when the pipe and EGR valve itself comes off.
For the third picture, yea, they're insulators. The part that sits at the bottom of the stack is the hard one, the one right above is about the same size and squishy. The hard one is what the TL does not have from factory. You really don't need to buy new hard insulators if you got all 6 of them came with the legend manifold.
Forget the air suction pipe. luckily, TLs don't have them.
11-24-2009, 04:26 PM
#44
Three Wheelin'
Join Date: Dec 2004
Location: The Hella part of Cali
Age: 33
Posts: 1,896
Likes: 0
Received 2 Likes
on
2 Posts
and cleaning out the intake manifold itself when it's off the car, I use a wire brush from home depot and shoved it onto my drill and go at the intake manifold. The lower sections don't require much more than a git of scraping with a razor blade and such will remove everything. The top section is a bit harder, its where the drill came in handy. When I cleaned an intake manifold out, I took like 3 days once. lol it was spotless. For the egr pipe, fill it with carb cleaner and use a wire coat hanger and poke at it for a while until everything comes out clean.
11-24-2009, 05:04 PM
#45
For the third picture, yea, they're insulators. The part that sits at the bottom of the stack is the hard one, the one right above is about the same size and squishy. The hard one is what the TL does not have from factory. You really don't need to buy new hard insulators if you got all 6 of them came with the legend manifold.
11-24-2009, 06:24 PM
#47
大日本帝国
11-24-2009, 08:44 PM
#48
Three Wheelin'
Join Date: Dec 2004
Location: The Hella part of Cali
Age: 33
Posts: 1,896
Likes: 0
Received 2 Likes
on
2 Posts
that's #9 in the pic or do you mean the vertical gasket that should go near where #16 is?
I only got one seal ring and 4 insulators with the manifold. Going to order 6 new seal rings, 6 new o-rings, and 6 new cushion rings and 2 more insulators, almost $50 in rings alone!
I only got one seal ring and 4 insulators with the manifold. Going to order 6 new seal rings, 6 new o-rings, and 6 new cushion rings and 2 more insulators, almost $50 in rings alone!
Yea, those ring's aren't cheap, but then again, they're very important.


 12-03-2009, 08:26 PM
#60
i got the rest of the misc gaskets and o-rings today (thanks for the main gaskets ken!). bought some carb cleaner and coolant and gonna get started tomorrow!
do you know how much coolant you lost when you swapped IMs? i've never bled the coolant before so i'll be learning as i go. any other tips before i got tearing into my car? are you sure about just putting on the gaskets dry?
do you know how much coolant you lost when you swapped IMs? i've never bled the coolant before so i'll be learning as i go. any other tips before i got tearing into my car? are you sure about just putting on the gaskets dry?
12-03-2009, 08:51 PM
#61
Three Wheelin'
Join Date: Dec 2004
Location: The Hella part of Cali
Age: 33
Posts: 1,896
Likes: 0
Received 2 Likes
on
2 Posts
i got the rest of the misc gaskets and o-rings today (thanks for the main gaskets ken!). bought some carb cleaner and coolant and gonna get started tomorrow!
do you know how much coolant you lost when you swapped IMs? i've never bled the coolant before so i'll be learning as i go. any other tips before i got tearing into my car? are you sure about just putting on the gaskets dry?
do you know how much coolant you lost when you swapped IMs? i've never bled the coolant before so i'll be learning as i go. any other tips before i got tearing into my car? are you sure about just putting on the gaskets dry?
Here are the instructions for bleeding coolant: http://www.acura-legend.com/vbulletin/883766-post7.html
12-03-2009, 11:46 PM
#62
an intake air temp sensor came attached to my IM. i couldn't get it off without stripping the screw heads so i left it on while i was cleaning it. i tried to keep it relatively dry but it did get wet at times. do you think it is still good? it seems fairly robust. i've never heard of air temp sensors going bad...
keep it or slot the heads and swap it out with the TL IAT sensor?
keep it or slot the heads and swap it out with the TL IAT sensor?
12-04-2009, 10:20 AM
#63
Three Wheelin'
Join Date: Dec 2004
Location: The Hella part of Cali
Age: 33
Posts: 1,896
Likes: 0
Received 2 Likes
on
2 Posts
it doesn't really matter. I used a set of vice grips to remove the screws because i wanted to clean it out better, but either way is fine. The screws came out fine btw, I was able to reuse them.
12-04-2009, 03:24 PM
#64
any tips on removing those small ass vacuum hoses without destroying them? can't really twist them off, they're too close to one another. there's two in the back of the IM and 2 in front near the front of the IM...
its taken me more time to get all the connector unplugged and hoses off than anything else...
its taken me more time to get all the connector unplugged and hoses off than anything else...
12-04-2009, 05:23 PM
#66
ok everything is unbolted and the IM is loose. now i got to figure out how the hell to lift it straight up by myself and keep wires and hose out of the way at the same time...took me about 5 hrs to get to this point...i'm slow...
12-04-2009, 06:07 PM
#67
nm, got the IM out, just had to straddle the engine bay and pull straight up...
the egr pipe was pretty clean, intake passages not too bad either, pics will be up after i clean the plenums...
the egr pipe was pretty clean, intake passages not too bad either, pics will be up after i clean the plenums...
 12-05-2009, 11:27 PM
#69
finished cleaning the IM, bolted it up and dropped it back in when i realized i left the rags in the intake passages 
pulled it back out, yanked out the rags and reinstalled as much as i could before i ran out of light. it is a HUGE pain in the ass to reinstall the EGR pipe. i forgot to get an air suction gasket so i had to reuse the old one. just have to reinstall the intake and bleed the coolant and should be good to go. also did the throttle body coolant bypass mod.
while i was at it, i also wasted a bunch of time try to get the legend strut bar to fit but i could not install it in time. tmnhs81, how did you install your bar, it looks like you used the stock holes in the mounting brackets...did you have to do any drilling?
12-05-2009, 11:53 PM
#70
Holes are already in the firewall and I didn't drill any holes in the brackets. I had to relocate all the brackets to hold the vacuum lines a little to the right and use those holes to hold brackets for the bar.
12-06-2009, 12:02 AM
#71
i tried that but the mounting bracket didn't meet the strut bar mount, they were close but not close enough. i'll give it another try tomorrow and see what happens.
12-06-2009, 12:05 AM
#72
Here. look at the third pic if that gives an idea where to put the mounting bracket at...
https://acurazine.com/forums/1g-tl-photograph-gallery-102/some-dirty-ones-707157/
Oh and make sure you relocate that sensor that gets in the way, if you don't and it keeps hitting the bar it will annoy the crap outa you...
https://acurazine.com/forums/1g-tl-photograph-gallery-102/some-dirty-ones-707157/
Oh and make sure you relocate that sensor that gets in the way, if you don't and it keeps hitting the bar it will annoy the crap outa you...
Last edited by tmnhs81; 12-06-2009 at 12:07 AM.

 12-06-2009, 02:04 AM
#75
Last tank was worst so far in two years of my ownership I guess. 15 fuckin' MPG's... but it was fun though, just gotta be careful. My sis drives this car mostly, so she doesn't push it to the limit..
 12-06-2009, 12:27 PM
#78
12-06-2009, 09:44 PM
#80
as soon as i got to about 3000 rpms, i got a CEL, p0330. got on it again and got another CEL, p0325. apparently both of my knock sensors went out. very common problem on the legend forums if you changed your head gasket or swapped IMs. apparently the sensors and or wiring gets very fragile from the hot and cold cycles. i knew that going in and was very careful not to touch the sensors when i took the IM out but when i just looked at the wiring harness holder, it just about crumbled in my fingers. the wiring harness is about $57, the harness holder is about $26 and the sensors are about $123 each. i couldn't believe i had to change them out and take the IM out AGAIN. not something i was looking forward to do in addition to shelling out over $300 just for the parts.
i couldn't believe both sensors went out at the same time since i didn't even touch them so i was blaming it on the crumbling wiring harness. i went back out to the car just to check it out where the knock sensor plug was and it turned out i never plugged it in all the way! it was just sitting onto of the other end and i clicked it in. cleared the CELs with my handy scan gauge and all was good.
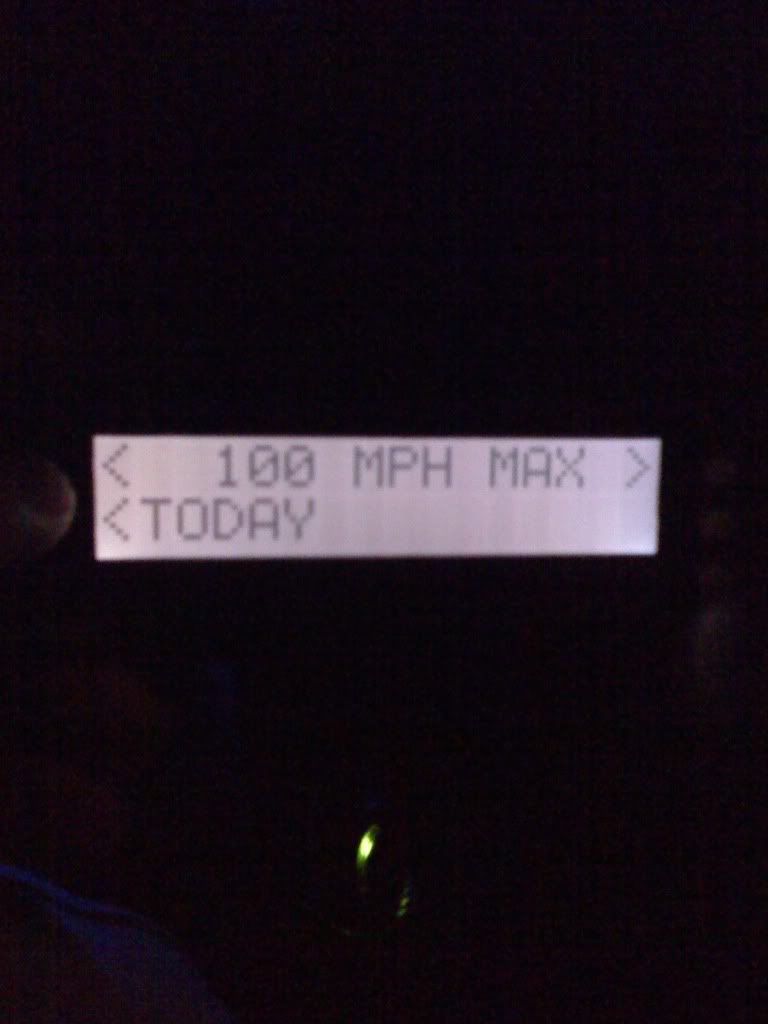
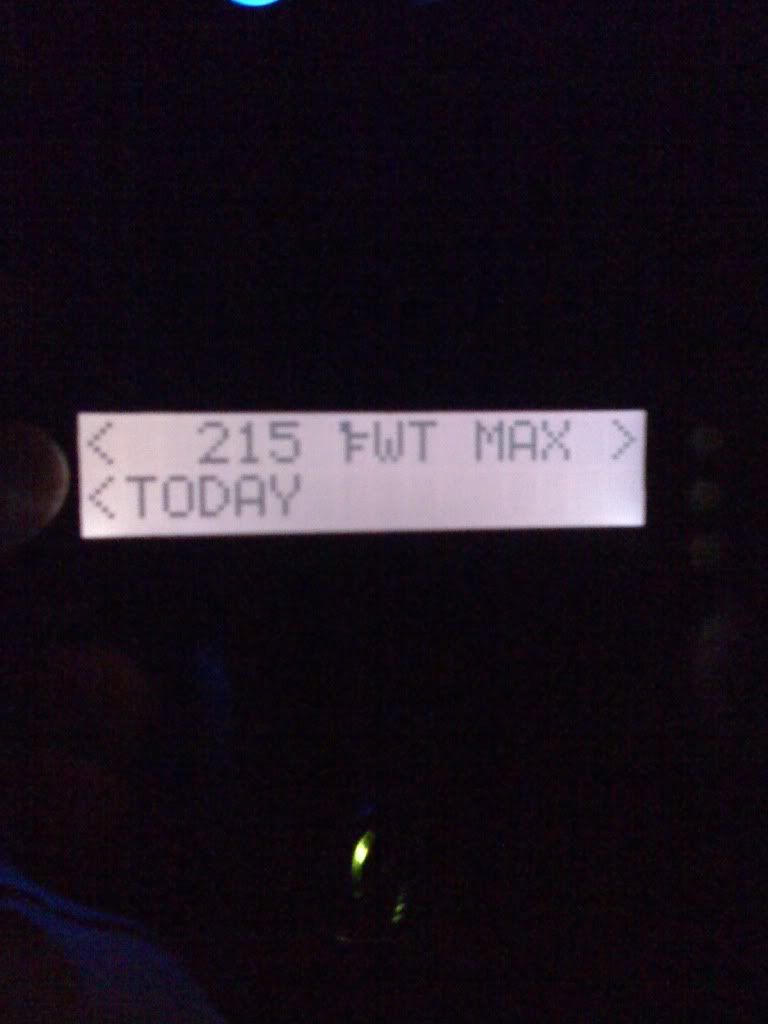
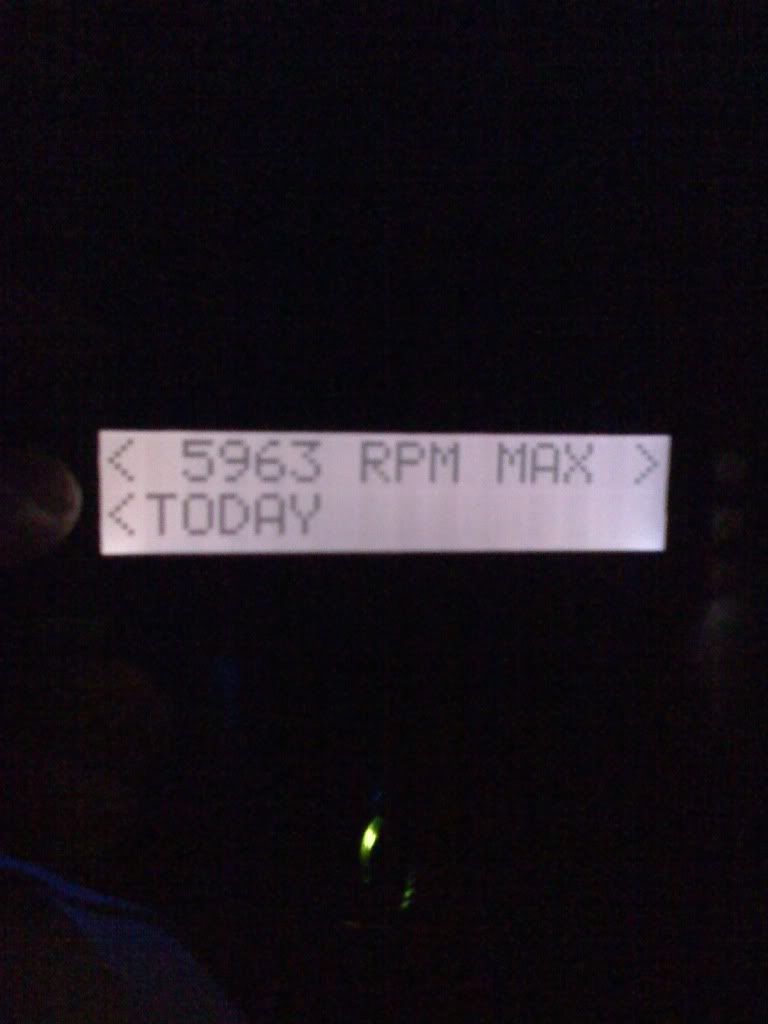
i only go the car up to 5000 rpms once just to make sure the CEL didn't come back. it drives fine, feels smoother but can't really tell any other difference so far. i'll let you guys know more when it stops raining.
uploading pics now...