Type II...
 11-16-2009, 02:48 PM
#1


I got one and its already in my car...

Big thanks to Ken (desired_speeds) who did all the work from taking everything out to putting Type II in. Didn't take any pics yet but will post some as soon as I get home. (typing this from work.) Pics coming soon..
Sounds incredible, took my friend for a spin and he was surprised how it pulls at higher RPM's now..
On my way back home last night I rolled the windows down in the tunnel and punched the gas, what an awesome sound it makes now and definately feel the power at higher RPM. Now just waiting for the civic Short RAM to finish CAI..
 11-16-2009, 03:04 PM
#2
Senior Moderator
Join Date: May 2003
Location: Better Neighborhood, Arizona
Posts: 45,634
Received 2,328 Likes
on
1,308 Posts
Welcome to the Club!
11-16-2009, 03:52 PM
#4
^yea, I forgot that word at the moment when I was typing that... So yeah Arthur being the one who arranged everything, I just drove my car there and let them do it.. and He drove his car to get the pizza... I liked that pizza..
 11-16-2009, 04:34 PM
#7
Three Wheelin'
Join Date: Dec 2004
Location: The Hella part of Cali
Age: 33
Posts: 1,896
Likes: 0
Received 2 Likes
on
2 Posts
ohh yah, run maybe 1/3 - 1/2 can of seafoam in there and change out the plugs. Throw the rest of the can into the gas tank, those injectors were pretty dirty.
Last edited by desired_speeds; 11-16-2009 at 04:37 PM.
Trending Topics
 11-17-2009, 04:44 PM
#12
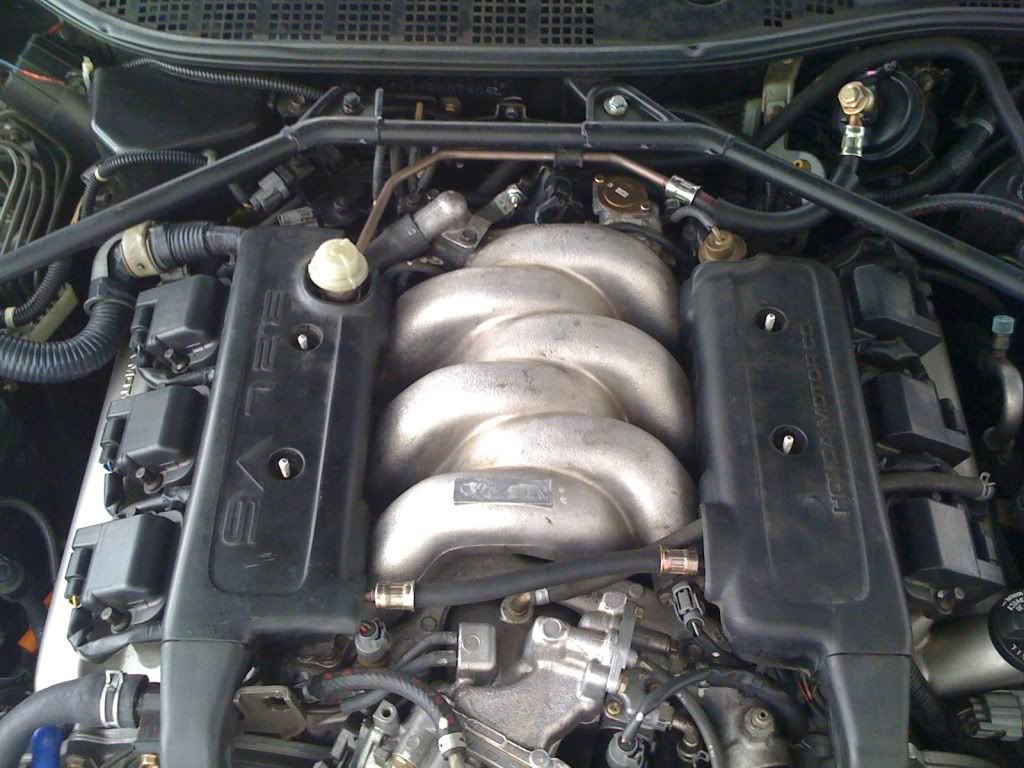
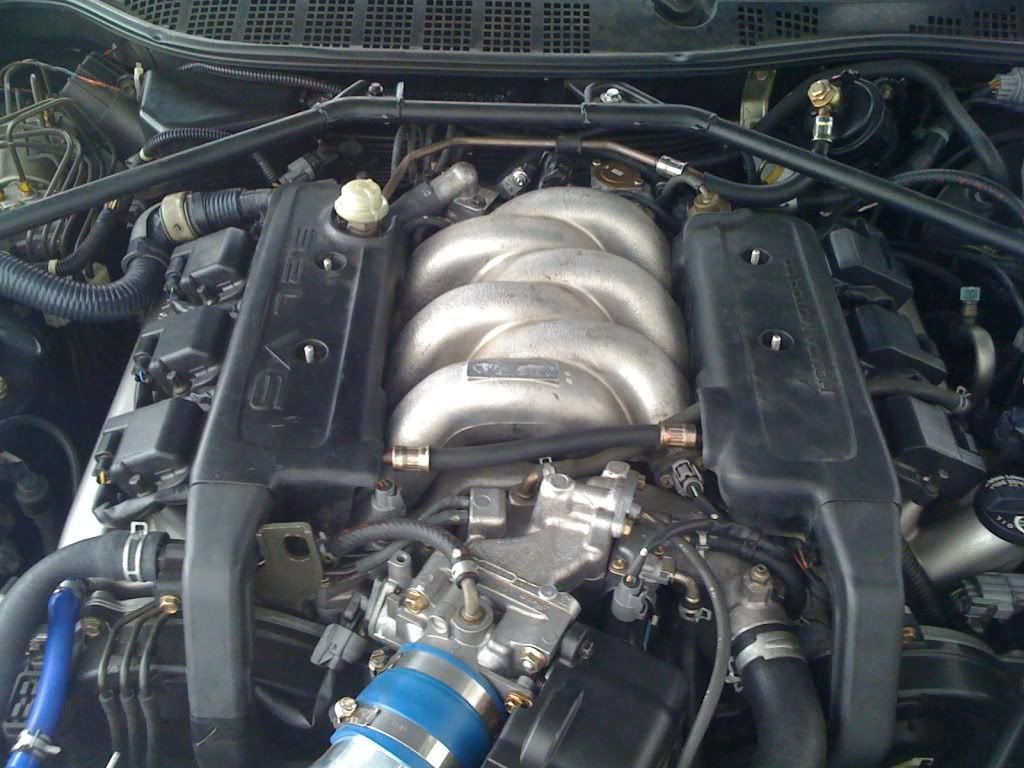
Pics are up...
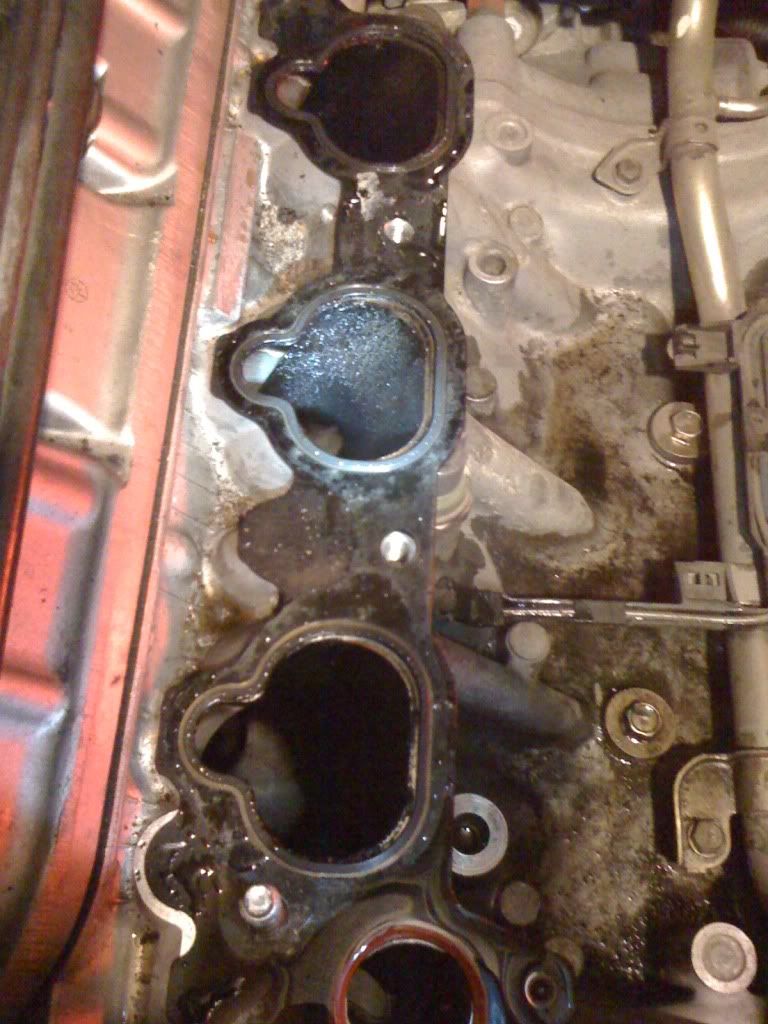
While installing...

.................................................. .................................................. .................................................. ............

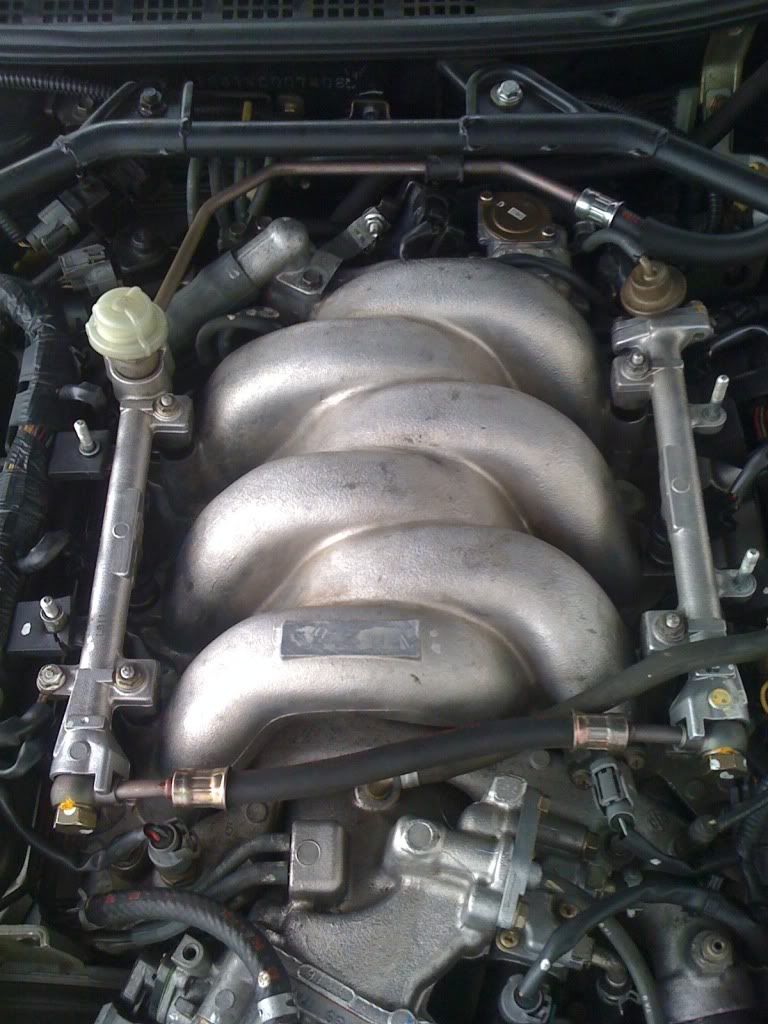
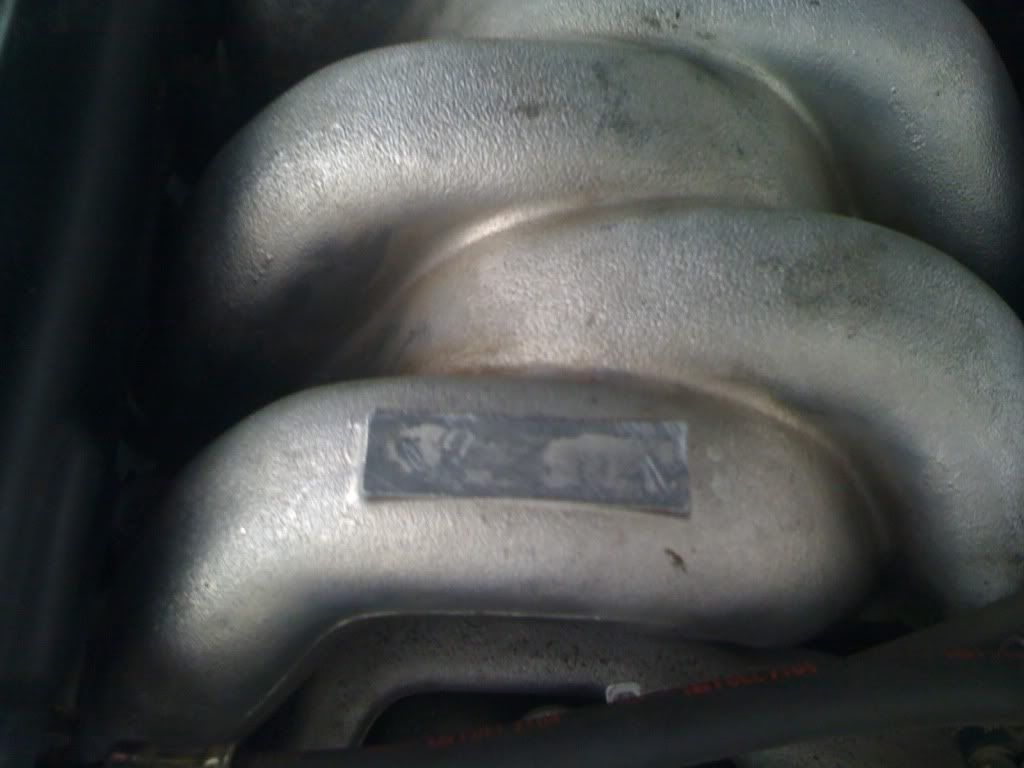
Missing Type II badge. If anyone have one please let me know...
After I put the Legend engine covers on..
While installing...
.................................................. .................................................. .................................................. ............
Missing Type II badge. If anyone have one please let me know...
After I put the Legend engine covers on..
Last edited by tmnhs81; 11-17-2009 at 04:46 PM.
11-17-2009, 06:21 PM
#13

 11-18-2009, 03:31 PM
#18
Instructor
Join Date: May 2009
Age: 33
Posts: 234
Likes: 0
Received 0 Likes
on
0 Posts
Sense I am planing on doing this just a lil tight on money right now. I noticed that you moved some things compared to the old intake mani, there was a lil sensor on the top in the middle of the stock one where did you relocate that sensor or did you just take it off?
11-18-2009, 07:59 PM
#19
Three Wheelin'
Join Date: Dec 2004
Location: The Hella part of Cali
Age: 33
Posts: 1,896
Likes: 0
Received 2 Likes
on
2 Posts
Sense I am planing on doing this just a lil tight on money right now. I noticed that you moved some things compared to the old intake mani, there was a lil sensor on the top in the middle of the stock one where did you relocate that sensor or did you just take it off?
11-18-2009, 10:00 PM
#20
Three Wheelin'
Join Date: Dec 2004
Location: The Hella part of Cali
Age: 33
Posts: 1,896
Likes: 0
Received 2 Likes
on
2 Posts
So here's the deal. When you swap intake manifolds, you have to swap the fuel injectors studs from the TL intake manifold. TL fuel rails will not fit on the legend studs. The legend manifold also needs an additional O-ring used as a spacer for the fuel injectors in the manifold. The TL has this extra spacer casted into the intake manifold from factory. This spacer is the O-ring lowest in the entire stack of fuel injector O-rings when you look in the Legend parts diagram. You SHOULD replace all of the injector O-rings and clean the build up off the injectors while you have everything apart. Do not risk putting old injector O rings back on if they have not been replaced recently because they can easily fall apart causing a fuel leak which could lead to a fire. I would highly recommend reserving a lot of time just for cleaning the intake manifold and intake ports in the heads. I was unfortunately unable to do a great job cleaning out the manifold before installing it onto Tony's car, but his manifold was not very dirty. Also, do not forget to take apart the EGR chamber and clean it out, including the pipe. It's a PITA to do it on the car with everything put back together. The Felpro intake manifold kit did not include a throttle body gasket, EGR camber gasket nor EGR pipe end gaskets. You must buy one of each separate, besides the EGR pipe gaskets which requires two. Felpro makes a throttle body gasket. I'm not sure if they make the EGR camber and pipe gaskets, but I would recommend getting these from the dealer. A gasket for the air suction pipe may also be needed depending on if you unbolted it or not. All 12mm bolts/nuts on the intake manifold should be torqued to 16 ft/lbs while all 10mm bolts/nuts should be torqued to 9 ft/lbs. There is no need to use any sort of silicon or sealant in addition to the paper or plastic gaskets.
11-19-2009, 10:25 AM
#21
Instructor
Join Date: May 2009
Age: 33
Posts: 234
Likes: 0
Received 0 Likes
on
0 Posts
Okay, Yeah i got my intake cleaned at a machine shop so thats all good. but now im starting to second guess doing this. I have no clue really how to Does any1 live near chico ca that could help me out???
11-19-2009, 02:24 PM
#22
Ask Ken if he can help you out but you gotta drive up to teh city... He knows what is he doing and there are few other helping hands too out there... If you guys letme know ahead of time I am down too..
11-19-2009, 02:26 PM
#23
11-20-2009, 10:34 AM
#27
Instructor
Join Date: May 2009
Age: 33
Posts: 234
Likes: 0
Received 0 Likes
on
0 Posts
Yeah that would be nice but i only have one car and work grave yards
11-22-2009, 06:34 PM
#29
 11-23-2009, 10:38 PM
#34
apparently we don't have a pair pipe so it's an even simpler DIY...
just got my type II intake manifold and front strut bar from ken's friend
cleaning the IM now...pics will be up later...
just got my type II intake manifold and front strut bar from ken's friend
cleaning the IM now...pics will be up later...
11-24-2009, 12:08 AM
#36
just cleaning the IM tonight. did as much as i could with some simple green and a toothbrush. i'll get some wire brushes and carb cleaner tomorrow and finish it off. right now i have a million little cuts on my fingers and knuckles from the sharp edges of the IM and simple green BURNS.
11-24-2009, 02:37 AM
#39
This is the diagram for a TL intake manifold. I need gaskets 2, 3, 5, 7, and 9?

This is the TL EGR valve. I need 2, 6, 8 (2 of them), and 9?

This is the Legend Fuel Injector diagram. I need 4 (6 of them)? They're called injector insulators. There were some stuck in the Type II IM, one was hard, I'm assuming that's the seal ring (#2 in the diagram), and the other was squishy, I'm assuming that is the insulator (#4)? Can you confirm?

Which one is the air suction pipe? I didn't see it in any of the TL or Legend diagrams.
Thanks Ken!
