When you click on links to various merchants on this site and make a purchase, this can result in this site earning a commission. Affiliate programs and affiliations include, but are not limited to, the eBay Partner Network.
This repair took me about 3 hours but could have been much faster as I am just a mechanical engineer/backyard mechanic.
I did not have to jack the car up to do this repair, but it may make it easier for you. Always remember to secure your vehicle, you will be applying some force under there and its well worth making sure your vehicle will not come crashing down on your face.
Unfortunately I did not get to take any pictures but I can give a fairly good run down of how to replace the RDX radiator for the 07-09 models.
The radiator I went with came from eBay and I can say the quality is decent. Cost at the time of this posting is about $120 USD New Radiator Acura RDX 2007-2012 AC3010141 19010RWCA52 | eBay
The radiator came in a box with special packing I've never seen before that kinda molds to the radiator and becomes a piece of foam to conform to the box without giving any wiggle room to the rad itself.
This radiator came with all connections already installed (transmission bibs) and what looks to be quality tested because of their markings.
The only things you'll need to transfer over is the rad cap, thermometer that screws into the bottom of the rad, the small tube that goes from the top of the rad to the expansion tank and the 2 anti-vibration feet from the bottom of the old radiator.
This originally started in the problems and fixes thread, due to there being a leak in my cooling system.
CHANGE YOUR FLUID EVERY 2 YEARS, you're almost sure to avoid having to do this.
Before beginning, Start your car and let it run for 1 minute while changing the heat to maximum on the HVAC system, and then steering all the way to the left to allow for some room to remove the splash cover. Don't allow the car to get hot as you will have to wait for it to cool prior to doing this repair.
First thing you're going to want to do is remove the splash cover
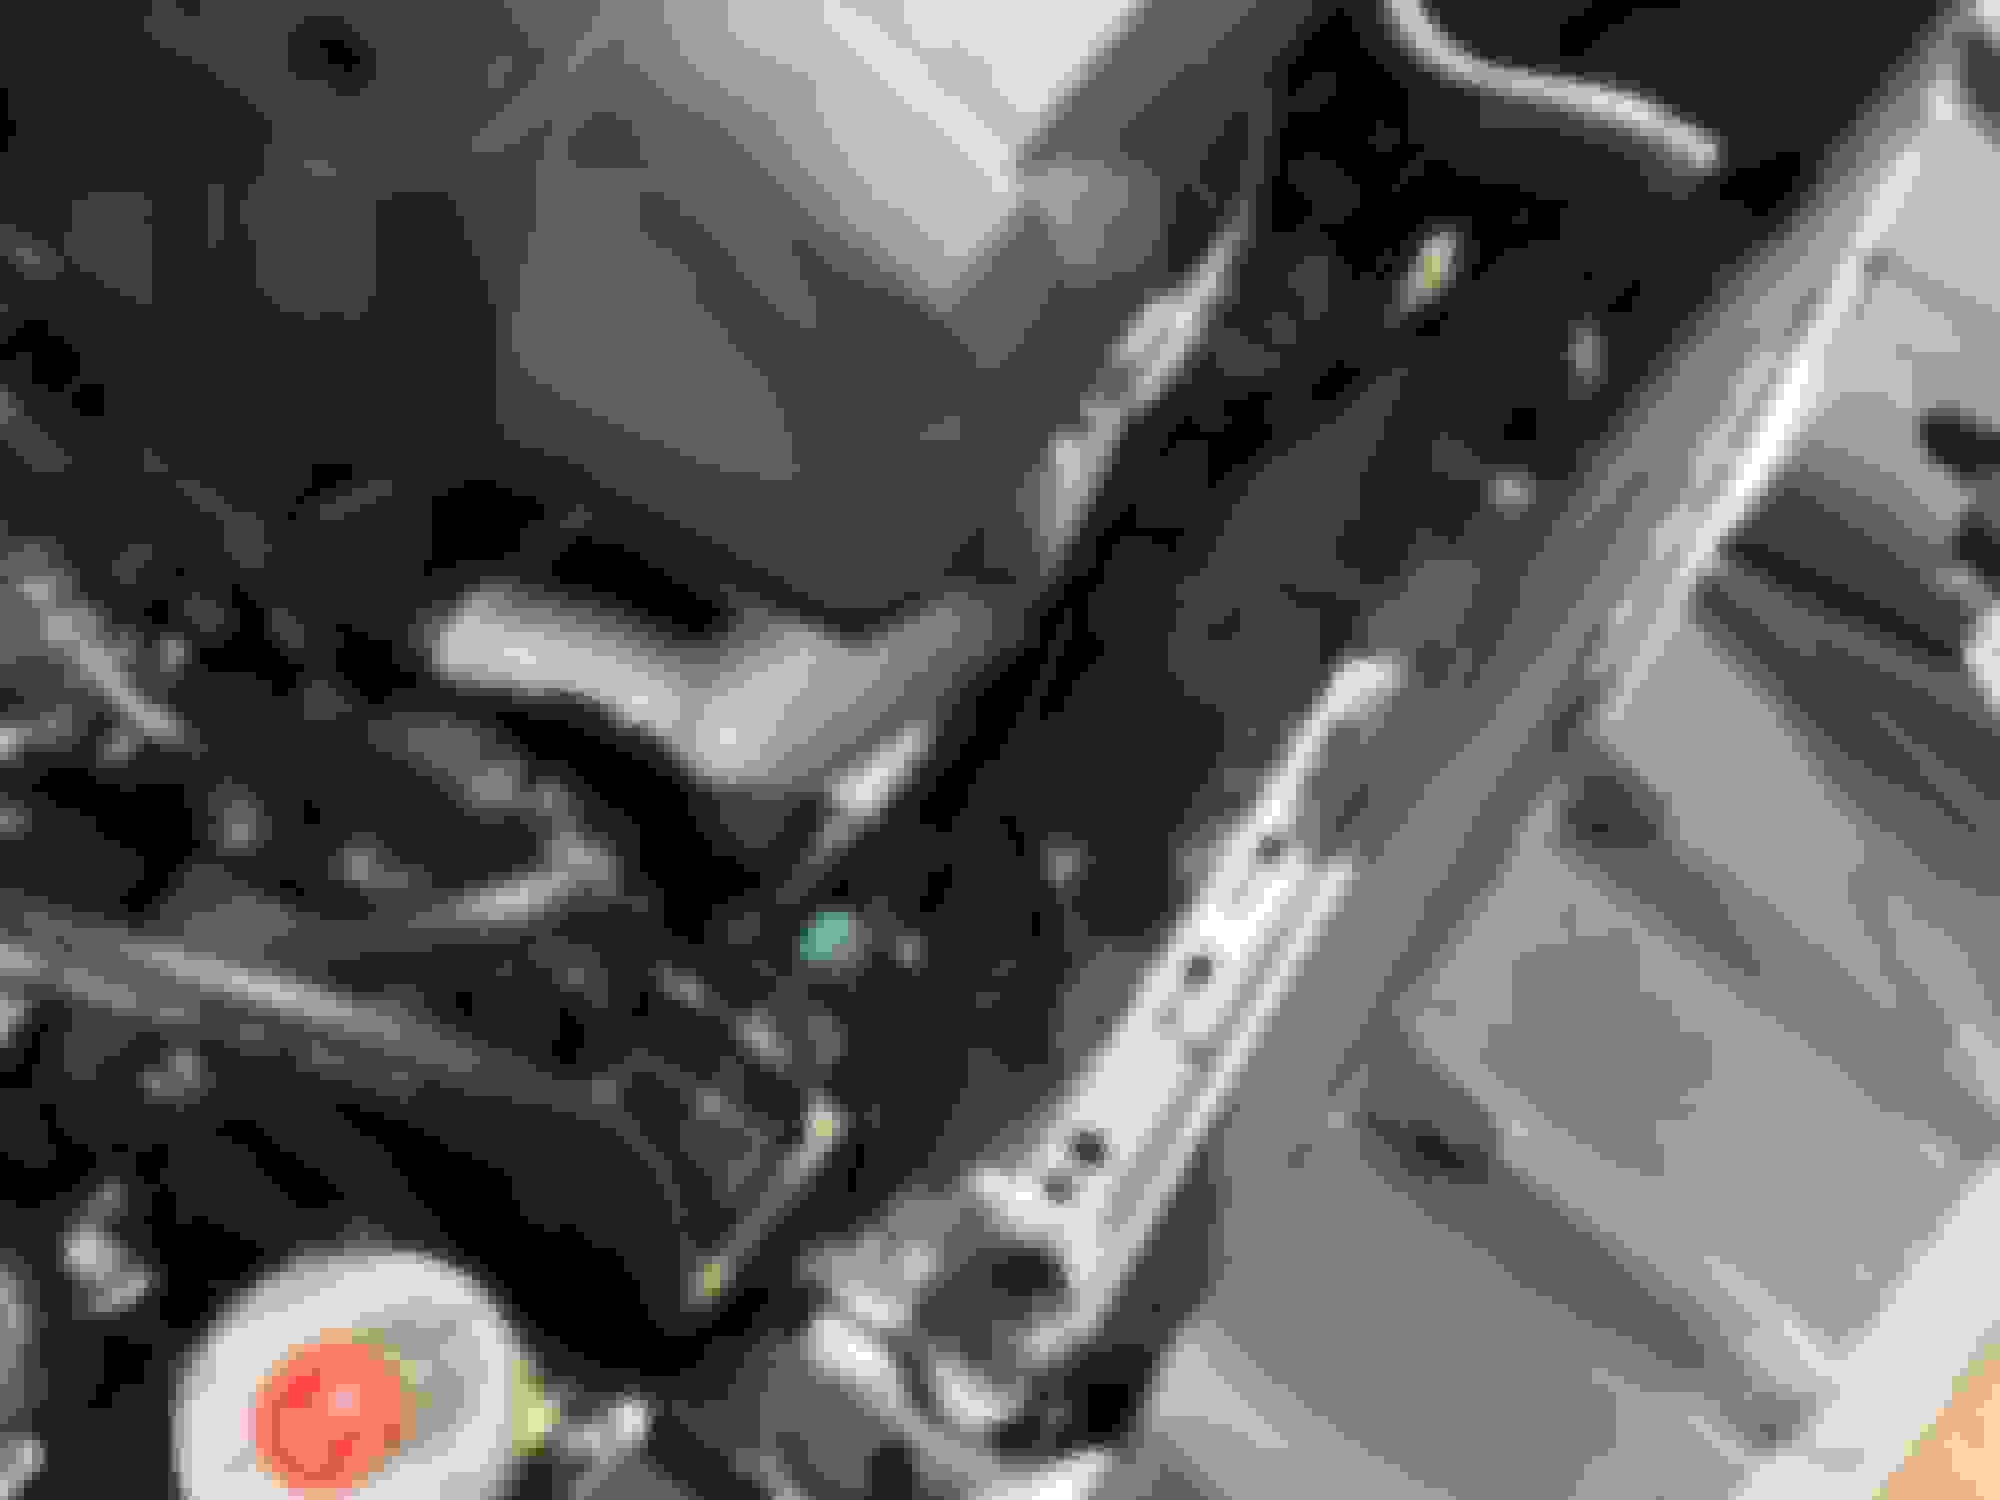
Once you have done that you will have all the access you need from the underside of the vehicle.
Then you're going to find the drain plug on the radiator, keep in mind that if you don't have replacement coolant ready you will not be able to drive your car after this so make sure you have it. The car takes 6.5/1.72 Liters/US Gallons of coolant after this procedure.
The plug looks like a little wing-nut basically.
While waiting for the coolant to drain, remove the radiator cap to release vacuum pressure in the engine to allow the coolant to flow faster. Once it seems like the flow is slowing down I found that gently squeezing the 2 big hoses coming from the radiator helped coax some extra fluid out from the cooling system.
Next remove the expansion tank, this is the small translucent tank to the left of the radiator when looking at the car. It is only held in by one clip and is freed easily with trim tools. Once the clip is defeated, you will be able to pick the tank up. Try to move the remaining coolant from this tank into the radiator through its hose, then remove the tube from the tank and set the tank/clip aside.
Keep allowing the radiator to drain while doing this, this allows for a full coolant change which will promote long life on the new equipment.
Remove all of the small clips on the front shroud near the engine compartment release lever shown here:
These clips can be a pain in the ass, use a trim tool to pull up the center portion, and once that part pops up, you can use your trim tool to remove the entire clip.
Also remove the air duct cover, it is tricky to maneuver but wont need to remove the battery or anything crazy to get it out. Cover this hole with something so as to not get any particulate in the duct.
Leave the 2 bolts under this shroud alone for now as they keep the radiator stable while trying to remove the wire clips from the radiator fans.
Close the drain on the radiator and clean up any excess fluid, I got some in my eye while doing this repair, not happy.
Get under the car and unplug the 2 connectors from the radiator fans.
The service manual has a really shitty picture of how to do this, but once you find the connectors its super easy to follow the line and see where this cable is clipped in.
These clips on this cable were by far the hardest part of this repair in my opinion, there is very little room to get tools under here and even less room to move your hands around while prying these out. They appear to come out easier if you're able to squeeze the clip side while prying the hat of the clip. Once you have the clips undone, also remove the wire that goes to the thermometer in the radiator, be careful, there are only 2 wires and mine were exposed (outside of wire loom, still insulated) so take your time or else you'll have to rewire etc.
Once you have those out, you can remove the bolts from the top of the radiator fans, do the left first its easier. There are 2 10mm bolts each fan. Once these are out you should be able to move the fan around and be able to remove it.
NOW YOU HAVE SOME ROOM!
I removed the hoses as follows.
The top hose comes off easily, just squeeze the cable clamp and gently tug on the hose. If its being tough and not letting go, then you can use something like a flat head to get in there and try to stretch the hose so it will come off. WARNING: YOU CAN AND WILL PUNCTURE THE HOSE IF YOU USE TOO MUCH FORCE, BE GENTLE AND USE THE SCREWDRIVER AS LITTLE AS POSSIBLE. I actually used my small trim tool which is plastic to get in and start releasing the seal on this hose.
Now I did the work on the rest of the hoses from above as I didn't want to get fluids in my face anymore.
Starting from the left (facing the car), the first hose is a transmission fluid hose.
Remove the hose and clamp it or make the hose ending face up so you don't lose any fluid. It will not POUR out but will drip some.
Second hose is also a transmission fluid hose, same deal as the last one.
Third hose is a quick connect, coolant hose. Acura says not to use any tools on the quick connect or it may damage it. SO USE A SMALL SCREWDRIVER, LOL. (I used a small screwdriver to pop up the metal clamp, not much force was needed. If it seems hard, you're doing it wrong.)
Once the clamp is up the hose should be able to just wiggle off. There will be some coolant that will be lost from this hose as it is pretty close to the low point in the system.
At this point, all hoses should be free from the radiator and you will be able to get it out after removing the top 2 clamps that have bolts under the plastic cover. These clamps go from the frame to the radiator and have rubber washers. Be careful when undoing the bolts as they have a chance to fall in behind the A/C condenser.
You should now be able to lift the radiator straight up into the air with a little jiggling around to get around some components.
Transfer the thermometer from the old to the new, clean it off if its got some gunk on it. DO NOT TORQUE IT SUPER HARD INTO THE NEW RAD, it screws into a metal thread but it is house by the radiator plastic which will crack.
There are also 2 anti-vibration feet on the bottom of the rad, these just pull off and can be transferred to the new rad.
To reinstall should be fairly straight forward.
Once installed, fill the cooling system from the radiator, and squeeze the hoses every once in a while to try to get any air bubbles out.
Then follow these instructions to rid your system of any bubbles:
I THINK, this is very comprehensive but if anyone has any questions please ask. I have completed this repair and it has lasted a month so far with no issues.
Last edited by drakescherer; 11-26-2016 at 12:59 PM.
Reason: facts, grammar.
...
Third hose is a quick connect, coolant hose. Acura says not to use any tools on the quick connect or it may damage it. SO USE A SMALL SCREWDRIVER, LOL. (I used a small screwdriver to pop up the metal clamp, not much force was needed. If it seems hard, you're doing it wrong.)
Once the clamp is up the hose should be able to just wiggle off. There will be some coolant that will be lost from this hose as it is pretty close to the low point in the system.
... THINK, this is very comprehensive but if anyone has any questions please ask. I have completed this repair and it has lasted a month so far with no issues.
Thank you for the detailed steps, I followed it to replace my radiator last year.
In my case, with a 2008 Base, found the quick connect would not disconnect, had to buy it as a separate piece from the dealer. That almost doubled the total cost of parts as the radiator itself was under 100$. Would have been much cheaper to buy the hose as well, upfront from the favorite online store.
Notes:
To collect the discharge fluid I squeezed a small funnel with a 6" plastic hose under the drain plug, and inserted the hose into an empty windshield washer container placed under the Radiator (I used ramps, much more convenient than jacks for this work). Eased the drain plug without removing it, no mess fluid collection.
I did not have a need to drop the front bumper cover after all, just loosened the air dam shield at the bottom.
Awesome write-up, definitely good to have on hand, and a great call-out about fluid changes. Old coolant becomes corrosive and eats away at the radiator from the inside out - this is the most likely cause of radiator failures, either form external leaks or internal (i.e. coolant in your transmission). Anyone with a 1G RDX that hasn't removed the OEM fluid yet - regardless of mileage - is asking for their radiator to die.
Great write-up indeed. I'll be embarking on this repair here soon as I've discovered a leak on the 2007 we just picked up a couple months ago (167k miles). Reading through the service manual, it seems pretty straight-forward, but definitely appreciate the additional notes on this thread 👍🏼
I prefer to stay OEM so looking to pick up a DENSO radiator from partsgeek.com
...I'll be embarking on this repair here soon as I've discovered a leak on the 2007 ...
Perfect time to consider if needed to replace the thermostat and/or the fan sensor (bottom of radiator): use an app via OBD2 to check what temperature does the thermostat open and the fan turn on, should be below 212F in both cases.
Apparently the sensor design allows it to drift higher over time, in my case it activates right at 212F, so will change it in the coming summer (2008 base).
2. Highly recommend renting a coolant pressure test kit from your local autoparts store. I rented mine (for free) from the local Advanced Auto Parts store (they charge you the full amount, and refund it upon return). It's invaluable in not only checking for leaks, but making sure everything is solid, fit and finish after you're done with the installation. Apparently I didn't clamp the lower radiator hose (too close to the edge) on my first round putting everything back together, and it allowed just the slightest drip, enough to eventually lose fluid over time. However, it wasn't noticeable unless the coolant system was under operational pressure. The pressure test kit quickly helped me find it.
3. On my RDX, the quick-connector on the lower radiator hose did not come off easily as documented by the OP. Instead I was forced to remove the lower radiator hose from the quick-connecter itself, and then remove the radiator, with the quick-connector still on. Once I had the old radiator out, I was able to then work the quick-connector off the old unit. I had to stand on the old radiator flat on the ground, while grabbing the quick-connector with both hands and pull until it finally gave way.
4. Highly recommend you have one of these tools handy for removing the hose clamps. I wasted probably a good 2-4 hours in total dorking around trying to get the clamps off/on the various hoses with a pair of pliers. This tool will save you immense time, headache, and ensure you don't end up with poorly placed clamps (causing leaks) when tightening the hoses back on. if I only I had this before I did my replacement, lol.
5. When you remove the old radiator, take the opportunity to clean the surrounding area. I used a hand-held steam cleaner and some degreaser to get rid of over a decade of built-up grime/grease/dirt/etc leaving the surrounding area clean enough to almost eat off of. use it as an opportunity to also clean the radiator fans, the housing, etc and check to make sure they are in good condition. now is the time to replace them if necessary.
6. I too did not have to lift my car, I only had to remove the bottom splash shield to get access to everything, along with access via the hood. Use this as an opportunity to also degrease and clean your splashshield.
7. Buy yourself a bag of these and have them handy, you'll thank me later
8. Make sure to follow the steps to a tee in the service manual on how to handle the process, along with the instructions from the original OP. The OP included a handy note regarding taking the thermometer off the old unit for use on the new unit, which is not covered in the service manual.
All in all, it was a great learning experience and so far, no more leaks and the car is operating are normal operating temps with a nice clean new radiator operating like a champ.
Original leak (electrolysis)
Cleaned area after removing old radiator
Old vs New Radiator
New Radiator installed
Cooling System Pressure Test Kit
Last edited by holografique; 02-13-2020 at 05:10 PM.
Addendum ?: So I got the RAD and upper and lower rad hoses now...
Seems to be no "recommendation" (unless I missed reading it) of replacing the two transmission cooler "hoses" attaching to the RAD... Was thinking of doing it nonetheless seeing everything is made of rubber (Eg the hoses) and might as well do it on one go.
Do you guys who had RAD replaced also change the TWO transmission cooler hoses attaching to the RAD? Don't really know how these "rubber" hoses last in duration truth be told (Eg 20yrs?)
All the hoses should be made of EPDM (same material as the accessory belt). If the accessory belt can last 150k miles with all the heat and friction from the pulleys, the hoses really should last the life of the car. That said, if you're replacing one, you may as well do them all if you can.
All the hoses should be made of EPDM (same material as the accessory belt). If the accessory belt can last 150k miles with all the heat and friction from the pulleys, the hoses really should last the life of the car. That said, if you're replacing one, you may as well do them all if you can.
Thanks "Tom". As this is a "summertime" project (Eg July long weekend) for me, I'll hold back on purchasing a backordered hose for the transmission cooler. Seems the thread did not indicate any changes of the hoses either anyhow (whether it be the RAD upper/lower hose and/or the transmission cooler hoses) so I'm good.
I did purchase new upper and lower RAD hoses just to be safe. will replace that of course and throw in the old ones to the back as "spare" (for emergencies). A bit paranoid about RAD hoses since I did have one burst in the middle of a city road some 20-25 yrs ago in my old Toyota Corolla! (thankfully it was less than 1km to a gas station so I pulled in and, well, used a rag to tie the puncture and drove that baby home -- my thermostat went to Overheat mode and I got lucky then - bought coolant in the gas station and let the rag stop some of the leak as I turned around to head back home) -- explains my "paranoia" about these things haha.
Up to this day, I cycle through the RDX onboard computer to make sure the Tire pressure are ok just prior to heading to the highway and keep it on the thermostat screen just to be sure LOL. (I'm sure others have it on time elapsed, SH-AWD setting or whatnot, I prefer the temp and tire pressure settings just because..."
In salt states and/or hot climates the should be replaced every 15-20 years? Thoughts?
I don't exactly know but am erring on the side of caution -- not too expensive anyway relative to the "radiator job" itself so why not... all in one go -- save the headache of later... (note: usually with 10+ yr old vehicles, i play it safe)
 11-26-2016, 12:47 PM


 "
"
